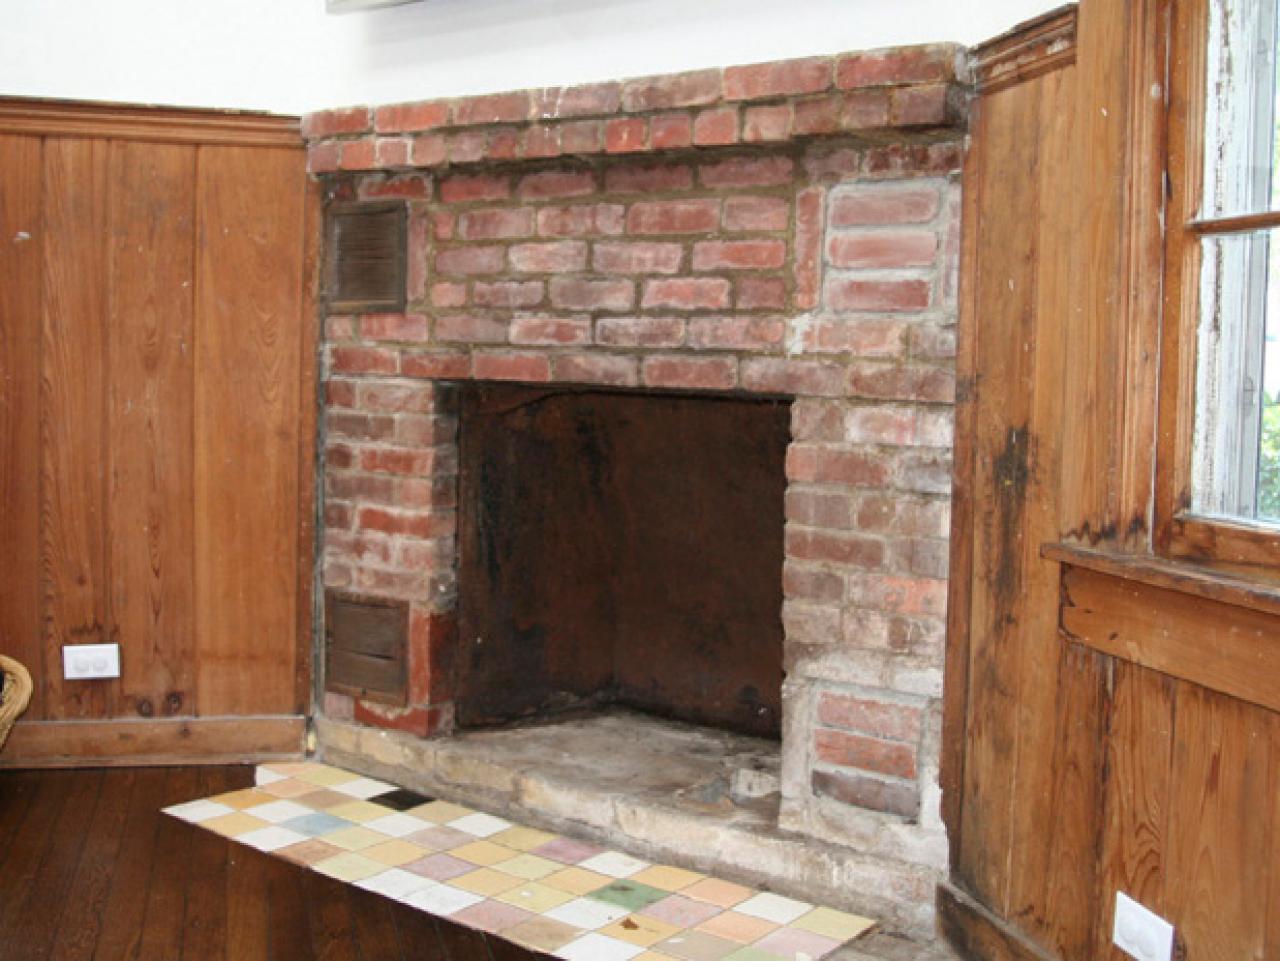
When I bought my 1920s home, the brick fireplace was the first thing that caught my eye. It had been painted over multiple times, layers of white and beige hiding what I suspected was beautiful original brick underneath. I spent weeks carefully stripping away decades of paint, and what I uncovered was absolutely worth the effort. That fireplace became the heart of my living room, and restoring it taught me so much about working with vintage brick. I’ve learned that these old fireplaces have personalities all their own, full of history and warmth that no modern replica can match.
Assessing and Cleaning Your Original Brick
The first step I took was really examining my brick fireplace to understand what I was working with. I got up close with a flashlight and checked for cracks, crumbling mortar, and any structural issues that needed addressing before I did anything cosmetic. Some of the mortar between my bricks had deteriorated over the decades, which is completely normal. I made notes about which areas needed repointing before I could move forward with cleaning or restoration.
Cleaning vintage brick was more challenging than I expected. I started with the gentlest method possible, warm water and a stiff brush, because I didn’t want to damage the brick’s surface or patina. For stubborn soot stains, I mixed a paste of baking soda and water, which worked surprisingly well without harsh chemicals. I tested every cleaning method on a small, hidden area first, usually behind where my fireplace tools would hang, to make sure it wouldn’t damage or discolor the brick.
What surprised me most was how much the brick’s character emerged as I cleaned. I discovered variations in color I hadn’t seen before, reds mixed with oranges and even some darker, almost purple-toned bricks. The soot in the crevices actually added depth and history, so I didn’t try to make everything perfectly clean. I learned that vintage brick looks best with some age showing. That worn, lived-in quality is exactly what makes these fireplaces so special and irreplaceable in modern homes.
Stripping Paint from Covered Brick
Removing paint from my brick fireplace was easily the most labor-intensive part of my restoration, but also the most rewarding. I tried several methods before finding what worked best. Chemical paint strippers designed for masonry were effective, but the fumes were intense, so I made sure to ventilate the room extremely well and wear proper respiratory protection. I applied the stripper with an old brush, let it sit for the recommended time, then scraped carefully with plastic scrapers to avoid damaging the brick.
Heat guns became my favorite tool for stubborn areas where paint had really bonded to the brick. I worked in small sections, heating the paint until it bubbled, then scraping it away immediately. This method required patience because you can’t rush it without risking damage to the brick surface. I found that holding the heat gun at an angle and keeping it moving prevented scorching. Some spots required multiple applications of stripper followed by heat treatment to get down to clean brick.
The process took me about three weeks, working evenings and weekends, and I went through countless wire brushes and scrapers. The key was accepting that I might not get every single speck of paint out of every crevice, and that was okay. Some paint残留 in the deeper mortar lines actually adds to the vintage character. Once I finished, I let the brick dry completely for several days before sealing it. Seeing that original brick emerge felt like uncovering a piece of my home’s history, and it completely transformed the room.

Repointing and Repairing Mortar Joints
Once my brick was clean, the deteriorated mortar joints became really obvious. I knew I needed to repoint them for both structural integrity and appearance. I started by carefully removing loose and crumbling mortar using a small chisel and hammer, being cautious not to damage the surrounding bricks. I cleaned out the joints to a depth of about three-quarters of an inch, which my mason friend told me was the sweet spot for good adhesion of new mortar.
Matching the original mortar color and texture was important to me because I wanted the repair to look authentic rather than obvious. I took a sample of the old mortar to a masonry supply store, where they helped me mix a custom batch that matched the color and consistency of what was originally used. I learned that old mortars were often softer and more lime-based than modern cement mortars, so using a traditional lime mortar mix helped maintain the historical integrity of the fireplace.
Applying the new mortar required more finesse than I anticipated. I used a pointing trowel and a hawk, working the mortar into the joints firmly to eliminate air pockets. I matched the existing joint profile, which in my case was a slightly concave finish. After filling each section, I let it set up just enough to be firm but still workable, then shaped it with a jointing tool. The timing was crucial, too early and it smears, too late and it’s impossible to shape. I misted the repointed areas with water for several days during curing to prevent cracking.
Choosing Whether to Seal or Leave Natural
The sealing decision kept me up at night because I worried about changing the brick’s appearance or character. I spent hours researching and talking to preservation specialists about the pros and cons. Sealing protects against moisture and stains, which is especially important for functional fireplaces that still get used. But I also learned that some sealers can darken brick or create an unnatural sheen that detracts from the vintage aesthetic I was trying to preserve.
I decided to do a test application with several different products on inconspicuous areas of my fireplace. I tried a penetrating sealer, a breathable masonry sealer, and left one section completely untreated for comparison. After living with it for a few weeks, I chose a breathable penetrating sealer that didn’t change the brick’s appearance at all when dry but would protect against moisture and make cleaning easier. The key was finding something that wouldn’t trap moisture inside the brick, which can cause spalling and deterioration over time.
I applied the sealer with a paint sprayer on a low setting, making sure to get even coverage without over-saturating any areas. I did two thin coats rather than one heavy one, letting it dry completely between applications. The process was straightforward, but I made sure to protect my floors and surrounding walls because the overspray travels more than you’d think. Now, several years later, I’m happy with my decision. The brick still looks natural and vintage, but it’s much easier to clean, and I don’t worry about stains setting in permanently.
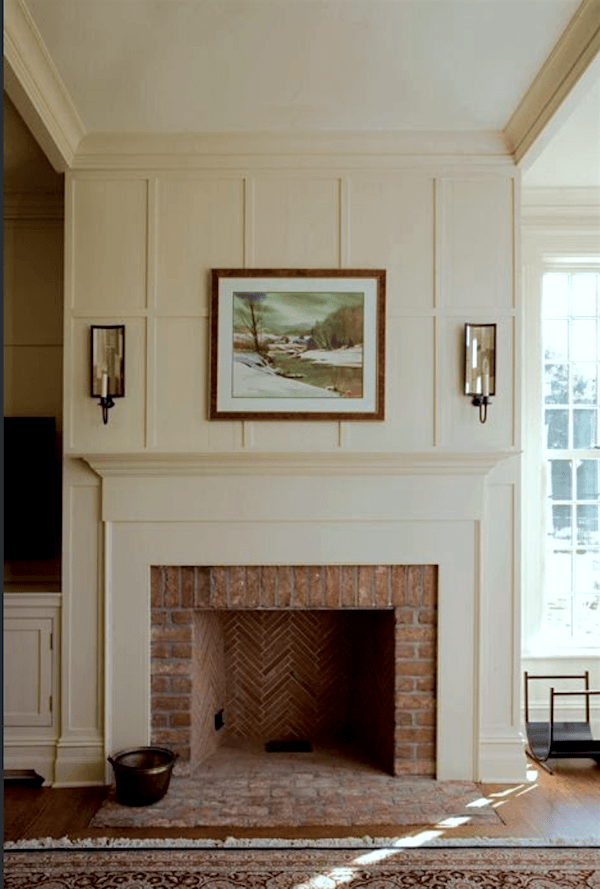
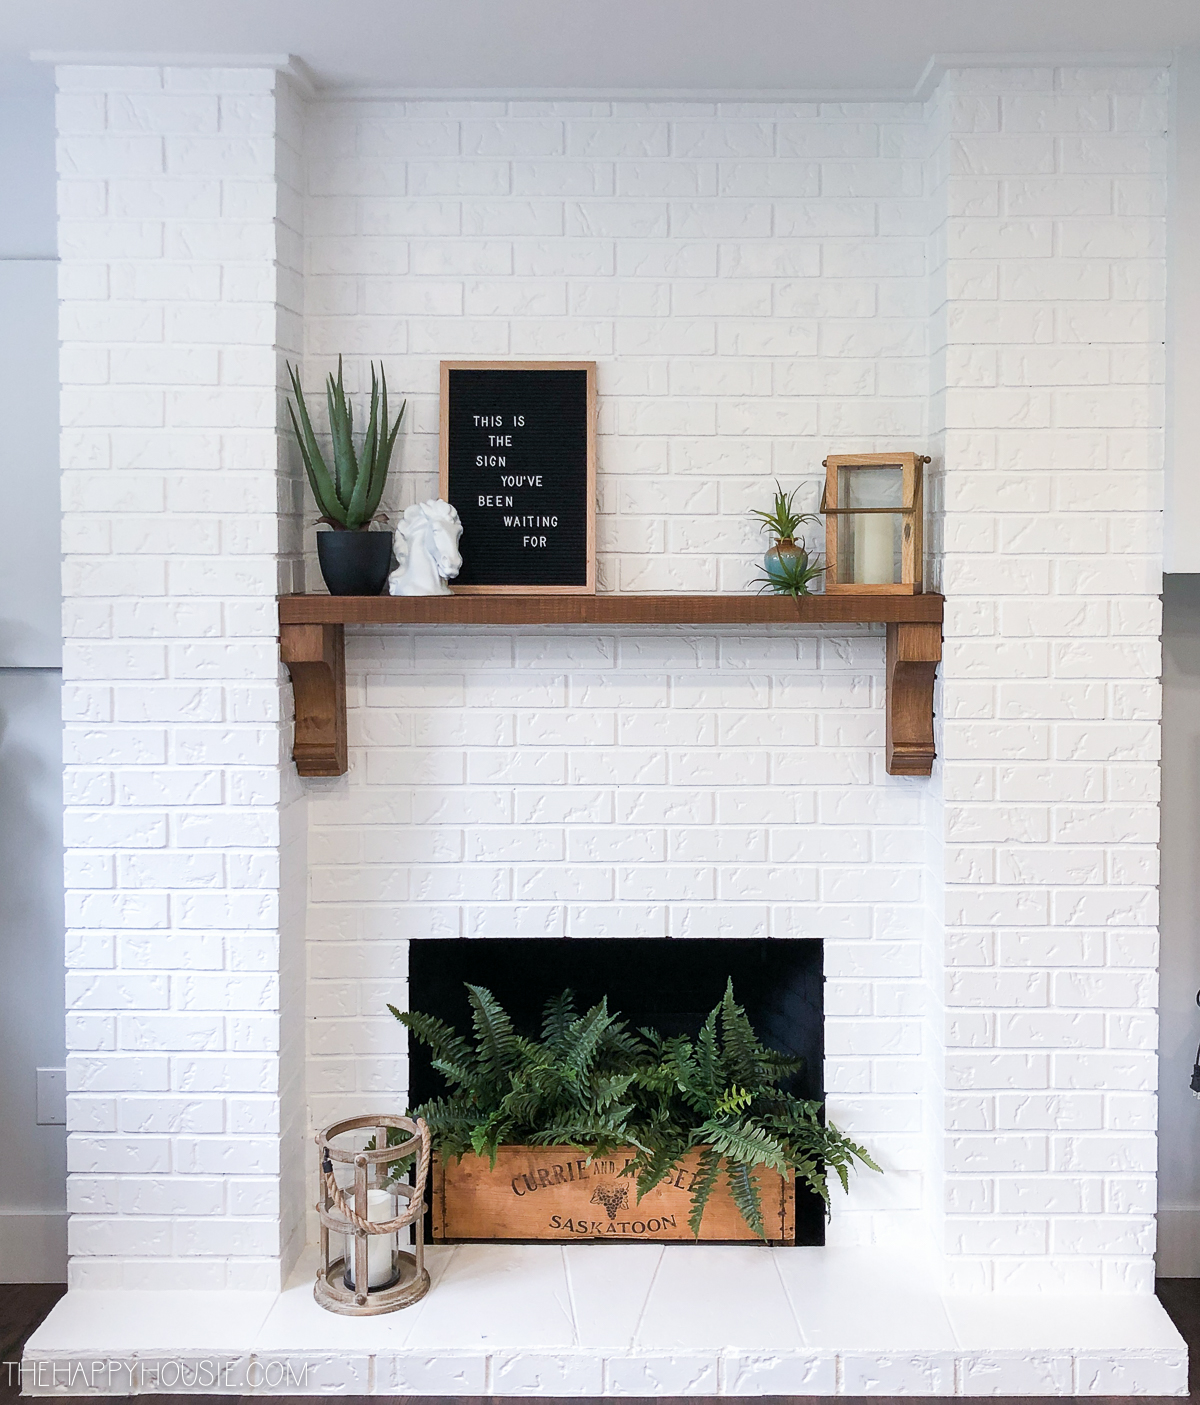
Styling and Decorating Around Vintage Brick
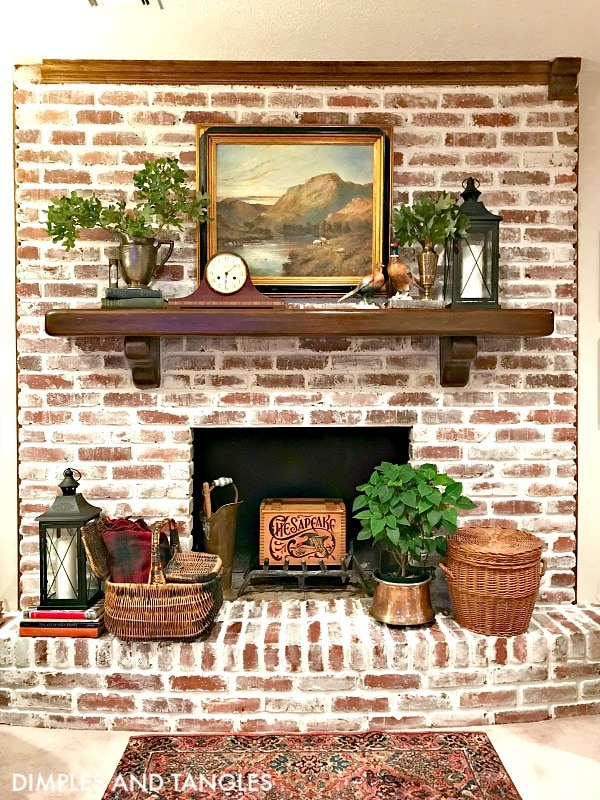
Once my fireplace was restored, I had to figure out how to style it without overwhelming its natural beauty. I learned that vintage brick is a statement on its own, so I kept my mantel decor simple and let the brick be the star. I chose a rustic wooden mantel that complemented the brick’s warm tones rather than competing with it. The wood’s natural grain and aged finish created a cohesive look that felt collected over time rather than staged.
I play with the mantel styling seasonally, but I always stick to a less-is-more approach. In winter, I might add some greenery and vintage brass candlesticks. Summer calls for lighter touches like a simple mirror and some dried flowers. I avoid anything too modern or sleek because it clashes with the brick’s historic character. Instead, I lean into vintage and antique accessories, old books, weathered pottery, and natural elements like driftwood or stones that echo the organic quality of the brick itself.
The area around the fireplace needed careful consideration, too. I kept the walls neutral to let the brick take center stage, choosing a soft cream that doesn’t compete for attention. My furniture placement frames the fireplace as the focal point, with my sofa and chairs angled to face it. I added a vintage rug that picks up the warm tones in the brick, creating a cohesive color story. Lighting matters too. I installed wall sconces that cast a warm glow on the brick in the evening, highlighting its texture and making the whole space feel cozy and inviting.

Maintaining Your Vintage Brick Fireplace
Regular maintenance has been key to keeping my restored fireplace looking great. I vacuum the brick surface monthly using a soft brush attachment to remove dust and cobwebs that accumulate in the texture. This simple step prevents buildup that can dull the brick’s appearance over time. After each fire, once everything has cooled completely, I remove ashes promptly because leaving them can cause staining, especially if any moisture is present.
I do a deeper cleaning twice a year using my original gentle method of warm water and a stiff brush. If I notice any soot stains developing, I address them right away before they set in permanently. I keep a close eye on the mortar joints too, checking annually for any signs of deterioration or cracking. Catching small issues early means they’re much easier and less expensive to fix than waiting until they become major problems requiring extensive repointing work.
The biggest lesson I’ve learned about maintenance is being proactive rather than reactive. I have my chimney professionally inspected and cleaned every year before heating season, which is essential for safety and also helps preserve the interior brick. I watch for any signs of moisture problems like efflorescence, those white crusty deposits that can appear on brick, because that indicates water is getting in somewhere and needs to be addressed. Taking care of vintage brick isn’t difficult, but it does require attention and regular upkeep to preserve its beauty for future generations.
How do I know if my painted brick fireplace is worth restoring?
I look for a few key indicators: the age of the home, the quality of the brick visible at edges or behind fixtures, and the fireplace’s structural condition. If your home is pre-1960s, there’s a good chance the brick underneath is beautiful. Chip away a small test area in an inconspicuous spot to see what you’re working with. If the brick is damaged, soft, or of poor quality, leaving it painted might be the better choice.
What’s the difference between interior and exterior brick sealers?
Interior sealers are designed for brick that isn’t exposed to harsh weather and typically focus on stain resistance and ease of cleaning. They’re often less aggressive and won’t trap moisture the way some exterior sealers can. For my fireplace, I used an interior-specific penetrating sealer that protects without changing appearance. Exterior sealers are formulated for weather resistance and might create too much of a barrier for interior applications.

Can I paint or whitewash my vintage brick if I don’t like the color?
You absolutely can, though I’d encourage you to live with the natural brick for a while first. If you decide to paint, consider a German schmear or limewash technique rather than solid paint. These methods let the brick texture show through and are easier to remove later if you change your mind. I’ve seen beautiful results with diluted white paint creating a soft, aged look while preserving the dimensional quality of the brick.
How much does professional brick fireplace restoration typically cost?
Costs vary widely depending on your location and the fireplace’s condition. Paint stripping alone can run from several hundred to a few thousand dollars for professional service. Repointing might add another thousand or more, depending on how much work is needed. I did mine myself and spent about three hundred on supplies and tools, but it took significant time and effort. Get multiple quotes if hiring out, and make sure they have experience with historic masonry.

Is it safe to use a vintage brick fireplace that hasn’t been used in years?
Never use it without a professional inspection first. I had my chimney swept and inspected before burning anything, which revealed some creosote buildup and minor issues that needed addressing. The inspector checked for cracks, proper draft, and structural soundness. Even if everything looks fine, dormant chimneys can have hidden problems like animal nests or deteriorated flue liners. Safety first, always. The inspection cost me two hundred dollars, money absolutely well spent for peace of mind.
What’s the best way to remove soot stains from vintage brick?
I’ve had success with a paste made from cream of tartar and water for light stains. For heavier soot, I use a specialized masonry cleaner applied according to package directions. Always test in a hidden spot first. Avoid acidic cleaners like vinegar on brick as they can damage mortar. For really stubborn stains, a poultice method works well. Apply the cleaning paste, cover with plastic, let it sit overnight, then scrub and rinse thoroughly the next day.

Brick fireplace

Old Brick Fireplace

Brick Fireplace Before and After Transformations
![]()
Beautiful DIY Brick Fireplace Makeovers
Old Brick Fireplace Makeover
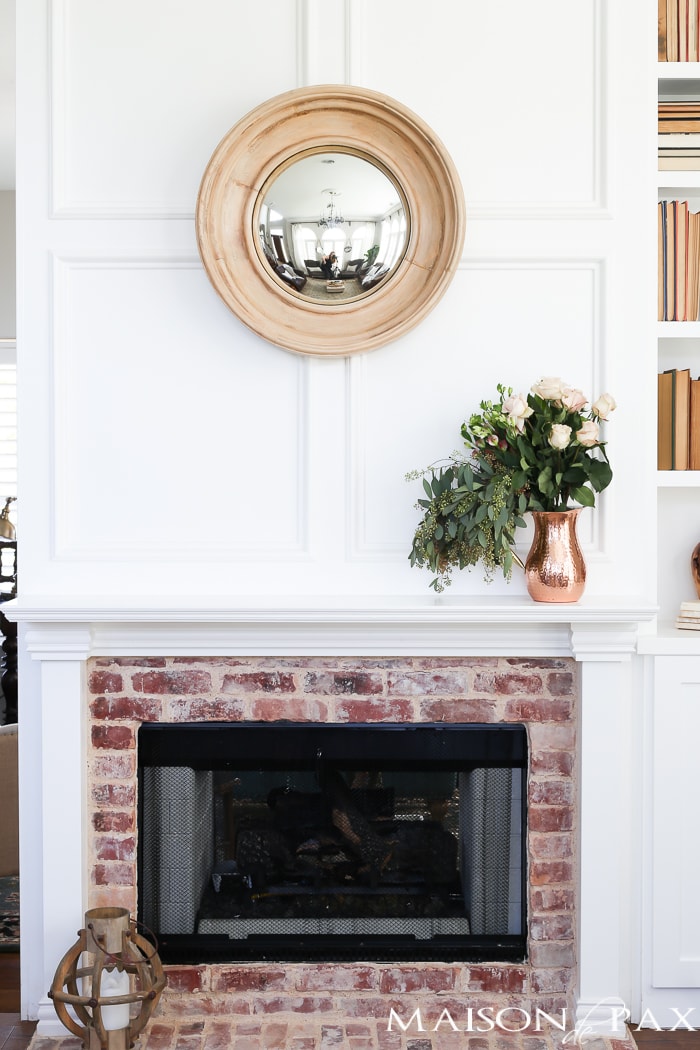
Antique Brick and White Molding Fireplace Makeover – Maison de Pax
Related Posts: