When I first walked into our century-old farmhouse, the old brick fireplace immediately caught my eye. It was covered in decades of paint and looked tired, but I could see its potential. After months of planning and plenty of trial and error, I transformed it into the heart of our home. Let me share what I learned along the way about creating the perfect farmhouse brick fireplace that brings both warmth and character to any space.
Choosing the Right Brick Style for Your Farmhouse Look
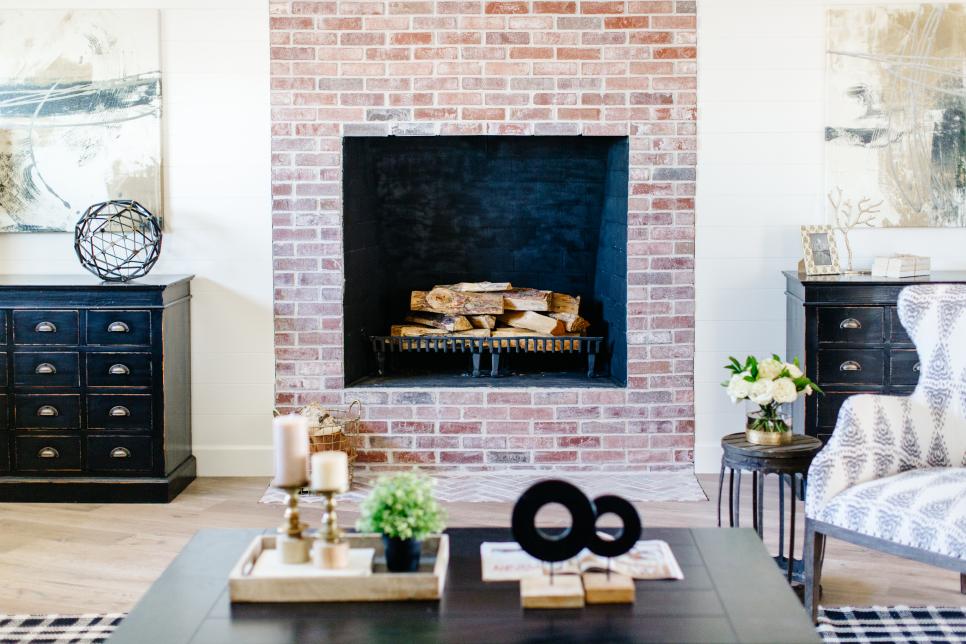
I spent weeks researching different brick options before settling on reclaimed red clay bricks for my fireplace restoration. The weathered texture and varied color tones gave me exactly the authentic farmhouse feel I was after. When I compared new bricks to reclaimed ones, the difference was striking. New bricks looked too uniform and clean, while the reclaimed ones had that perfect patina that comes with age.
The size of the bricks made a huge difference, too. I originally considered standard modern bricks, but when I held an antique brick next to a contemporary one, I realized the older bricks were slightly smaller and more irregular. This variation creates visual interest that you just can’t replicate with machine-made bricks. The mortar joints also played a crucial role in achieving that authentic look I wanted.
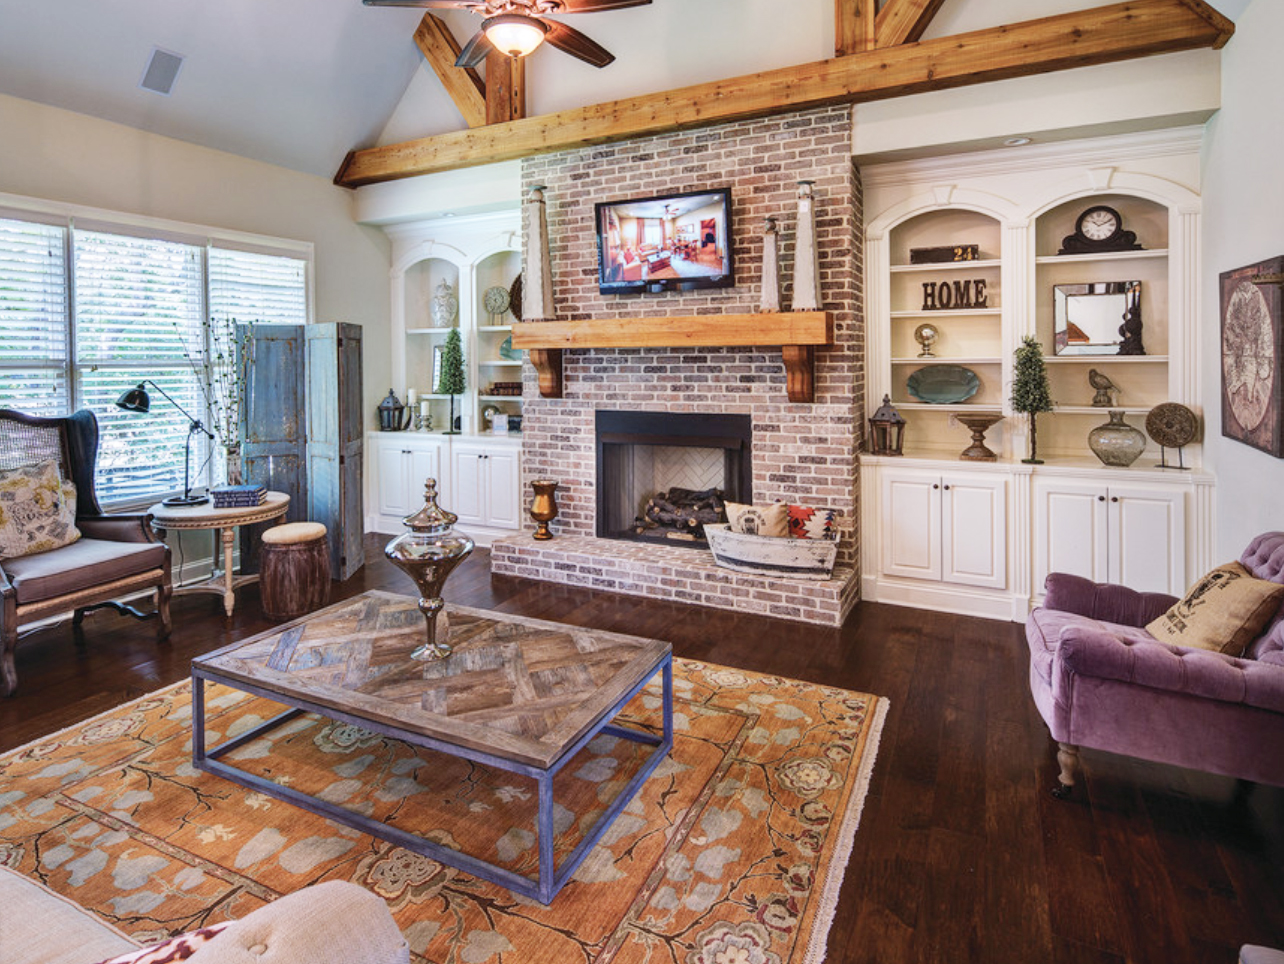
After installing the reclaimed bricks, I was amazed at how they transformed the entire room. The warm red tones complemented my white shiplap walls beautifully, and the irregular surfaces caught the light in ways that added depth and character. Every guest who visits comments on how authentic and inviting the fireplace looks, which tells me I made the right choice.
Restoring Original Brick: My Paint Removal Adventure
Removing layers of paint from my original brick fireplace turned into quite the adventure. I tried several methods before finding what worked best. Chemical strippers seemed like the obvious choice, but they were messy and didn’t penetrate deeply enough into the porous brick surface. Heat guns worked better but required patience and careful technique to avoid damaging the mortar.
What finally saved the day was a combination approach. I used a heat gun to soften the paint, followed by careful scraping with plastic tools to avoid scratching the brick surface. For stubborn areas, I applied a thick paste stripper and let it sit overnight. The key was working in small sections and not rushing the process. Some bricks required multiple treatments to reveal their original beauty.
The results were worth every hour of tedious work. Once I cleared away decades of white and beige paint, I discovered gorgeous red bricks with beautiful color variations. Some had blue undertones while others showed warm orange hues. The natural imperfections and slight damage only added to their charm, giving my fireplace the authentic character I was seeking.
Selecting the Perfect Mantel to Complete Your Look
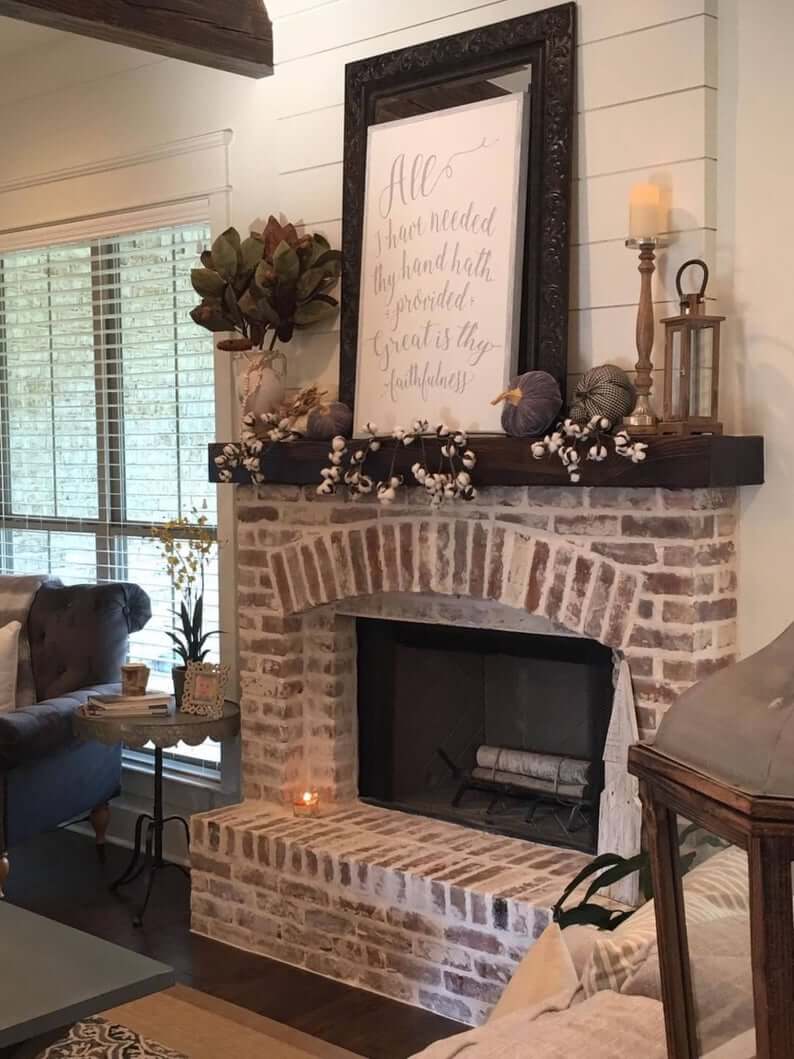
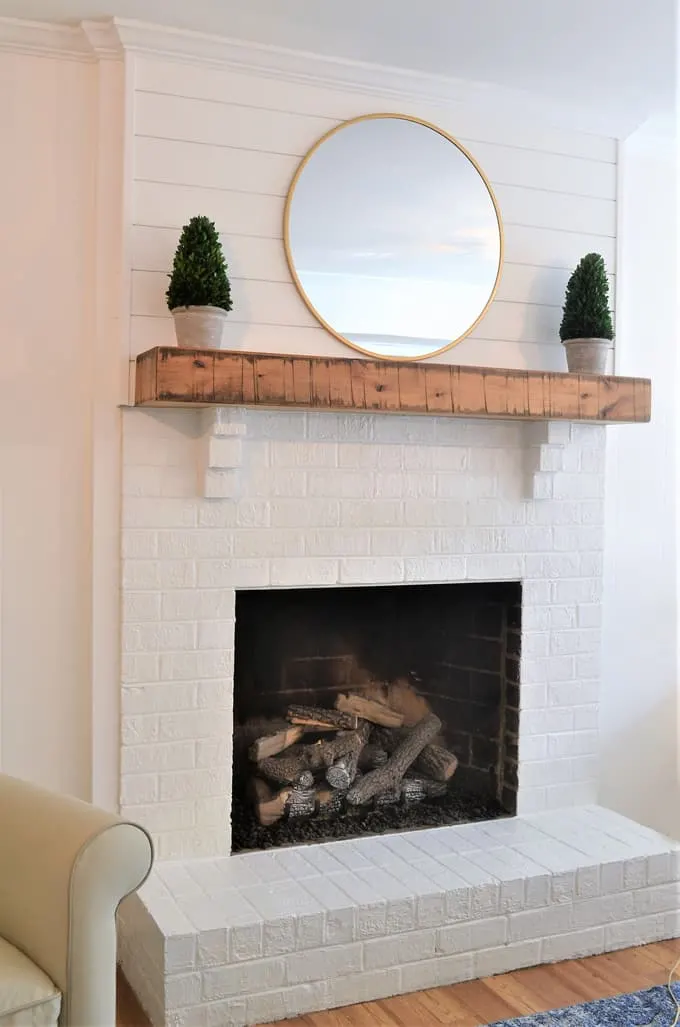
Finding the right mantel for my farmhouse brick fireplace proved more challenging than I expected. I wanted something that felt substantial but not overwhelming. After visiting countless antique shops and salvage yards, I discovered a thick, rough-hewn beam from a demolished barn. Its weathered surface and natural imperfections were exactly what my fireplace needed.
The installation required some creative problem-solving. The beam was heavy and irregularly shaped, so standard mounting brackets wouldn’t work. I ended up having custom steel brackets fabricated that could handle the weight while remaining hidden. The key was ensuring the mantel appeared to float naturally above the brick opening, creating clean lines that didn’t compete with the textured brick surface.
Styling the mantel became one of my favorite parts of the project. I kept decorations simple and natural, rotating seasonal items like cotton stems, vintage books, and small potted plants. The wide surface provides plenty of space for family photos and candles, but I learned that less is more when working with such a visually rich backdrop of exposed brick.

Creating the Right Hearth and Surround Proportions
Getting the hearth proportions right was crucial for my farmhouse fireplace’s overall impact. I learned that the hearth should extend at least 16 inches beyond each side of the firebox opening for safety, but I went further for aesthetic reasons. My hearth extends 24 inches on each side, creating a generous landing that anchors the fireplace visually and provides practical space for fireplace tools.
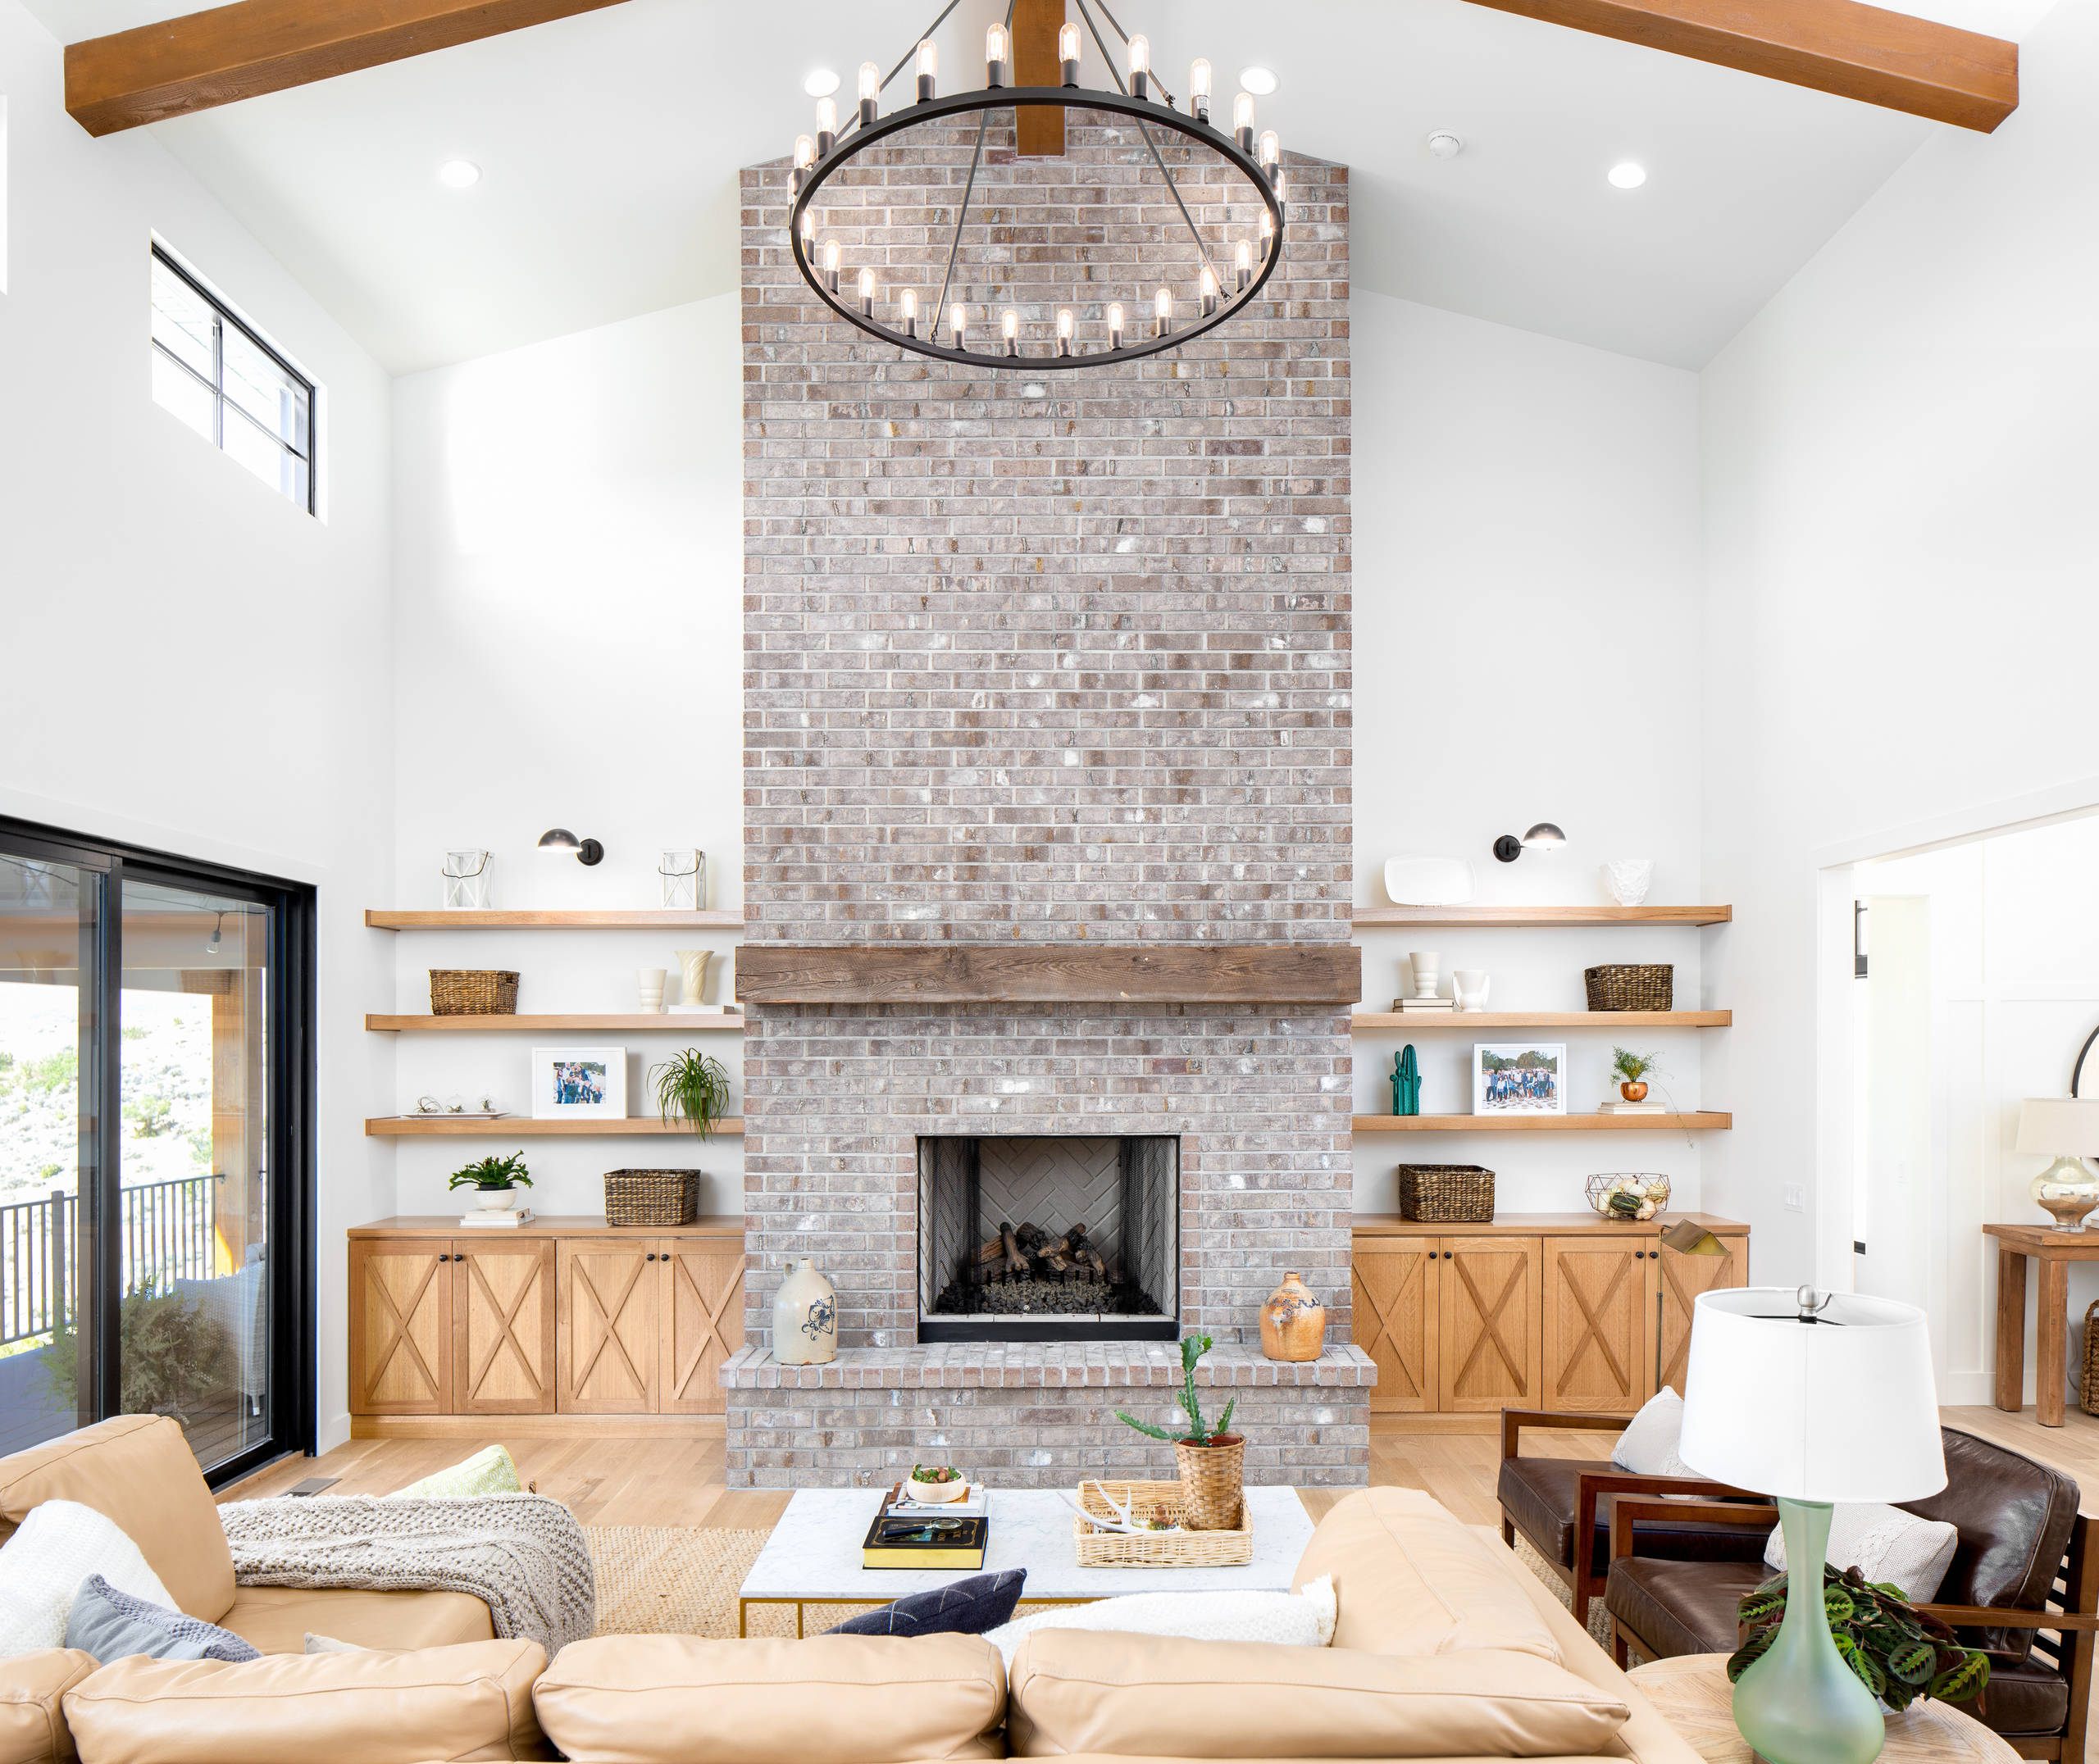
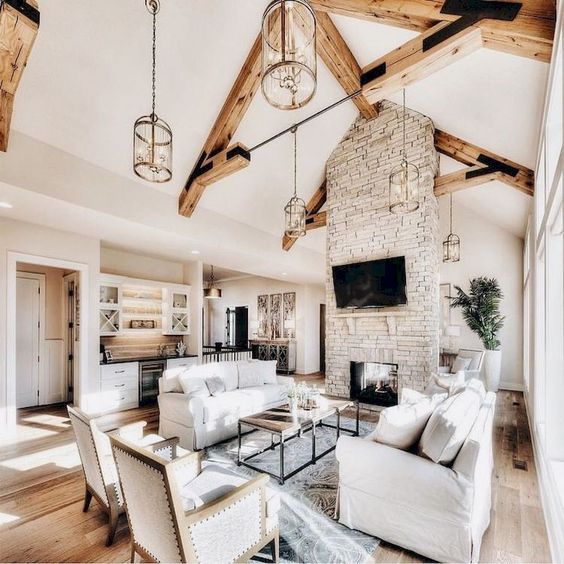
The height of my brick surround took some experimentation. I initially planned to extend it only partway up the wall, but when I mocked it up with cardboard, it looked unfinished. Instead, I carried the brick all the way to the ceiling, which created dramatic vertical impact. This decision made my 9-foot ceilings feel even taller and gave the fireplace the commanding presence it deserved.
For the hearth material, I chose the same reclaimed brick as the surround, laid in a simple running bond pattern. This created continuity while keeping the focus on texture rather than pattern complexity. The slight irregularities in the antique bricks meant each hearth brick sat slightly differently, adding to the handcrafted, authentic feel I was pursuing throughout the project.

Incorporating Modern Safety Features Seamlessly
Balancing historical charm with modern safety requirements challenged my design skills. I needed to install proper ventilation and safety features without compromising the authentic farmhouse appearance. The solution involved working closely with a certified fireplace technician who understood both safety codes and historic preservation principles.
We installed a high-quality damper system that operates smoothly while remaining virtually invisible when the fireplace is in use. The chimney required a new stainless steel liner, but we were able to run it up through the existing flue without altering the exterior appearance. Carbon monoxide detectors and proper clearances around combustible materials were non-negotiable safety features.
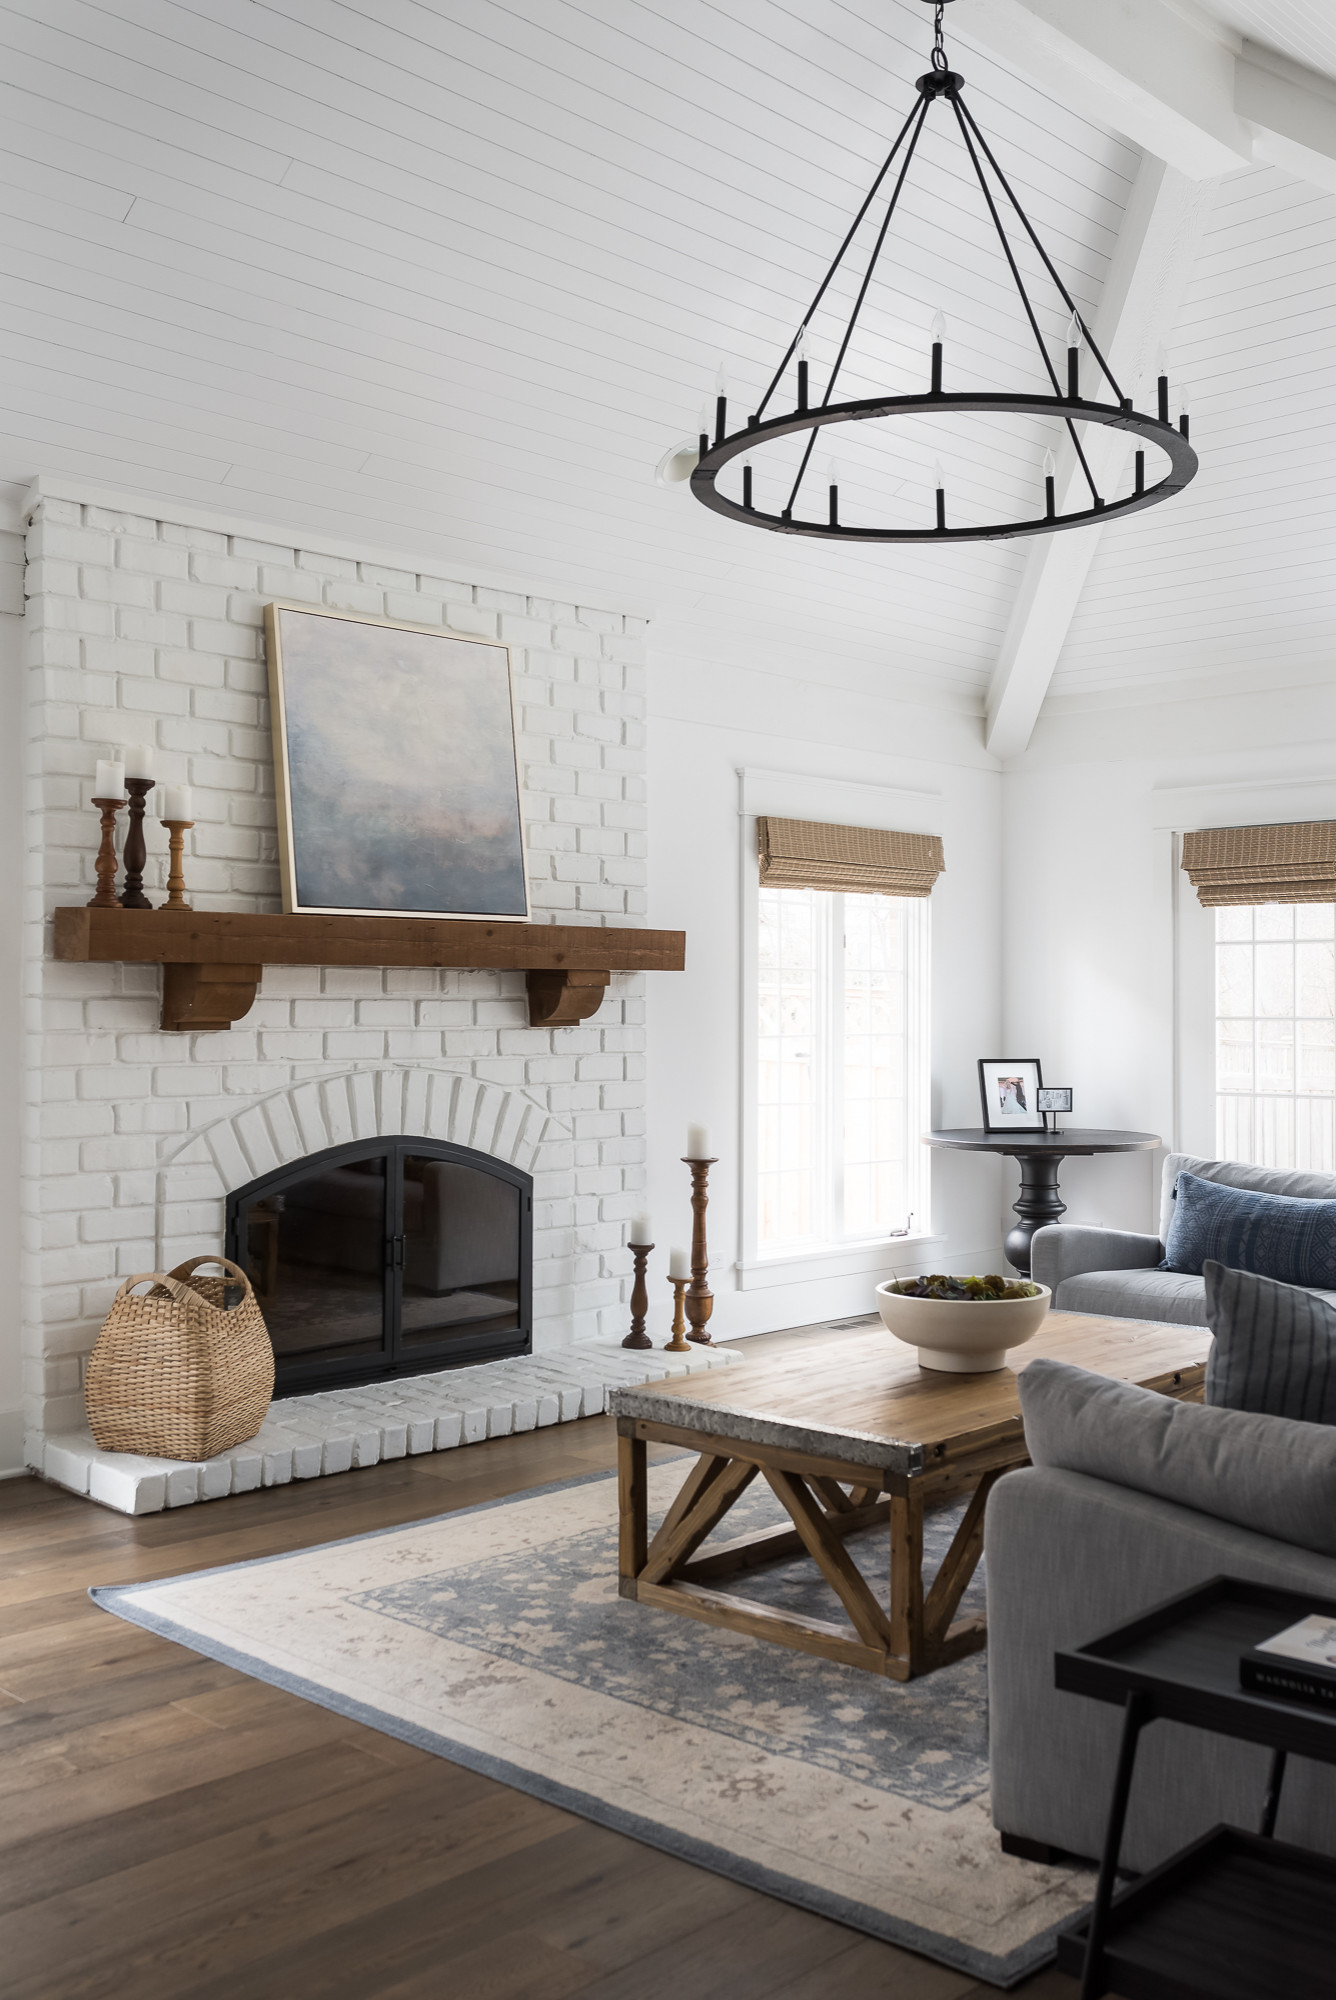
The glass doors presented the biggest aesthetic challenge. Modern safety glass doors often look too contemporary for a farmhouse setting. After extensive searching, I found custom doors with thin profiles and minimal hardware that blend seamlessly with the rustic brick. They provide the required safety barrier while maintaining the open, welcoming feel I wanted for my farmhouse fireplace.
Styling and Decorating Your Farmhouse Brick Fireplace
Decorating around my completed brick fireplace became an ongoing creative project. I discovered that the rich texture and color of exposed brick provide such a strong visual foundation that accessories should be chosen carefully. My approach focuses on natural materials and vintage pieces that complement rather than compete with the brick’s inherent beauty.
Seasonal decorating keeps the fireplace feeling fresh throughout the year. In autumn, I arrange small pumpkins and dried corn stalks on the hearth. Winter calls for evergreen garlands draped casually across the mantel with battery-operated string lights woven through. Spring brings fresh flowers in vintage mason jars, while summer features potted herbs and small succulents that thrive in the bright spot.
The area around the fireplace needed furniture that could handle the scale and visual weight of the brick surround. I chose a large, comfortable sectional in neutral linen that doesn’t fight for attention. A vintage trunk serves as a coffee table and provides hidden storage for throw blankets. The key is selecting pieces substantial enough to hold their own against such a dominant architectural feature.
How much does it typically cost to restore a farmhouse brick fireplace?
My restoration cost around $3,500, including materials and some professional work. Paint removal took the most time and effort. If you’re hiring professionals for everything, expect $5,000-$8,000. DIY approaches can cut costs significantly, but factor in tool rental and your time investment.
Can I create a farmhouse brick fireplace in a newer home?
Absolutely! I helped my neighbor add reclaimed brick veneer to her modern gas fireplace. We used thin brick tiles over the existing surround and added a rustic wood mantel. The transformation was dramatic and cost under $2,000. The key is choosing authentic-looking materials.
What’s the best way to clean and maintain exposed brick?
I vacuum mine monthly with a brush attachment to remove dust from the textured surface. For deeper cleaning, I use warm water and a natural bristle brush. Avoid harsh chemicals or pressure washing, which can damage old mortar. Annual inspection for loose mortar joints helps prevent bigger problems.
Should I seal my farmhouse brick fireplace?
I chose not to seal mine to maintain the natural, breathable quality of old brick. However, if you have very porous or crumbling bricks, a penetrating sealer can help. Test any sealer on a hidden area first, as some can darken the brick or create an artificial-looking shine that detracts from authenticity.
How do I choose between red brick and other colors for my farmhouse fireplace?
Traditional red clay brick is classic, but I’ve seen beautiful farmhouse fireplaces with aged yellow or even painted brick. Consider your existing color palette and the amount of natural light in your room. Red brick works well with whites, creams, and natural wood tones that define farmhouse style.
Can I install a farmhouse brick fireplace myself, or do I need professionals?
I did most of my restoration work myself, but hired professionals for gas line work and final safety inspections. Brick veneer installation is a manageable DIY project for experienced homeowners. However, anything involving structural changes, gas lines, or electrical work requires licensed professionals for safety and code compliance.

White Brick Fireplace Makeover
Farmhouse Fireplace by Kolby Homes Brick living room

Awesome Whitewashed Fireplace Designs
Custom Fireplace Mantel Installation

Farmhouse Living Room with a Brick Fireplace Ideas
Gorgeous Natural Brick Fireplace Ideas

Related Posts: