When my husband and I bought our 1920s farmhouse three years ago, the living room had a sad brick fireplace that someone had painted white in the 1980s. I knew immediately that I wanted to transform it into a stunning country stone fireplace that would become the heart of our home. After months of planning, selecting materials, and working with masons, we created a fireplace that exceeded my wildest expectations. The process taught me so much about stone selection, design principles, and what actually works in a real home versus what just looks good in magazines. Let me share everything I learned along the way.
Selecting the Right Stone for Authentic Country Character
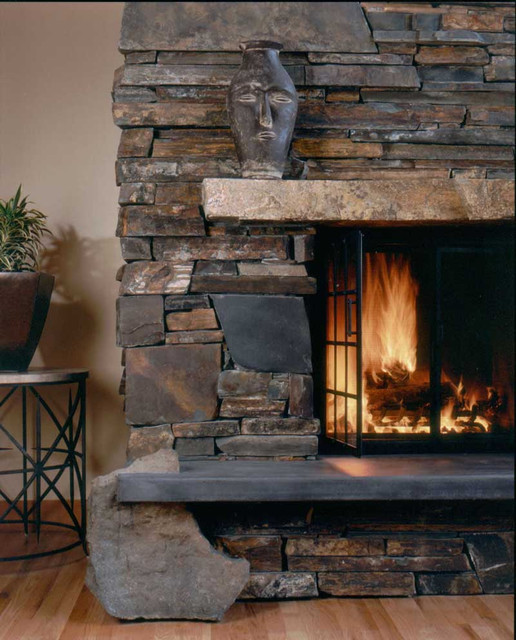
Choosing stone felt overwhelming at first because the options seemed endless. I visited stone yards and looked at samples until my eyes crossed, trying to understand the difference between fieldstone, limestone, river rock, and countless other varieties. I finally learned that the most authentic country fireplaces use local stone that reflects the regional landscape. Since I live in the Northeast, I chose fieldstone collected from old farm walls in our area, which gave my fireplace a genuine historical connection to the land.
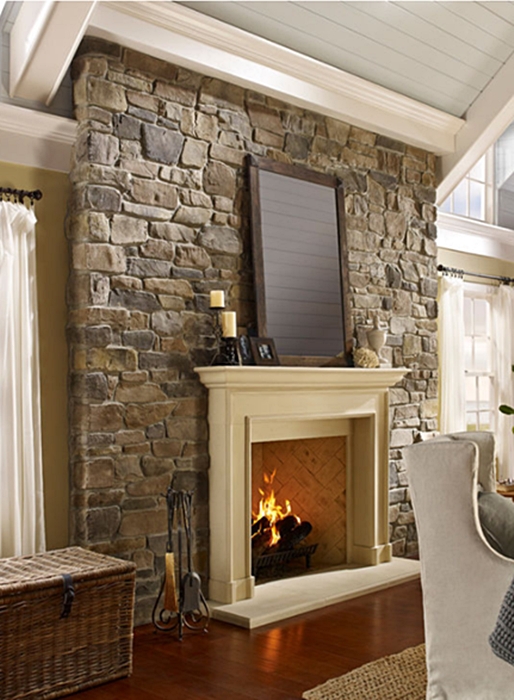
Fieldstone became my favorite option because each piece has a unique character from weathering and natural formation. The irregular shapes, varied colors, and rough textures create that authentic country aesthetic I craved. My mason sourced stones ranging from fist-sized pieces to massive anchor stones weighing over 100 pounds. The mix of sizes creates visual interest and looks like it’s been part of the house for generations. The stone cost about $12 per square foot, reasonable considering its authentic provenance and character.
Color palette proved surprisingly important to the overall effect. I initially wanted a dramatic contrast with dark gray stones, but my designer convinced me that softer, more varied earth tones would feel more authentic to country style. We selected stones in shades of tan, gray, cream, and rust that complement rather than compete with each other. The subtle color variation creates depth and interest without being busy or overwhelming. This natural palette also works beautifully with different seasonal decor and won’t feel dated as trends change over time.
Designing the Perfect Scale and Proportions
Scale became my biggest design challenge. I wanted an impressive floor-to-ceiling fireplace, but my mason warned that going too large in our modestly-sized living room would overwhelm the space. We settled on a fireplace that extends from floor to ceiling, about 12 feet high and 8 feet wide. This creates a dramatic impact while maintaining proper proportions relative to the 14-by-18-foot room. The fireplace anchors the space without dominating it completely.
The hearth design required careful consideration for both aesthetics and function. I extended the hearth 18 inches into the room, which provides practical space for setting fireplace tools and sitting close to the fire on cold winter nights. We used larger, flatter fieldstones for the hearth surface to create a more uniform sitting and standing area. The hearth sits 16 inches high, comfortable for perching with a cup of coffee while the fire warms my feet on chilly mornings.
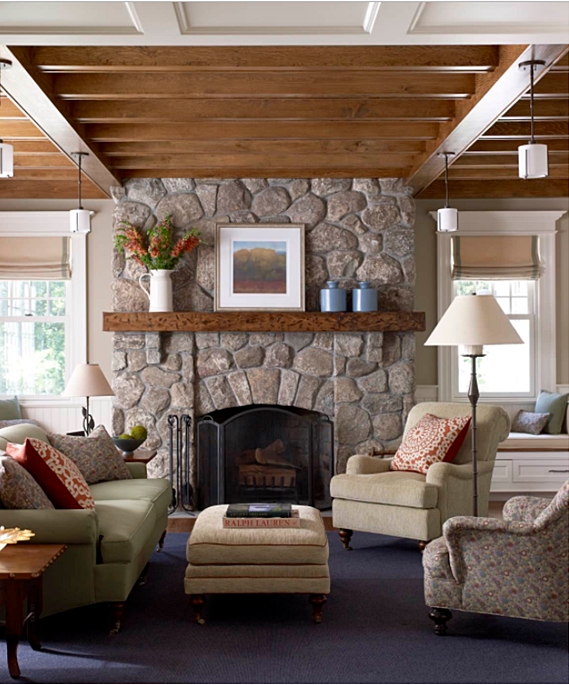
Mantel selection took me months to finalize. I wanted something substantial that matched the fireplace’s rustic character without looking too ornate or formal. I found a reclaimed barn beam from a 19th-century dairy barn that measured 8 inches by 10 inches and 7 feet long. The saw marks, nail holes, and weathered patina tell stories of the beam’s previous life. My mason installed it as a floating mantel, secured with hidden brackets, creating a substantial shelf for displaying family photos, seasonal decor, and my collection of vintage ironstone pitchers.

Understanding Installation Methods and Structural Requirements
I learned that stone fireplaces require serious structural support that most houses don’t have. Our existing fireplace foundation couldn’t support the additional weight of a floor-to-ceiling stone installation. We had to pour a new concrete footing extending 12 inches beyond the fireplace footprint on all sides, going down below the frost line at 48 inches depth. This foundation work cost $2,800, a significant unexpected expense that I wish I’d budgeted for initially.
The installation process fascinated me as I watched my mason work. He used a traditional dry-stack method for the visible stone face, carefully selecting and placing each stone without visible mortar joints. The stones fit together like a three-dimensional puzzle, with mortar hidden behind for structural integrity. This technique creates that authentic, timeworn appearance I wanted. The process took three weeks, working full days, much longer than modern veneer installations, but worth every minute for the authentic result.
My mason educated me about the importance of proper flashing and air gaps behind the stone. Even though stone is weather-resistant, moisture management prevents long-term problems like efflorescence and structural damage. He installed a weather-resistant barrier over the existing wall, then created an air gap using metal lath before applying the stone. This ventilation system allows any moisture to evaporate rather than being trapped behind the stone, protecting both the fireplace and the wall structure underneath.
Incorporating Rustic Wood Elements and Details
The wooden mantel transformed my stone fireplace from beautiful to absolutely stunning. I spent weeks searching for the perfect reclaimed beam and finally found one at an architectural salvage yard two hours from home. The 150-year-old chestnut beam had incredible character, with hand-hewn marks, old nail holes, and a rich patina that can’t be faked. I cleaned it gently with a wire brush to remove loose debris while preserving the authentic weathering, then applied a clear matte sealer to protect it without changing its appearance.
I added rustic wood accents around the fireplace that complement the mantel beautifully. Simple wooden corbels beneath the mantel provide visual support, though the actual support comes from hidden steel brackets inside the wall. I found weathered wood from old fence posts that my husband cut and installed as small side shelves flanking the fireplace opening. These narrow shelves hold candles, small plants, and decorative objects, adding functionality and continuing the rustic wood theme throughout the design.
Wood finish selection required surprising attention. I tested various sealers and finishes on scrap pieces of my reclaimed wood before committing to the mantel. High-gloss finishes looked completely wrong, making the weathered wood appear fake and precious rather than authentically aged. I chose a penetrating oil finish that enriches the wood’s natural color while maintaining its raw, tactile quality. The low-sheen finish looks like the wood has been there for decades, touched by countless hands over generations of use.
Styling Your Country Stone Fireplace Through the Seasons
I decorate my fireplace mantel seasonally, but I’ve learned that less is definitely more. My summer styling features a simple arrangement of wildflowers in vintage mason jars, a weathered wooden toolbox holding white pillar candles, and maybe one or two antique finds from flea markets. The stone itself provides so much visual interest that heavy decoration competes rather than complements. I keep my color palette neutral and natural, letting the stone and wood be the stars of the show.
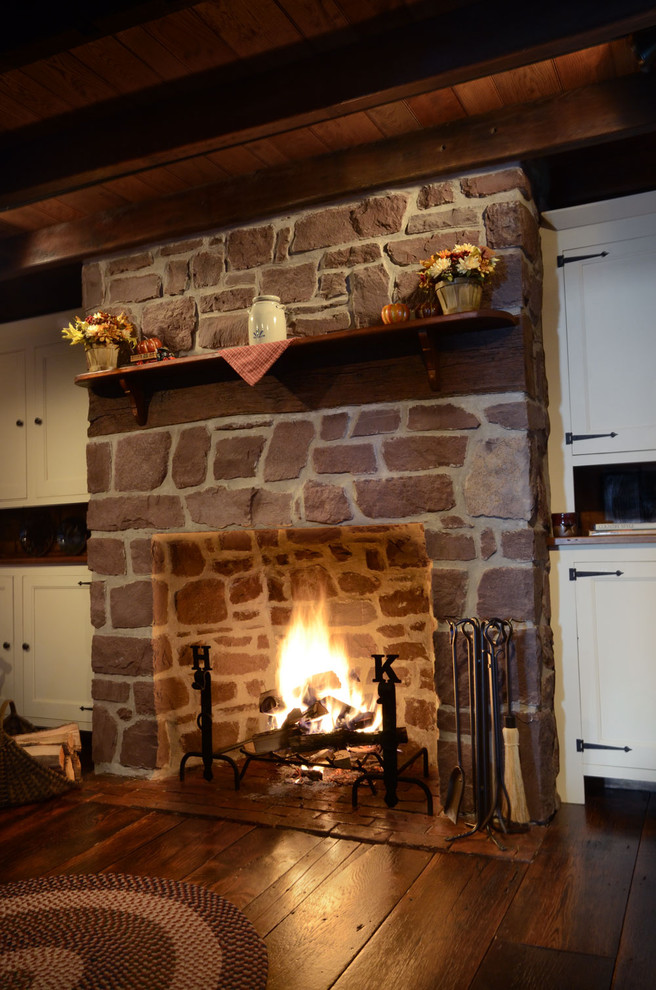
Fall and winter decorating feel most natural for a stone fireplace. I drape fresh garland across the mantel in December, securing it with fishing line to avoid damaging the wood. I add white candles in various heights, pinecones collected from our property, and vintage brass candlesticks. For autumn, I display small pumpkins, dried hydrangeas from my garden, and an old wooden dough bowl filled with seasonal gourds. These natural elements enhance the country aesthetic without feeling forced or theme-y.
I learned that the hearth area deserves decorating attention too. I keep a beautiful old wooden tool chest next to the fireplace holding our firewood and kindling, which serves both practical and aesthetic purposes. An antique coal scuttle holds fireplace tools on the other side. During non-burning months, I fill the firebox with birch logs, white pillar candles on various heights, or a large basket of dried hydrangeas. This keeps the fireplace looking intentional and beautiful even when we’re not using it for actual fires.

Maintaining Stone and Addressing Common Issues
Stone maintenance has proven easier than I expected, though different from what I anticipated. I vacuum the stone surface monthly using a soft brush attachment to remove dust and cobwebs that accumulate in the irregular surface. For deeper cleaning, I use only water and a natural bristle brush, avoiding harsh chemicals that can damage or discolor the stone. The fieldstone’s natural weathered appearance means small amounts of soot or darkening actually add to its character rather than looking like damage.
Efflorescence appeared on some stones about six months after installation, those white, chalky deposits that result from salt migration. I panicked initially, but my mason assured me this is common and temporary with natural stone. I brushed away the deposits with a dry, stiff brush, and they haven’t returned. Proper sealing during installation minimizes this issue, but some efflorescence is normal as the stone and mortar cure fully. I now check periodically and brush away any deposits that appear.
Mortar maintenance requires occasional attention. I inspect the joints annually for any cracks or gaps that could allow water infiltration or pest entry. Small hairline cracks are normal and add to the aged appearance, but larger gaps need repointing. I hired my original mason to repoint a few joints last year for $200, a quick afternoon project that ensures long-term structural integrity. He color-matched the mortar perfectly to the original installation, making the repairs invisible. This preventive maintenance will keep my fireplace beautiful and sound for generations.
How much does a country stone fireplace cost to build?
My complete fireplace renovation cost $18,500, which included foundation work ($2,800), stone materials ($3,200), mason labor ($9,500), reclaimed wood mantel ($800), and finishing details like tools and hearth accessories ($2,200). Costs vary significantly by region and project scope. A basic stone veneer over existing brick might cost $5,000-8,000, while full floor-to-ceiling installations with structural work range from $15,000-35,000. I recommend getting quotes from at least three experienced masons before committing to any project.
Can I install stone over my existing brick fireplace?
Yes, though structural considerations apply. I had my mason evaluate whether our existing foundation could support additional stone weight. In my case, we needed new foundation work because the floor-to-ceiling stone weighs significantly more than the original brick. For smaller projects, adding veneer stone just around the firebox opening, existing foundations often suffice. Your mason needs to verify proper clearances from combustibles and ensure the new stone doesn’t obstruct the chimney’s function. Professional evaluation is essential before starting any stone overlay project.
What’s the difference between natural stone and manufactured stone veneer?
I compared both extensively. Natural stone, like my fieldstone, offers authentic texture, color variation, and character that manufactured products struggle to replicate. It’s heavier, requires more structural support, and costs more, both in materials and skilled labor. Manufactured stone veneer weighs less, installs faster, and costs roughly 40-60% less than natural stone. However, close inspection reveals its artificial nature. For authentic country character, I believe natural stone is worth the investment. Manufactured veneer works better for budget-conscious projects or second-floor installations.
How do I choose between fieldstone, river rock, and limestone?
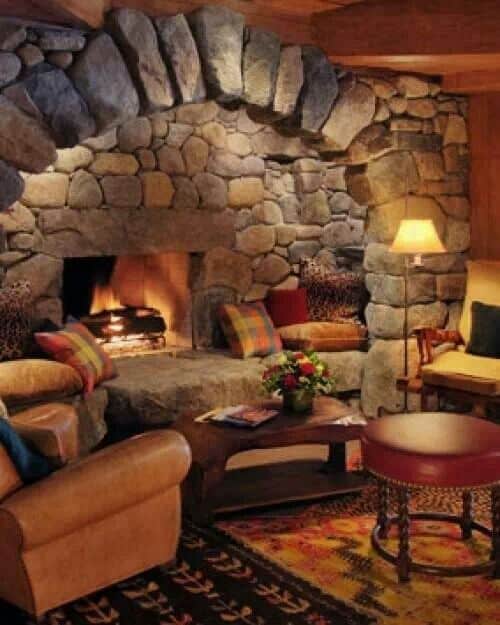
Each stone type creates different aesthetics. Fieldstone offers irregular shapes and rustic character perfect for country style, which is why I chose it. River rock provides smooth, rounded stones with a more casual, organic feel. Limestone creates cleaner lines and a more formal appearance. I recommend visiting completed fireplaces featuring each stone type before deciding. Consider your home’s architecture, regional appropriateness, and personal taste. I selected fieldstone because it reflects local building traditions and creates the authentic farmhouse aesthetic I wanted.
Is a wood-burning or gas fireplace better for stone installations?
I kept our existing wood-burning firebox because nothing beats real wood fires for ambiance, smell, and an authentic country experience. However, wood-burning requires regular chimney cleaning, proper wood storage, and more maintenance. Gas inserts offer convenience, cleaner burning, and easier operation. Many of my friends have gas logs that look remarkably realistic while providing instant heat without the work. Both options work perfectly with stone surrounds. Your decision should reflect lifestyle preferences, local codes, and how you actually plan to use the fireplace.
How long does a stone fireplace installation take?
My floor-to-ceiling installation took three weeks of full-day work, not including foundation preparation. Smaller projects covering just the firebox area might take 3-5 days. Manufactured stone veneer installs faster than natural stone, often completing in one week or less. Timeline depends on project size, stone type, installation method, and the mason’s schedule. My mason worked alone, so larger crews might complete similar work faster. Weather delays can extend outdoor work, and drying time between stages adds days. I recommend planning for at least 2-4 weeks from start to finish.

Stone Fireplace Ideas for a Cozy, Nature-Inspired Home

Rustic Country Cabins With A Stone Fireplace For A Romantic Get

Related Posts: