When I moved into my 1970s home with its beautiful but completely inefficient masonry fireplace, I quickly realized that burning wood in it was like throwing money up the chimney. The gorgeous flames looked romantic, but most of the heat escaped while cold air rushed down when the fire died.
After one brutal winter of watching my heating bills skyrocket while sitting in a cold living room, I decided to install a wood-burning insert. That decision three years ago transformed my fireplace from a decorative feature into a legitimate heating source that now warms my entire first floor. Let me share everything I learned about choosing, installing, and living with a fireplace insert.
Understanding How Wood Inserts Differ from Open Fireplaces
My education began with understanding why my open fireplace was so inefficient. Traditional masonry fireplaces operate at roughly 10-15% efficiency, meaning 85-90% of the heat goes straight up the chimney along with the smoke. I was essentially heating the outdoors while cold air from outside was sucked into my home to replace the air that went up the flue. The physics explained why my living room stayed chilly despite a roaring fire and why rooms far from the fireplace felt even colder due to the negative pressure created.
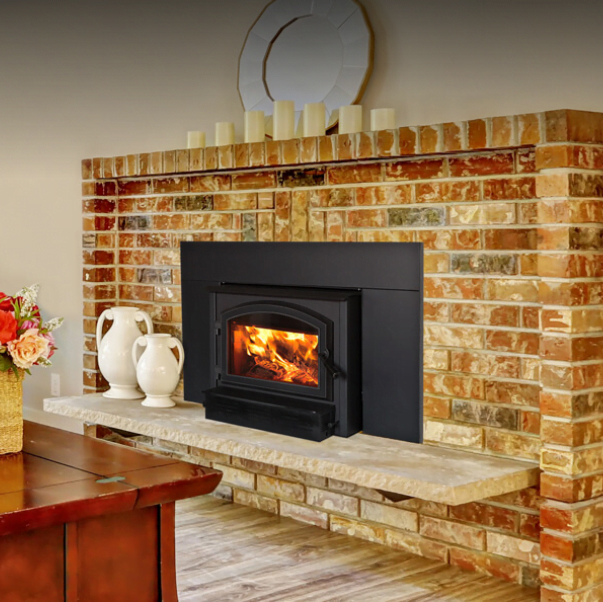
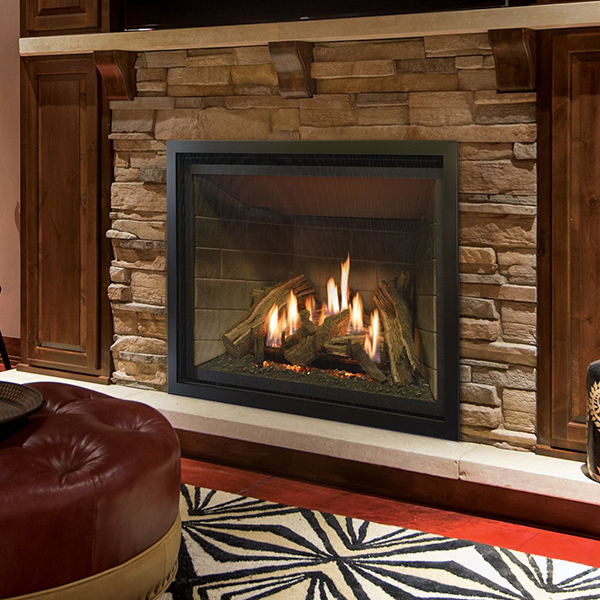
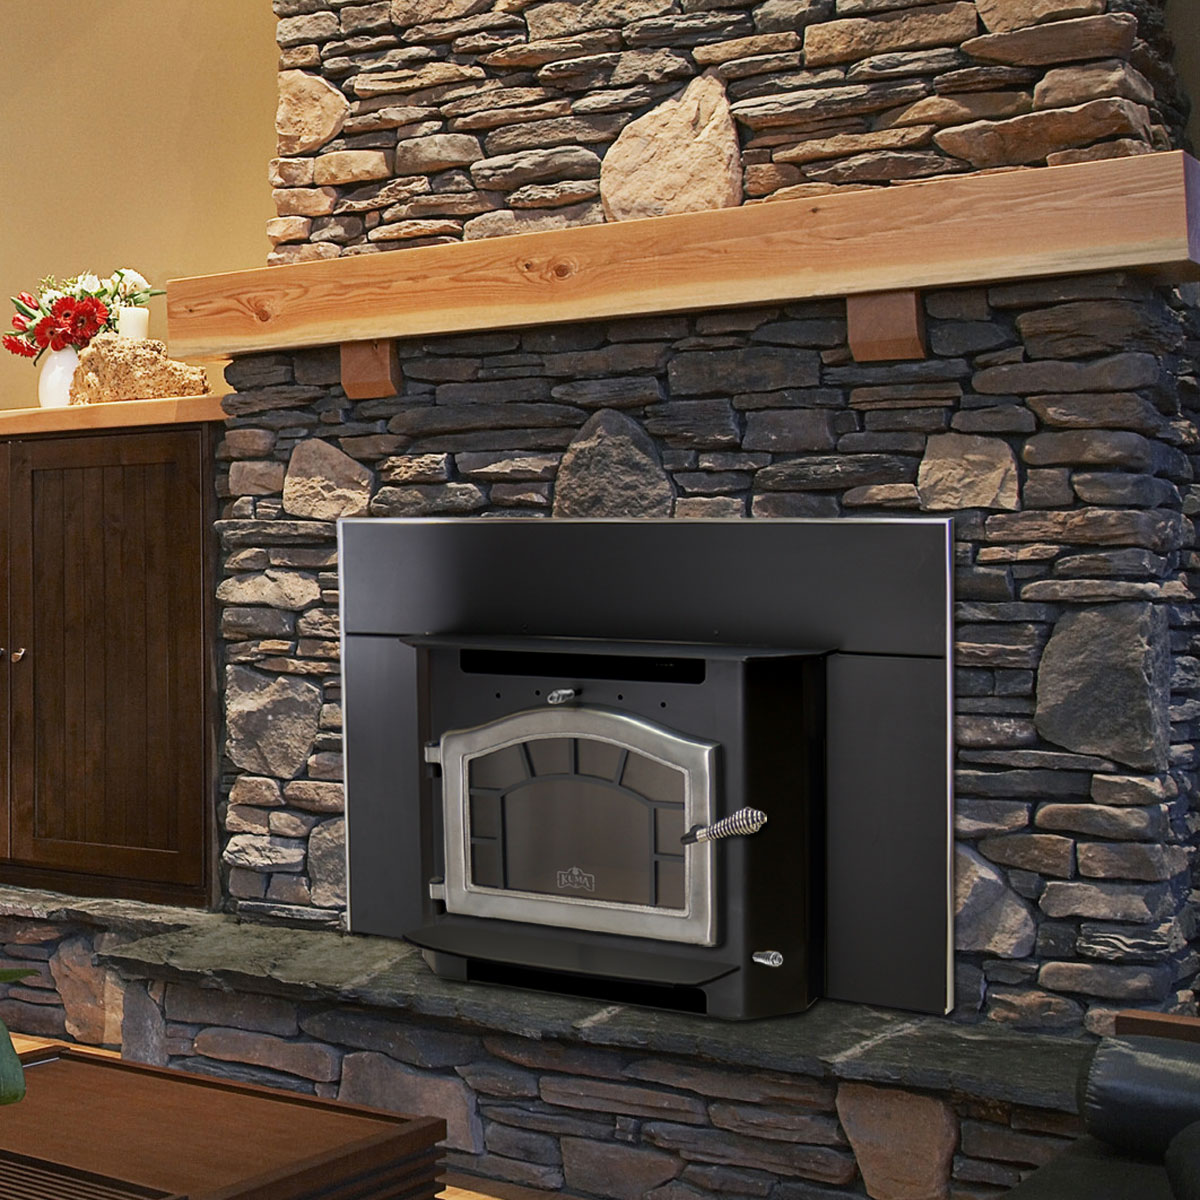
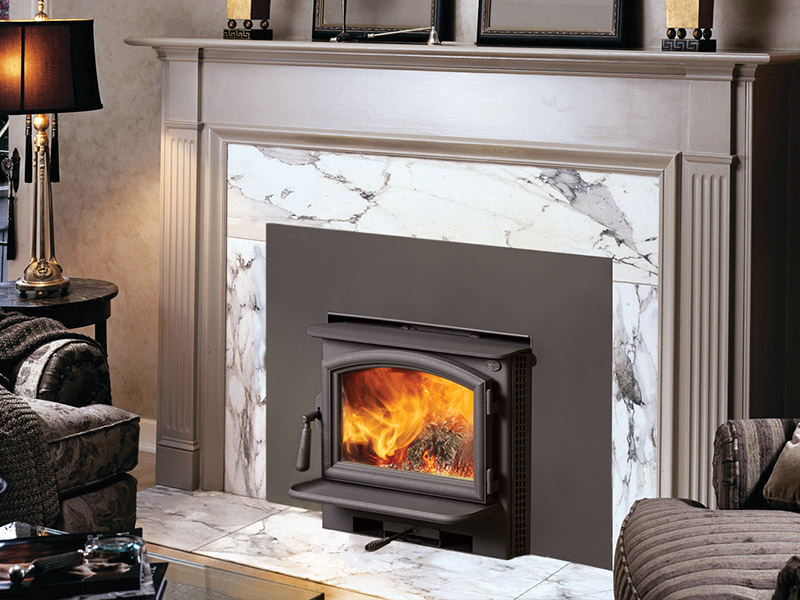
Wood inserts are essentially steel or cast-iron boxes that fit inside your existing fireplace opening, creating a sealed combustion chamber with a glass door. They work on completely different principles than open fireplaces. The insert burns wood at much higher temperatures in a controlled environment, extracting far more heat from each log. Built-in blowers circulate warm air into the room rather than letting it escape. Modern EPA-certified inserts achieve 70-80% efficiency, meaning they produce four to five times more usable heat from the same amount of wood.
The transformation in my home was dramatic after installation. My living room stays warm enough that I often turn down the thermostat, and the heat circulates through adjoining rooms via doorways and open floor plans. I burn about one-third as much wood as I did with my open fireplace while generating significantly more warmth.
Friends who visit are amazed at how toasty my house feels compared to when they’d huddled in coats around my old inefficient fireplace. Understanding this efficiency difference helps explain why inserts cost thousands of dollars yet pay for themselves through reduced heating expenses.
Choosing Between Catalytic and Non-Catalytic Models
One major decision I faced was whether to buy a catalytic or non-catalytic wood insert. This choice initially confused me, as I’d never heard these terms before researching inserts. Non-catalytic models use a simple but effective design where combustion air is pre-heated and injected above the fire, causing unburned gases to ignite and produce more heat. They’re straightforward, require less maintenance, and cost less upfront. I almost chose this type due to its simplicity and lower price point.
Catalytic inserts incorporate a honeycomb-shaped ceramic element coated with precious metals that causes combustion at lower temperatures. When exhaust gases pass through the catalyst, they ignite and burn more completely, extracting additional heat and reducing emissions. These models achieve slightly higher efficiency and can maintain even heat output for longer periods. However, the catalyst requires replacement every few years at a cost of $200-400, and the system adds complexity that concerned me as someone unfamiliar with wood-burning technology.
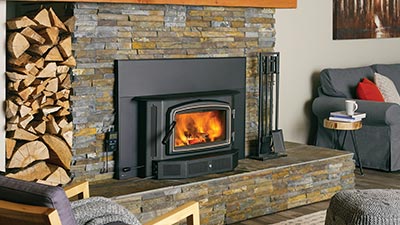
I ultimately chose a non-catalytic insert from Pacific Energy, prioritizing simplicity and lower maintenance over the marginal efficiency gains of catalytic models. After three years, I’m completely satisfied with this decision. My insert heats beautifully, requires minimal fussing, and has needed zero repairs or part replacements. Friends with catalytic inserts report satisfaction but also mention the catalyst maintenance and occasional technical issues. For first-time insert buyers, I generally recommend starting with non-catalytic models unless you’re particularly committed to maximizing efficiency or have experience with wood-burning systems.
Sizing Your Insert for Maximum Heating Efficiency
Proper sizing became crucial to getting the performance I wanted from my insert. I initially assumed bigger meant better and looked at the largest inserts that would fit my fireplace opening. My installer quickly corrected this thinking, explaining that an oversized insert would force me to burn small, inefficient fires to avoid overheating, while an undersized unit would run constantly at maximum output without adequately heating my space. Sizing required careful consideration of multiple factors beyond just fireplace opening dimensions.
The primary consideration was the square footage I wanted to heat. Manufacturers rate inserts by heating capacity, typically listed as square feet of coverage. My 1,800 square foot ranch with an open floor plan needed an insert rated for 1,500-2,000 square feet. I also considered ceiling height, insulation quality, and climate. My well-insulated home with 8-foot ceilings in a moderate climate meant I could use the manufacturer’s ratings fairly directly. Homes with vaulted ceilings, poor insulation, or extreme cold would need larger capacity units.
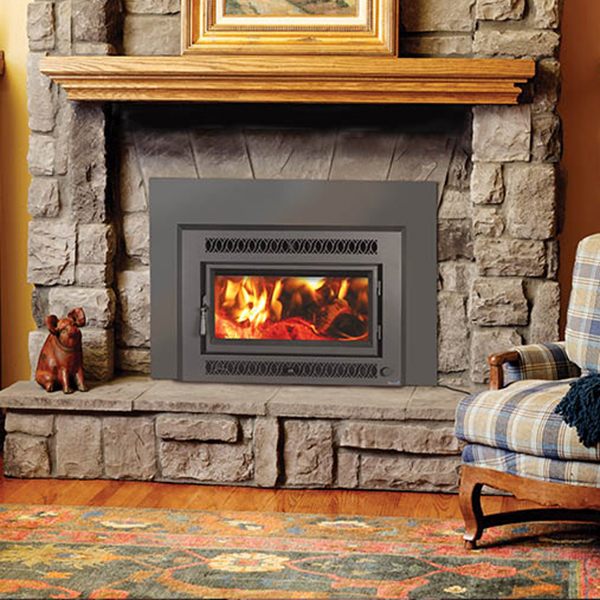
I measured my fireplace opening carefully, as inserts must fit within these dimensions. My opening was 36 inches wide by 28 inches high, which accommodated most medium-sized inserts. I learned that surround panels or trim kits hide the gap between the insert and fireplace opening, so the insert itself can be smaller than the opening. My installer recommended a model with a 2.4 cubic foot firebox, large enough to burn logs overnight but not so massive that I’d struggle with overheating. This middle-ground sizing has proven perfect for my needs, maintaining comfortable temperatures without constantly adjusting air controls or cracking windows.
Installation Requirements and Professional Setup
Installing a wood insert isn’t a DIY project, despite my initial hopes of saving money by doing it myself. The process requires specialized knowledge, proper equipment, and usually permits and inspections. I hired a certified installer recommended by my local hearth shop, and watching him work made me grateful I hadn’t attempted this myself. The technical requirements and safety considerations involved were far beyond my skill level and comfort zone.
The installation began with a thorough chimney inspection using a camera to check for damage, creosote buildup, or structural issues that could affect insert performance or safety. My chimney needed a professional cleaning before installation could proceed, which added $250 to my total cost but was necessary for safe operation. The installer then carefully measured the fireplace and chimney to ensure proper insert fit and liner sizing, confirming all the specifications I’d provided when ordering the unit.
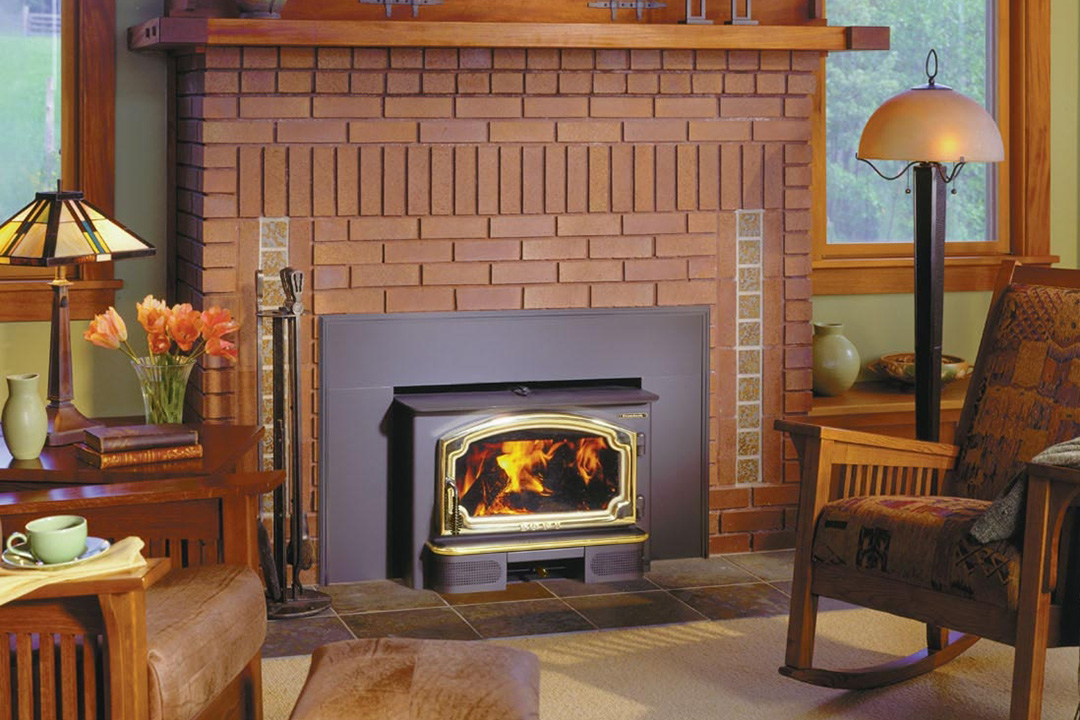
Installing the chimney liner proved to be the most technical part of the process. The flexible stainless steel liner ran from the insert’s flue collar all the way to the top of my chimney, replacing the old unlined masonry flue. This liner insulates exhaust gases, maintains proper draft, and prevents creosote buildup in the chimney structure. My installer carefully fitted the insert into the fireplace opening, connected it to the liner, installed the surround panel, and tested everything thoroughly. The entire installation took about six hours and required two workers due to the insert’s weight and the physical demands of running the liner. Professional installation costs $1,200 beyond the insert price, but the peace of mind and warranty protection made it worthwhile.
Operating and Maintaining Your Insert Efficiently
Learning to operate my insert efficiently took practice and patience. The first few fires were disappointing, with the glass getting dirty quickly and heat output below expectations. I realized I was burning the wood too slowly with insufficient air, creating smoky, inefficient combustion. My installer returned for a tutorial, teaching me proper techniques that transformed my experience. Starting with dry kindling and small pieces, getting a hot fire established, then adding larger logs became my routine.
The air control lever became my most important tool for managing heat output and burn efficiency. I learned to start fires with the air control fully open, allowing maximum oxygen for quick ignition and a hot initial burn. Once the fire establishes strongly, I gradually reduce air to slow the burn rate and extend burn time. The key is finding the sweet spot where flames remain active and lively rather than smoldering. Smoldering fires produce creosote, dirty glass, and minimal heat, while properly burning fires stay clean and efficient.
Maintenance routines developed naturally over my first heating season. I empty ashes weekly during heavy use, maintaining a one to two-inch ash bed that insulates the firebox bottom and reflects heat upward. I clean the glass monthly using ash paste and newspaper, which removes most soot and creosote stains. The blower motor gets vacuumed annually to remove dust buildup. Most importantly, I have my chimney professionally swept and inspected every year before heating season, which costs $200 but prevents dangerous creosote buildup and identifies potential issues before they become serious problems. These simple maintenance tasks keep my insert operating safely and efficiently year after year.
Calculating Costs and Return on Investment
My wood insert represented a significant financial investment that I needed to justify carefully. The insert itself cost $3,200, professional installation added $1,200, and the required chimney cleaning and prep brought the total costs to $4,650. This seemed like a lot until I calculated my heating savings and factored in long-term benefits. My first winter with the insert, I reduced my natural gas heating bills by approximately $800, and I expect similar savings annually going forward.
Wood costs became a new consideration in my budget. I have access to free firewood through a friend’s tree service, but I still spend time cutting, splitting, and stacking it, roughly 40 hours of labor annually. Alternatively, I could purchase seasoned firewood for about $300 per cord, and I burn approximately 2-3 cords per season, depending on winter severity. Even purchasing all my wood, the combined savings on gas heating and the warmth benefits suggest a payback period of about six to seven years, which felt acceptable for a purchase that should last 20-30 years.
Beyond pure financial calculations, I value the non-monetary benefits my insert provides. The independence from utility price fluctuations gives me peace of mind. The cozy ambiance of a wood fire brings my family together in the living room rather than everyone dispersing to separate heated rooms. The reliable heat during power outages has proven invaluable during storms. These quality-of-life improvements don’t appear on spreadsheets but significantly enhance my satisfaction with the investment. When I consider the complete picture, including comfort, ambiance, and energy independence, my wood insert ranks among the best home improvements I’ve made.
Can any fireplace accommodate a wood-burning insert?
Most masonry fireplaces can accept inserts, but you need adequate fireplace depth, typically 16 inches minimum, and a functional chimney. My installer measured carefully before ordering to ensure a proper fit. Prefabricated metal fireplaces usually cannot accept inserts due to clearance and structural limitations. I recommend having a certified installer inspect your fireplace before purchasing an insert. They’ll assess dimensions, chimney condition, and any structural issues that could prevent safe installation or require additional work.
How long can a wood insert burn on a single load?
My medium-sized insert burns 4-6 hours on a normal load of hardwood with moderate air settings. Overnight burns with the air control turned down and a full load of large hardwood logs last 8-10 hours, leaving hot coals for morning restarting. Burn time depends on wood species, moisture content, log size, and air control settings. Hardwoods like oak and maple burn longer than softwoods like pine. Properly seasoned wood with under 20% moisture content burns more efficiently and longer.

Do I need electricity to operate a wood insert?
The insert itself doesn’t require electricity to burn wood and produce heat through radiation. However, most inserts include electric blowers that significantly improve heat distribution and efficiency. My insert works during power outages, providing heat through natural convection, but the blower makes it much more effective when electricity is available. Some inserts offer battery backup or gravity-fed blower systems as alternatives. The blower uses minimal electricity, adding perhaps $5-10 monthly to electric bills during heating season.
How often do I need to clean my insert and chimney?
I clean my insert’s glass monthly and empty ashes weekly during active use. Deep cleaning of internal components happens annually before heating season. Professional chimney sweeping is essential yearly, or more frequently if burning heavily. Burning unseasoned wood or operating inefficiently causes faster creosote accumulation, requiring more frequent cleaning. I’ve maintained annual cleaning with no issues, thanks to burning dry wood and operating my insert properly. This maintenance schedule keeps the system safe and prevents dangerous chimney fires.

Can a wood insert heat my entire house?
It depends on your home’s size, layout, and insulation. My 1,800 square foot ranch with an open floor plan stays comfortable throughout from my insert’s location in the living room. Homes with multiple levels, closed floor plans, or poor insulation face more challenges in distributing heat. My insert heats the first floor excellently, but provides minimal benefit to upstairs bedrooms. Some people install ductwork or heat-powered fans to distribute warmth more evenly. Realistic expectations based on your specific home layout prevent disappointment.
Is it difficult to find and store firewood?
Finding quality seasoned firewood varies by location. I get free wood through a friend’s tree service, but I invest time processing it. Many people buy seasoned firewood from local suppliers, typically $200-400 per cord, depending on region and wood species. Storage requires a covered outdoor space to keep wood dry. I built a simple woodshed that holds three cords, keeping two years of supply ahead since wood needs 1-2 years to properly season after cutting. The physical work and storage requirements are real considerations before choosing wood heat.

Wood Burning Fireplace Inserts Wood Burning Fireplace Insert
Fireplace Insert Installation u0026 Wood Burning Inserts
Sequoia Fireplace Insert, Wood Stove Insert by Kuma Stoves
Wood Fireplace Inserts

Wood Fireplace Inserts Lopi Stoves®
Related Posts: