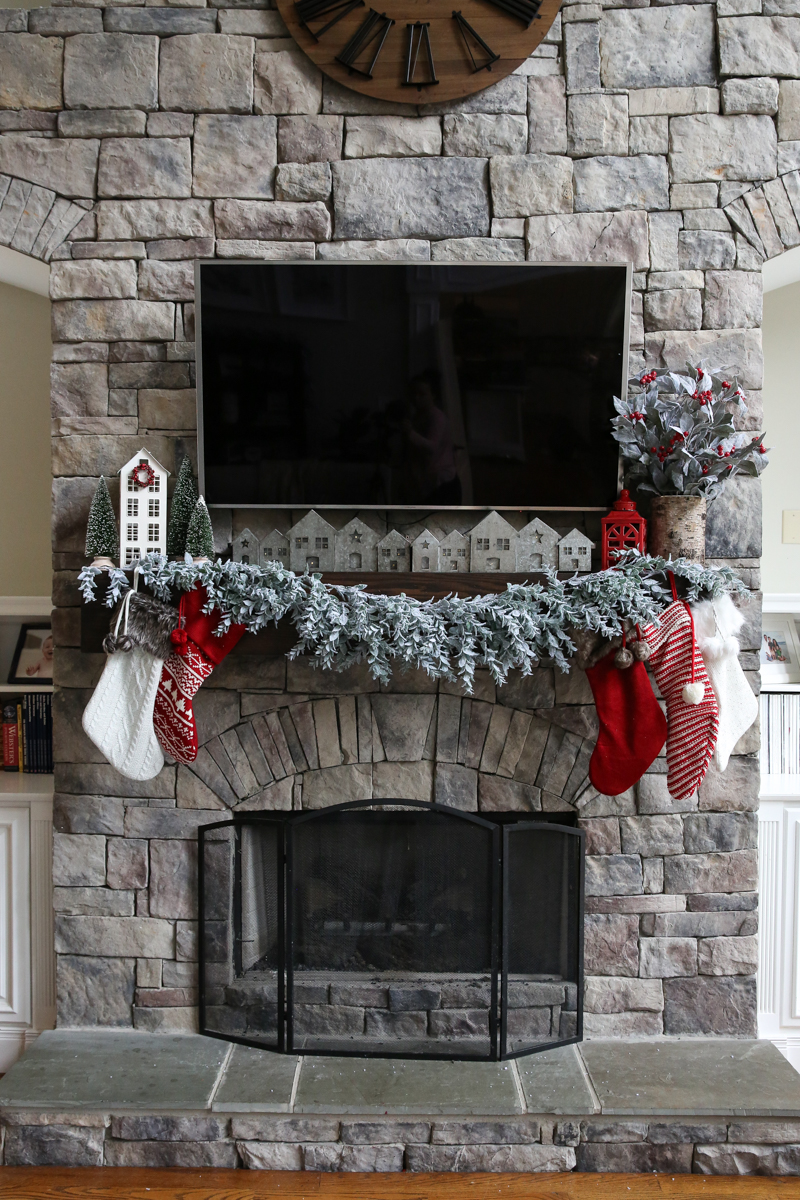
When I bought my 1970s home two years ago, the massive brick fireplace was both a selling point and a source of dread. Sure, it looked impressive, but every time I lit a fire, most of the heat went straight up the chimney while cold air rushed in from outside. My heating bills were astronomical, and the room stayed chilly despite having a roaring fire. That’s when I decided to tackle installing a wood fireplace insert myself. After months of research, planning, and some serious DIY challenges, I transformed my energy-wasting fireplace into an efficient heating powerhouse that now warms my entire first floor.
Safety Considerations That Kept Me Up at Night
Before I even started shopping for inserts, I had to face the reality that this project involved serious safety considerations. Fire, carbon monoxide, and structural modifications aren’t things you can wing, so I spent weeks researching local building codes and permit requirements. In my area, I needed permits for both the insert installation and any chimney modifications, which meant having my chimney inspected before I could even begin planning the project.
The chimney inspection revealed issues I hadn’t anticipated. My 50-year-old chimney liner was deteriorating and wouldn’t safely handle the higher temperatures from an efficient insert. I had to budget an additional $2,500 for a new stainless steel liner installation, which required professional work. This was a hard pill to swallow financially, but I learned that trying to cut corners on chimney safety could literally burn my house down or poison my family with carbon monoxide.
I also discovered that my homeowner’s insurance required professional installation for the insert to maintain coverage. While I could do much of the prep work myself, the final connection to the chimney system had to be done by a certified technician. This actually gave me peace of mind, knowing that the most critical safety connections would be handled by someone with extensive experience. The inspection and professional final hookup added about $800 to my project, but it was worth every penny for the safety assurance.
Choosing the Right Insert for My Space
Selecting the perfect insert turned out to be much more complex than I initially thought. I started by measuring my existing fireplace opening, assuming that any insert that fit would work fine. Wrong. The depth, height, and width all mattered, but so did the heating capacity, efficiency ratings, and compatibility with my specific chimney configuration. I spent hours creating a spreadsheet comparing different models and their specifications.
Size matching was crucial but tricky. My fireplace opening was 36 inches wide and 29 inches tall, which seemed standard, but the depth was only 16 inches. Many inserts I liked required 18-20 inches of depth, which would have meant major masonry modifications. I eventually found a model that fit my dimensions perfectly while still providing the heating capacity I needed for my 1,800 square foot first floor. The insert I chose was rated for up to 2,000 square feet and had an efficiency rating of 78%.
I also had to consider features that would affect long-term satisfaction. Some inserts had basic controls, while others offered thermostatic operation and variable speed blowers. I opted for a mid-range model with a built-in blower system and simple but reliable controls. The price difference between basic and premium models was significant, about $1,500, but the enhanced heat distribution and ease of use made the upgrade worthwhile for my situation.

Installation Challenges I Didn’t See Coming
The actual installation process taught me that even the best planning can’t prepare you for every challenge. My first surprise came when I tried to remove the old damper assembly. What should have been a straightforward removal turned into a two-day ordeal involving a reciprocating saw, protective gear, and more curse words than I care to admit. The damper was corroded in place and required careful cutting to avoid damaging the surrounding masonry.
Positioning the insert was another unexpected challenge. These units are incredibly heavy, typically 400-500 pounds, and getting one perfectly positioned in a fireplace opening requires patience and proper equipment. I rented a furniture dolly and enlisted three friends to help with the initial positioning. We spent an entire afternoon making tiny adjustments to get the insert centered and level. The installation manual made it look simple, but the reality involved multiple attempts and frequent breaks.
The connection to the new chimney liner was the most nerve-wracking part of the DIY portion. Even though a professional would handle the final connections, I needed to have everything perfectly aligned and ready. This required working in tight spaces with limited visibility, trying to connect heavy pipes while lying on my back inside the fireplace. I learned that having a good headlamp and flexible joints in the pipe system are absolutely essential. What I thought would take a few hours stretched into a full weekend of careful fitting and adjustment.
Permits and Code Compliance Surprises
Navigating the permit process was more involved than I expected, but it ultimately saved me from making costly mistakes. My local building department required detailed plans showing the insert specifications, chimney modifications, and clearances to combustible materials. I had to measure and document everything precisely, including distances to nearby walls, furniture, and floor coverings. The permit application took two weeks to process, which forced me to slow down and double-check my planning.
The inspection process revealed code requirements I hadn’t considered. My existing hearth extension wasn’t large enough for the new insert, requiring me to add 8 inches of non-combustible material in front of the fireplace. I also needed to install heat shields on nearby walls because my insert would generate more intense heat than the old open fireplace. These modifications added about $300 in materials but were non-negotiable for code compliance.
Working with the inspector turned out to be educational rather than intimidating. He explained why each requirement existed and helped me understand how to maintain safety margins throughout the project. The rough inspection caught a potential issue with my electrical connection for the blower fan, which I was able to correct before the final inspection. Having that professional oversight actually improved my confidence in the project’s safety and quality.
Cost Breakdown and Budget Reality Check
The total cost of my DIY insert project came to $4,200, which was about 40% less than the quotes I received for full professional installation. However, my initial budget of $2,500 was hopelessly optimistic. The insert itself cost $1,800, but the required chimney liner, permits, professional connections, and unexpected modifications quickly pushed the total much higher than I anticipated.
The chimney liner was the single biggest unexpected expense at $2,500 installed. This wasn’t optional; my existing liner was deteriorating and wouldn’t safely handle the insert’s operating temperatures. I also spent $400 on tools I didn’t own, including a reciprocating saw, heavy-duty dolly rental, and specialized chimney brushes for cleaning. While these tools will be useful for future projects, they represented an immediate cost I hadn’t budgeted for.
Labor costs were where I achieved the most savings. Professional installation quotes ranged from $6,500 to $8,000 total, compared to my $4,200 DIY cost. However, I invested about 60 hours of my own time over six weekends, so the savings came at the cost of significant personal time and effort. When I factor in my time at even a modest hourly rate, the financial savings were less dramatic than they initially appeared.

Performance Results After One Full Season
After using my insert for an entire heating season, I can confidently say the performance exceeded my expectations. My heating bills dropped by about 35% compared to the previous winter, and that’s with keeping the house 3-4 degrees warmer than before. The insert heats my entire 1,800 square foot first floor evenly, something the old open fireplace never came close to achieving. The efficiency difference is remarkable.
The convenience factor has been just as impressive as the heat output. With the old fireplace, I struggled to keep fires burning consistently and dealt with smoke issues when the wind conditions weren’t right. The insert burns cleanly and efficiently, with easy controls for adjusting heat output. I can load it up before bed and still have hot coals for easy rekindling in the morning. The glass doors stay clean much longer than I expected, requiring cleaning only every few weeks.
I did encounter a few minor issues during the first season. The blower fan was noisier than I preferred, especially on the highest setting, but I learned to run it at medium speed for most situations. The learning curve for optimal wood loading and air control took a few weeks to master, but now I can maintain steady heat output for 6-8 hours with a single load. The insert has transformed both the functionality and ambiance of our main living space.
Can I really install a wood fireplace insert myself, or do I need professional installation?
You can do much of the work yourself, but certain aspects require professional involvement. I handled the prep work, positioning, and interior connections, but my insurance and local codes required a certified technician for the final chimney connections. The chimney liner also needed professional installation. Plan on hybrid DIY/professional approach for safety and compliance.
How much can I realistically save by doing the installation myself versus hiring professionals?
I saved about $2,300 in labor costs, but invested 60+ hours of my own time over six weekends. Professional quotes were $6,500-8,000 total versus my $4,200 DIY cost. However, unexpected expenses like chimney liner replacement can significantly impact savings. Budget conservatively and expect some professional involvement regardless.
What’s the most challenging part of DIY insert installation that I should prepare for?
The physical positioning and connection work in tight spaces was the hardest part for me. These inserts weigh 400-500 pounds and require precise alignment. Removing old damper assemblies can also be brutal work. Rent proper equipment, get help for heavy lifting, and budget extra time for adjustments and problem-solving.
How long does a typical DIY installation take from start to finish?
My project took six weekends spread over two months, but that included permit waiting time and chimney liner installation. The actual insert work was about 40 hours. Factor in research time, permit applications, inspections, and potential complications. Rush jobs on fireplace installations can be dangerous.

What permits and inspections are typically required for DIY insert installation?
Requirements vary by location, but I needed building permits for both the insert and chimney modifications. My area required two inspections: rough inspection before final connections and final inspection before use. Some areas also require electrical permits if you’re adding blower circuits. Check local codes early in your planning process.
Are there any fireplace situations where DIY installation definitely isn’t recommended?
Avoid DIY if your chimney needs major structural work, if you’re not comfortable with building codes and safety protocols, or if your homeowner’s insurance specifically prohibits it. Also, older homes with unusual fireplace configurations or significant masonry damage are better handled by professionals. When in doubt, get quotes from certified installers first.

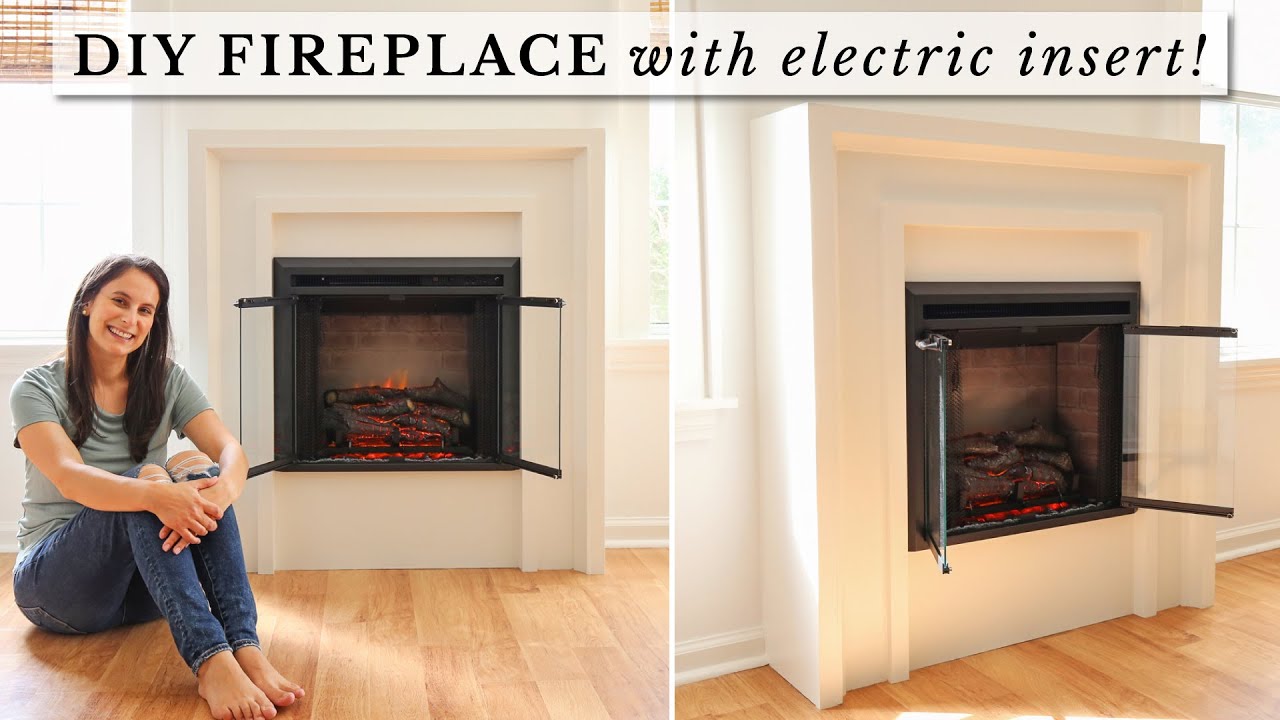
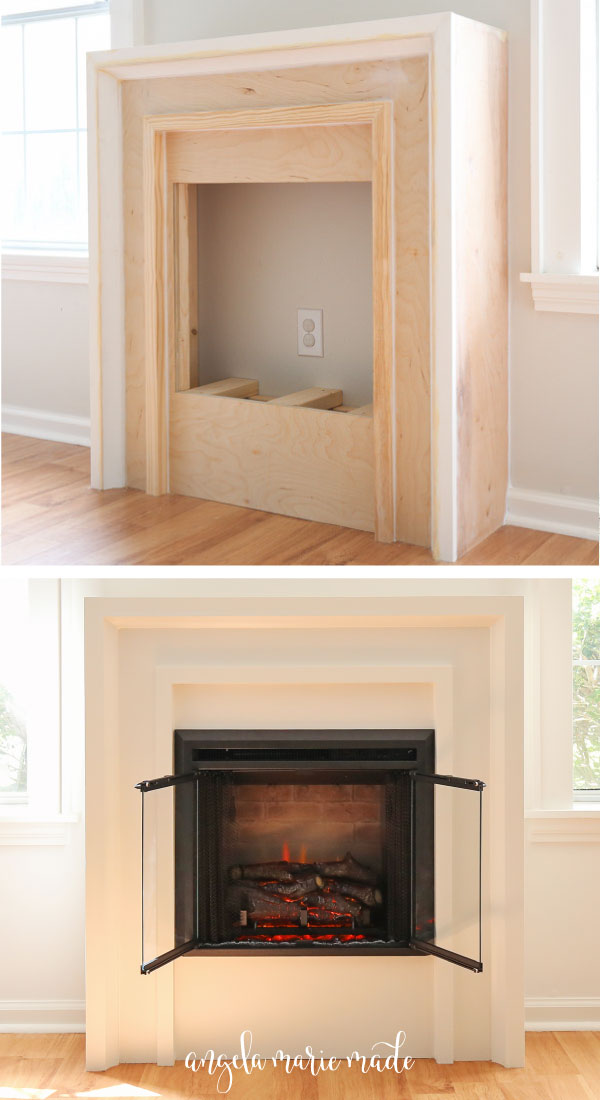
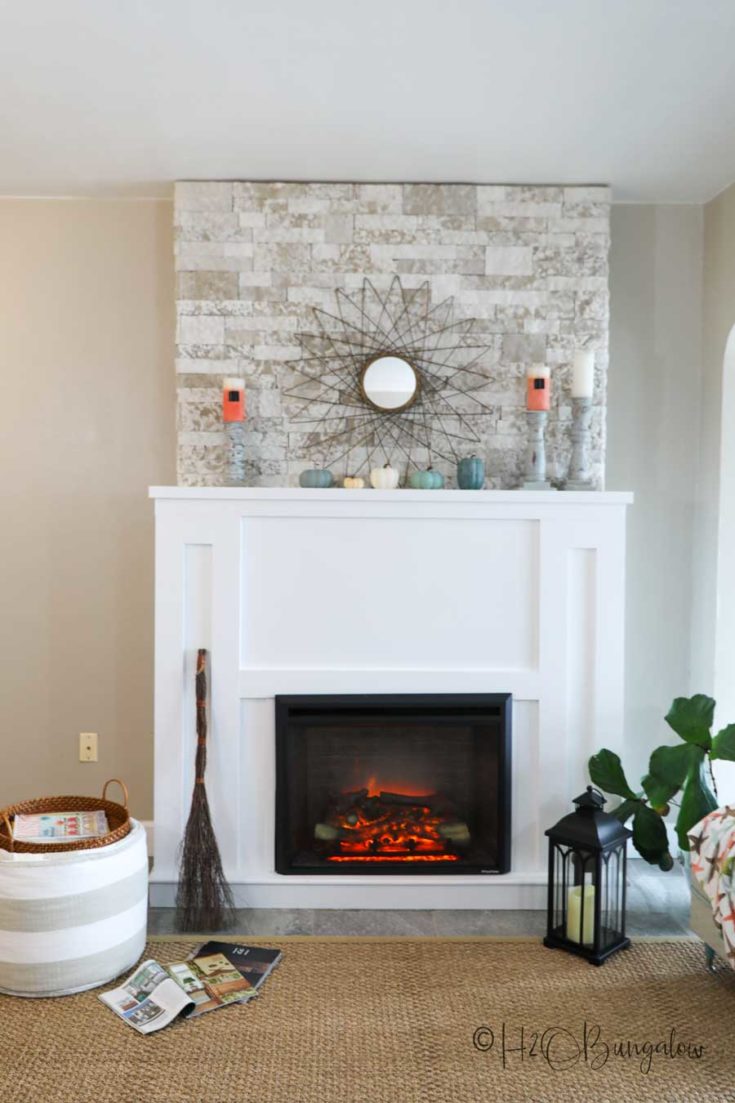
DIY Fireplace with Electric Insert – Angela Marie Made
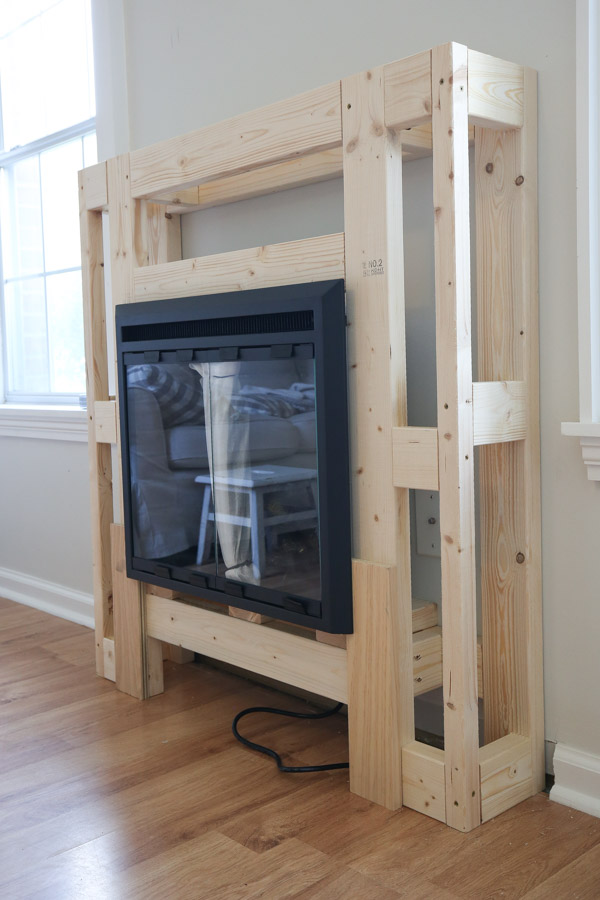
How To Build a DIY Fireplace With Electric Insert
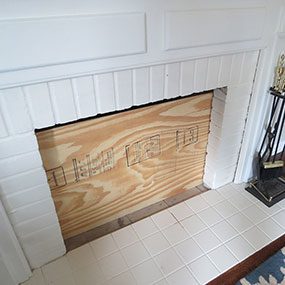
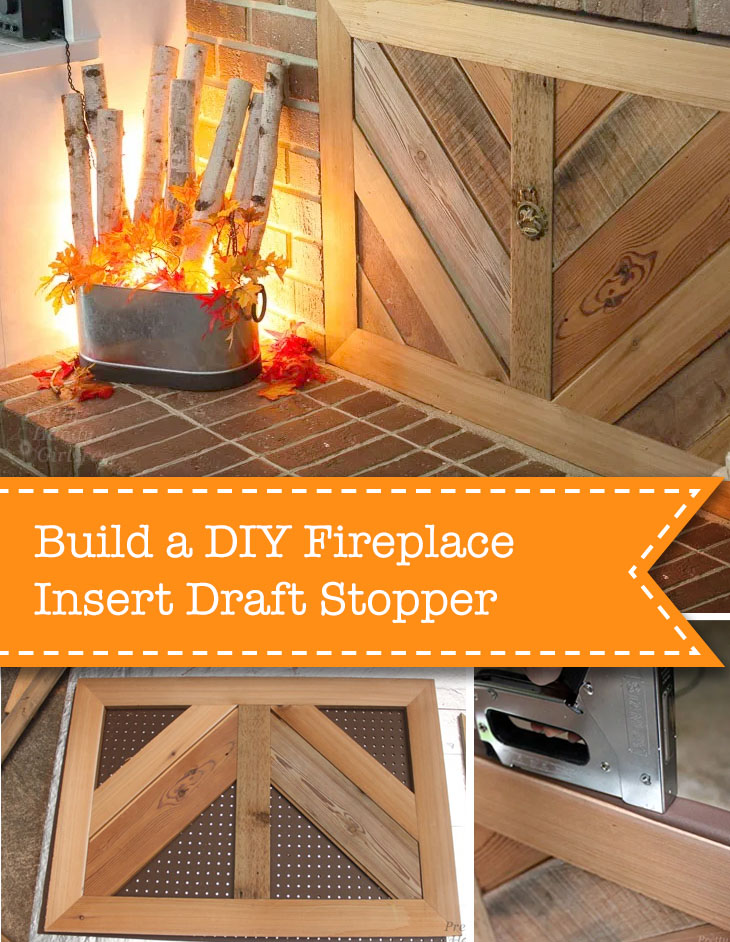
Build a Fireplace Insert Draft Stopper
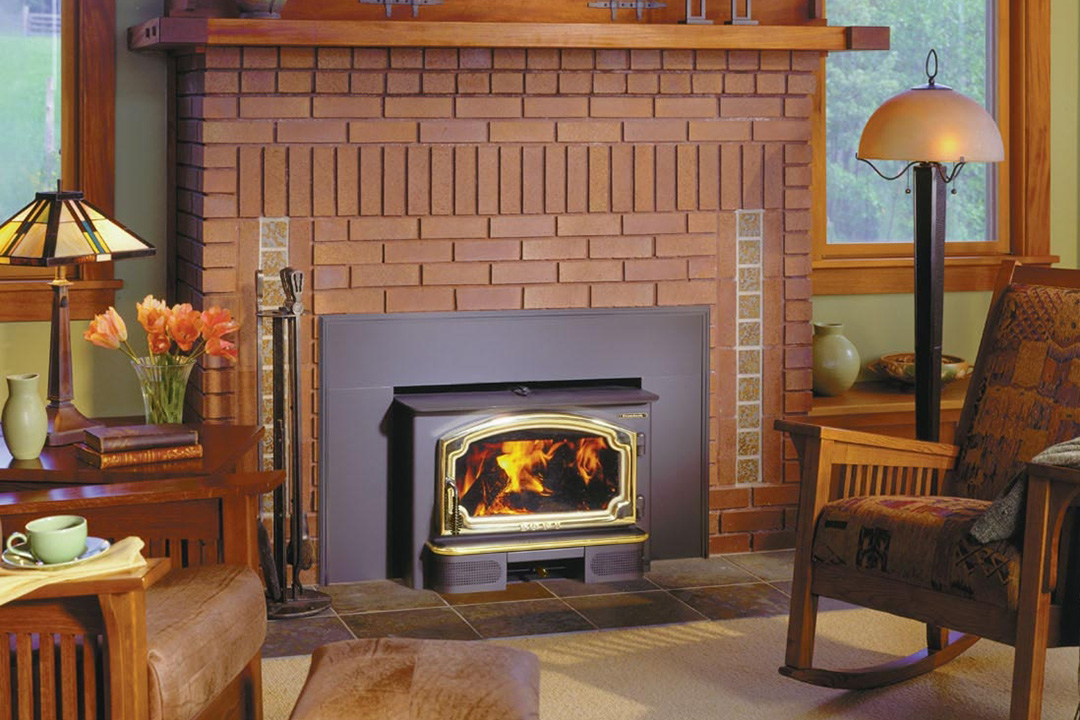
Fireplace Insert Installation & Wood Burning Inserts
Fireplace Insert Install-DIY
DIY Birch Wood Fireplace Cover for a Faux Wood Fireplace Insert

Related Posts: