When I purchased my 1965 ranch house, the previous owners had replaced the original fireplace mantel with a bland, builder-grade oak surround that completely clashed with the home’s mid-century character. I knew immediately that restoring an authentic retro mantel would be crucial to honoring the house’s history and creating the period-appropriate living room I envisioned.
After months of searching architectural salvage yards, studying vintage design catalogs, and eventually commissioning a custom piece, I now have a stunning retro mantel that serves as my living room’s focal point. Let me share what I learned about identifying authentic mid-century mantel styles, sourcing materials, and installing these architectural gems.
Identifying Authentic Mid-Century Mantel Styles
My search began with understanding what made a mantel genuinely mid-century modern versus just old or vaguely vintage-looking. I spent weeks studying design books, vintage home magazines from the 1950s and 1960s, and architectural photographs to recognize the distinct characteristics of retro mantels. Mid-century mantels typically featured clean horizontal lines, minimal ornamentation, and an emphasis on showcasing beautiful wood grain or interesting materials rather than elaborate carved details like Victorian or Colonial styles.
I discovered several signature mid-century mantel approaches during my research. Some featured sleek floating shelves with no visible supports, creating that signature mid-century minimalist aesthetic. Others incorporated geometric shapes, angled brackets, or asymmetric designs that reflected the era’s love of unconventional forms. Natural materials dominated, particularly richly grained woods like walnut, teak, and rosewood, often finished with oil or lacquer to highlight their organic beauty. Some progressive designs integrated stone, tile, or even metal elements that challenged traditional fireplace conventions.
The breakthrough in my understanding came when I found a 1962 Sunset Magazine showing various fireplace designs popular at the time. I noticed how mid-century mantels often extended beyond simple shelf arrangements to become architectural features integrating built-in seating, bookshelves, or even room dividers.
The mantels served functional purposes beyond holding decorative objects, embodying the period’s commitment to purposeful, uncluttered design. This holistic approach to fireplace design helped me understand that authentic mid-century mantels weren’t just decorative additions but thoughtfully integrated architectural elements that shaped entire room layouts.
Sourcing Original Vintage Versus Custom Reproductions
Once I understood authentic mid-century mantel characteristics, I faced the decision of finding an original vintage piece or commissioning a custom reproduction. My romantic side wanted an original mantel with genuine history and patina. I started haunting architectural salvage yards, estate sales, and online marketplaces, hoping to discover the perfect piece. I did find some interesting options, including a beautiful 1958 walnut mantel from a demolished Eichler home that nearly convinced me to purchase.
However, working with original vintage mantels presented significant challenges I hadn’t anticipated. Most pieces I found had been removed from their original installations decades ago, leaving mounting hardware incomplete or damaged. Dimensions rarely matched my fireplace opening perfectly, requiring expensive custom modifications. Many beautiful mantels showed damage from years of heat exposure, improper storage, or amateur refinishing attempts that had stripped away original finish and character. The stunning Eichler mantel I loved was several inches too short for my fireplace and would have looked awkward with visible gaps.
I ultimately commissioned a custom reproduction from a local woodworker who specialized in mid-century furniture. We collaborated on a design inspired by period examples but sized perfectly for my specific fireplace. He used sustainably harvested walnut with gorgeous cathedral grain patterns and finished it with Danish oil that brought out the wood’s natural depth and color. The custom route cost about $1,800, more than most salvaged pieces but less than I’d feared, and resulted in a mantel that looked authentically vintage while being structurally sound and perfectly fitted to my home. This experience taught me that high-quality reproductions often provide better value and results than compromised originals.
Choosing Wood Species and Finishes
Selecting the right wood species became one of my most important aesthetic decisions. Walnut emerged as my first choice after researching period-appropriate options. Mid-century designers prized walnut for its rich brown color with purple and gray undertones, dramatic grain patterns, and ability to take beautiful oil finishes. The wood’s natural sophistication aligned perfectly with the refined simplicity I wanted for my living room. I examined numerous walnut boards at my woodworker’s shop before selecting pieces with the most interesting grain patterns.
Teak represented another authentically mid-century option I seriously considered. This tropical hardwood was enormously popular during the 1950s and 1960s for furniture and architectural elements. Its golden-brown color, natural oils that resist moisture, and distinctive straight grain create a different aesthetic than walnut’s more varied patterns. I ultimately chose walnut over teak primarily for budget reasons, as teak costs significantly more, but also because walnut’s color coordinated better with my existing mid-century furniture pieces.
The finish I selected proved as important as the wood species itself. My woodworker recommended Danish oil, a traditional finish that penetrates the wood rather than sitting on the surface like polyurethane or lacquer. The oil enhanced the walnut’s natural color and grain while maintaining the wood’s tactile quality and creating that soft, warm appearance characteristic of period pieces. I’ve maintained the finish with annual reapplication of oil, a simple process that takes about 30 minutes and keeps the mantel looking rich and nourished. The hand-rubbed oil finish develops a beautiful patina over time, unlike plastic-looking polyurethane that can yellow and crack with age.
Installation Techniques and Structural Considerations
Installing my retro mantel required more planning and expertise than I’d anticipated. I initially assumed I could simply screw a floating shelf into studs and call it done. My contractor quickly corrected this naive thinking, explaining that mantels require proper clearances from the firebox opening for fire safety, solid structural support to hold decorative objects safely, and careful leveling to look professional. Building codes specify minimum clearances based on mantel projection and must be followed regardless of aesthetic preferences.
My contractor located studs behind the brick fireplace facade using a specialized stud finder designed for masonry applications. He installed a heavy-duty cleat system, essentially a robust horizontal support bar securely anchored to multiple studs, that my mantel would slide onto and rest upon. This hidden mounting method maintains the floating appearance I wanted while providing rock-solid support. The cleat was positioned at the exact height to create proper clearance, 12 inches above my fireplace opening per code requirements for my mantel’s 8-inch projection.
The actual mounting process took careful precision. My contractor and his assistant lifted the heavy walnut mantel into position, sliding it onto the wall cleat while checking the level in multiple directions. Small shims made final adjustments until everything sat perfectly horizontal. Additional screws through the mantel’s back into the cleat prevented any shifting or movement over time. The installation took about three hours, including prep work, but the result is a mantel that looks like it’s floating effortlessly while being structurally secure enough to hold my collection of pottery, books, and artwork without any concerns about safety or stability.

Styling Your Retro Mantel for Maximum Impact
Once my beautiful walnut mantel was installed, I needed to style it appropriately to showcase both the mantel itself and create an appealing focal point for my living room. I initially made the mistake of overcrowding the surface with too many objects, creating visual clutter that obscured the mantel’s clean lines and beautiful wood grain. I learned that mid-century design philosophy emphasizes restraint and breathing room, so I edited ruthlessly until only my most meaningful and aesthetically appropriate pieces remained.
My current styling features a carefully curated collection that balances asymmetry with visual weight. On one end, I’ve positioned a tall vintage ceramic vase in burnt orange, a quintessentially mid-century color. The center holds a starburst clock, an iconic period piece that adds both function and sculptural interest. The other end features a small collection of vintage design books stacked horizontally. This arrangement creates varied heights and visual interest while maintaining the uncluttered aesthetic essential to mid-century style. I leave significant space on the mantel surface, letting the beautiful walnut grain be part of the display.
I also considered the wall space above my mantel carefully. Rather than hanging the predictable large mirror or painting directly centered above the fireplace, I created an asymmetric gallery wall featuring vintage prints in simple frames. This arrangement feels more dynamic and authentically mid-century than traditional symmetrical approaches. I incorporated different frame sizes and positioned them slightly off-center, creating visual tension that draws the eye around the entire fireplace area. Lighting plays a crucial role, too. I installed picture lights above key pieces and use the fireplace itself as warm ambient lighting during evening hours, creating layered illumination that highlights textures and creates an inviting atmosphere.
Maintaining and Protecting Your Retro Mantel
Living with my walnut mantel for two years has taught me proper care and maintenance routines that preserve its beauty while allowing practical use. The wood’s proximity to the fireplace initially worried me about heat damage, but proper clearances and reasonable fire sizes have prevented any issues. I do monitor larger fires carefully and avoid stacking logs too high, which could generate excessive heat. The Danish oil finish provides some heat protection, though I’m always mindful that wood is naturally vulnerable to extreme temperatures.
Daily maintenance involves simple dusting with a microfiber cloth to remove ash particles and general household dust that accumulates on any horizontal surface. I avoid furniture polish or chemical cleaners that can leave residue or damage the oil finish. For occasional deeper cleaning, I use a slightly damp cloth followed immediately by thorough drying. Once annually, usually in late summer before fireplace season begins, I clean the mantel thoroughly and reapply Danish oil using a soft cloth in the direction of the grain. This treatment nourishes the wood and maintains the rich, warm appearance that makes the mantel so beautiful.
I’ve learned to use coasters religiously under any drinks placed on the mantel and avoid setting hot items directly on the wood surface. A friend once set a warm coffee mug down without protection, leaving a faint white ring that fortunately buffed out with gentle steel wool and fresh oil. That incident taught me the importance of establishing clear house rules about respecting the mantle. I also rotate decorative objects periodically to prevent uneven fading or wear patterns. These simple precautions keep my mantel looking pristine while still functioning as a practical surface for displaying cherished objects and anchoring my living room’s design.
How much should I expect to pay for an authentic retro mantel?
Original vintage mantels at architectural salvage yards typically cost $300 to $800, depending on size, condition, and wood species. Rare designer pieces or those from significant homes command premium prices up to $2,000. I commissioned a custom reproduction for $1,80,0, including materials and craftsmanship. Simple floating shelf mantels can be DIY projects costing $200-400 in materials. Professional installation adds $300-600, depending on complexity. Budget accordingly for your specific situation and desired quality level.
Can I install a retro mantel on a brick fireplace myself?
Installation is possible for experienced DIYers comfortable with masonry anchors, leveling, and following fire safety codes. I hired a contractor because my confidence in structural mounting was limited. The critical factors are achieving proper clearances from the firebox, securing to studs behind the brick, and ensuring level installation. Mistakes risk fire hazards or structural failure. If you’re handy and research thoroughly, DIY is feasible. Otherwise, professional installation provides peace of mind and typically includes warranty protection.
What clearance is required between the mantel and fireplace opening?
Building codes specify minimum clearances based on mantel projection. For mantels projecting up to 1.5 inches, minimum clearance is 6 inches above the firebox. My mantel projects 8 inches and requires 12-inch clearance. Deeper projections need even greater clearance. These requirements prevent heat damage and fire risks. Your local building department or a certified installer can provide specific guidance for your situation. Never compromise on safety clearances, regardless of aesthetic preferences or original home configurations.
How do I match a retro mantel to my home’s specific era?
Research your home’s construction year and study design trends from that period. Mid-century spans roughly 1945-1970, with distinct sub-styles. Early 1950s featured warmer, more traditional elements, while the 1960s embraced bolder geometric forms. I used vintage home magazines and architectural books as guides. If your home had an original mantel, look for installation evidence like paint lines, anchor holes, or old photos. Match wood species and design complexity to your home’s overall character for authentic results.

What’s the best way to protect wood mantels from heat damage?
Proper clearances as specified by building codes provide primary protection. I maintain at least 12 inches between my mantel and firebox opening. Avoid excessively large fires that generate extreme heat. Quality finishes like Danish oil offer some protection but aren’t fireproof. Never place combustible items on mantels directly above active fires. Some people install heat shields, thin metal barriers behind mantels, for added protection. Monitor your mantel during initial fires to ensure no discoloration or damage occurs from your typical fire sizes.
Can retro mantels work with gas or electric fireplaces?
Absolutely. I’ve seen stunning retro mantels installed with all fireplace types. Gas and electric fireplaces actually generate less heat than wood-burning ones, sometimes allowing closer mantel placement. However, always follow manufacturer guidelines and local codes for your specific fireplace model. The aesthetic works beautifully regardless of the heat source. Modern gas inserts or electric fireplaces with contemporary ember beds can look surprisingly compatible with mid-century mantels. The clean lines of retro design adapt well to various technologies while maintaining period character.

Classical Faux Marble Architectural Salvage Vintage Fireplace Mantel
fantastic & timeless vintage fireplaces

fireplace mantels
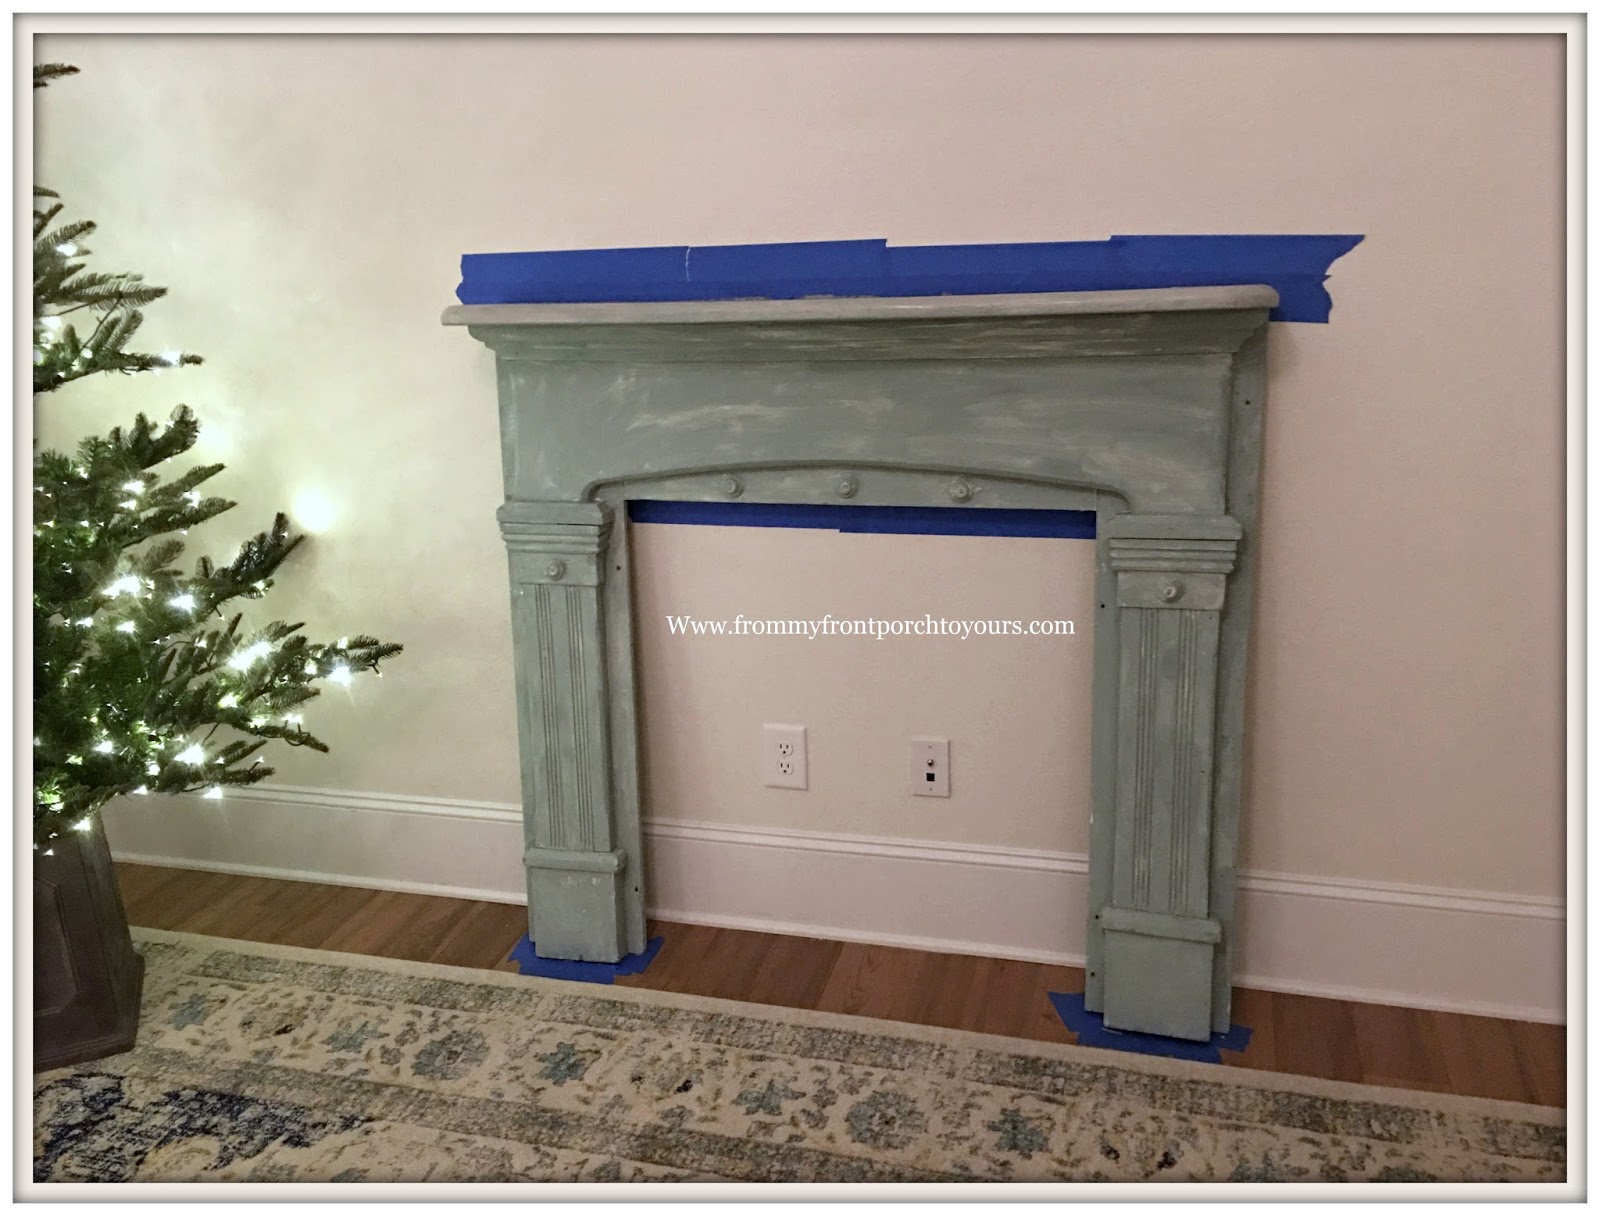
Vintage Fireplace Mantel Makeover
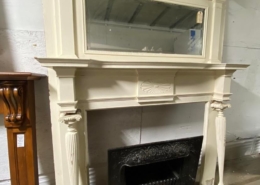
Vintage Fireplace Mantel

Antique Fireplace Bank Carrara Vintage Fireplace Surround

Mantels – Legacy Vintage Building Materials & Antiques
Related Posts: