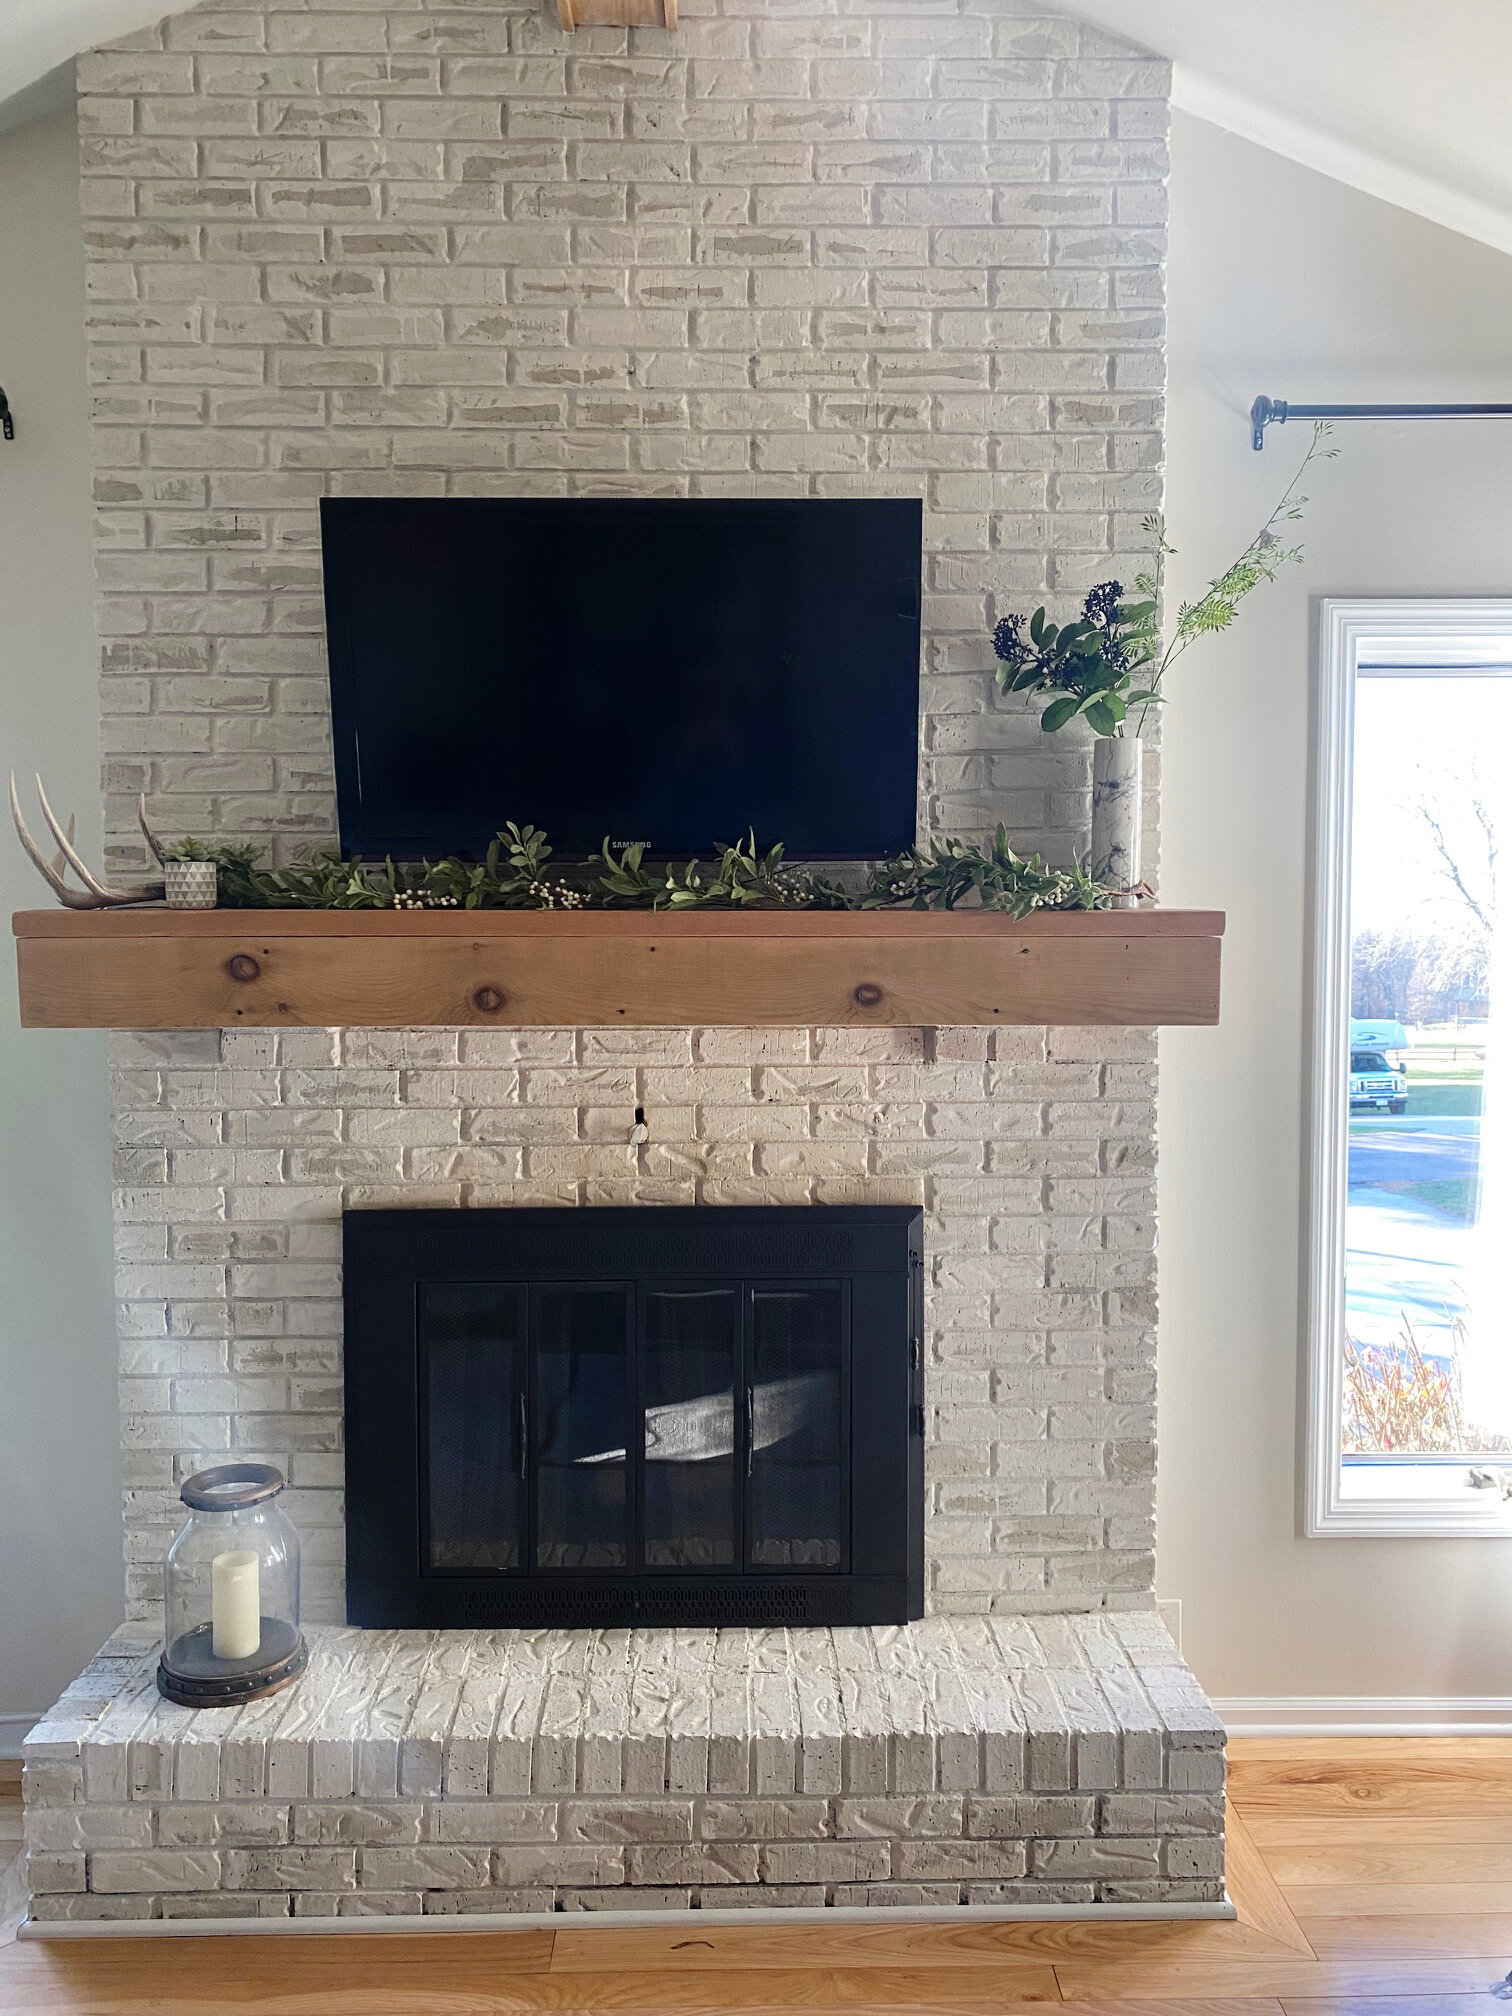
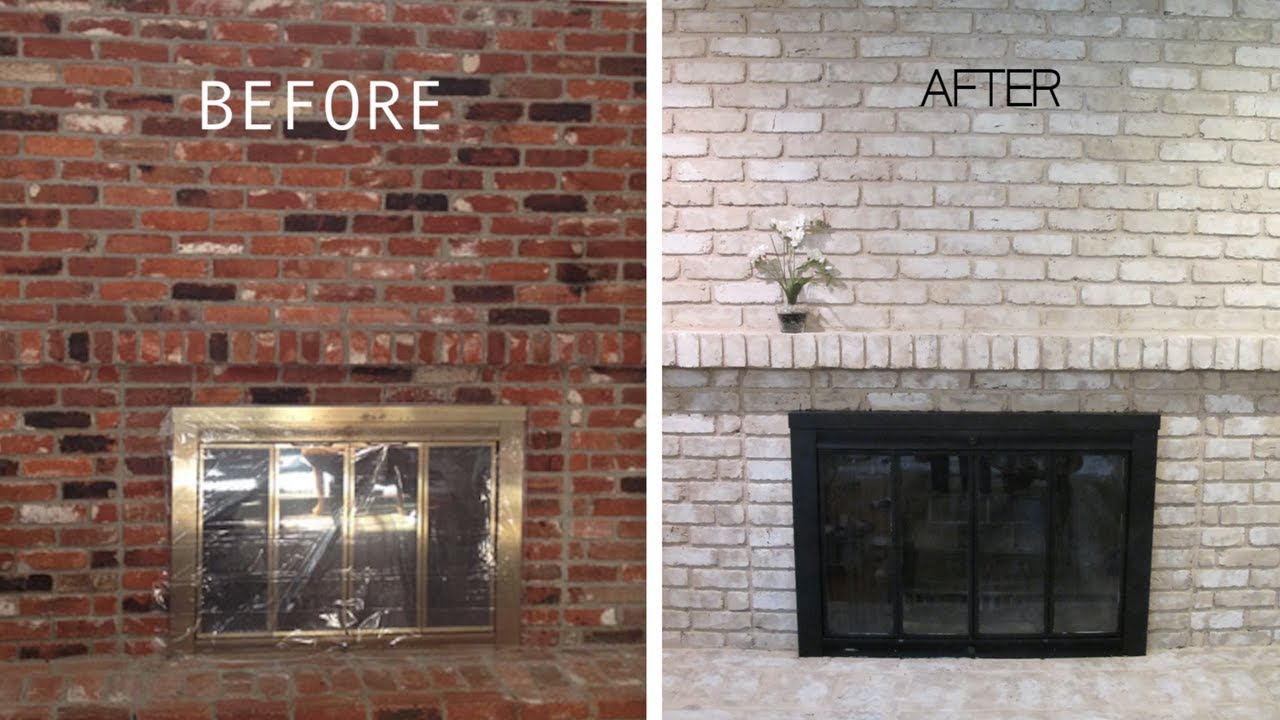
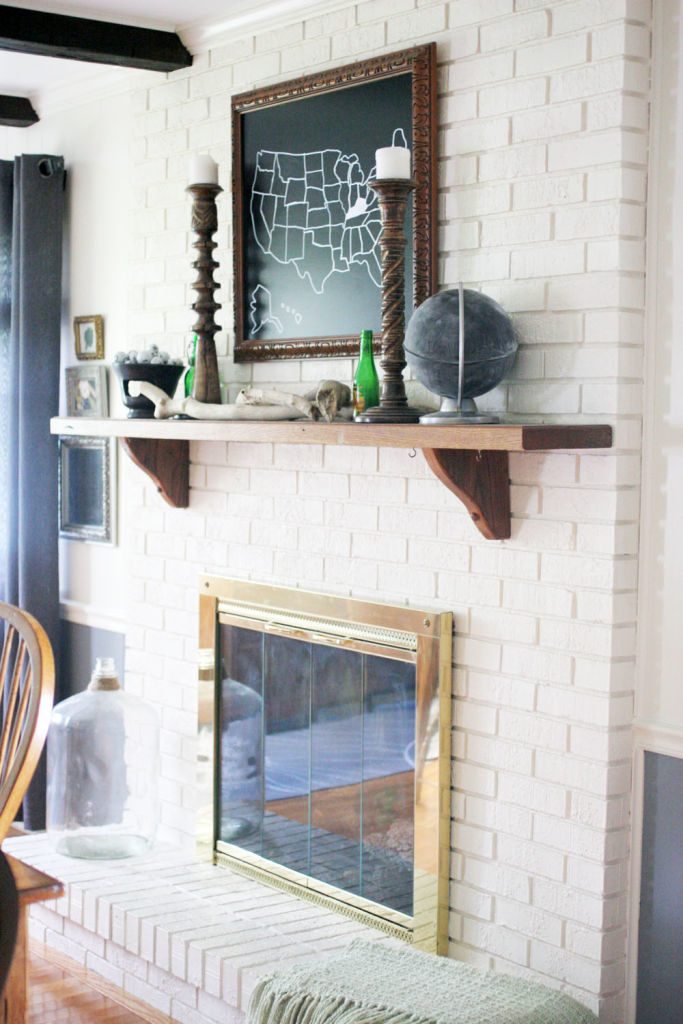
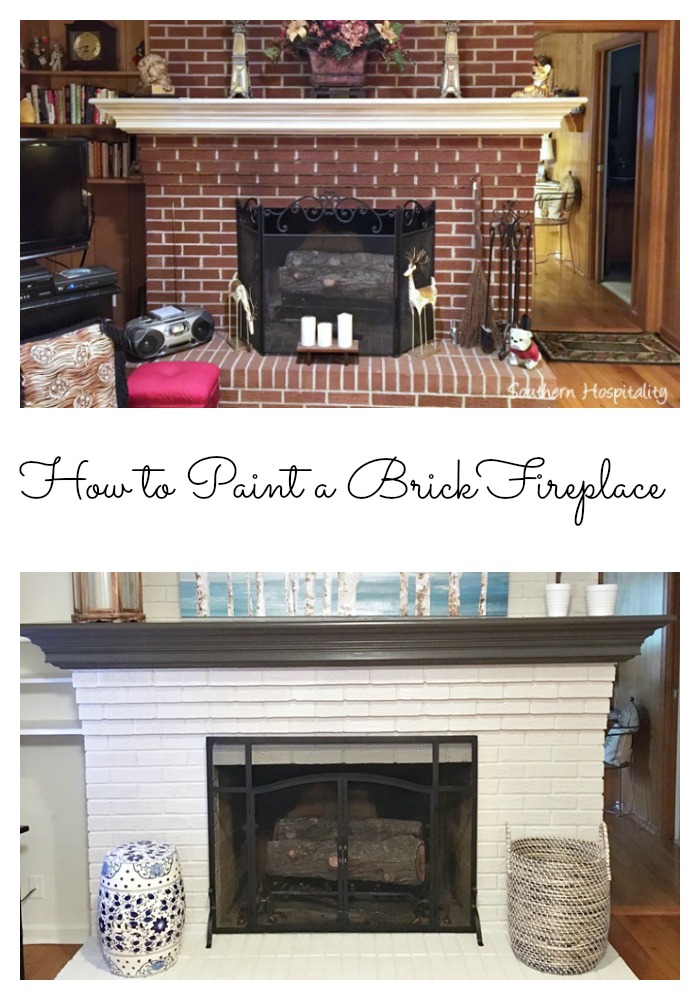
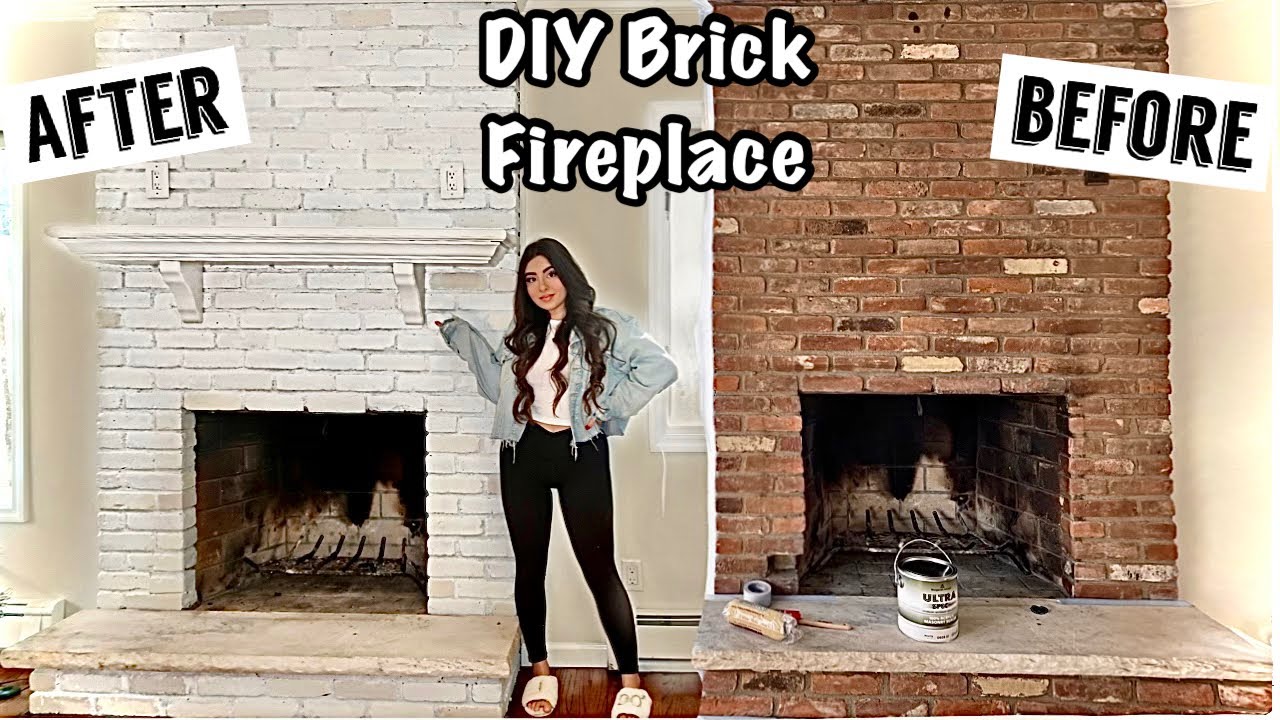
When I first moved into my home, the dated orange-red brick fireplace dominated our living room like an unwelcome guest. I stared at it for months, debating whether painting brick was sacrilege or salvation. After finally taking the plunge and repainting it a crisp white, I can honestly say it was one of the most dramatic and rewarding home improvements I’ve ever tackled. The transformation completely changed the feel of our space, making it brighter, more modern, and infinitely more welcoming.
Choosing the Right Paint and Primer System
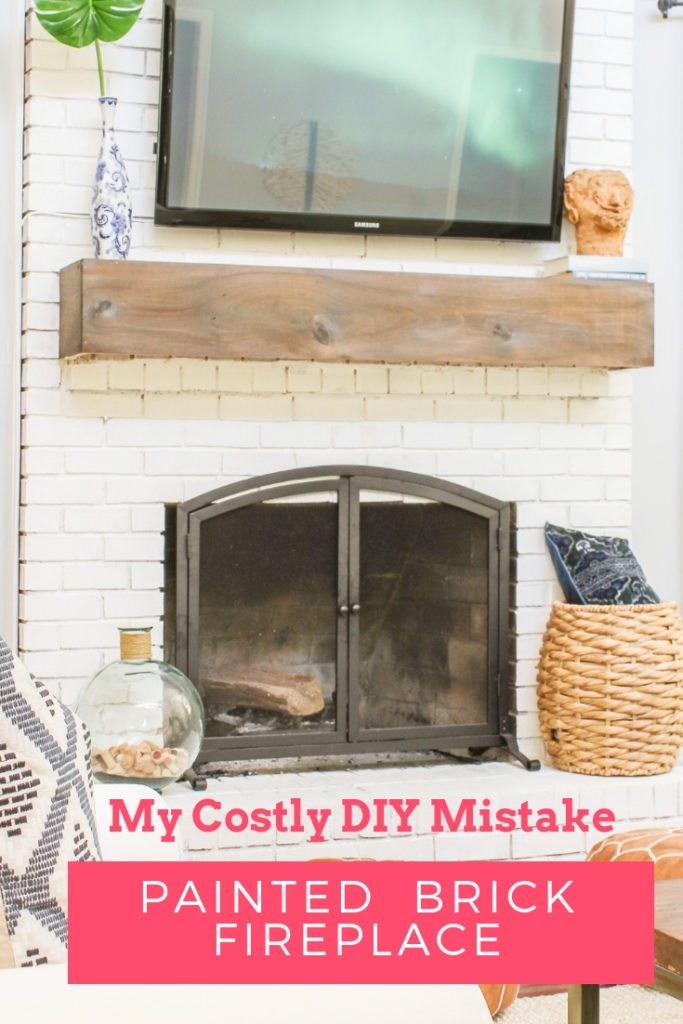
My biggest mistake initially was thinking any old paint would work on brick. I learned the hard way that brick is porous and requires specific products to achieve a lasting finish. After consulting with three different paint store experts, I settled on a high-quality acrylic latex paint specifically formulated for masonry surfaces.
The primer choice proved even more critical than the paint itself. I used a bonding primer designed for challenging surfaces, which creates a strong foundation for the topcoat. This step cost me an extra $40, but after seeing friends’ painted brick start peeling within a year, I’m convinced it was money well spent. The primer also helps block any tannins from bleeding through.
Color selection took me weeks of deliberation and multiple sample pots. I initially wanted pure white but worried it would look too stark against our warm wood floors. I ultimately chose a soft, warm white with just a hint of gray undertone. The key is testing your color in different lighting conditions throughout the day before committing.
Preparation Work That Makes All the Difference
Cleaning the brick thoroughly was far more work than I anticipated, but essential for proper paint adhesion. I started with a stiff brush and warm, soapy water, then moved to a pressure washer for the stubborn soot and grime that had accumulated over decades. Some spots required a specialized brick cleaner to remove efflorescence and deep stains.
Protecting the surrounding area took almost as much time as the actual painting. I learned to be generous with plastic sheeting and painter’s tape, covering everything within a six-foot radius. Brick painting can be messy work, especially when using a roller, and paint splatters travel farther than you’d expect.
Repairing any damaged mortar joints was crucial before painting began. I had several areas where the mortar had cracked or crumbled slightly. Using a small bag of pre-mixed mortar repair compound, I filled these gaps and let them cure for 48 hours. This step ensures a smooth, professional-looking finish once painted.
Painting Techniques for Professional Results
I tried three different application methods before finding what worked best for my brick’s texture. A standard roller left too many missed spots in the deep mortar joints, while a brush alone would have taken forever. The winning combination was using a thick-nap roller for coverage, followed by a brush to work paint into all the crevices.
Working in small sections was key to maintaining a wet edge and avoiding lap marks. I painted in roughly four-foot square sections, completing each area entirely before moving on. This method takes longer but ensures consistent coverage and color. I also kept a damp cloth handy to immediately wipe any drips or runs.
The second coat made all the difference in achieving that smooth, even finish I was after. Even though the first coat looked pretty good, the second coat filled in any thin spots and gave the surface that rich, opaque look I wanted. I waited 24 hours between coats, even though the paint claimed to be ready in four hours.
Dealing with Texture and Mortar Lines
The varying texture of brick surfaces presented unique challenges I hadn’t anticipated. Some bricks were smooth while others were quite rough, requiring different techniques to achieve even coverage. For the rougher bricks, I had to work the paint in with a brush to ensure it reached all the low spots and crevices.
Mortar lines required special attention since they’re recessed and can easily be missed with a roller. I used a small angled brush to carefully paint each mortar line, making sure to get complete coverage. This was tedious work, but skipping it would have left obvious unpainted areas that would look amateurish.
I discovered that lightly misting the brick with water before painting helped the paint flow better into the texture. This technique worked especially well on very porous areas that seemed to drink up the paint. Just be careful not to over-wet the surface, as this can affect paint adhesion.

Managing Heat and Ventilation Concerns
Safety was my biggest concern since this was a functional fireplace that we use regularly during the winter months. I researched extensively and confirmed that quality latex paint could handle the heat generated by normal fireplace use, but I still waited until spring to start the project so the paint could fully cure.
Ventilation during the painting process was crucial, both for my health and proper paint drying. I set up fans to create cross-ventilation and kept windows open despite the cooler weather. The fumes from primer and paint can be overwhelming in an enclosed space, especially when working around a fireplace that doesn’t draw air up the chimney.
I made sure to keep the damper closed during painting to prevent fumes from going up the chimney and potentially back into other rooms. This also prevented any debris or dust from falling onto my freshly painted surface. Once everything was complete, I waited two weeks before using the fireplace to ensure full curing.
Long-Term Maintenance and Touch-ups
Three years later, my painted brick fireplace still looks fantastic with minimal maintenance required. I do a gentle cleaning twice a year with a soft brush and mild soap solution, being careful not to scrub too aggressively. The paint has held up remarkably well to heat cycles and normal wear.
I’ve had to do minor touch-ups only twice, both times due to accidental damage rather than paint failure. A small chip occurred when we moved furniture, and another spot got scuffed during holiday decorating. Having leftover paint made these repairs quick and virtually invisible.
The key to long-term success has been addressing any issues immediately rather than letting them develop into bigger problems. I inspect the fireplace monthly and keep the touch-up paint handy. Small chips or scratches are much easier to fix than waiting until larger areas need attention.
Is it safe to paint a brick fireplace that I actually use?
Yes, it’s completely safe when done with the right materials. I use my painted fireplace regularly without issues. The key is using high-temperature paint or quality latex paint, which can handle normal fireplace heat. I waited two weeks after painting before using it to ensure full curing.
How long does the paint job typically last before needing touch-ups?
Mine has lasted three years with only minor touch-ups needed. The longevity depends heavily on proper preparation and paint quality. I expect to do a full refresh in 8-10 years, but honestly, it still looks great now. Heat cycling does cause some wear, but good paint holds up well.
What’s the biggest challenge when painting brick yourself?
Getting into all the texture and mortar lines evenly is definitely the trickiest part. It requires patience and the right technique. I found using a combination of roller and brush work essential. The prep work is also more extensive than most people expect; cleaning and repairs take time.
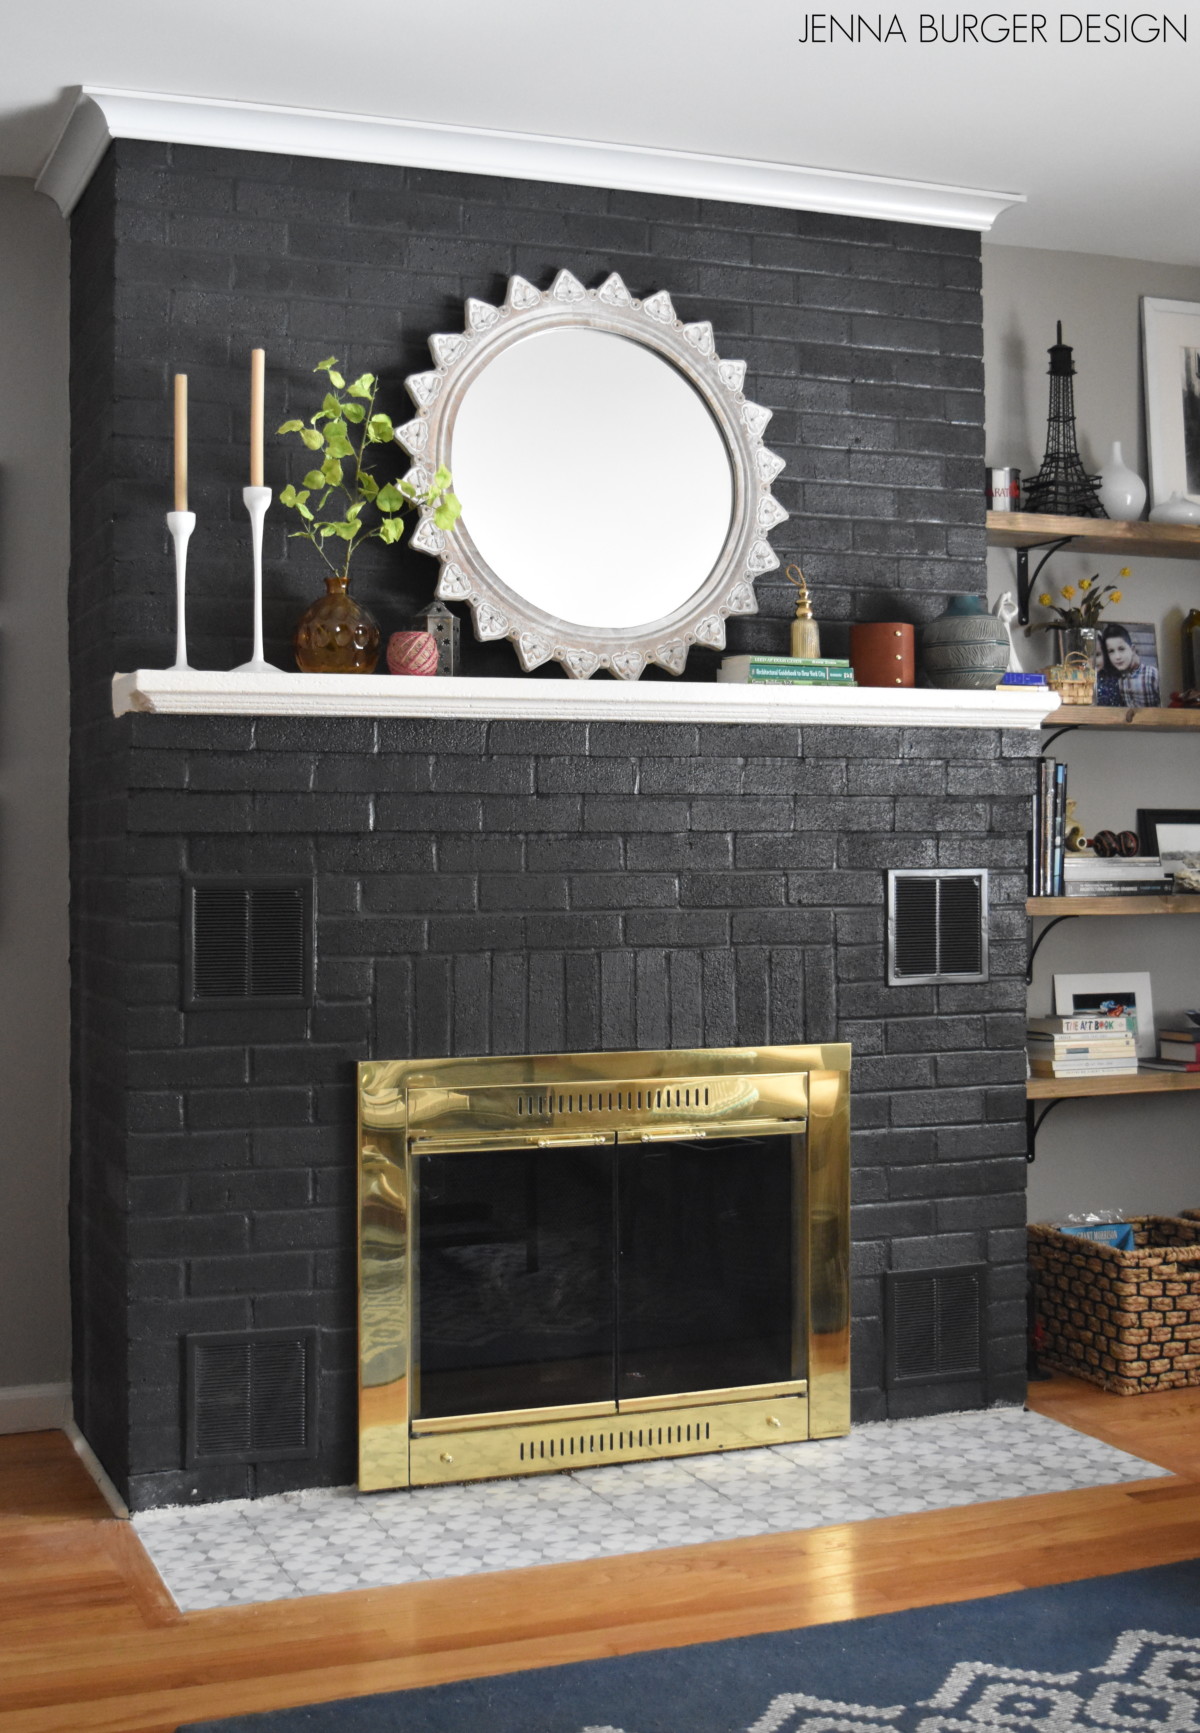
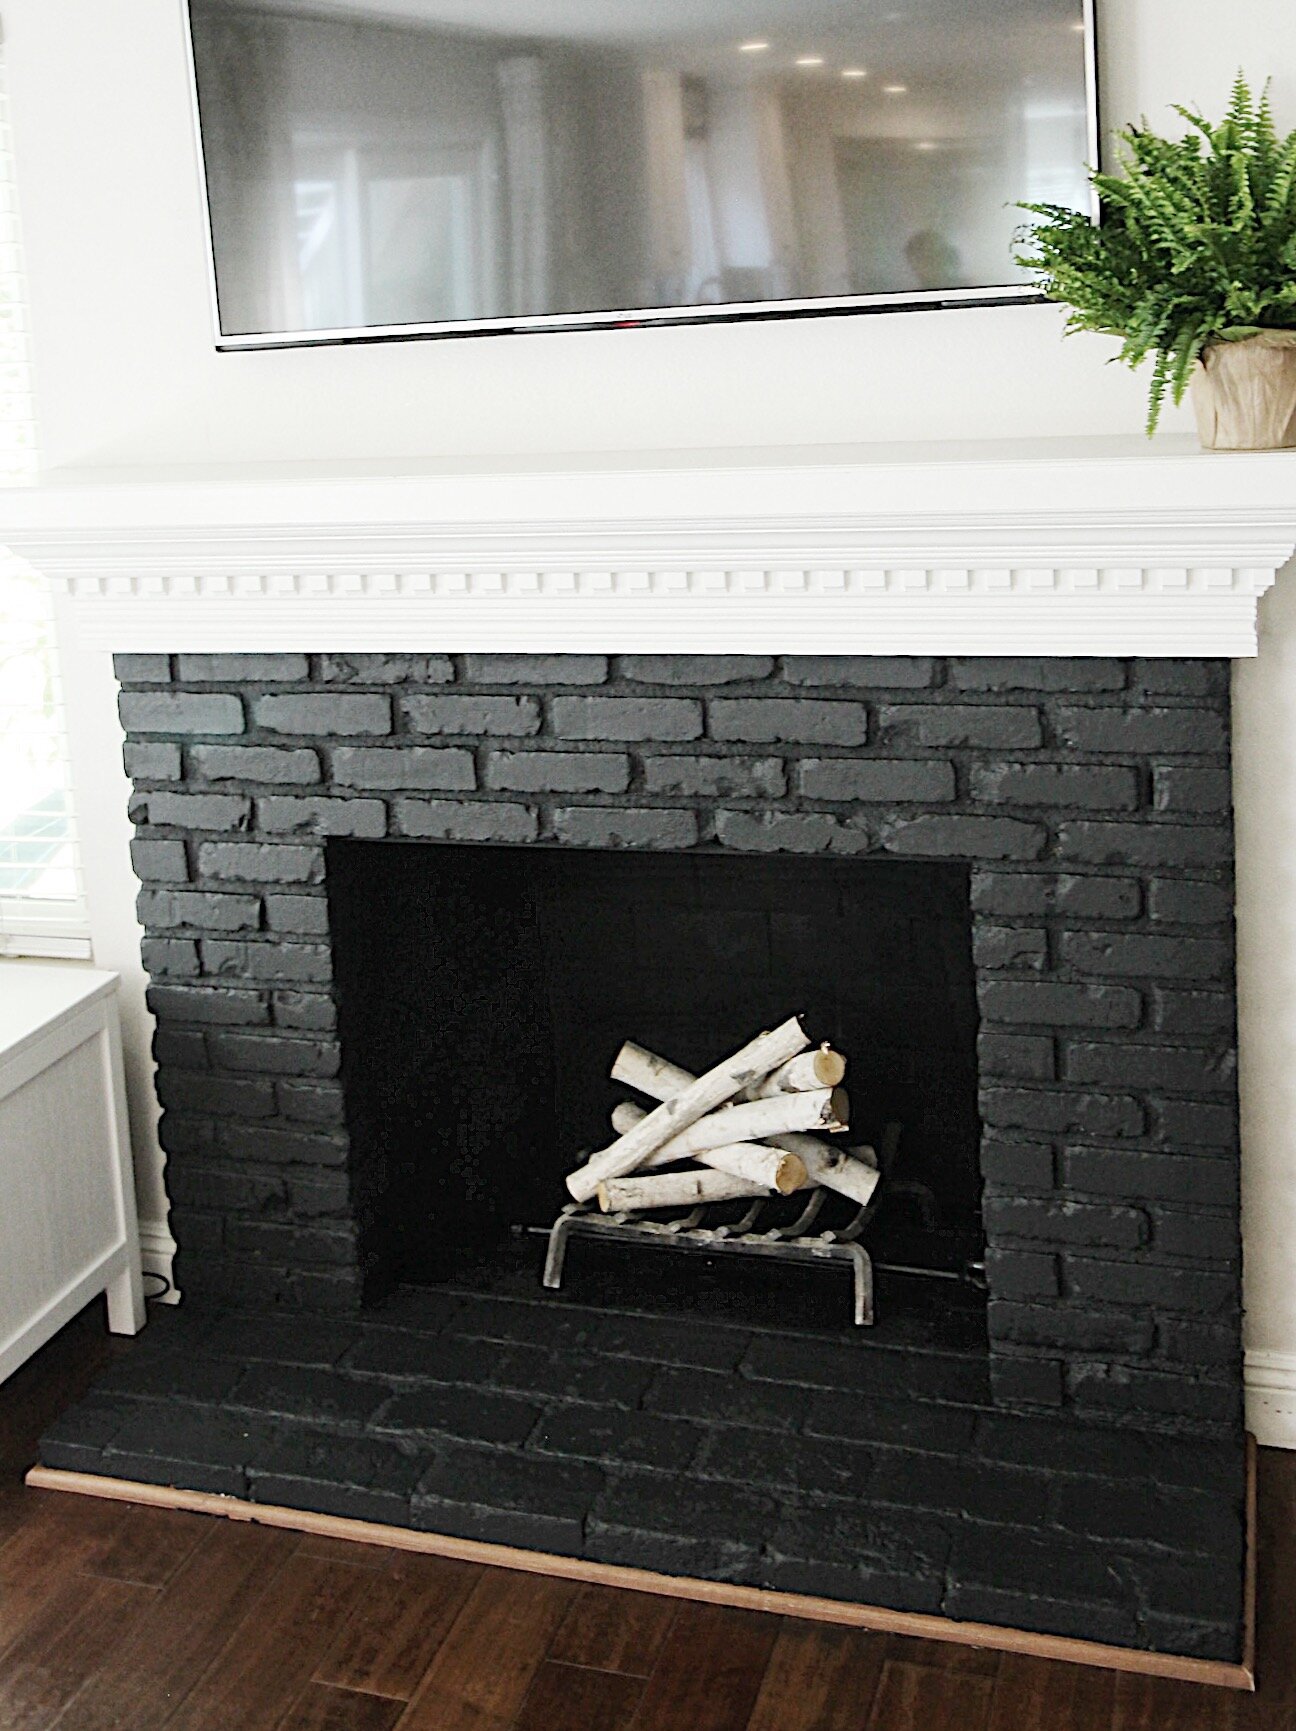
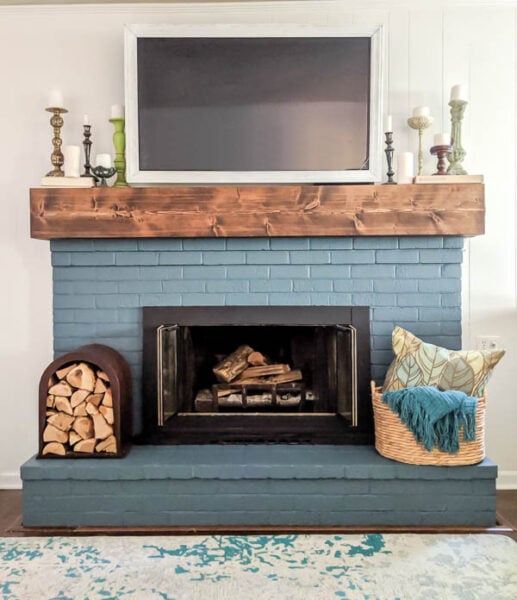
Can you change colors later if you don’t like the result?
Absolutely! Since the brick is already painted, changing colors is much easier than the initial painting. I’ve considered going darker for a more dramatic look. You’d still need good prep work, but it’s definitely doable. The hardest part is making the decision, not the actual repainting.
How much did the entire project cost you?
My total cost was around $180 for a large fireplace, including primer, paint, brushes, and supplies. This was dramatically less than the $3,000+ quotes I got for professional painting or stone veneer alternatives. The time investment was significant, but the savings made it worthwhile.
Do you regret painting over the natural brick?
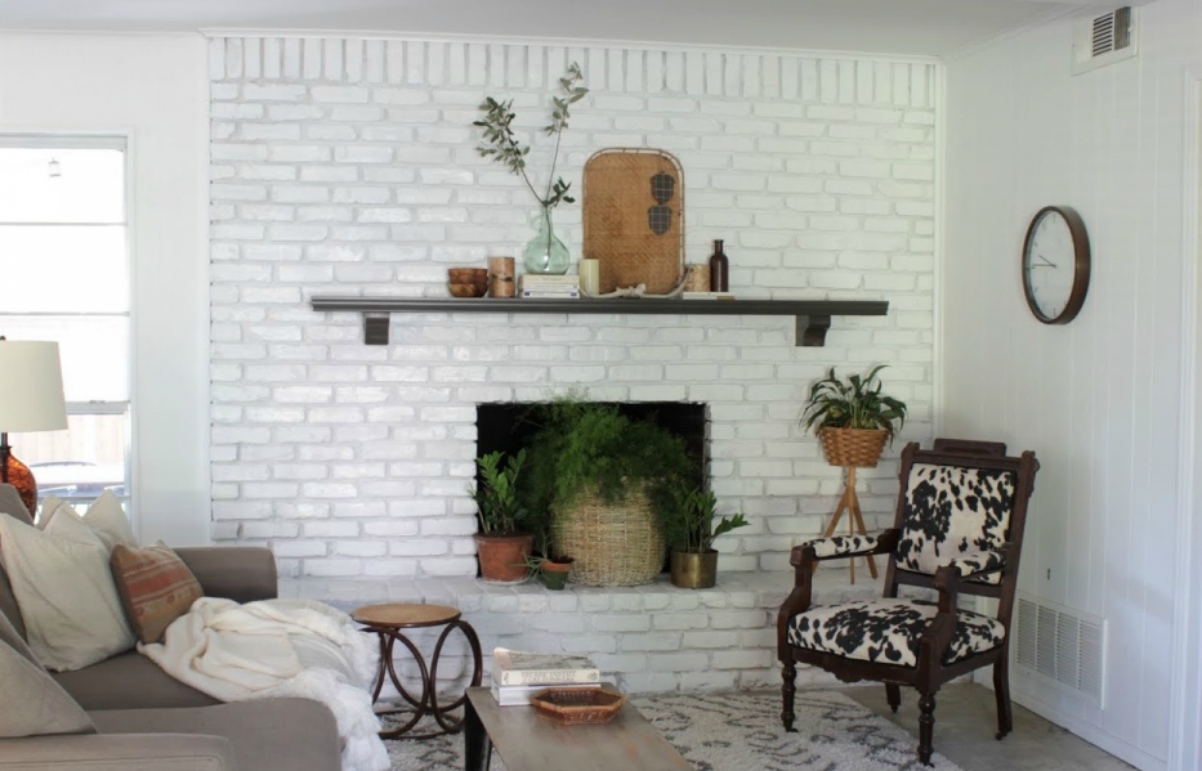
Not for a second! The transformation completely modernized our living space and made it feel so much brighter. While I respect those who prefer natural brick, painting was the right choice for our home and style. It’s been one of our most successful DIY projects.
How to paint a brick fireplace (the right way) – Lovely Etc.
How to Paint Your Fireplace Brick Surround

How to Paint a Brick Fireplace – Sarah Joy Brick fireplace

HOW TO PAINT BRICK WHITE *before and after* DIY Brick FirePlace
Paint a Brick Fireplace
Related Posts: