When I bought my house three years ago, the fireplace was the most disappointing feature in my living room. The builder had installed a basic brick surround that looked dated and cheap, completely at odds with the cozy, sophisticated atmosphere I wanted to create. After living with it for six months, I decided something had to change. That’s when I discovered slate tile and fell in love with its natural texture and rich, varied colors. Installing a slate tile fireplace surround became my first major DIY project, and I’m thrilled to say it transformed not just my fireplace, but my entire living space into the warm, inviting room I’d always envisioned.
Understanding the Appeal of Slate for Fireplace Surrounds
I’ll be honest, slate wasn’t my first choice when I started researching fireplace surround materials. I initially leaned toward marble or travertine, thinking they looked more elegant. However, once I visited a local tile showroom and saw slate samples up close, I was captivated by the natural variations in color and texture. Each piece told its own story, with subtle striations and organic patterns that no manufactured material could replicate.
What sold me on slate was its incredible durability and heat resistance. The showroom consultant explained that slate has been used for centuries in applications involving high heat, making it perfect for fireplace surrounds. Unlike some natural stones that can crack or discolor from heat exposure, slate actually becomes more beautiful over time, developing a richer patina. This gave me confidence that my investment would look better with age rather than showing wear.
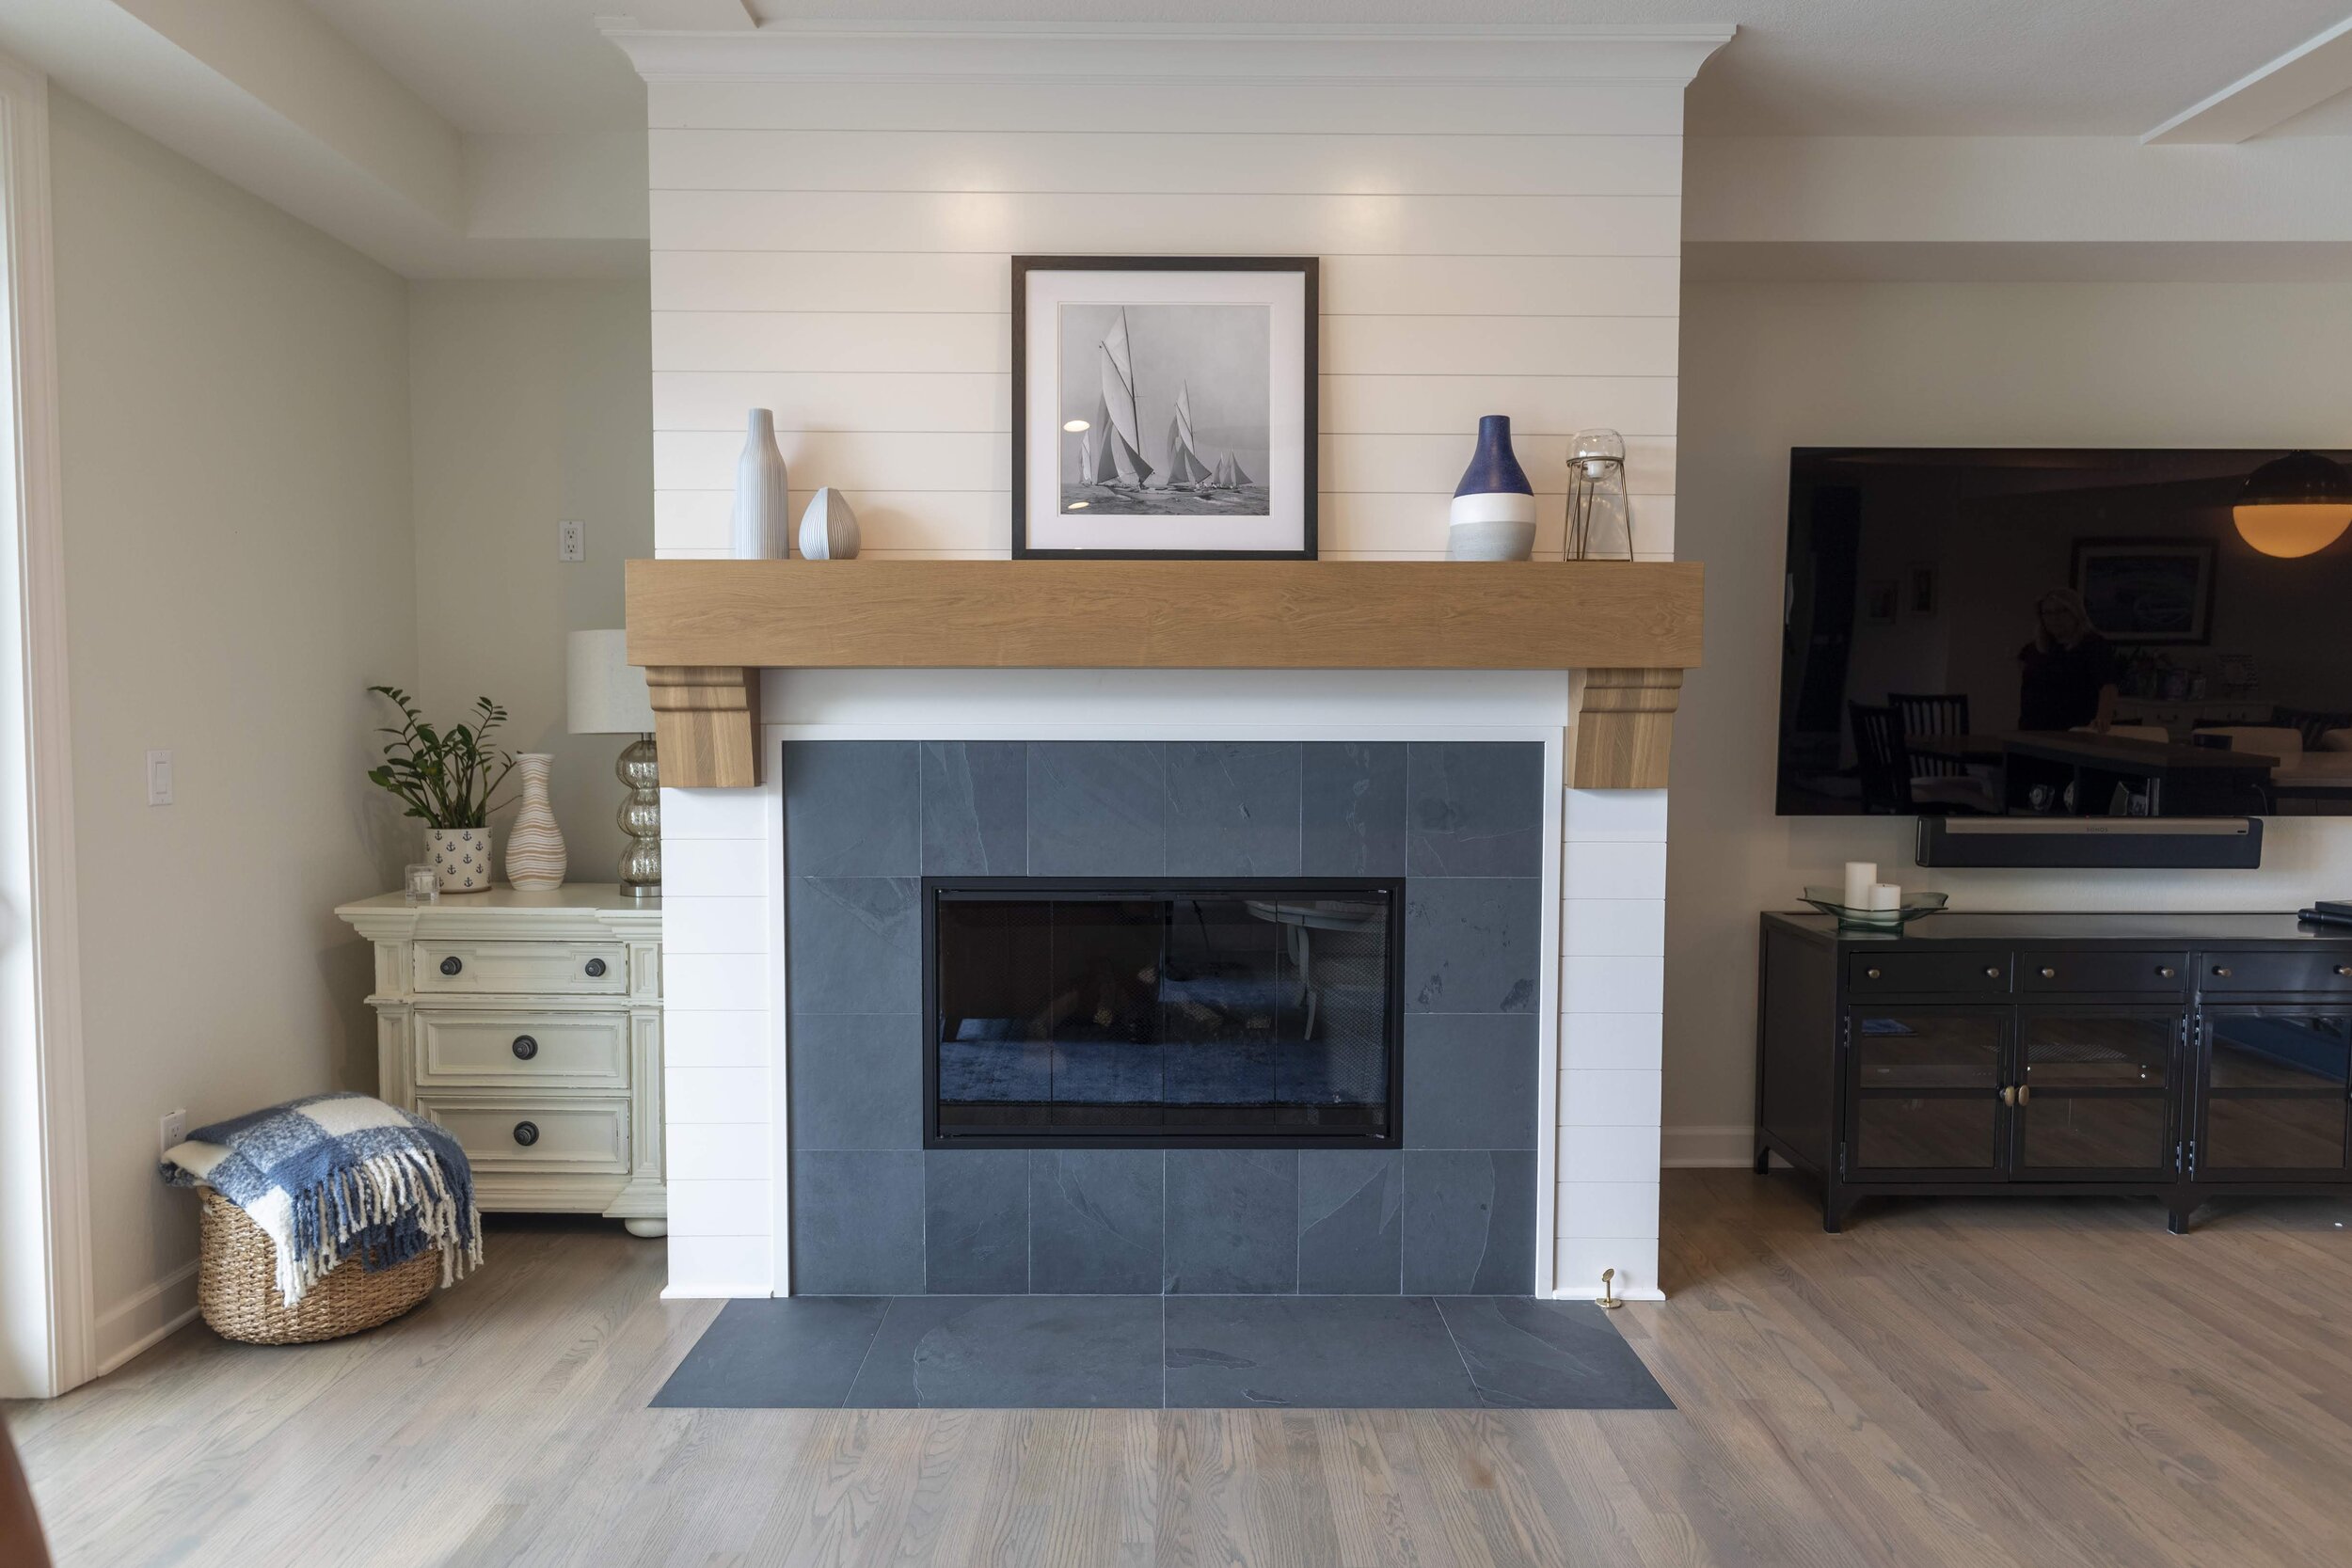
The variety of slate options available surprised me. I could choose from smooth, honed finishes that felt sophisticated or textured, cleft finishes that added rustic charm. Color options ranged from classic charcoal and black to warmer tones with hints of green, purple, or gold. After bringing home several samples and living with them for a week, I chose a multicolored slate with subtle green undertones that complemented my existing furniture perfectly.
Planning and Measuring for Your Slate Installation
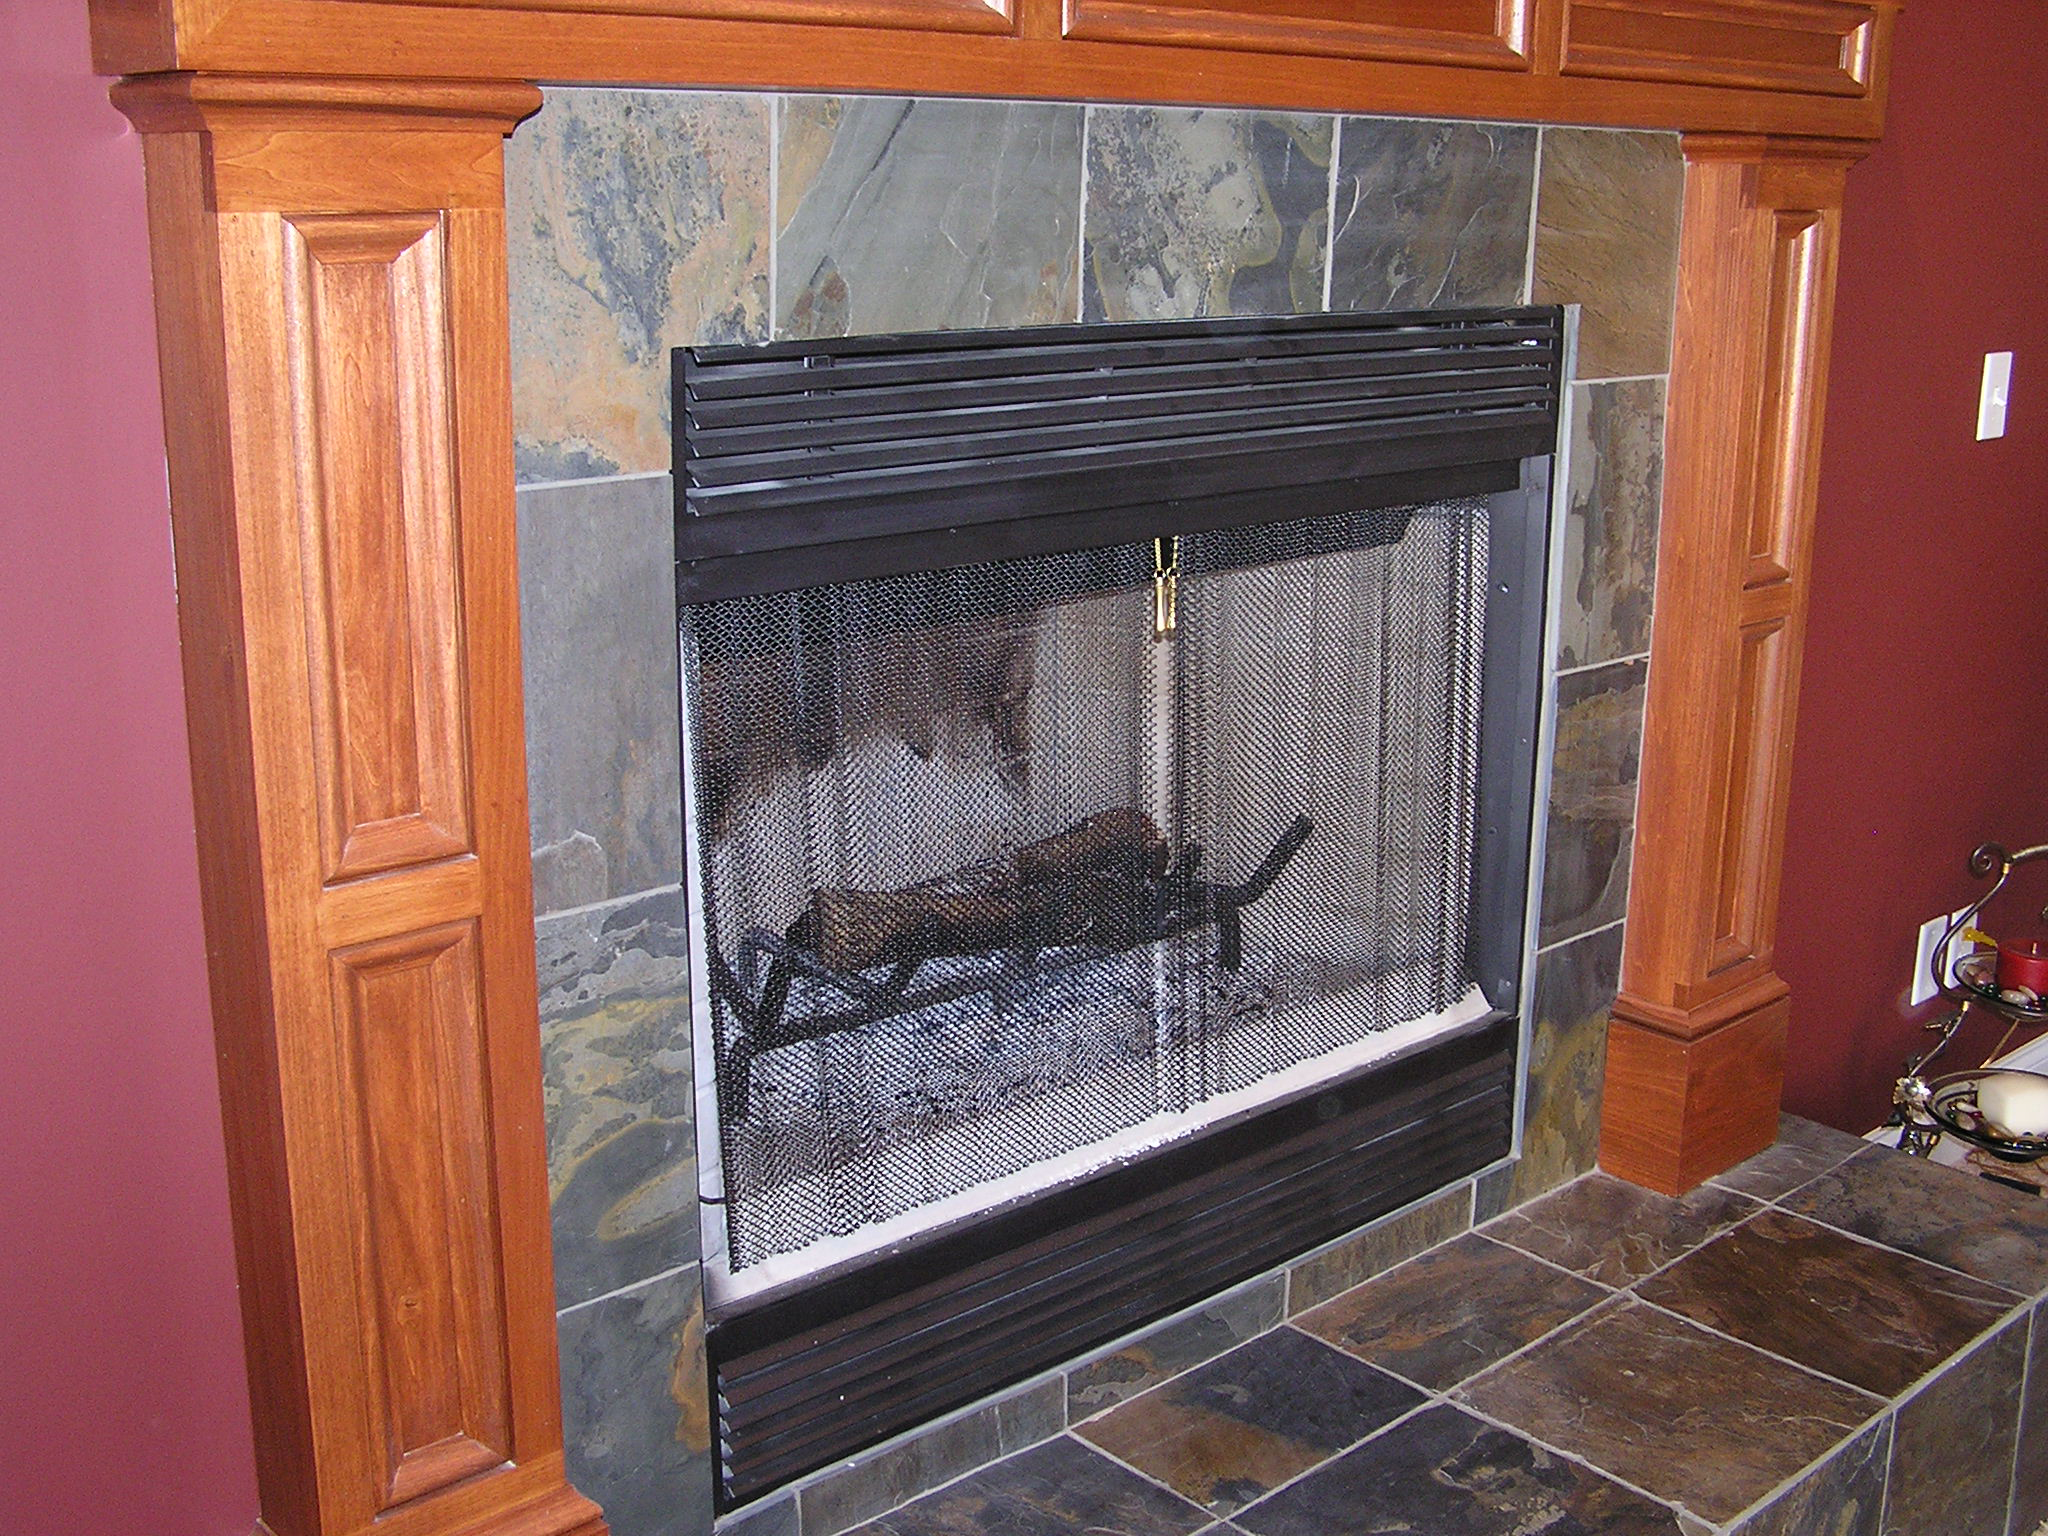
Before ordering my slate tiles, I spent considerable time measuring and planning the layout. I learned that proper planning prevents costly mistakes and material waste. My fireplace opening was 36 inches wide, and I wanted the surround to extend 6 inches beyond each side and 12 inches above the opening. This meant I needed to cover an area roughly 48 inches wide by 60 inches tall, plus the hearth extension.
Creating a detailed sketch helped me visualize the final result and calculate exact tile quantities. I decided on 12×12-inch slate tiles, which would minimize cutting and create clean, proportional lines. However, I soon realized that some cutting would be inevitable around the firebox opening and edges. I invested in a wet tile saw rental, which proved essential for achieving clean cuts through the thick slate material.
Planning the tile layout on paper saved me from potential disasters. I discovered that starting with full tiles at the center and working outward would create the most balanced appearance. This approach meant I’d have equally sized cut tiles on both sides, rather than full tiles on one side and narrow slivers on the other. I also planned for a 1/8 inch grout line, which would showcase each tile while maintaining structural integrity.

Preparing the Surface and Installing the Base
Surface preparation turned out to be more critical than I’d anticipated. My existing brick surround needed to be cleaned thoroughly and checked for any loose or damaged areas. I spent an entire weekend scraping off old mortar, filling gaps, and ensuring the surface was perfectly level. Any irregularities would telegraph through the thin slate tiles, creating an uneven finished appearance.
Installing a cement backer board over the brick provided the ideal surface for tile adhesion. This step added about $150 to my project cost but was absolutely worth it for the peace of mind. The backer board created a smooth, stable substrate that wouldn’t expand or contract with temperature changes. I secured it with concrete screws every 8 inches, ensuring no movement that could crack grout lines later.
Priming the backer board with a bonding agent improved adhesion and prevented the substrate from absorbing moisture from the tile adhesive too quickly. This step, often overlooked by DIYers, ensures the adhesive cures properly and creates the strongest possible bond. I used a high-temperature tile adhesive specifically designed for fireplace applications, which cost more than standard adhesive but was essential for this high-heat environment.

Cutting and Installing Slate Tiles Like a Pro
Cutting slate required patience and the right technique, something I learned through trial and error. My first few attempts resulted in rough, chipped edges because I rushed the process. I discovered that scoring the slate lightly first, then making progressively deeper cuts, produced the cleanest results. Keeping the blade wet prevented overheating and reduced dust significantly.
Installing the slate tiles started from the bottom center and worked upward, ensuring each row was perfectly level. I used tile spacers to maintain consistent gaps, though the natural variation in slate thickness meant some minor adjustments were necessary. A rubber mallet became my best friend for seating tiles without damaging their surface. The key was tapping gently but firmly to ensure full contact with the adhesive.
Working around the firebox opening required the most precision cutting. I created cardboard templates first, transferring them to the slate tiles for accurate cuts. Some tiles needed L-shaped notches or complex curves to fit properly around the opening. Taking time to measure twice and cut once prevents expensive mistakes. I also dry-fitted each piece before applying adhesive, catching any issues while corrections were still possible.
Grouting and Sealing for Long-lasting Beauty
Choosing the right grout color significantly impacted the final appearance of my slate fireplace surround. I tested several options, ultimately selecting a charcoal gray that complemented the slate’s natural variations without competing for attention. A contrasting grout would have emphasized the grid pattern, while matching grout created a more seamless, natural stone appearance that I preferred.
The grouting process required careful attention to timing and technique. I worked in small sections, applying grout diagonally to fill joints, then cleaning excess grout before it set. Slate’s textured surface meant grout could get trapped in crevices, requiring thorough cleaning with a damp sponge. I used a grout float to pack joints firmly, eliminating air pockets that could lead to cracking or water penetration later.
Sealing the slate was the final and most important step for long-term protection. I applied two coats of penetrating sealer, allowing complete drying between applications. The sealer enhanced the slate’s natural colors while protecting against stains and moisture. I learned that resealing every 2-3 years maintains optimal protection, a small maintenance requirement for such a beautiful and durable finished surface.

Maintenance and Long-term Care
Living with my slate fireplace surround for over two years has taught me valuable lessons about maintenance and care. Daily cleaning requires nothing more than dusting with a soft cloth or occasional vacuuming with a brush attachment. The sealed surface resists most stains, and I’ve never had issues with soot or fireplace residue permanently marking the slate.
Periodic deep cleaning involves mild soap and water, avoiding acidic cleaners that could damage the sealer or stone. I use a pH-neutral stone cleaner every few months, which keeps the slate looking rich and vibrant. The natural variations in the stone help hide minor scuffs or marks, making maintenance much easier than I expected. Even water spots from cleaning don’t show significantly on the varied surface.
The biggest maintenance task is resealing, which I completed for the first time last year. The process was straightforward: clean thoroughly, allow complete drying, then apply sealer with a foam brush in thin, even coats. The enhanced protection and refreshed appearance made the minimal effort worthwhile. I’ve noticed that areas closer to the firebox opening require more frequent attention, likely due to higher heat exposure affecting the sealer.

Cost Breakdown and Value Assessment
My total slate fireplace surround project cost approximately $1,850, including materials, tools, and rentals. The slate tiles themselves cost $12 per square foot, totaling about $600 for the 50 square feet needed. High-temperature adhesive, grout, sealer, and backer board added another $300. Tool rentals, including the wet saw and miscellaneous supplies, brought the material costs to roughly $1,200.
Labor savings represented the biggest advantage of the DIY approach. Professional installation quotes ranged from $2,500 to $4,000, meaning I saved at least $1,500 by doing the work myself. However, the project required three long weekends and considerable learning curve time. For someone comfortable with tile work, the savings justify the effort. For those lacking experience or time, professional installation might be worth the premium.
The value impact on my home has been remarkable. Recent appraisals noted the fireplace upgrade as a significant positive feature. More importantly, the transformation completely changed how I use and enjoy my living room. The sophisticated appearance created by the slate surround makes the fireplace a true focal point, enhancing the entire space’s ambiance and making it feel much more expensive and custom than the actual investment required.

How difficult is it to install slate tile around a fireplace as a DIY project?
It’s moderately challenging but doable with patience and the right tools. I had basic tile experience, and it took me three weekends working steadily. The trickiest parts were cutting around the firebox opening and ensuring level installation. If you’re comfortable with measuring, cutting, and have done any tile work before, you can handle this project. Just allow extra time for the learning curve and cutting slate.
What’s the best thickness of slate to use for fireplace surrounds?
I used 1/2 inch thick slate tiles, which provided the perfect balance of durability and workability. Thinner slate (1/4 inch) can crack more easily and looks less substantial, while thicker options become difficult to cut and much heavier. The 1/2 inch thickness handles heat well, cuts cleanly with proper tools, and creates a substantial, high-quality appearance that’s lasted beautifully for over two years.

How much heat can slate handle, and will it discolor or crack over time?
Slate handles high heat excellently, which is why it’s been used historically for hearths and surrounds. Mine shows no heat damage after two years of regular fireplace use. The natural stone develops richer colors with heat exposure rather than fading. Proper installation with heat-resistant adhesive and allowing expansion joints prevents cracking. It’s one of the most heat-tolerant materials available for fireplace applications.
Does slate require special maintenance or sealing compared to other fireplace materials?
Slate needs periodic sealing every 2-3 years, which I do myself in about two hours. Beyond that, it’s incredibly low-maintenance. Regular dusting and occasional cleaning with stone cleaner keep it looking great. The natural texture hides minor marks better than smooth materials. Compared to marble or limestone that stain easily, slate is much more forgiving and practical for fireplace use, where soot and heat are factors.

What should I expect to pay for a professional slate fireplace surround installation?
Professional installation typically costs $50-80 per square foot, depending on your location and complexity. For my 50 square foot project, quotes ranged from $2,500-4,000 total. This includes materials, labor, and warranty. While expensive, professionals work faster and guarantee their work. If you’re not comfortable with precision cutting and tile installation, the professional route eliminates stress and ensures quality results that enhance your home’s value.
Can I install slate over my existing brick or stone fireplace surround?
Yes, in most cases, you can install slate over existing masonry, which is exactly what I did. The surface needs to be structurally sound, clean, and relatively level. I added cement backer board over my old brick for the best results. This approach saves demolition time and expense while providing excellent adhesion. However, very uneven or damaged existing surfaces might require removal or extensive prep work for best results.

Slate Tile Fireplace in Cuyahoga Falls, Ohio – Classic Tileworks
DIY Hearth Pad – Farmhouse on Boone

Black Slate Rectangular Fireplace Hearth

Slate tile fireplace surround RE: Show me your tile or granite

Related Posts: