When I decided to replace the dated brick surround on my 1980s fireplace, I never imagined how transformative a simple pine frame could be. The original red brick felt overwhelming in my small living room, making the space feel dark and cramped. After months of browsing design magazines and Pinterest boards, I kept returning to the warm, rustic appeal of natural wood surrounds. Pine offered the perfect combination of affordability, workability, and natural beauty that would complement my farmhouse-inspired decor while staying within my modest renovation budget.
Choosing Pine Over Other Wood Options
Pine became my top choice after comparing costs, availability, and working properties of various wood species. At roughly $3-5 per board foot, pine costs significantly less than hardwoods like oak or cherry, allowing me to create a substantial surround without breaking my budget. The softwood nature of pine made it easy to cut, sand, and work with basic tools, perfect for my intermediate DIY skill level and limited workshop setup.
The natural character of pine, with its visible grain patterns and occasional knots, added the rustic charm I was seeking for my farmhouse-style living room. Unlike harder woods that can feel formal or sophisticated, pine has an approachable, cozy quality that makes spaces feel more inviting and lived-in. I chose clear pine boards for most of the surround but incorporated a few knotty pine pieces as accent elements.
Availability at local lumber yards made pine the practical choice for my project timeline. I could easily find consistent grades and dimensions at multiple suppliers, ensuring I had enough material and could match grain patterns across different boards. This accessibility also meant I could easily obtain replacement pieces if I made mistakes during construction, which proved valuable during my learning process.
Design Planning and Safety Considerations
Planning the dimensions and proportions of my pine surround required careful measurement and consideration of both aesthetics and fire safety codes. I researched local building codes to understand required clearances from the firebox opening, learning that combustible materials like pine must maintain specific distances from heat sources. My design maintained a 6-inch clearance from the firebox opening and 2 inches from the sides, exceeding minimum requirements for safety.
Creating a scaled drawing helped me visualize the proportions before purchasing lumber and starting construction. I experimented with different mantel heights, surround widths, and trim profiles on paper until I found a design that balanced the fireplace with my room’s scale. The final design featured a 60-inch wide frame with a 52-inch mantel height that felt proportional to my 9-foot ceilings.
Safety considerations extended beyond just clearances to include proper backing materials and installation methods. I planned to install cement board behind the pine surround as a heat barrier and fire-resistant backing. This additional layer provided peace of mind while allowing me to achieve the wood look I wanted. I also researched proper fastening methods to ensure the surround would remain securely attached over time.

Tools and Materials I Needed
My tool collection grew during this project as I discovered what was truly necessary versus what would be nice to have. A quality miter saw became essential for achieving precise cuts and tight joints, especially for the corner miters that would be highly visible. I borrowed one initially but ended up purchasing my own after realizing how much I’d use it for trim work throughout the house.
Essential hand tools included a good quality tape measure, speed square, level, and marking gauge for consistent measurements and layout work. I underestimated the importance of sharp chisels for cleaning up joints and creating precise notches where pieces intersected. A random orbital sander proved invaluable for smoothing surfaces and preparing the wood for finishing, while various grits of sandpaper handled detail work.
Material selection required more thought than I initially anticipated. Beyond the obvious pine boards, I needed wood glue, pocket screws, finishing nails, wood filler, sandpaper, and finishing materials. The cement board backing, construction adhesive, and appropriate screws for attaching to drywall added to the material list. Having all materials on hand before starting prevented frustrating mid-project trips to the hardware store.
Step-by-Step Construction Process
Building the frame structure first provided a solid foundation for all the decorative elements. I started by constructing a simple rectangular frame using 2×4 pine studs, ensuring it was perfectly square and level before attaching it to the wall. This hidden framework supported all the visible trim pieces and provided attachment points for the mantel shelf, distributing weight evenly across the wall structure.
Installing the vertical side pieces and horizontal top rail required careful measurement and precise cutting to achieve tight, professional-looking joints. I used a combination of pocket screws for strength and finishing nails for final attachment, pre-drilling holes to prevent splitting the pine. Each piece required test fitting and minor adjustments before final installation, teaching me patience and the value of measuring twice.
The mantel shelf installation presented the biggest challenge, requiring strong support brackets hidden within the surround structure. I used a combination of lag bolts into wall studs and internal bracing to ensure the mantel could support decorative items and seasonal displays safely. The final assembly process involved installing all trim pieces, filling nail holes, sanding smooth, and preparing for the finishing process.

Finishing Techniques That Made the Difference
Choosing the right finish for my pine surround required balancing protection, appearance, and maintenance requirements. I tested several options on scrap pieces, comparing natural oil finishes, stain and polyurethane combinations, and paint options. The natural pine color looked beautiful but showed every fingerprint and scuff mark, while darker stains hid imperfections better but obscured the wood’s natural character.
Preparation became the most critical step in achieving a professional finish. I spent considerable time sanding progressively from 120 to 220 grit, paying special attention to the end grain that absorbs stain unevenly. Preconditioning the pine with wood conditioner prevented blotchy stain absorption and created a more uniform color across different grain patterns and densities within the boards.
The final finish combination of golden oak stain followed by three coats of water-based polyurethane provided the perfect balance of beauty and durability. The stain enhanced the pine’s natural grain while adding richness and depth, while the polyurethane topcoat protected against heat, moisture, and daily wear. Light sanding between coats ensured smooth, professional results that have held up beautifully for three years.

Integration with Existing Room Design
Coordinating my pine surround with existing room elements required careful consideration of colors, textures, and proportions. The warm honey tones of the stained pine complemented my existing hardwood floors and wood furniture while providing enough contrast to stand out as a focal point. I adjusted window trim and door casings to match the surround’s profile, creating visual continuity throughout the space.
Decorating the mantel became an ongoing creative outlet that changes with seasons and holidays. The 8-inch deep shelf provides ample space for family photos, seasonal decorations, and artwork while maintaining proper clearances from the firebox. I learned to keep decorations away from the center area where heat rises, concentrating heavier items toward the ends for both safety and visual balance.
The surround’s transformation of the entire room exceeded my expectations, making the fireplace a true focal point rather than an outdated eyesore. The warm wood tones and craftsman-style details tied together other design elements in the room, from built-in bookcases to exposed ceiling beams. This single project unified my design vision and inspired additional woodworking projects throughout the house.

Is pine safe to use for fireplace surrounds and what precautions are necessary?
Pine is safe when proper clearances are maintained and fire-resistant backing is used. I installed cement board behind my pine surround and maintained 6+ inches from the firebox opening. Local building codes specify minimum distances, and I exceeded these requirements. The key is proper installation with appropriate backing materials and following all safety guidelines.
How much did building a pine fireplace surround cost compared to other options?
My pine surround cost approximately $200-250 in materials, significantly less than stone, tile, or hardwood alternatives. Professional installation would have added $800-1200, but I completed the project myself over three weekends. Compared to $2000+ for professional stone or tile work, pine offered exceptional value while achieving the rustic look I wanted.
What tools are essential for building a pine fireplace surround?
A miter saw is crucial for precise cuts and tight joints. I also needed a drill, circular saw, level, measuring tools, and sanders. While I borrowed some tools initially, having quality measuring and cutting tools made the biggest difference in results. A pocket hole jig simplified strong joint construction, and good sandpaper was essential for smooth finishing.
How do you prevent pine from warping or splitting around the heat source?
Proper kiln-dried lumber selection and gradual acclimation to room conditions prevented most movement issues. I stored boards in the house for two weeks before construction. The cement board backing provides thermal barrier protection, and maintaining adequate clearances prevents excessive heat exposure. Quality finishing with multiple topcoats also helps stabilize the wood.
What maintenance does a pine fireplace surround require over time?
My pine surround needs minimal maintenance after three years. I dust it regularly and touch up the finish annually in high-wear areas like the mantel surface. The polyurethane finish protects against heat and moisture, requiring only occasional cleaning with wood furniture polish. Any scratches or dents sand out easily for spot repairs.
Can a beginner successfully build a pine fireplace surround?
Absolutely. Pine is forgiving to work with, and basic carpentry skills are sufficient for most designs. I recommend starting with simple, straight lines rather than complex curves or details. Taking time with measuring, planning, and preparation makes the biggest difference. YouTube tutorials and woodworking forums provided valuable guidance when I encountered challenges during construction.

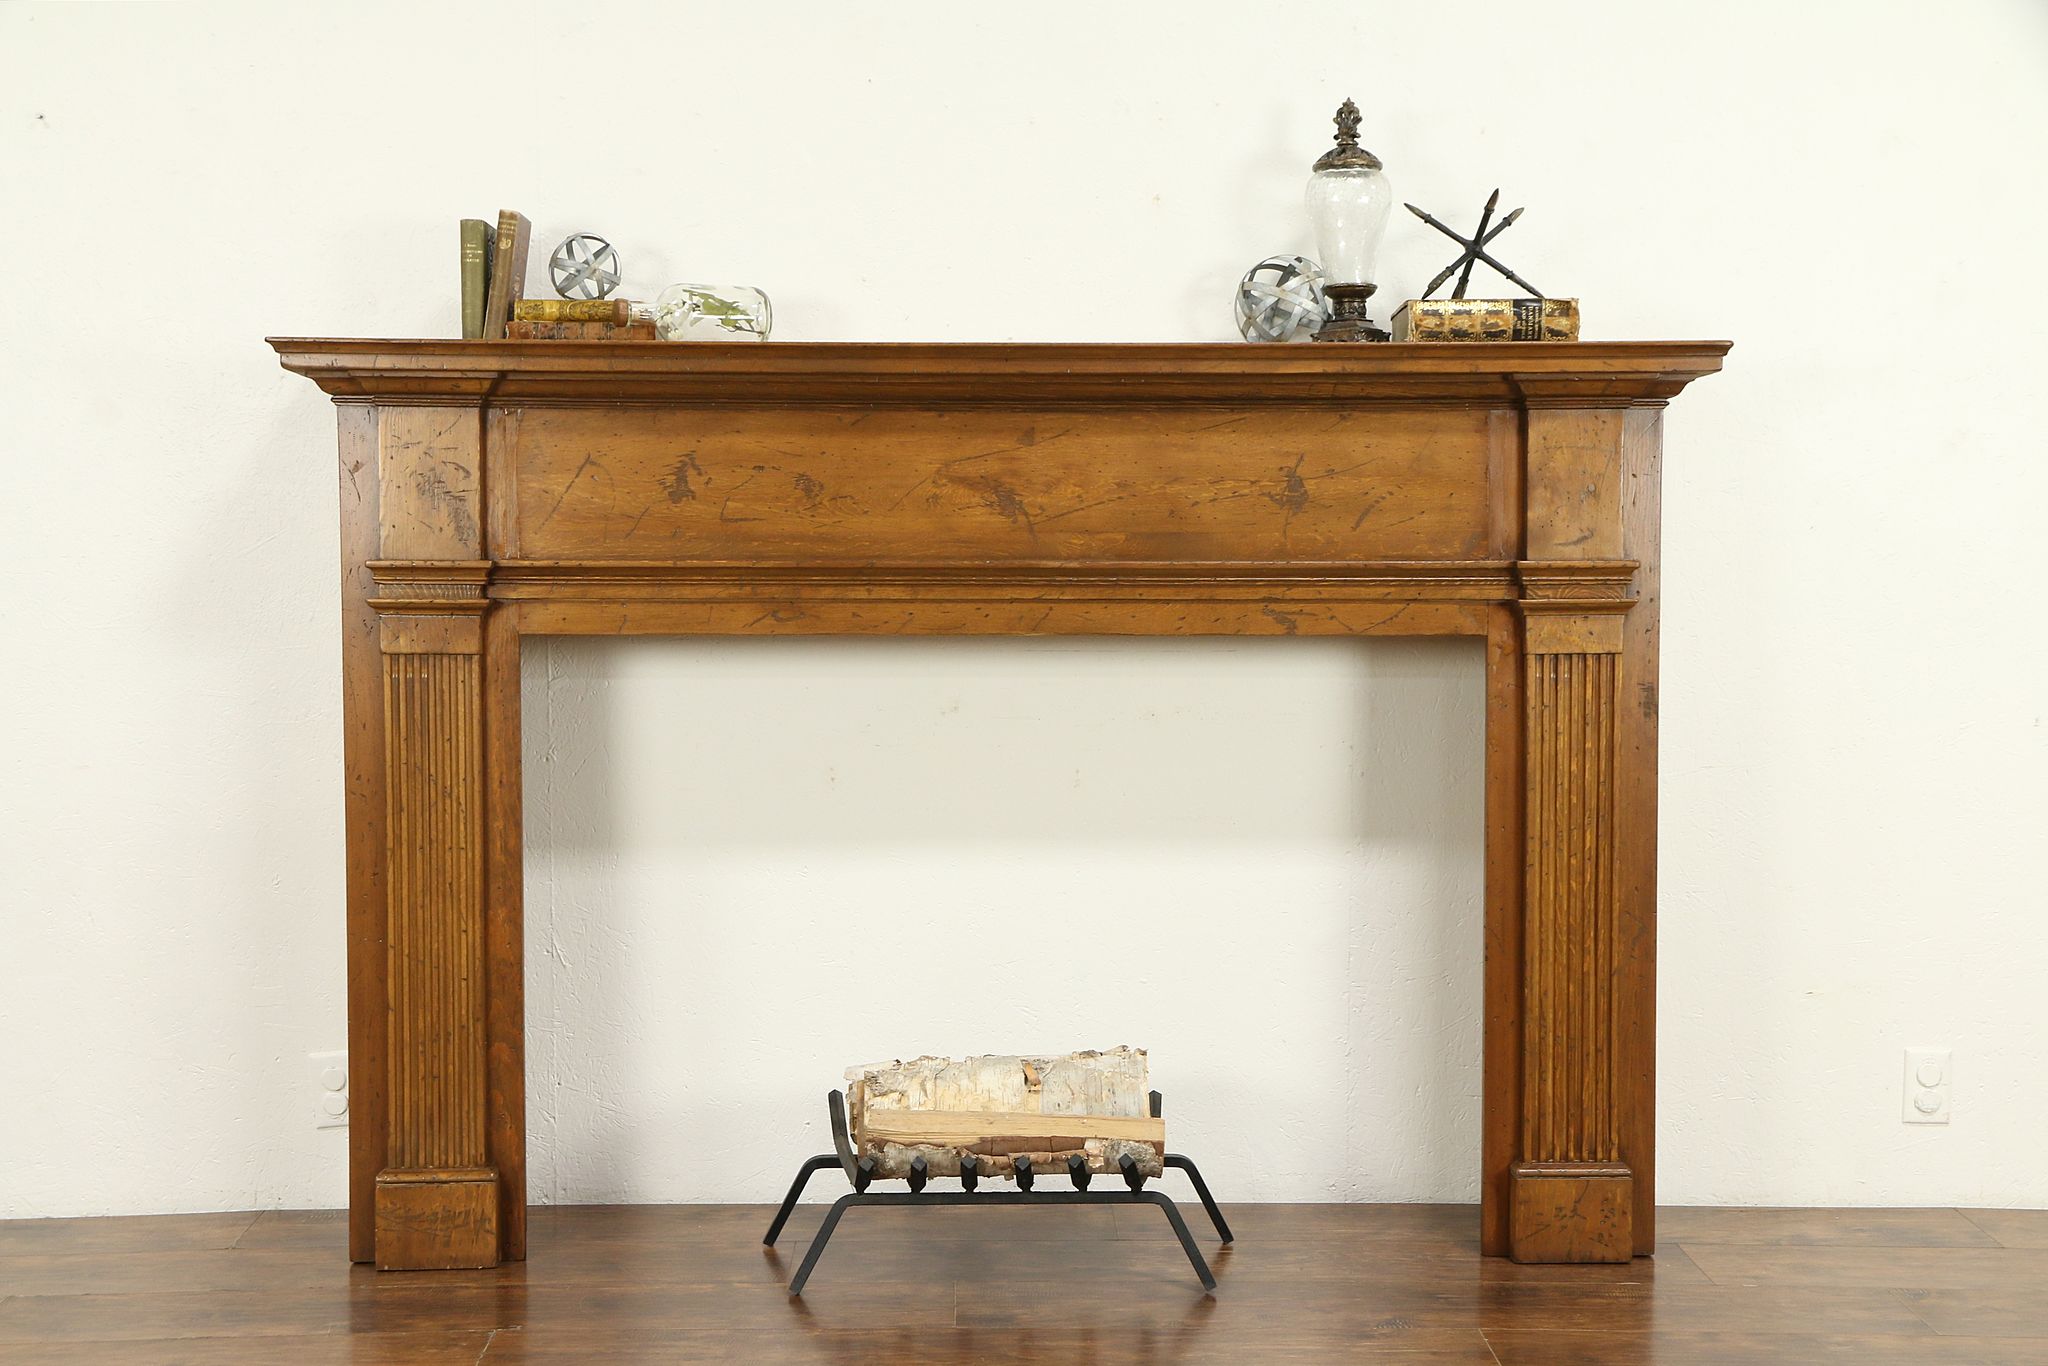
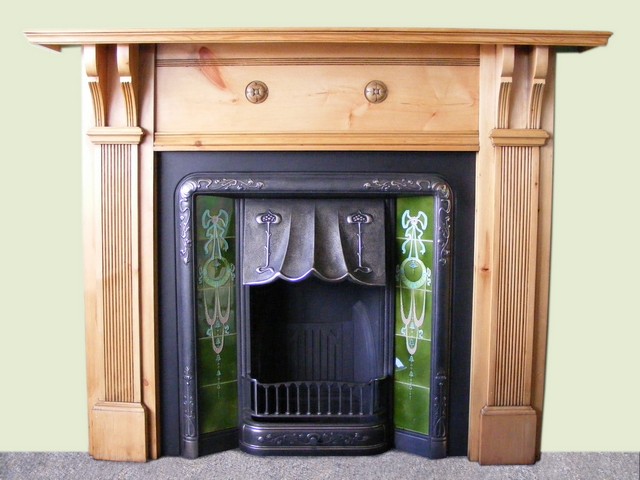
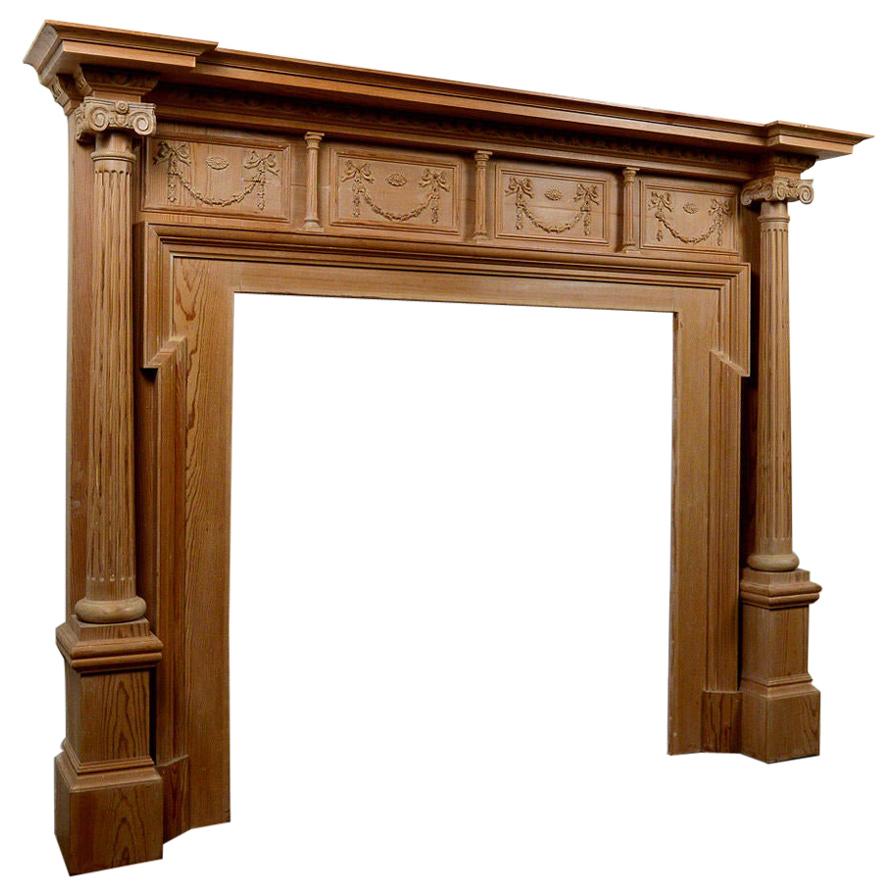
Antique Pine Georgian style Fireplace Surround
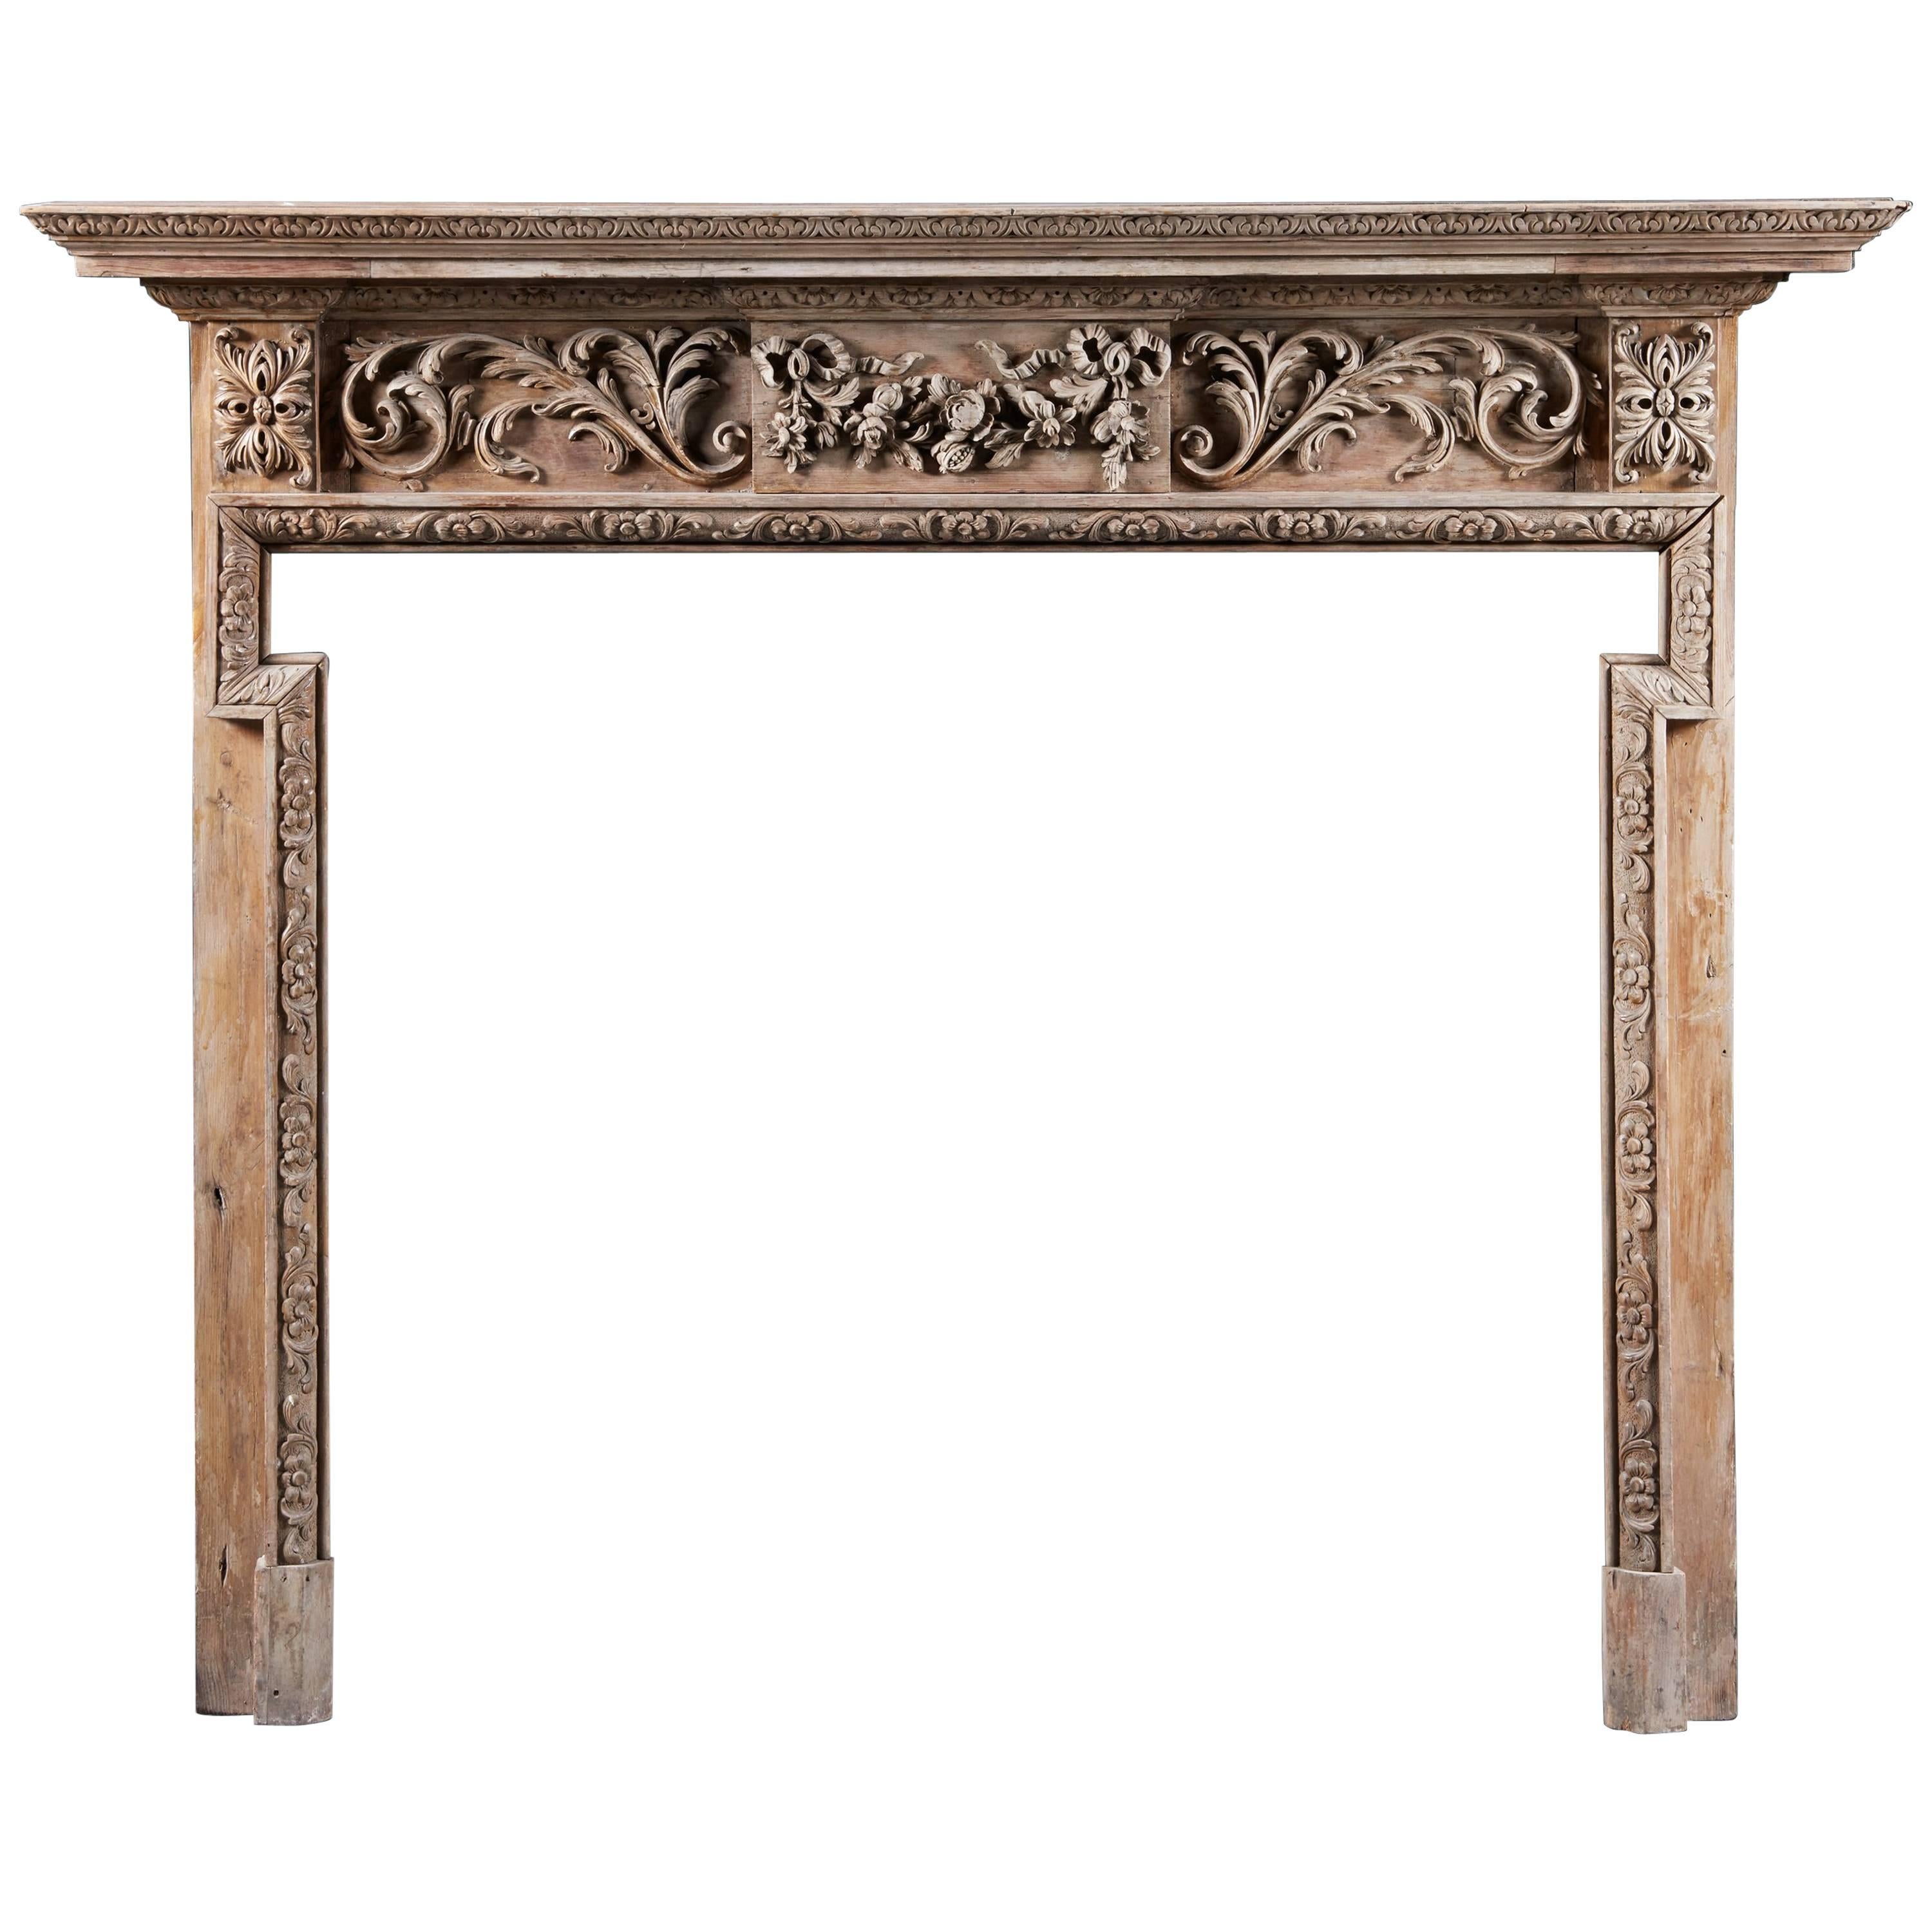
spoon carved sugar pine fireplace mantel u2014 ARCHITECTURAL ANTIQUES

Fire Surround with corbels /pine mantel solid pine wooden we do

Pine Fireplace Fire Surround made to measure bespoke – Pine

Related Posts: