When we bought our 1980s colonial two years ago, the brick fireplace dominated our living room in all the wrong ways. The dark red bricks and heavy brass screen felt outdated and cold, making our main gathering space feel uninviting despite the potential for cozy family evenings. I knew I wanted to create a farmhouse-style surround that would become the heart of our home, but I had no idea where to start or how much work it would involve. After months of planning, countless YouTube tutorials, and some trial-and-error moments that tested my patience, I finally achieved the warm, welcoming focal point I had envisioned.
Planning the Perfect Proportions for Your Space
Before I touched a single tool, I spent weeks measuring and sketching different design options for our fireplace surround. I learned that getting the proportions right is absolutely crucial, because a surround that’s too small will look overwhelmed by the existing brick, while one that’s too large can dominate the entire room. I measured our 8-foot ceiling height and 12-foot wall width, then researched traditional farmhouse proportions to find the sweet spot.
My biggest revelation came when I realized that the surround needed to relate to both the fireplace opening and the room’s overall scale. I created cardboard templates and taped them to the wall, living with different sizes for several days to see how they felt in the space. The winning design extended 18 inches beyond each side of the firebox and reached about 7 feet high, creating a substantial presence without overwhelming our modestly sized living room.
I also had to consider the depth of the surround, especially since I wanted to incorporate a mantel deep enough for seasonal decorations and family photos. After measuring various items I planned to display, I settled on an 8-inch deep mantel, which provided adequate space for styling while maintaining the clean lines that define farmhouse design. This planning phase took longer than I expected, but it saved me from costly mistakes later in the project.
Choosing Materials That Capture Authentic Farmhouse Character
The material selection process became an adventure in itself, taking me to lumber yards, home improvement stores, and even a reclaimed wood specialist an hour outside the city. I initially planned to use standard pine boards, but after seeing examples online where the wood looked too new and uniform, I decided to invest in reclaimed barn wood that would provide authentic character and texture right from the start.
Finding the right reclaimed wood required patience and flexibility. The pieces I eventually chose had beautiful weathering and nail holes that told stories of their previous life, but they also came with challenges like varying thickness and some insect damage that needed addressing. I spent an entire weekend cleaning, sanding, and treating the wood with a borate solution to prevent any future pest issues while preserving the authentic aged appearance.
For the structural components that wouldn’t be visible, I used standard construction lumber to keep costs reasonable while ensuring strength and stability. The combination of reclaimed wood for the visible surfaces and new lumber for the framework gave me the best of both aesthetics and functionality. I also invested in quality wood screws and construction adhesive, learning that the hardware holding everything together is just as important as the beautiful materials everyone sees.

Building the Frame: My DIY Construction Experience
Construction day arrived with equal parts excitement and nervousness, as this was by far the most ambitious woodworking project I had ever attempted. I started by creating a level reference line on the wall, which proved more challenging than expected because our walls weren’t perfectly plumb. Using a laser level and some creative shimming, I established a baseline that would ensure my surround looked straight, even if the house wasn’t.
The actual frame construction went more smoothly than I anticipated, thanks to my detailed planning and the pre-cut lumber list I had prepared. I built the basic frame structure on the floor first, checking for square and making adjustments before mounting it to the wall. The most nerve-wracking moment came when drilling into the brick to secure the frame, but using a quality masonry bit and taking my time prevented any cracking or damage.
Installing the horizontal mantel support required extra attention to ensure it could handle the weight of decorations and seasonal displays. I used heavy-duty toggle bolts in the drywall above the brick and added diagonal bracing within the frame structure. The entire frame took two full days to complete, including time for multiple measurements and adjustments, but having a solid foundation made all the subsequent steps much easier and more enjoyable.
Adding Shiplap and Trim for Classic Farmhouse Style
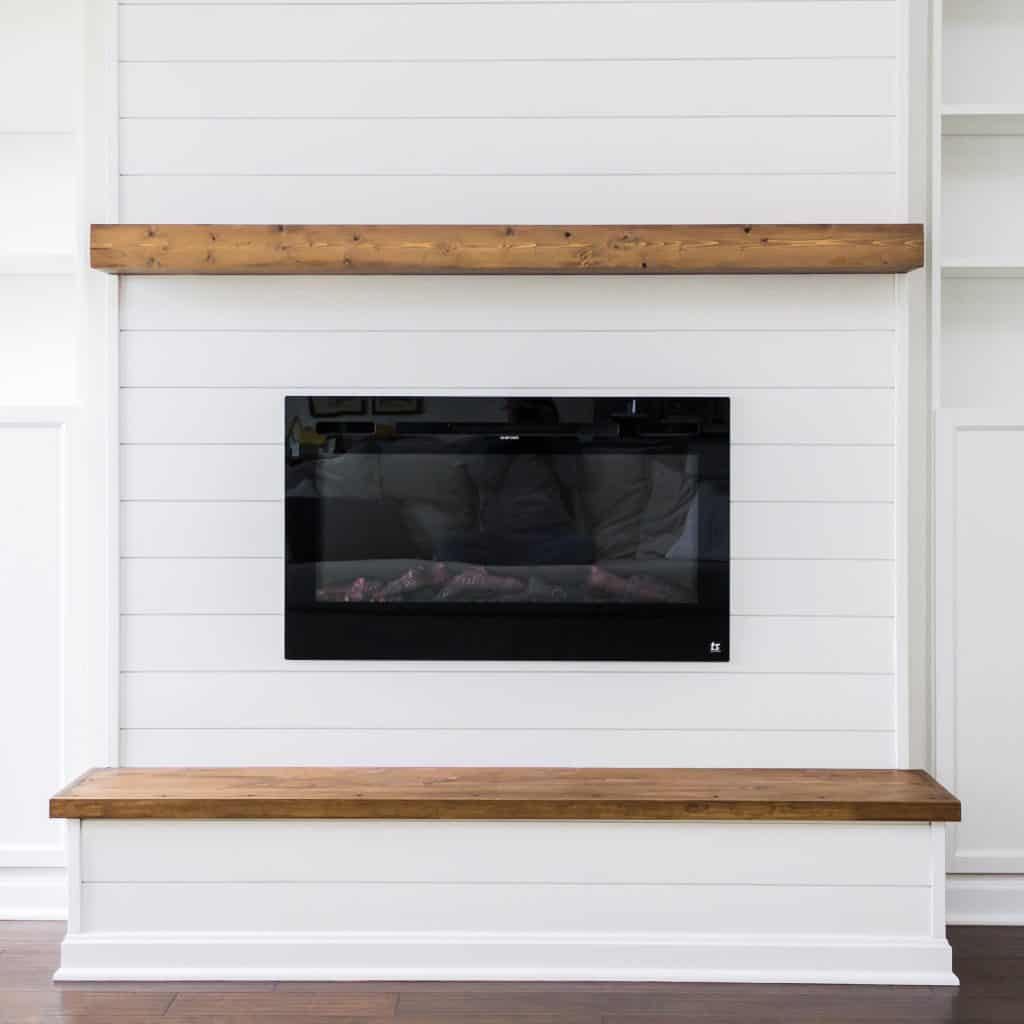
The shiplap installation transformed the basic frame into something that actually started to resemble the farmhouse surround I had envisioned. I chose 1×6 pine boards with a subtle nickel gap rather than traditional tongue-and-groove, which gave me more flexibility in installation while maintaining the classic horizontal line pattern that defines shiplap styling.
Cutting the shiplap to fit around the fireplace opening required careful measuring and several test fits, especially for the pieces that needed to accommodate the curved edges where the surround met the brick firebox. I invested in a quality miter saw for this project, and it made all the difference in achieving clean, precise cuts that fit together seamlessly. Each board required individual fitting due to slight variations in the reclaimed wood dimensions.
The trim work proved to be the most detail-oriented part of the entire project, requiring patience and precision to achieve the clean, finished look I wanted. I used simple 1×4 boards for the outer trim and 1×2 pieces for the inner details, creating depth and visual interest without overwhelming the clean farmhouse aesthetic. Caulking all the joints and nail holes took an entire evening, but this step is what separates a DIY project from a professional-looking installation.
Finishing Touches That Make All the Difference
Choosing the right finish for the wood became another learning experience, as I discovered that different products created dramatically different looks on my reclaimed barn wood. I tested several stains and paint options on sample pieces, ultimately deciding on a combination approach that would preserve some of the wood’s natural character while creating a cohesive appearance across all the different boards.
I settled on a light whitewash technique that allowed the wood grain and existing patina to show through while unifying the various pieces into a cohesive whole. The process involved diluting white paint with water and applying it with a brush, then immediately wiping with a rag to control the opacity. Each board required individual attention due to variations in the wood’s absorbency and existing color.
The hardware selection completed the farmhouse look, with simple black iron brackets supporting the mantel and matching black screws replacing the standard silver ones I had used during construction. I added a subtle LED strip light behind the crown molding to provide gentle uplighting that highlights the ceiling and creates ambiance during evening gatherings. These finishing details took several weekends to perfect, but they transformed the surround from a nice DIY project into a professional-looking focal point.
Styling and Decorating Your New Focal Point
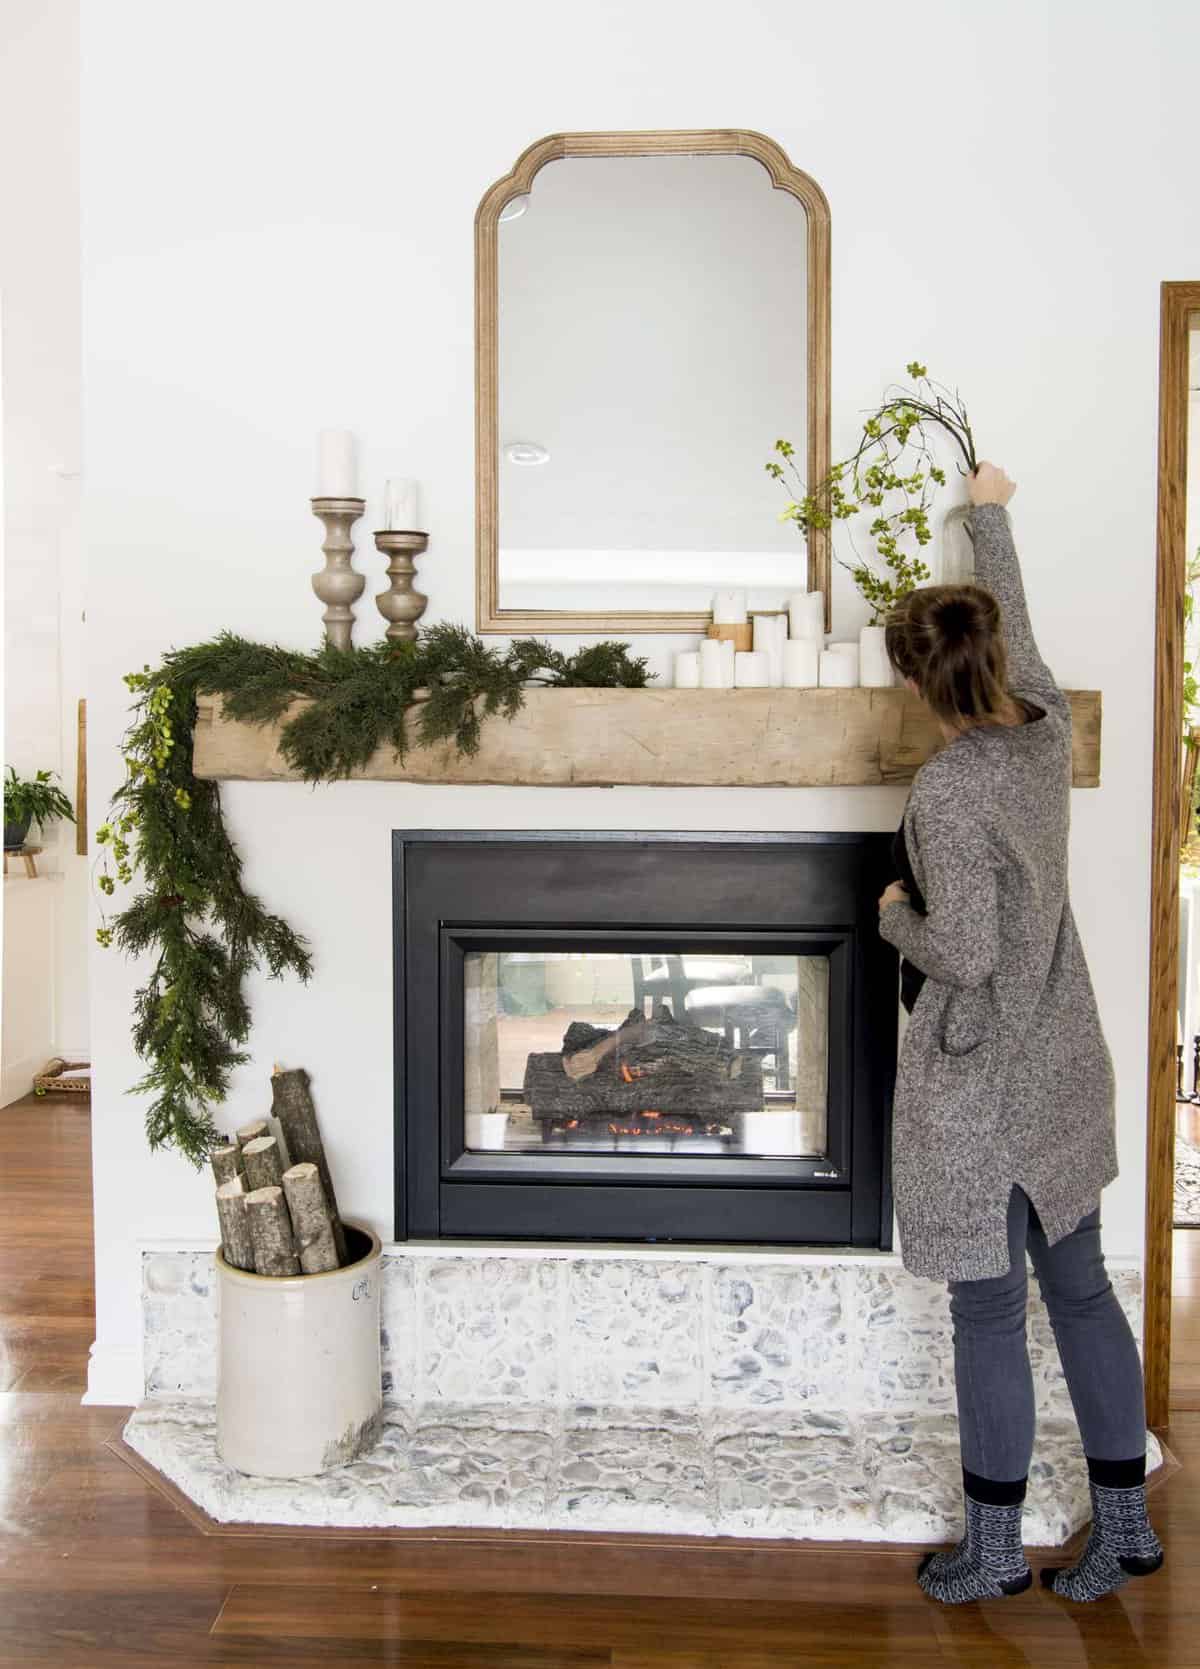
Learning to style the new mantel became an ongoing process of experimentation and seasonal changes. I started with a few basic principles I had learned from design blogs, like varying heights, using odd numbers of objects, and incorporating both decorative and functional items. My first attempts looked too cluttered, so I learned the value of editing and leaving breathing room between items.
The key breakthrough came when I started thinking about the mantel as part of the larger room composition rather than just a shelf to fill with objects. I incorporated elements that echoed colors and textures found elsewhere in the room, like the blue pottery that matched our throw pillows and the wooden candlesticks that complemented our coffee table. This approach created visual harmony throughout the space.
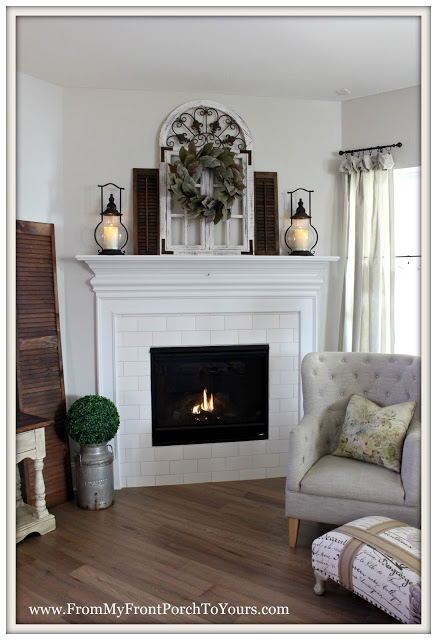
Seasonal decorating has become one of my favorite aspects of having a beautiful mantel to work with. In autumn, I display small pumpkins and branches with colorful leaves, while winter brings out lanterns with battery-operated candles and evergreen garland. Spring calls for fresh flowers and lighter colors, and summer features potted herbs and casual, beachy elements. The surround provides the perfect backdrop for these changing displays while maintaining its timeless farmhouse character year-round.

How much did your farmhouse fireplace surround project cost, and what were the major expenses?
My total investment was around $800, with the reclaimed wood being the biggest expense at $400. Standard lumber for the frame cost $150, hardware and trim added another $100, and finishing materials, including stain, paint, and caul,k totaled $75. The LED lighting and decorative brackets added $75. While I could have reduced costs with new pine boards, the reclaimed wood’s authentic character was worth the extra investment for the final result.
How long did the entire project take from planning to completion?
The project stretched over six weekends, but that included learning time since this was my first major woodworking project. Planning and material sourcing took two weeks, frame construction required two full days, shiplap installation took another weekend, and finishing work spread across two more weekends. An experienced DIYer could probably complete it faster, but I’m glad I took my time to ensure quality results that I’m proud to live with daily.

Do I need special permits or safety considerations for a fireplace surround project?
Check your local codes, but most decorative surrounds don’t require permits since they don’t alter the actual fireplace structure. However, maintain proper clearances from the firebox opening, typically 6-8 inches minimum. I consulted my insurance agent to confirm my modifications wouldn’t affect coverage. Never block ventilation or access panels, and consider fire-resistant finishes if your surround will be very close to the heat source. When in doubt, consult a professional.
Can this type of surround work with gas fireplaces or electric inserts?
Absolutely! In fact, gas and electric units often make the project easier since they typically generate less heat than wood-burning fireplaces. I have friends who’ve created similar surrounds around gas inserts with beautiful results. Electric fireplaces offer the most flexibility since heat isn’t a major concern. Just ensure you maintain manufacturer-recommended clearances and don’t block any required ventilation. The styling principles remain the same regardless of your heat source.

What would you do differently if you were starting this project over?
I’d invest in a pneumatic nail gun from the beginning rather than using a hammer for all the trim work; my hands were sore for days! I’d also buy 20% more reclaimed wood than calculated, as some pieces had defects I couldn’t see until installation. Planning the electrical for the LED accent lighting earlier would have saved time. Most importantly, I’d take more progress photos; the transformation happened gradually, and I wish I had better documented the amazing change this project made to our entire living room.
How do you maintain and clean the reclaimed wood finish?
Maintenance is surprisingly simple! I dust weekly with a microfiber cloth and occasionally use a barely damp cloth for deeper cleaning. The whitewashed finish hides minor scuffs and fingerprints well. Once a year, I touch up any heavily worn areas with the same whitewash mixture I used originally. The beauty of reclaimed wood is that new dings and scratches just add to its character rather than detracting from its appearance. Avoid harsh cleaners that could damage the finish.

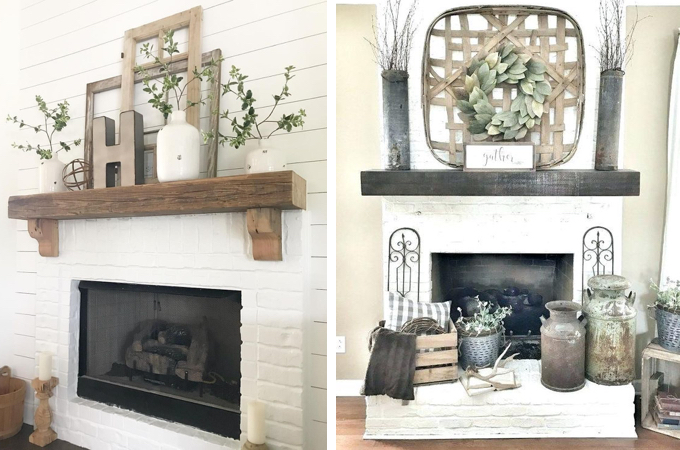
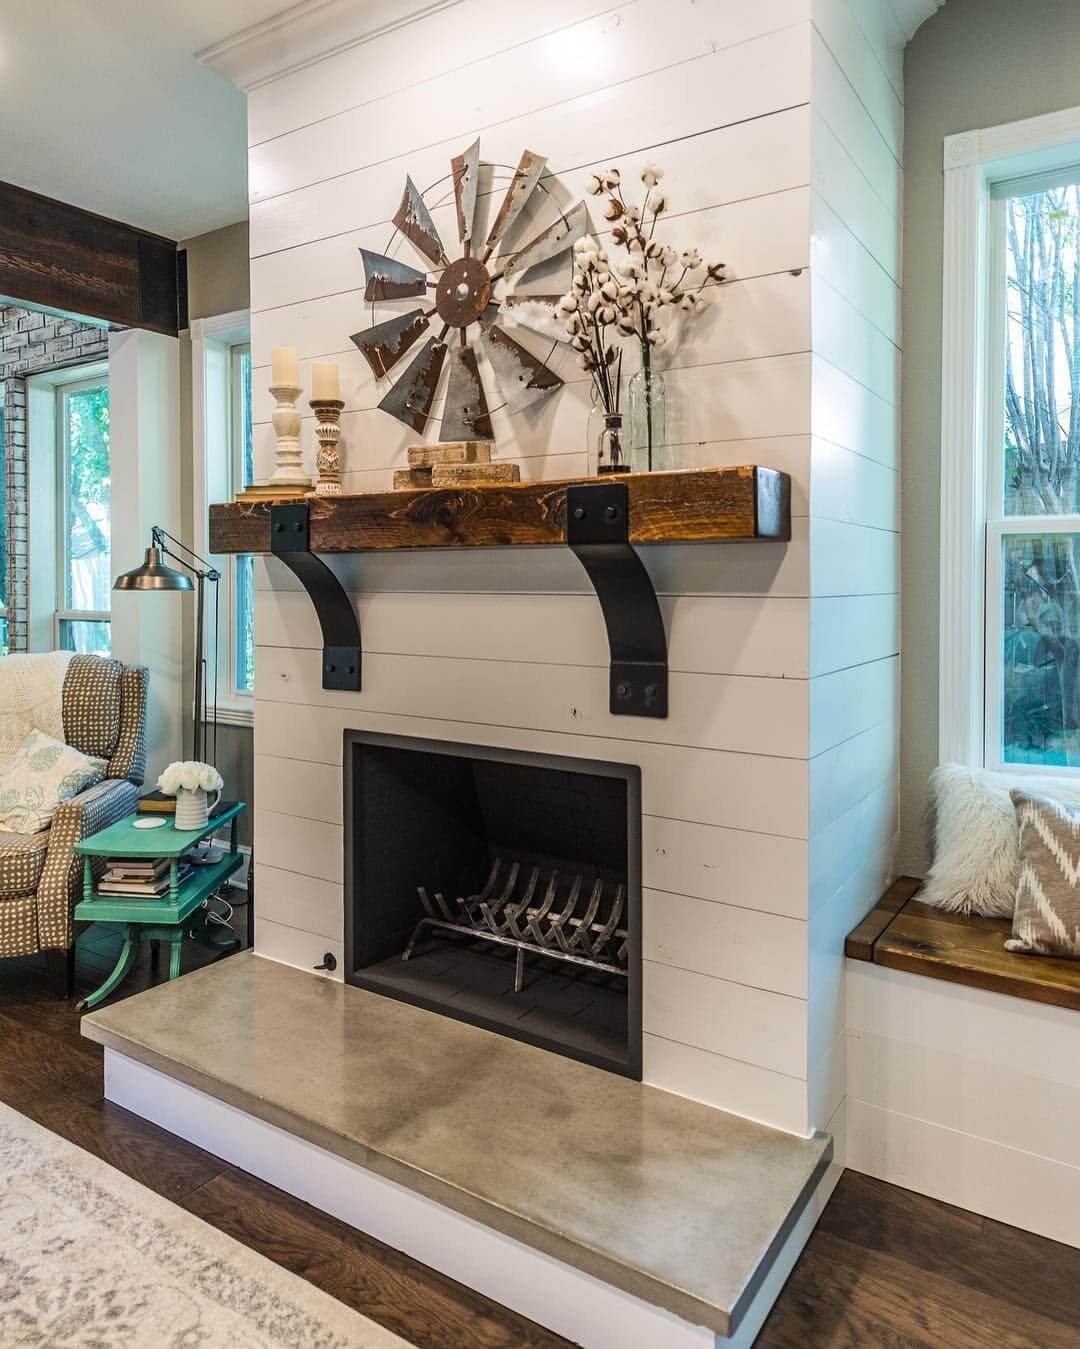
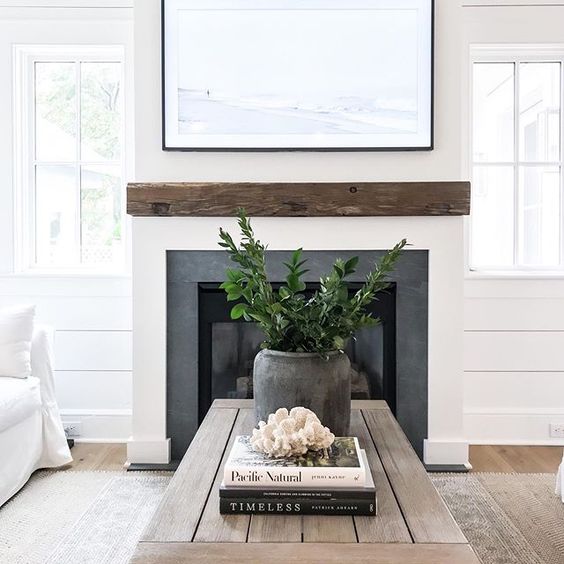
Modern Farmhouse Fireplace Design Inspiration
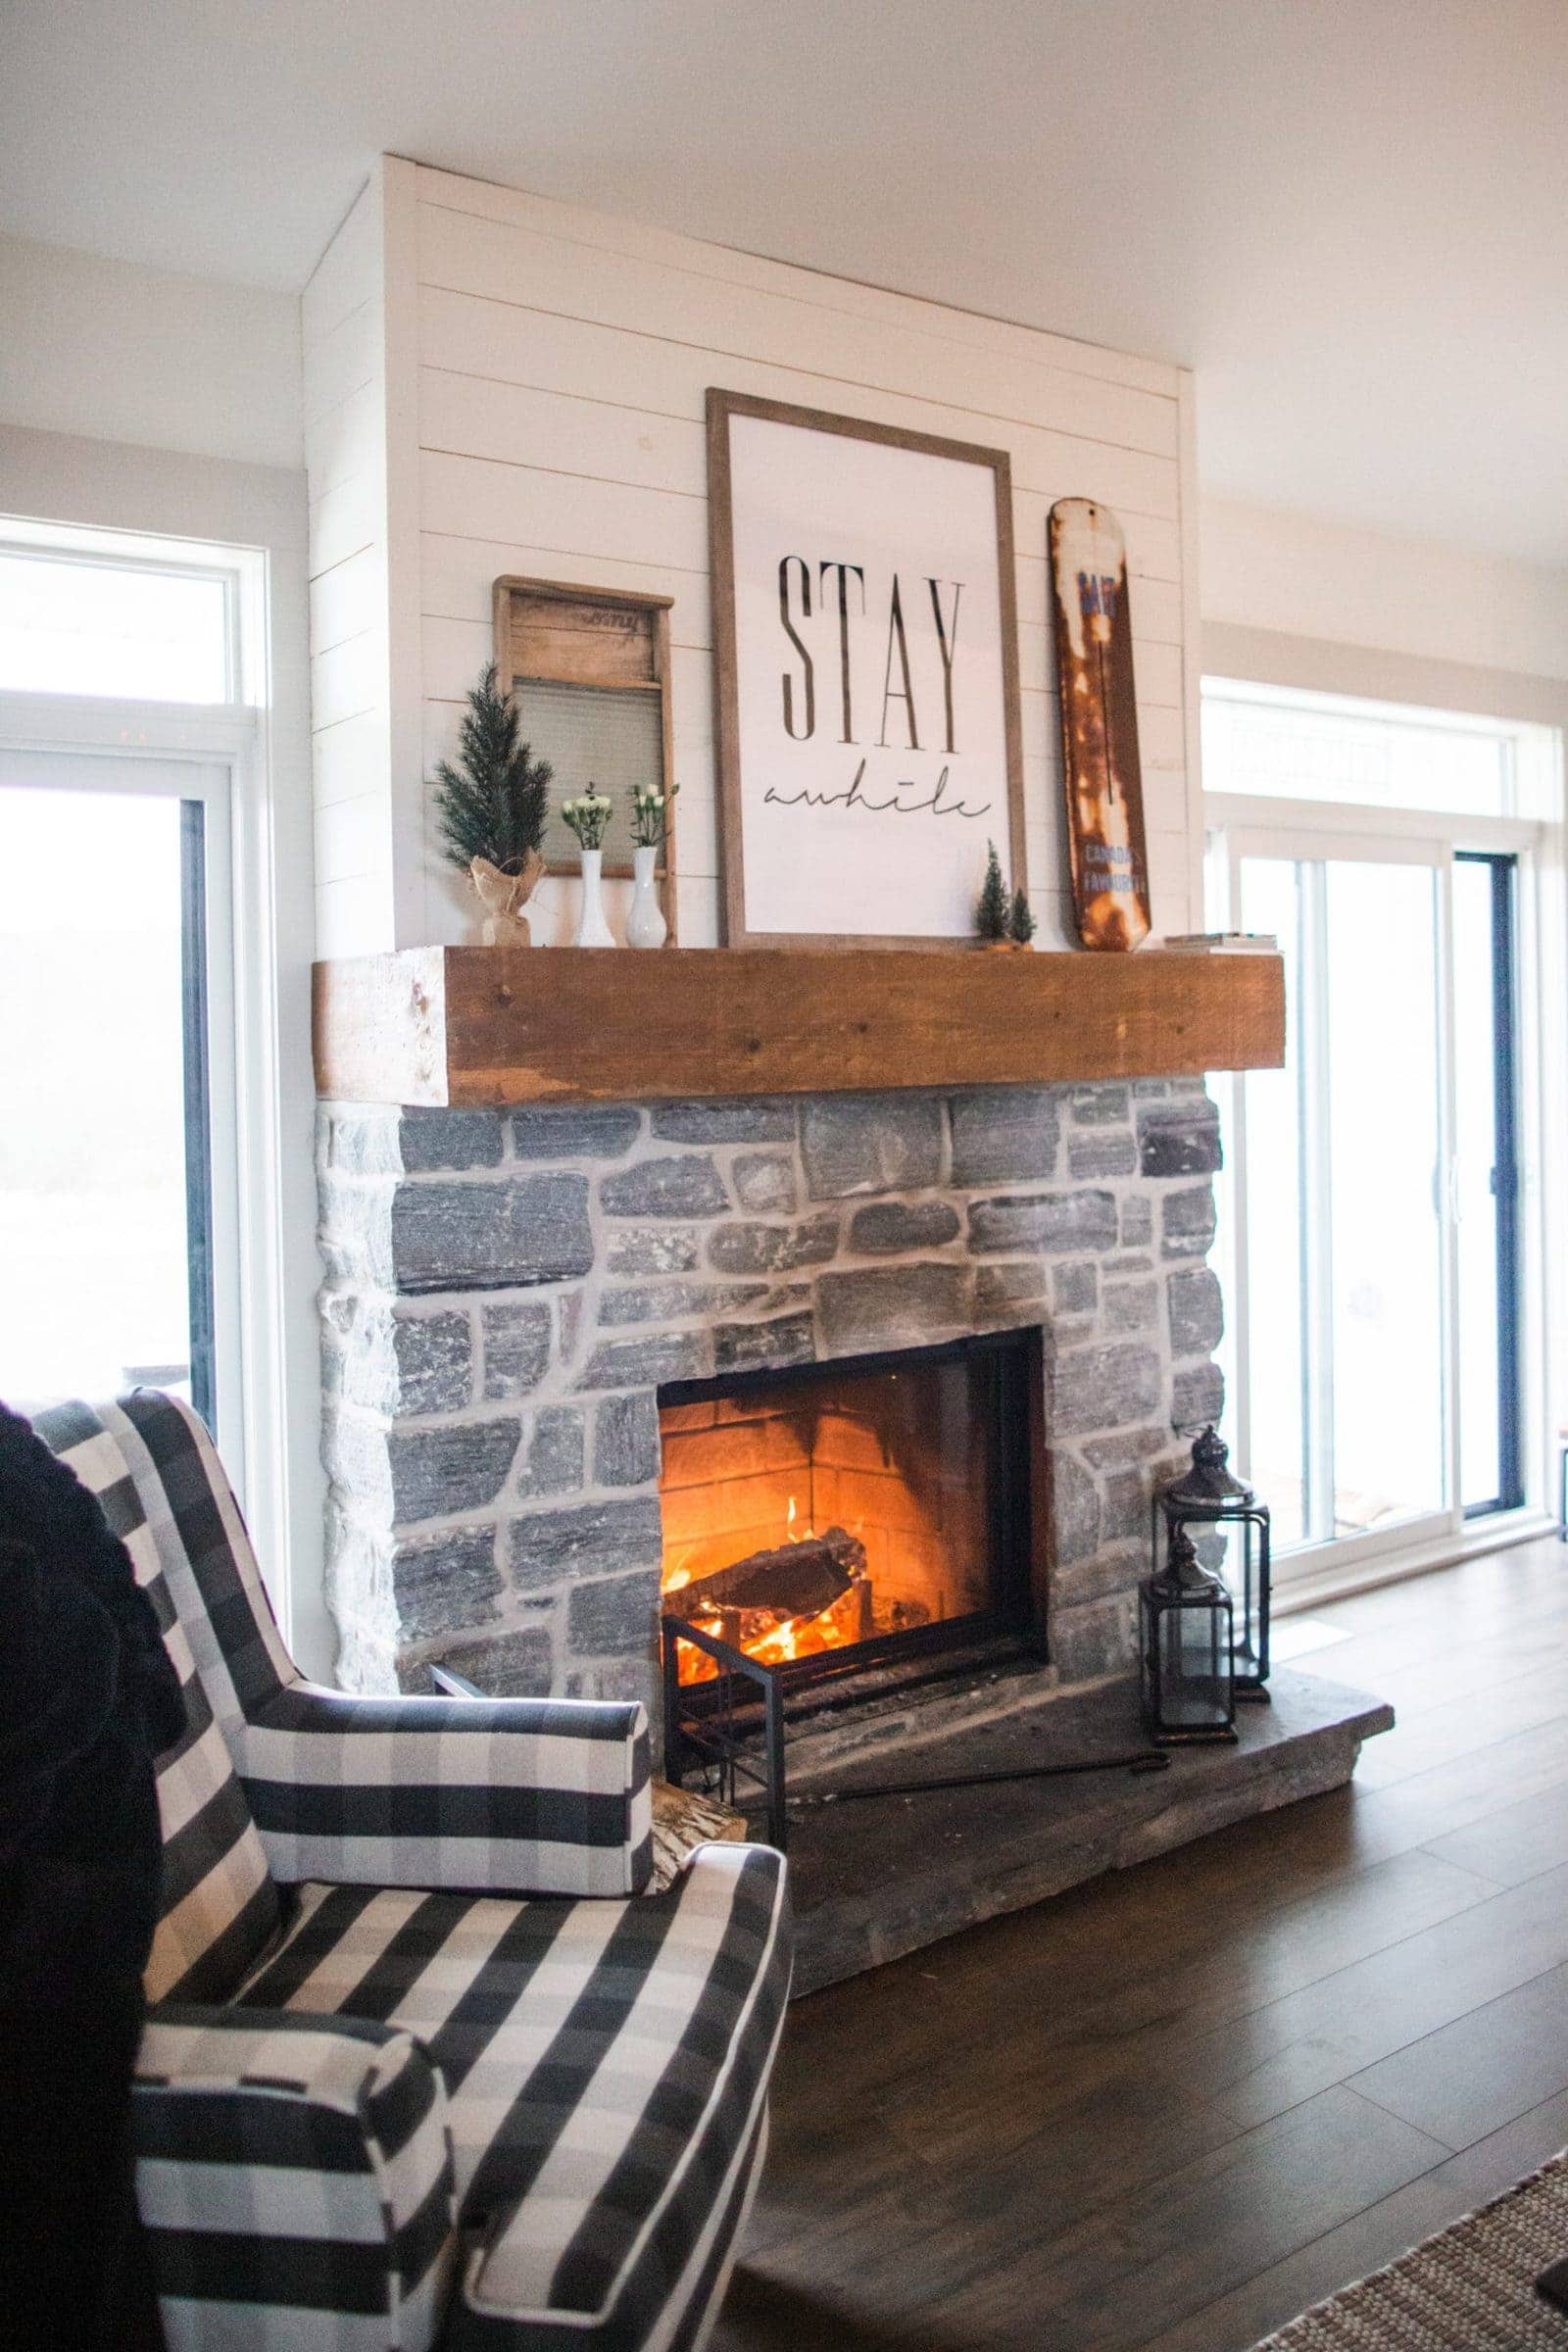
Farmhouse fireplace

From My Front Porch To Yours: Farmhouse Fireplace Mantel Makeover
A Farmhouse Style Fireplace Mantel Update – Through My Front Porch

Styling A Rustic Barn Beam Mantel with Modern Farmhouse Mantel
Are you planning to join the trading hype?

Farmhouse Mantel Decor – Valley + Birch

DIY: Modern Farmhouse Floating Mantel – Free and Unfettered
Related Posts: