A fireplace is often the focal point of any living room, and an outdated one can be a real eyesore. But don’t worry; you don’t have to tear down the whole thing and start from scratch to give it a fresh new look. One option that is becoming increasingly popular is to give your fireplace a makeover with glass tiles. Here’s everything you need to know about this exciting new trend.
Choose the Right Glass Tiles for Your Fireplace
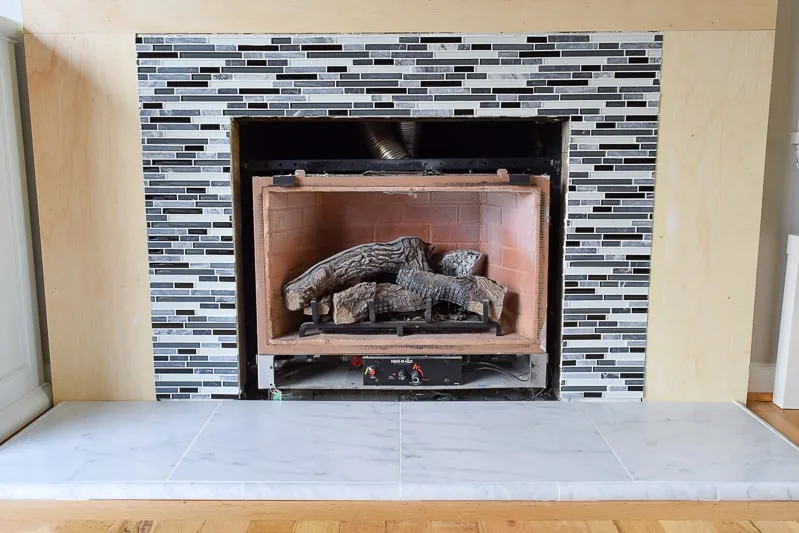
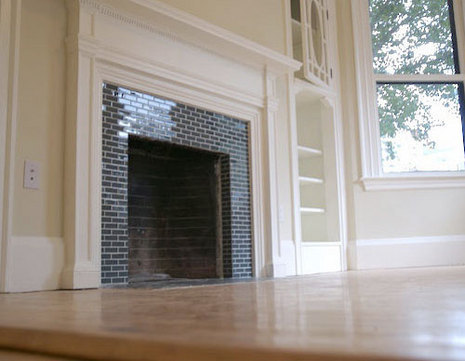
The first step in giving your fireplace a glass tile makeover is choosing the right tiles. Glass tiles come in all shapes, sizes, and colors, so the possibilities are endless. You can go with a classic look using clear or frosted glass tiles or get creative with bold colors and interesting textures.
When choosing your tiles, be sure to consider the overall style of your home. You want your new fireplace to blend in seamlessly with the rest of your décor. If you’re unsure where to start, consult a professional interior designer or a knowledgeable sales associate at your local home improvement store.
Prepare Your Fireplace for Installation
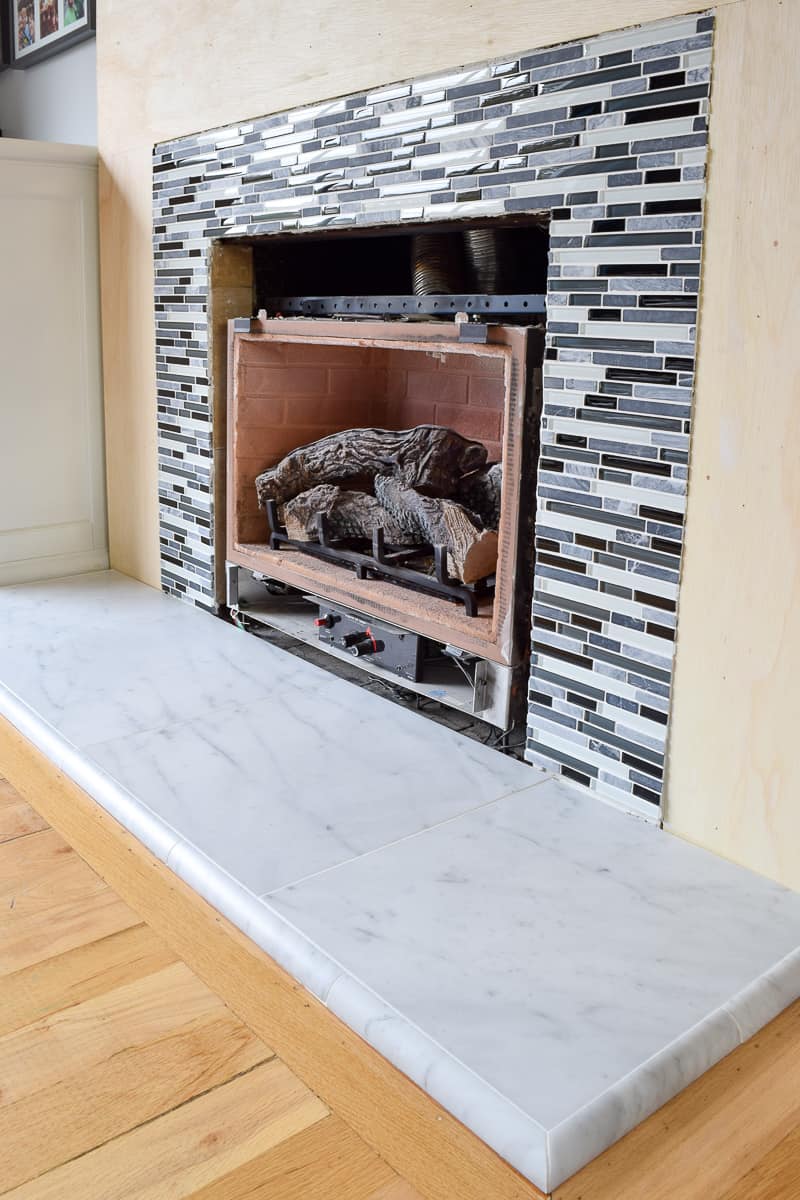
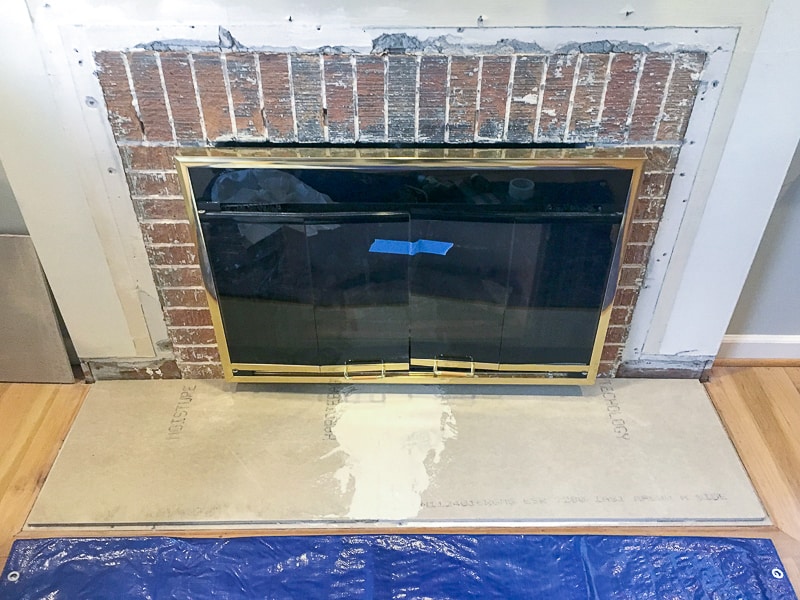
Before installing your glass tiles, you must prepare your fireplace. This involves cleaning the existing brickwork and making any necessary repairs. If your fireplace is very old, it might be a good idea to have a professional chimney sweep inspect it to ensure it’s safe to use.
Once your fireplace is clean and in good condition, you can start preparing the surface for the tiles. Depending on the condition of your brickwork, you might need to apply a thin layer of cement or adhesive to create a smooth surface for the tiles to adhere to.
Install the Glass Tiles
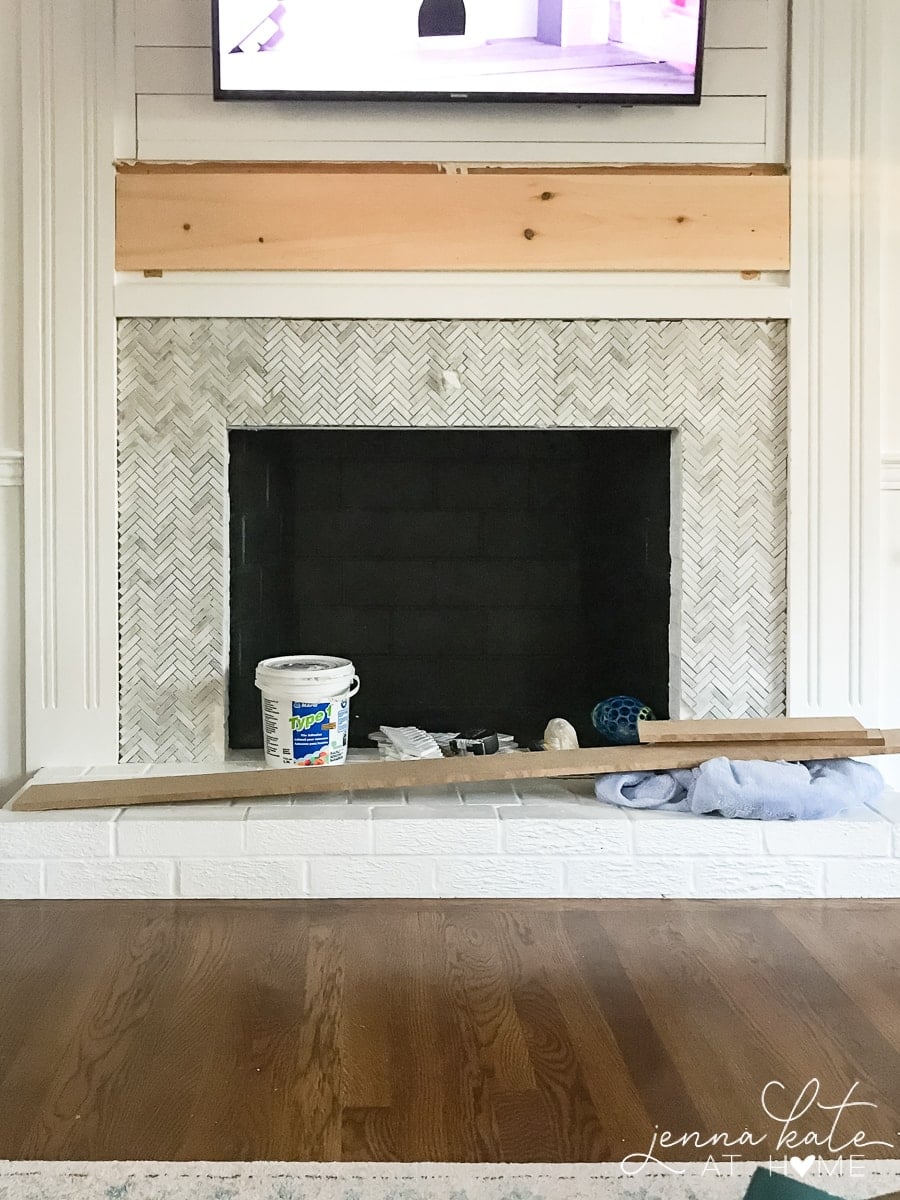
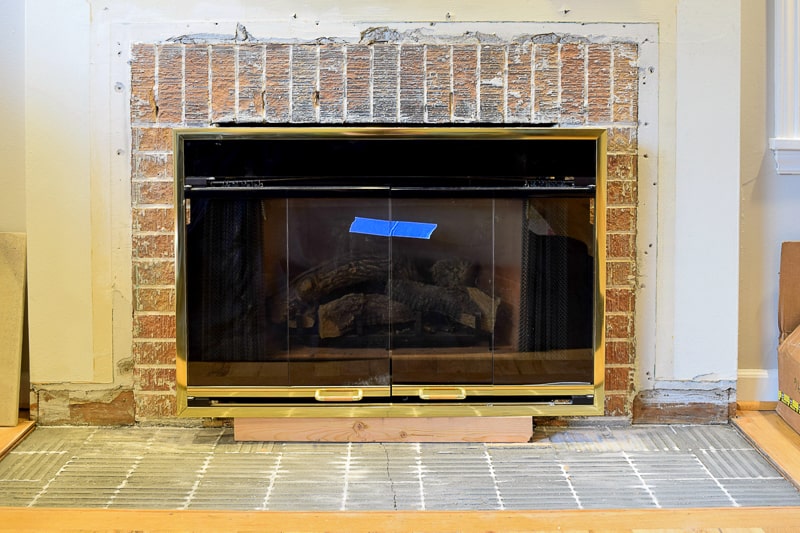
Now it’s time to start installing your glass tiles. This delicate process requires a steady hand and a lot of patience. It’s important to take your time and work carefully to ensure your tiles are properly aligned and spaced.
You’ll need to use a special adhesive that is designed for glass tiles, and you’ll also need to use tile spacers to ensure that your grout lines are even. Once the tiles are installed, you must let the adhesive dry completely before applying grout.
Apply the Grout
Applying the grout is the final step in giving your fireplace a glass tile makeover. This will help to hold the tiles in place and give your fireplace a finished look. Like the adhesive, you’ll need to use a special grout designed for glass tiles.
Apply the grout carefully, ensuring to fill in all the gaps between the tiles. Once the grout is dry, you can use a damp sponge to wipe away any excess and create a clean, smooth finish.
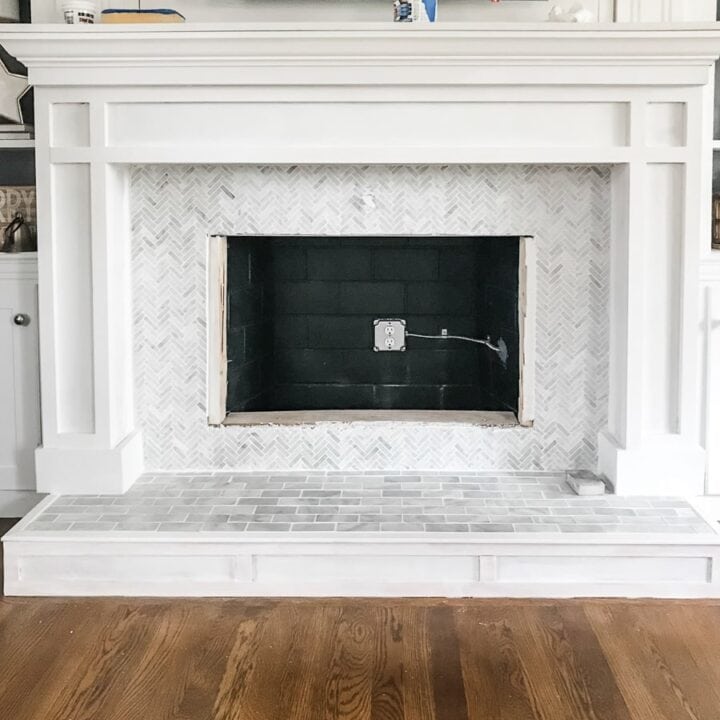
Enjoy Your New Fireplace
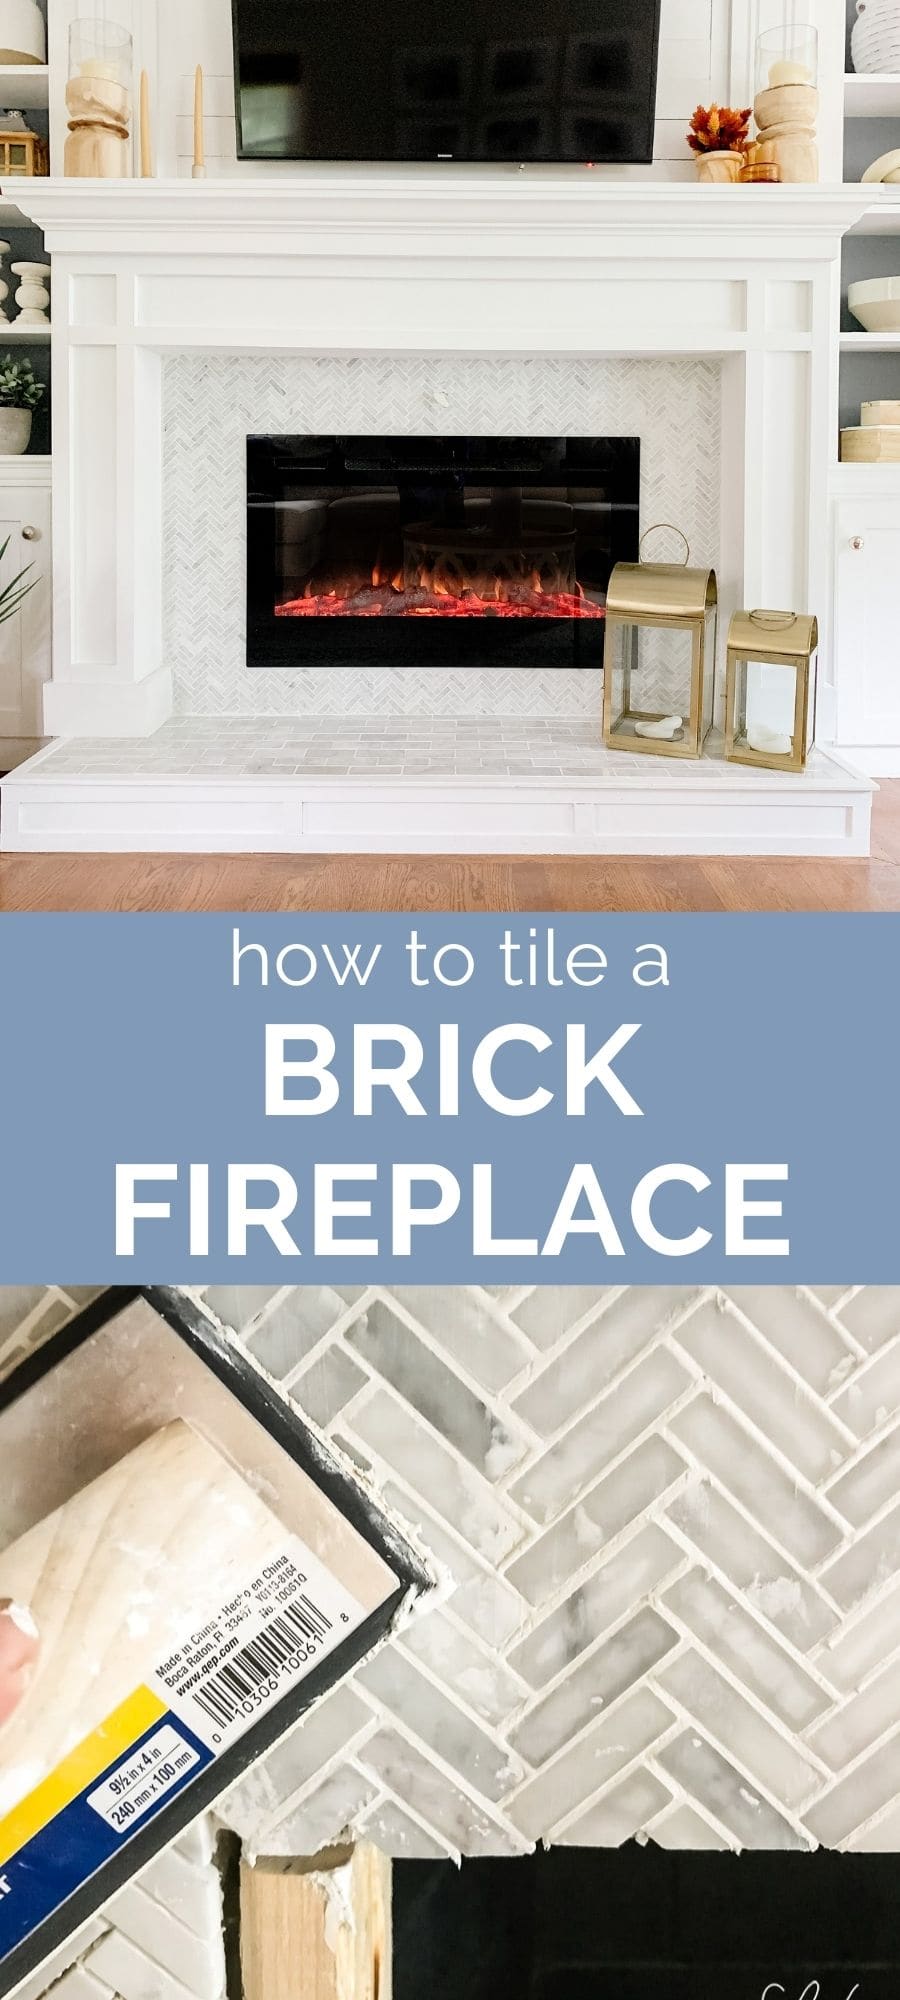
Now that your glass tile makeover is complete, it’s time to sit back and enjoy your beautiful new fireplace. You’ll be amazed at how much of a difference a few simple changes can make. Whether you choose a classic look or something bold and modern, your new fireplace will surely become your living room’s centerpiece.
How to Tile a Fireplace (even if itu0027s brick!) – The Handymanu0027s
How to Tile a Brick Fireplace – Jenna Kate at Home
How to Tile a Brick Fireplace – Jenna Kate at Home
How to Tile a Fireplace (even if itu0027s brick!) – The Handymanu0027s
Tiling a Fireplace: DIY Project The Home Depot

How to Tile a Fireplace (even if itu0027s brick!) – The Handymanu0027s
How To Tile Over A Brick Fireplace Surround – Shine Your Light

How to Tile a Fireplace (even if itu0027s brick!) – The Handymanu0027s
Fireplace is done! Glass tile fireplace, Fireplace tile, Mosaic

How to Tile a Brick Fireplace – Jenna Kate at Home
Glass Tile Fireplace Design Ideas, Pictures, Remodel and Decor

How to Tile a Fireplace Surround and Hearth The Home Depot

How To: Tile Over a Brick Fireplace – Curbly
Related Posts:
- Vintage Brick Fireplace
- Farmhouse Brick Fireplace
- Repaint Brick Fireplace
- How To Clean Brick Fireplace
- Small Brick Fireplace
- Remodel Brick Fireplace With Stone
- Red Brick Outdoor Fireplace
- How To Clean Mold Off Brick Fireplace
- Painted Gray Brick Fireplace
- Paint Wash Brick Fireplace