When I first laid eyes on my living room’s outdated brick fireplace, I knew something had to change. I’d been scrolling through home design photos for months, and one theme kept catching my attention: vintage wood fireplace surrounds. There was something about the warmth and character of reclaimed wood that spoke to me. After completing my own fireplace transformation, I learned so much about selecting, installing, and styling these beautiful pieces that I want to share my experience with you.
Finding the Perfect Vintage Wood for Your Surround
My search for the right vintage wood took me to salvage yards, antique shops, and even old barns in the countryside. I quickly discovered that not all reclaimed wood is created equal. Some pieces had beautiful weathering and patina, while others were damaged beyond repair. I learned to look for wood with tight grain patterns and minimal warping. Barn wood became my favorite because of its authentic age marks and the stories each piece seemed to tell. The imperfections, like nail holes and saw marks, added so much character that new wood simply couldn’t replicate.
I spent weeks examining different wood species before making my choice. Oak and chestnut were stunning but came with premium price tags. Pine offered affordability but required more careful inspection for structural integrity. I eventually chose reclaimed oak from a 1920s factory building because it had the perfect balance of durability and aesthetic appeal. The wood’s natural darkening over decades gave it a rich, chocolatey tone that I knew would anchor my living room beautifully.
One lesson I learned the hard way: always check your vintage wood for pests and rot before bringing it home. I bought a gorgeous piece of barn siding once, only to discover powder post beetles had made it their home. Now I inspect every board carefully, looking for small holes and fine sawdust. I also learned to ask sellers about the wood’s history and storage conditions. Wood that’s been properly dried and stored will serve you much better than pieces that have been sitting in damp conditions.
Designing Around Your Home’s Architecture
My house was built in 1950, and I wanted my fireplace surround to feel like it had always been there. I studied the existing woodwork throughout my home, noting the door casings, baseboards, and window trim. This helped me understand the proportions and style that would look authentic. I took measurements of everything and created a mood board with photos of surrounds that complemented mid-century architecture. This planning phase saved me from making costly mistakes later.
I decided on a simple, clean-lined design that honored both the vintage wood and my home’s original aesthetic. Some of my friends went for ornate Victorian-style mantels with lots of carved details, but that felt wrong for my space. Instead, I chose chunky, substantial pieces with minimal ornamentation. The thick mantel shelf became the focal point, measuring eight inches deep and extending well beyond the firebox on each side. This created the perfect spot for displaying family photos and seasonal decorations.
The proportions matter more than I initially realized. I made cardboard templates and taped them to the wall before cutting any wood. This let me live with the design for a few days and make adjustments. I found that my mantel looked best positioned about 60 inches from the floor, which left plenty of space above for a large mirror or painting. The side columns needed to be wide enough to balance the mantel’s visual weight without overwhelming my modest-sized room. Getting these measurements right made all the difference in the final result.

Preparing and Treating Vintage Wood Properly
Before I could install anything, I needed to prepare my reclaimed wood properly. I started by carefully cleaning each piece with a soft brush to remove decades of accumulated dirt and grime. Some boards required more aggressive cleaning with a mild soap solution, but I was always gentle to preserve the patina. I learned that over-cleaning vintage wood can strip away the very character you’re trying to preserve. Finding that balance took some trial and error on the less visible pieces first.
The next step involved sanding, which I approached with caution. I didn’t want my wood looking too fresh or new. I used fine-grit sandpaper to smooth rough spots and splinters while maintaining the aged appearance. In some areas, I deliberately left the weathering intact because those imperfections told the wood’s story. I also filled a few larger cracks with wood filler that I custom-tinted to match. This stabilized the boards without making the repairs obvious.
Finishing the wood was perhaps the most important decision I made. I tested several products on scrap pieces before committing. Polyurethane gave too much shine and looked artificial. I ultimately chose a penetrating oil finish that enhanced the natural color while providing protection. I applied multiple thin coats, waiting patiently between each application. The oil brought out the grain patterns beautifully and gave the wood a soft, hand-rubbed appearance. For extra protection near the firebox, I used a heat-resistant sealer recommended by my local fireplace specialist.

Installation Techniques That Worked for Me
I won’t pretend the installation was easy, but breaking it down into manageable steps made it achievable. I started by building a framework directly onto the wall using furring strips. This created a solid foundation for attaching the vintage wood pieces. I made sure everything was level and plumb, checking and rechecking my measurements. My framework extended from floor to ceiling, though the visible wood would only cover a portion of that height. This gave me flexibility in the final design.
Attaching the vintage wood to my framework required some creativity because I wanted to hide all fasteners. I used a combination of construction adhesive and hidden pocket screws. For the mantel shelf, I built a concealed bracket system that could support significant weight. I tested it with sandbags before declaring it safe for my grandmother’s antique clock. Each piece of wood was carefully positioned and secured, and I left tiny gaps between boards to allow for natural expansion and contraction with humidity changes.
The corners and joints presented the biggest challenge. I wanted seamless transitions between pieces, so I spent hours with my miter saw getting angles perfect. Some joints I reinforced with hidden splines for extra strength. I learned that wood filler could hide small gaps, but proper cutting was always better. When I finally stepped back and saw everything coming together, the effort felt worthwhile. My hands were sore, and I’d gone through countless sandpaper sheets, but the surround was taking shape beautifully.

Styling Your Vintage Surround for Maximum Impact
Once my surround was installed, the fun part began: styling it. I’d collected vintage accessories during my wood hunt, anticipating this moment. An old brass candlestick pair I found at an estate sale looked perfect on the mantel. I added a primitive wooden bowl filled with dried hydrangeas from my garden. The key was not overdoing it. I’ve seen mantels so cluttered that you can’t appreciate the beautiful wood underneath. I kept things simple and let the vintage surround be the star.
I experimented with different arrangements until I found what felt right. Symmetry worked well for formal occasions, with matching items on each end and something taller in the center. For everyday living, I preferred a more relaxed, asymmetrical approach. I grouped items in odd numbers and varied the heights to create visual interest. A tall vintage mirror leaning against the wall above the mantel reflected light and made the room feel larger. I switched things up seasonally, adding pine boughs in winter and fresh flowers in spring.
The area around the fireplace needed attention, too. I anchored the space with a vintage Persian rug that picked up the warm tones in the wood. My furniture arrangement created a cozy conversation area focused on the fireplace. I added an old wooden trunk nearby for storing firewood, which doubled as extra seating when needed. Table lamps on side tables created pools of warm light that made the wood glow in the evenings. Every element worked together to highlight my beautiful vintage surround.

Maintaining Your Vintage Wood Fireplace Surround
I quickly learned that vintage wood requires different care than modern materials. Dust accumulation was my first concern because it settled into every crack and crevice. I started dusting weekly with a soft microfiber cloth, using gentle strokes in the direction of the grain. For deeper cleaning, I barely dampened my cloth and followed immediately with a dry one. I never used harsh chemicals or spray cleaners because they could damage the finish or strip the patina I’d worked so hard to preserve.
The wood’s proximity to the fireplace meant I needed to be vigilant about heat exposure. I installed a proper heat shield behind the firebox according to code, but I still monitored the surround during fires. I noticed the wood nearest the opening would sometimes feel warm to the touch, so I made sure never to leave fires unattended. I also kept flammable decorations well away from the firebox opening. Once, a too-vigorous fire sent a spark onto the mantel, leaving a small burn mark that I now consider part of the wood’s continuing story.
Every few years, I plan to reapply the oil finish to keep the wood nourished and protected. I watch for any signs of drying or cracking, especially during winter when the heat is running constantly. If I notice the wood looking dull, I know it’s time for another treatment. I’ve also learned to maintain consistent humidity levels in my home because dramatic swings can cause the vintage wood to expand and contract excessively. A simple humidifier during dry months has helped preserve my surround integrity and appearance.
How much did your vintage wood fireplace surround cost?
My total investment came to about $1,200, though costs vary widely depending on wood choice and project scope. I spent $400 on reclaimed oak from a salvage yard, $200 on hardware and mounting materials, $150 on finishing products, and about $450 on tools I didn’t already own. If you have basic woodworking tools and skills, you could complete a similar project for $600-800. Hiring a professional carpenter would add $800-1,500 to these figures. Shopping at salvage yards instead of specialty reclaimed wood dealers saved me significantly.
Is vintage wood safe to use around an active fireplace?
Yes, when installed properly with appropriate clearances and heat shields. I consulted my local building inspector and followed all fire codes carefully. The key is maintaining a proper distance between combustible materials and the firebox. I kept my wood at least six inches from the opening and installed a non-combustible heat shield on the wall behind. I also applied a heat-resistant sealer to the wood closest to the heat source. Never compromise on safety. If you’re uncertain about requirements in your area, hire a certified professional.

Where did you find your reclaimed wood?
I sourced my wood from multiple places over three months of searching. Architectural salvage yards offered the best selection and quality, though prices varied. I found great deals at estate sales and farm auctions where old barns were being dismantled. Online marketplaces connected me with people renovating old homes who were happy to sell their original wood trim. I also checked with local demolition companies, who sometimes set aside interesting pieces. Building relationships with these sources meant they’d call me when something special came in.
How long did the installation take?
From start to finish, my project took about five weekends of dedicated work. The first weekend involved planning, measuring, and acquiring materials. Weekend two was all about cleaning and preparing the vintage wood. I built the framework during weekend three. Installation of the actual wood pieces took two full days during weekend four. The final weekend involved finishing touches, touch-up work, and styling. If I tackled this project again, I could probably complete it in three weekends with my newfound experience and knowledge.

Can vintage wood work with modern or contemporary interiors?
Absolutely, and the contrast can be stunning. I’ve visited homes where rough-hewn barn wood surrounds created beautiful focal points in otherwise minimalist spaces. The key is intentional design. Keep the surround’s lines clean and simple, avoiding overly ornate Victorian details that might clash. Let the wood’s natural texture and patina provide the visual interest. Pair it with modern furniture and minimal accessories. The juxtaposition of old and new creates depth and prevents contemporary spaces from feeling cold or sterile. Trust your instincts and don’t be afraid to mix eras.
What’s the biggest mistake you made during your project?
I initially chose wood that was too rustic and weathered for my application. I fell in love with some gorgeous silvered barn siding, but it was too fragile and spalted for structural use. I’d already started cutting pieces when I realized my mistake. I had to start over with sturdier wood, which cost me time and money. Now I know to thoroughly inspect reclaimed wood for structural integrity before purchasing. Surface beauty matters, but the wood needs to be sound underneath. This expensive lesson taught me to balance aesthetics with practicality in every project.
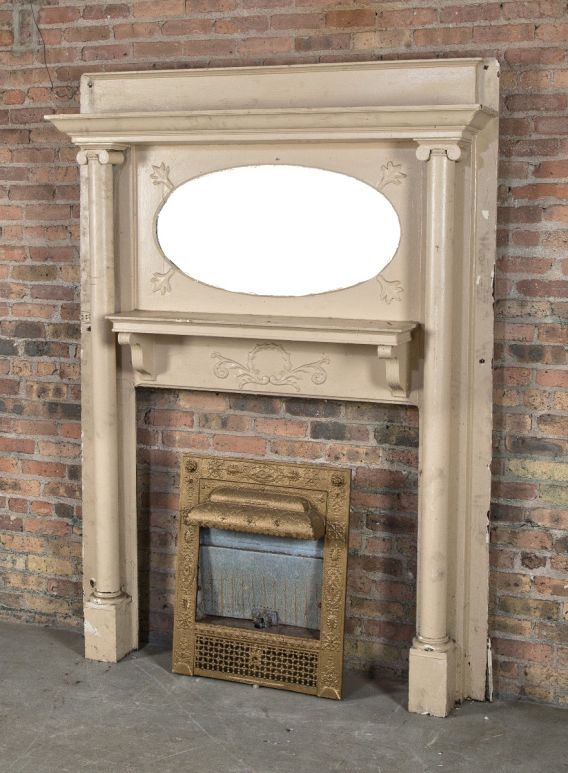
Architectural Salvage – Old Mantle Old fireplace, Antique

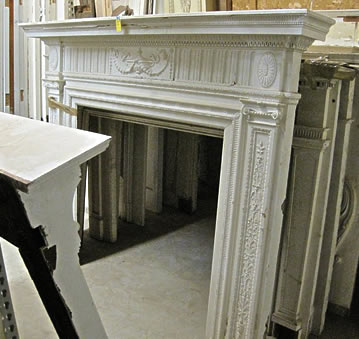
Restoration Resources – New England’s Primary Source for Authentic
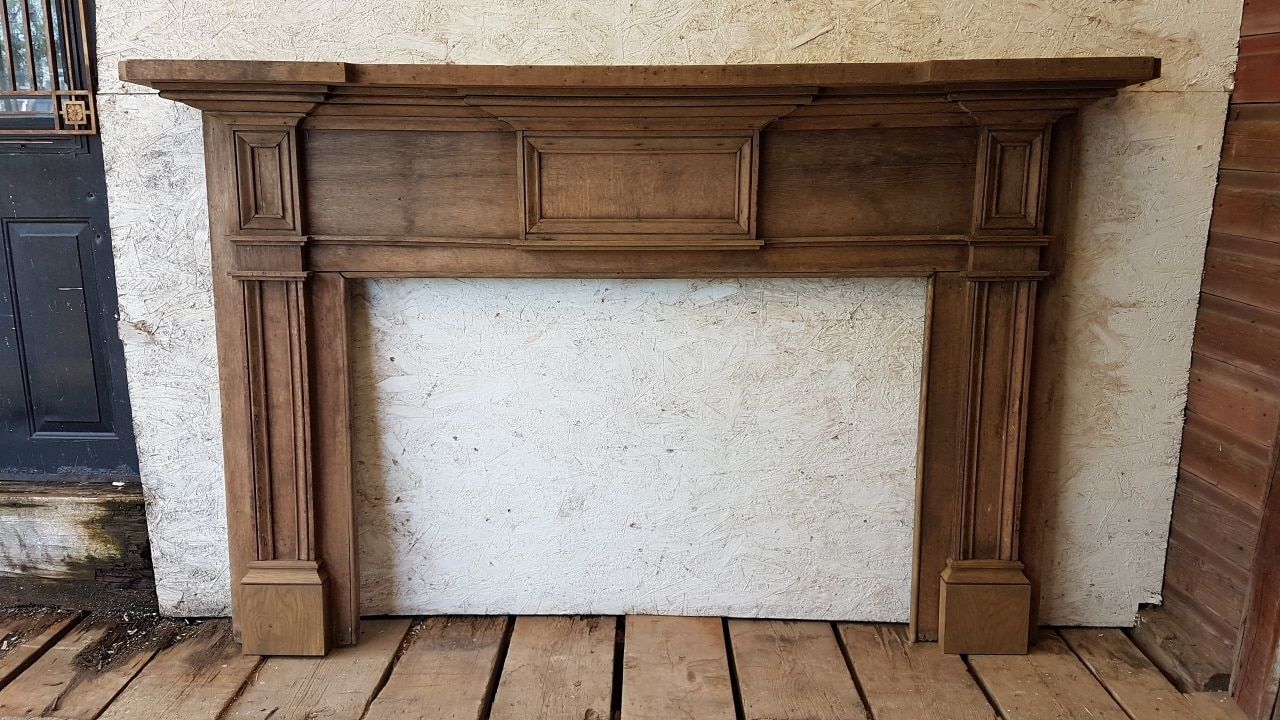
Wood Fireplace Surround
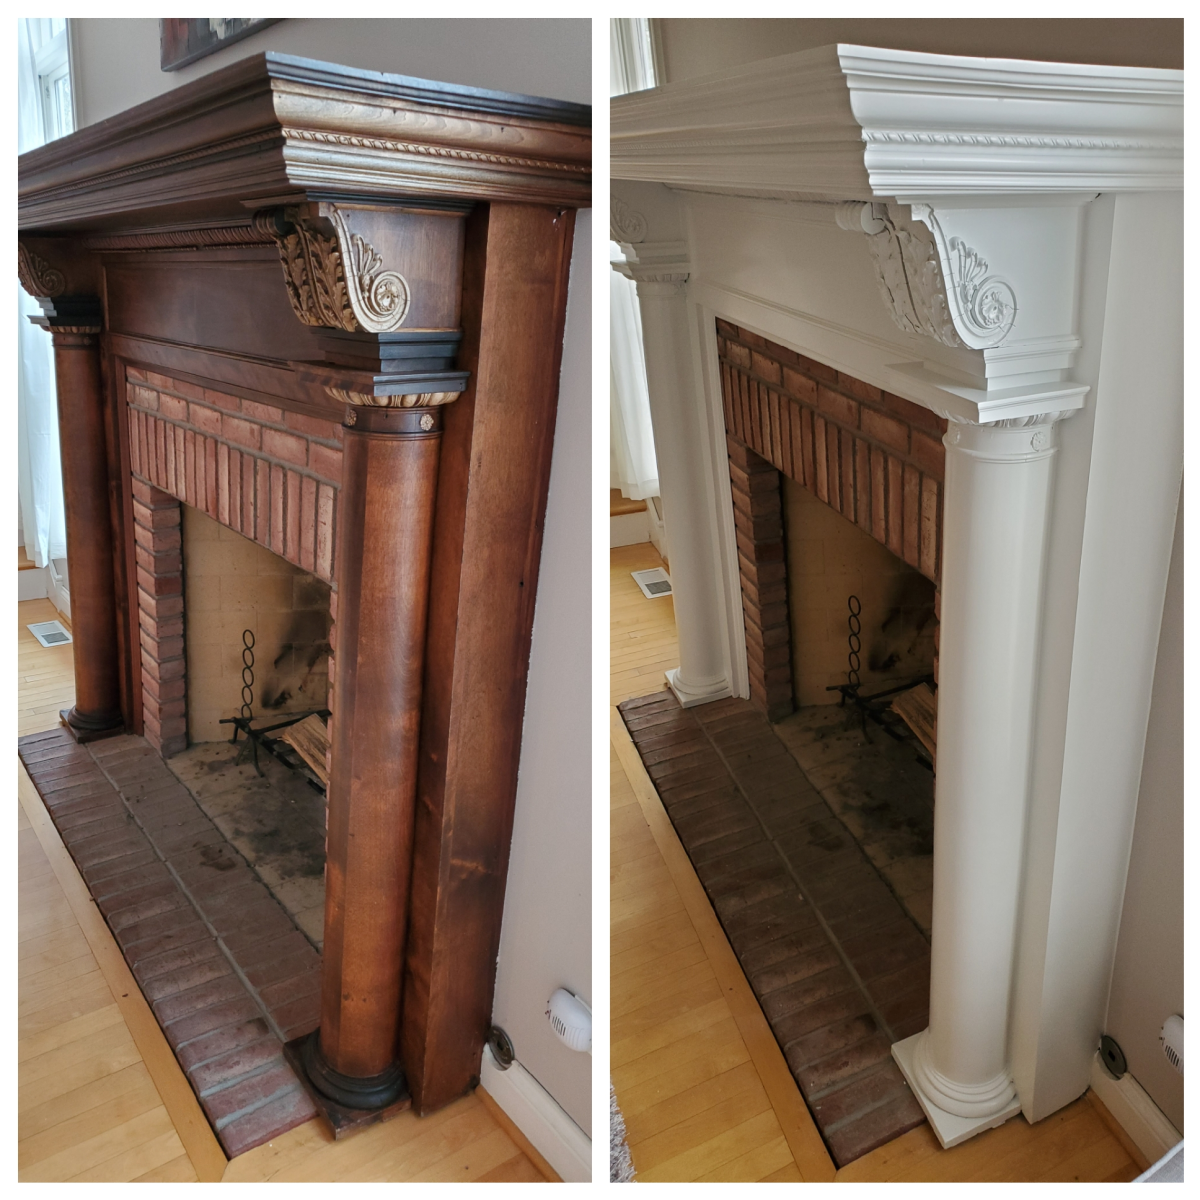
Vintage Fireplace Surround

Tips for Painting a Fireplace Mantel or Surround – Dengarden
Related Posts: