Refacing a brick fireplace with tile is a transformative and rewarding home improvement project that can breathe new life into an outdated or lackluster fireplace. The process involves covering the existing brick surface with tile to create a fresh and updated look. Before starting the project, it’s essential to gather the necessary materials, including tiles, adhesive, grout, spacers, and a trowel. The first step is to clean the brick thoroughly, removing any dirt, dust, or loose mortar. Once the brick is clean and dry, a layer of thin-set adhesive is applied to the surface, providing a secure foundation for the tiles.
Images about How To Reface Brick Fireplace With Tile
How To Reface Brick Fireplace With Tile
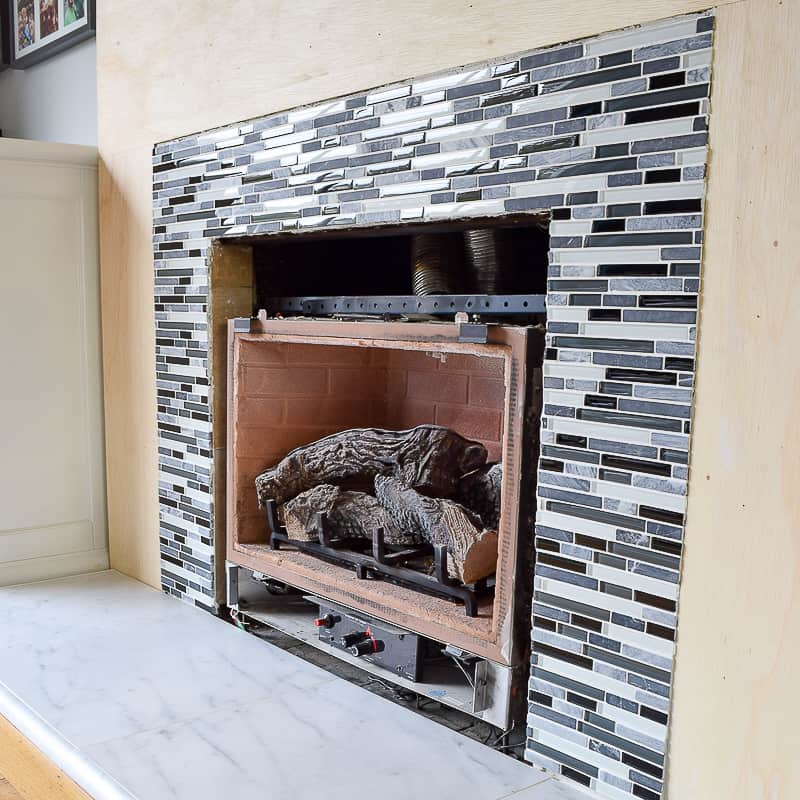
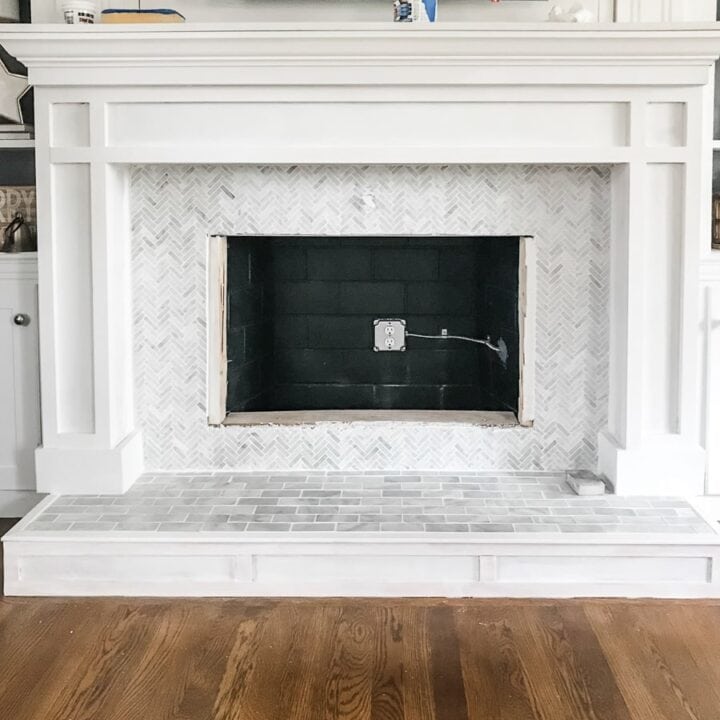
The selection of tiles is a crucial aspect of refacing a brick fireplace. Homeowners can choose from a wide variety of materials, such as ceramic, porcelain, glass, or natural stone, each offering unique aesthetic qualities. The tiles can be arranged in different patterns, such as herringbone or a classic brick pattern, allowing for customization to suit the homeowner’s style and preferences. Using spacers during the installation ensures uniform gaps between the tiles, facilitating the grouting process later on. After the adhesive has set, grout is applied to fill the gaps between the tiles, providing a polished and cohesive finish.
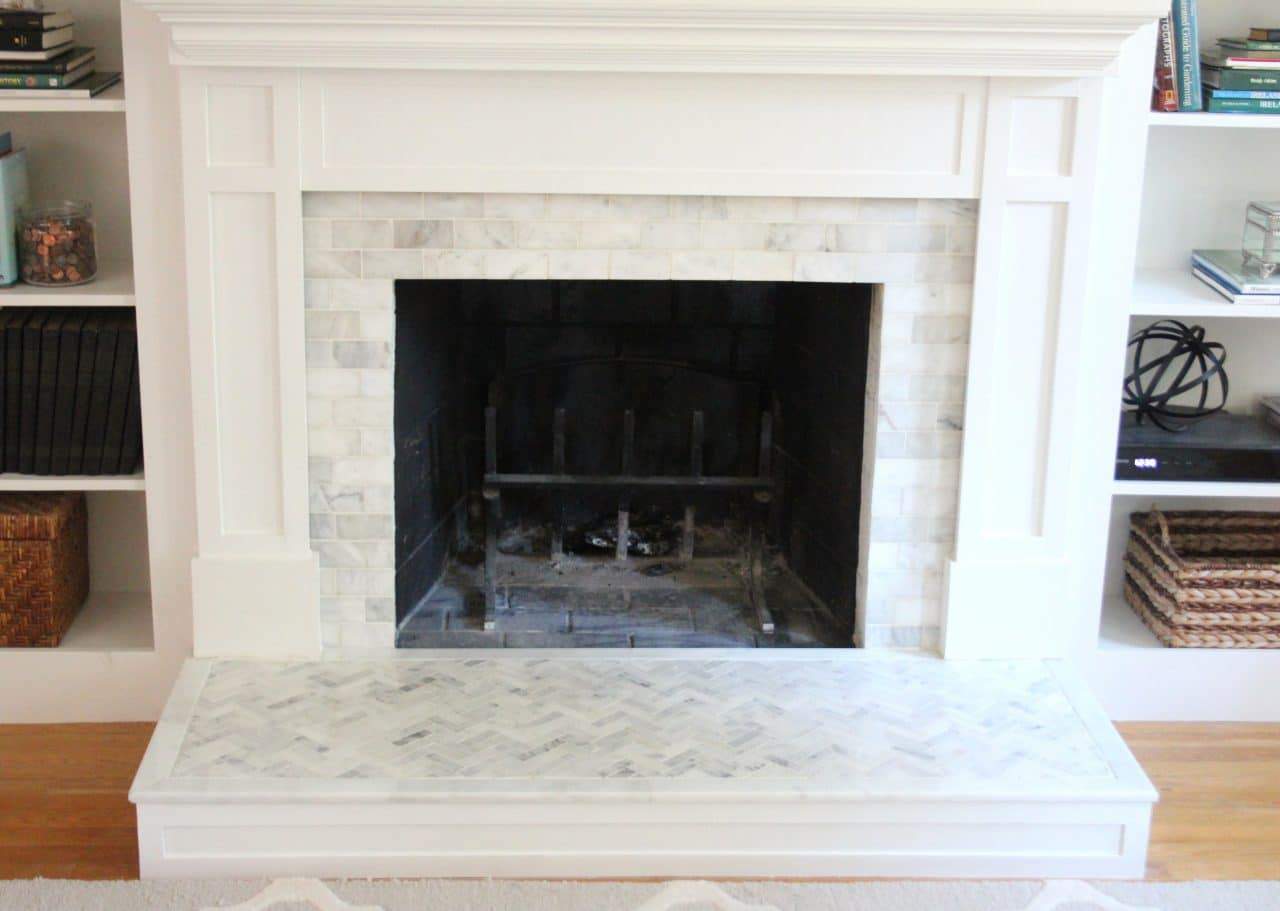
The decision to reface a brick fireplace with tile not only enhances the aesthetic appeal of the space but also brings a functional aspect to the forefront. Tiled surfaces are easier to clean and maintain than brick, making them a practical choice for a frequently used feature like a fireplace. The new tile surface can also withstand heat better than some traditional brick surfaces, ensuring the longevity of the refacing project. As a DIY project or with the assistance of professionals, refacing a brick fireplace with tile offers a cost-effective way to update the look of a room and increase the overall value of the home.
Refacing a brick fireplace with tile is a creative and practical home improvement endeavor that can significantly enhance the appearance and functionality of a living space. With careful planning, proper materials, and attention to detail during the installation process, homeowners can achieve a stunning transformation. The versatility in tile selection and arrangement allows for a personalized touch, ensuring the refaced fireplace becomes a focal point that complements the overall design of the room. Whether undertaken as a DIY project or with professional assistance, this renovation offers a worthwhile investment for those seeking to revitalize their home’s interior.
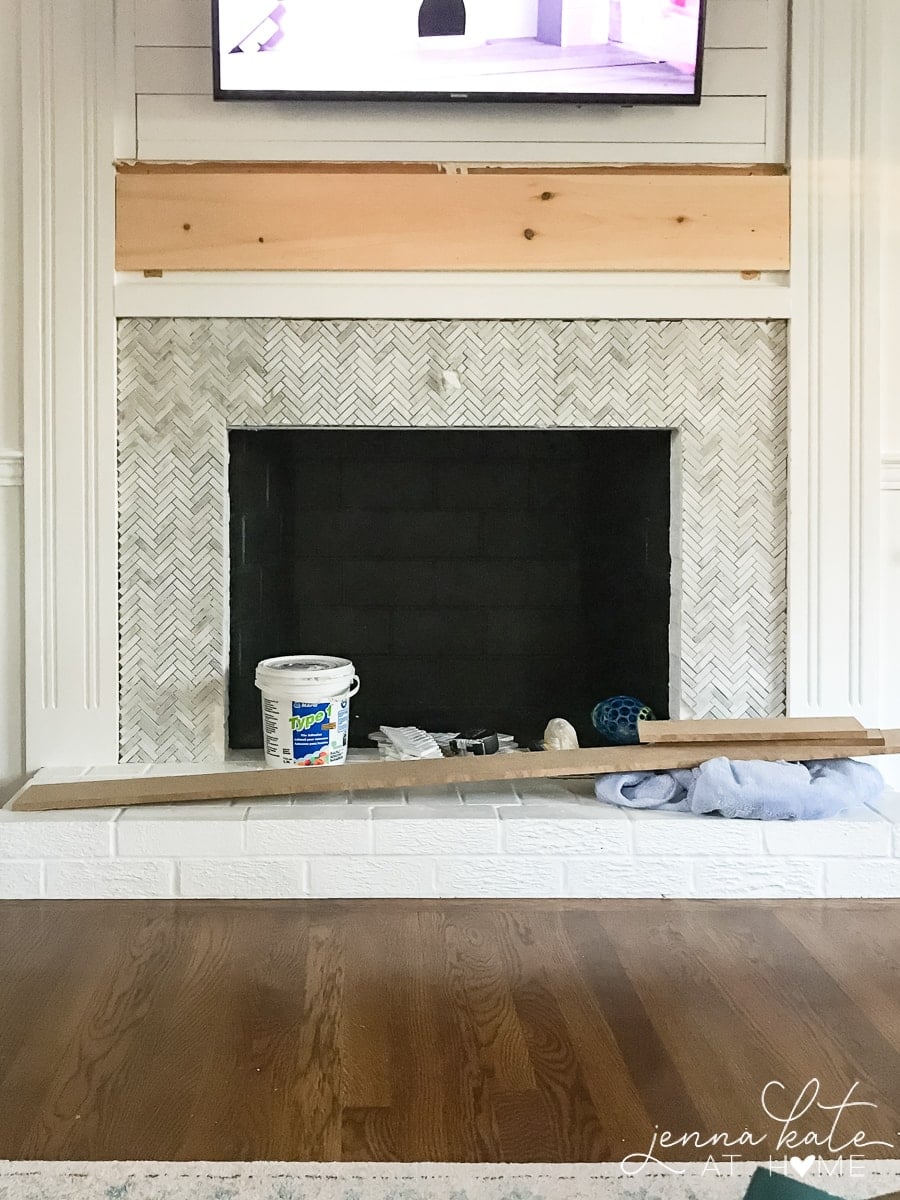
How to Tile a Brick Fireplace – Jenna Kate at Home
How to Tile a Fireplace (even if itu0027s brick!) – The Handymanu0027s
How to Tile a Brick Fireplace – Jenna Kate at Home
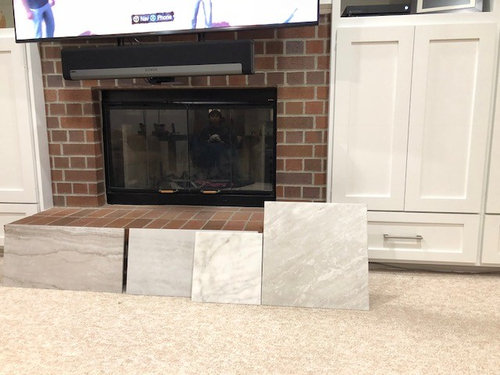
Refacing red brick fireplace: which tile should i use??
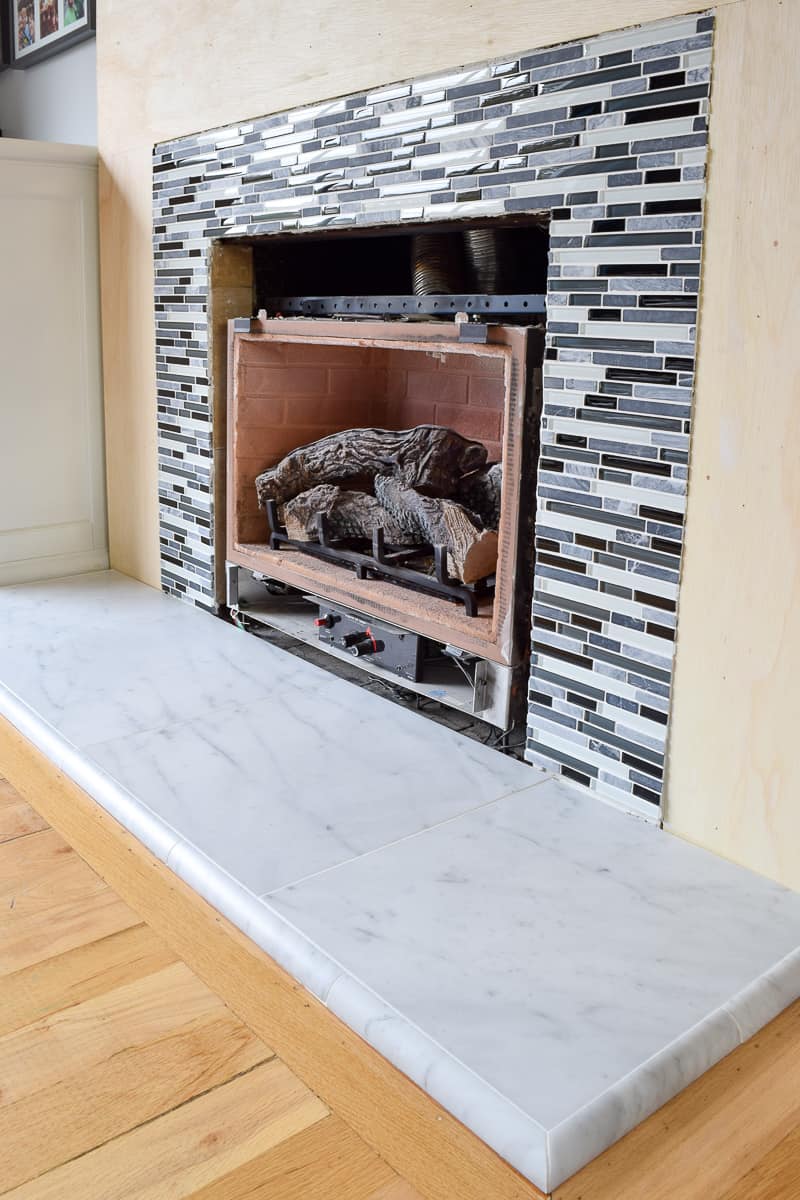
How to Tile Over a Brick Fireplace Hunker Brick fireplace

Fireplace Refacing, herringbone tile, millwork u2026 Reface

Related Posts:
- Retro Fireplace Tiles
- Rustic Tile Fireplace
- Farmhouse Fireplace Tile
- Slate Tile Fireplace Surround
- Modern Tile Fireplace Wall
- Mosaic Tile Fireplace DIY
- Quartz Fireplace Tile
- Ceramic Tiles Fireplace Surround
- Sandstone Tile Fireplace
- Spanish Tile Fireplace
How to Reface a Brick Fireplace with Tile
Refacing a brick fireplace with tile can completely transform the look and feel of your living space. Whether you’re looking to modernize your home or simply update an outdated fireplace, this project can add beauty and style to any room. In this article, we will guide you through the step-by-step process of refacing a brick fireplace with tile, along with providing answers to some frequently asked questions.
Materials Needed:
Before getting started, gather the following materials:
- Tiles: Choose tiles that suit your style and complement the overall aesthetic of your home. Popular options include ceramic, porcelain, glass, and natural stone.
- Adhesive: Select a high-quality adhesive specifically designed for use with tiles and fireplaces.
- Grout: Opt for a grout color that complements the tiles. You can choose between sanded and unsanded grout based on the size of the grout lines.
- Tile spacers: These will help ensure even spacing between the tiles.
- Grout float: A tool used to apply grout into the spaces between the tiles.
- Tile saw or snippers: These will be necessary for cutting tiles to fit around corners or edges.
- Trowel: A notched trowel helps spread adhesive evenly on the surface.
- Level: Essential for ensuring straight lines during installation.
- Sponge and bucket: Used for cleaning excess grout.
- Protective gloves and goggles: Safety should always come first!
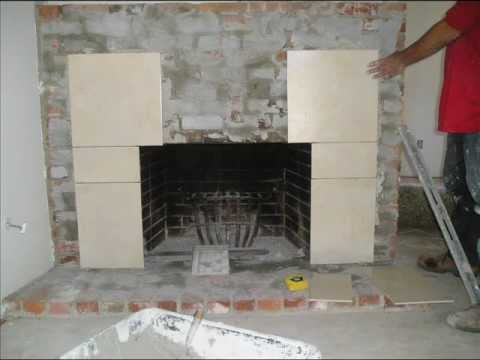
Step 1: Prepare the Fireplace
The first step is to prepare your brick fireplace for tiling.
- Clean thoroughly: Remove any dirt, dust, or soot from the surface using a wire brush and vacuum cleaner.
- Repair any damage: Fill in cracks or holes in the bricks using an appropriate patching compound.
- Sand rough surfaces: Smooth out any rough patches on the bricks to create an even surface for tiling.
Can I tile directly over brick?
No, it is not recommended to tile directly over brick. The surface should be properly prepared before tiling to ensure optimal adhesion and prevent future issues.
Apply Tile Adhesive
Now it’s time to apply the tile adhesive to the fireplace.
- Mix the adhesive: Follow the manufacturer’s instructions to prepare the adhesive mixture.
- Start from the bottom: Apply a layer of adhesive at the bottom of the fireplace, using a notched trowel to create grooves for better adhesion.
- Work in small sections: Spread adhesive on a small area at a time, ensuring an even and consistent layer.
- Press tiles into place: Gently press each tile into the adhesive, using tile spacers to maintain equal spacing between tiles.
- Continue with subsequent rows: Work your way up, row by row, applying adhesive and tiles until you reach the top of the fireplace.
Can I use regular tile adhesive for fireplaces?
No, regular tile adhesive is not suitable for use on fireplaces. It is essential to use an adhesive specifically designed for high-temperature applications like fireplaces.
Cut Tiles as Needed
During installation, you may encounter areas where full tiles won’t fit. In such cases, you will need to cut tiles accordingly.
Measure and mark: Use a measuring tape to determine the required size of the tile and mark it with a pencil.
Cut with tile snippers: For small, intricate cuts, use tile snippers to carefully break off small pieces of the tile until it fits the desired shape.
Tile snippers, also known as tile nippers or tile nibblers, are a handy tool for making small and precise cuts in tiles. They are particularly useful for shaping tiles around corners, outlets, or other obstructions.
To use tile snippers, follow these steps:
1. Start by marking the area on the tile where you need to make the cut. Use a pencil or marker to create a clear guideline.
2. Put on safety goggles and gloves to protect your eyes and hands from any tile shards.
3. Hold the tile firmly in one hand, ensuring that the portion you want to remove is extended beyond the edge of your hand.
4. Position the cutting edges of the tile snippers along the marked line on the tile. Make sure the curved side of the snippers is facing towards the waste portion of the tile.
5. Apply gentle pressure on the handles of the snippers to begin breaking off small pieces of the tile. It’s important not to squeeze too hard, as this can cause unnecessary damage.
6. Continue slowly and carefully breaking off pieces along the marked line until you achieve the desired shape. You can make small adjustments as needed by removing smaller chunks or nibbling away tiny sections at a time.
7. Check frequently if the cut portion fits into its intended spot correctly. Take your time and be patient while working with tile snippers to ensure accuracy.
8. Once you’re satisfied with the shape, use a file or sandpaper to smooth any rough edges left from using snippers.
Remember, practicing on scrap or extra tiles before working on your actual project can help improve your technique and give you a better understanding of how much force is needed for different materials.
Using tile snippers allows you to make precise cuts in tiles without risking damage to surrounding areas. They’re an essential tool for anyone working on intricate tiling projects.