Grouting a stone fireplace is a crucial step in the installation process that ensures the durability, stability, and visual appeal of the finished fireplace surround. Grout serves to fill the gaps between the individual stones, creating a cohesive and seamless surface while also providing structural support and stability to the entire fireplace structure. Additionally, grout helps to prevent moisture penetration and infiltration, which can lead to mold growth, deterioration of the stone, and compromise the integrity of the fireplace over time. By properly grouting a stone fireplace, homeowners can enhance its longevity and resistance to environmental factors, ensuring that it remains a beautiful and functional focal point in their home for years to come.
Images about Grouting Stone Fireplace
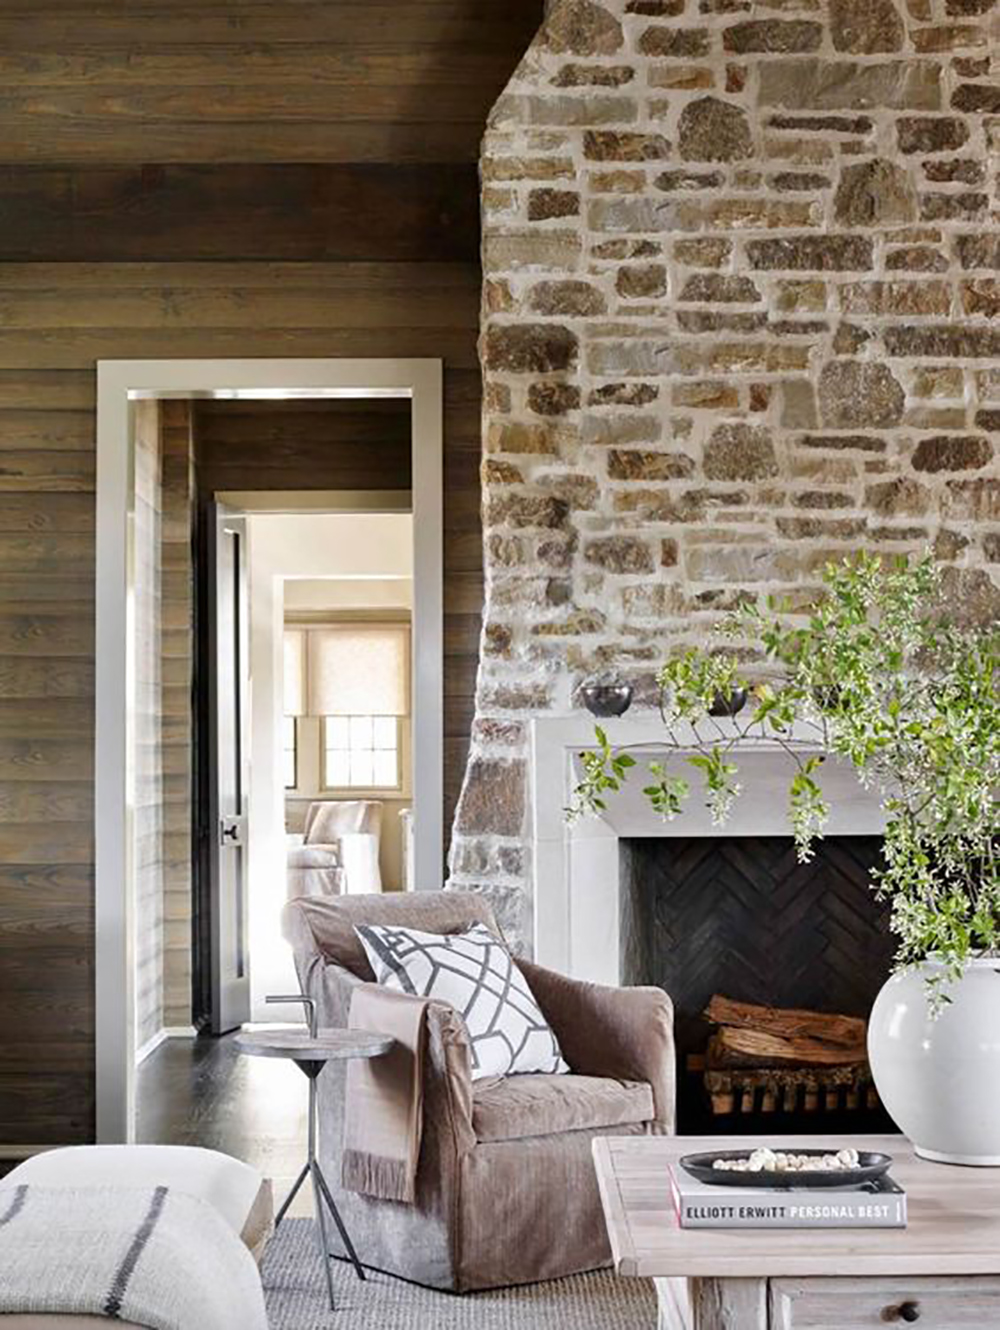
Grouting Stone Fireplace

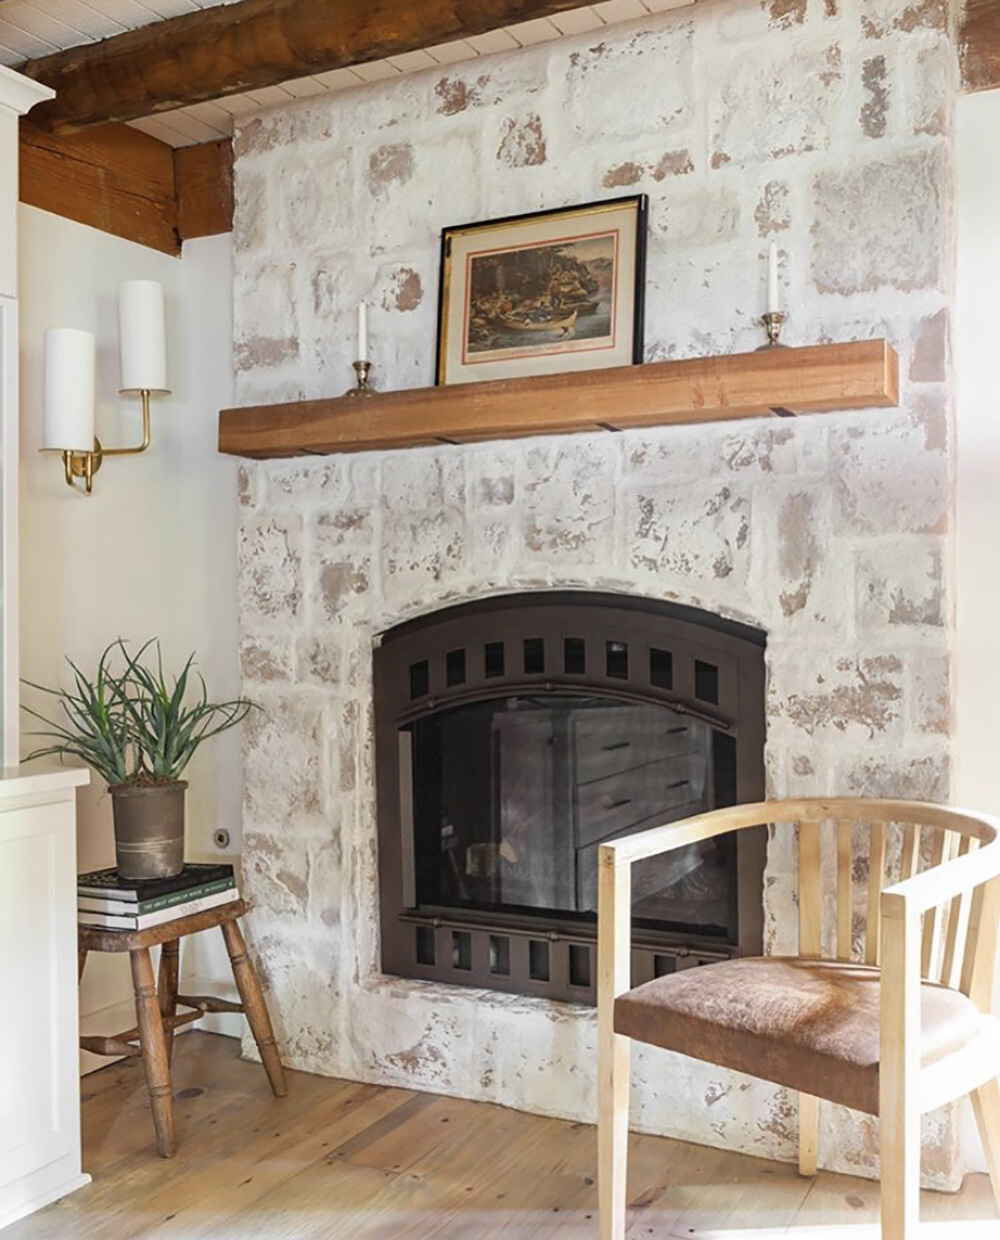
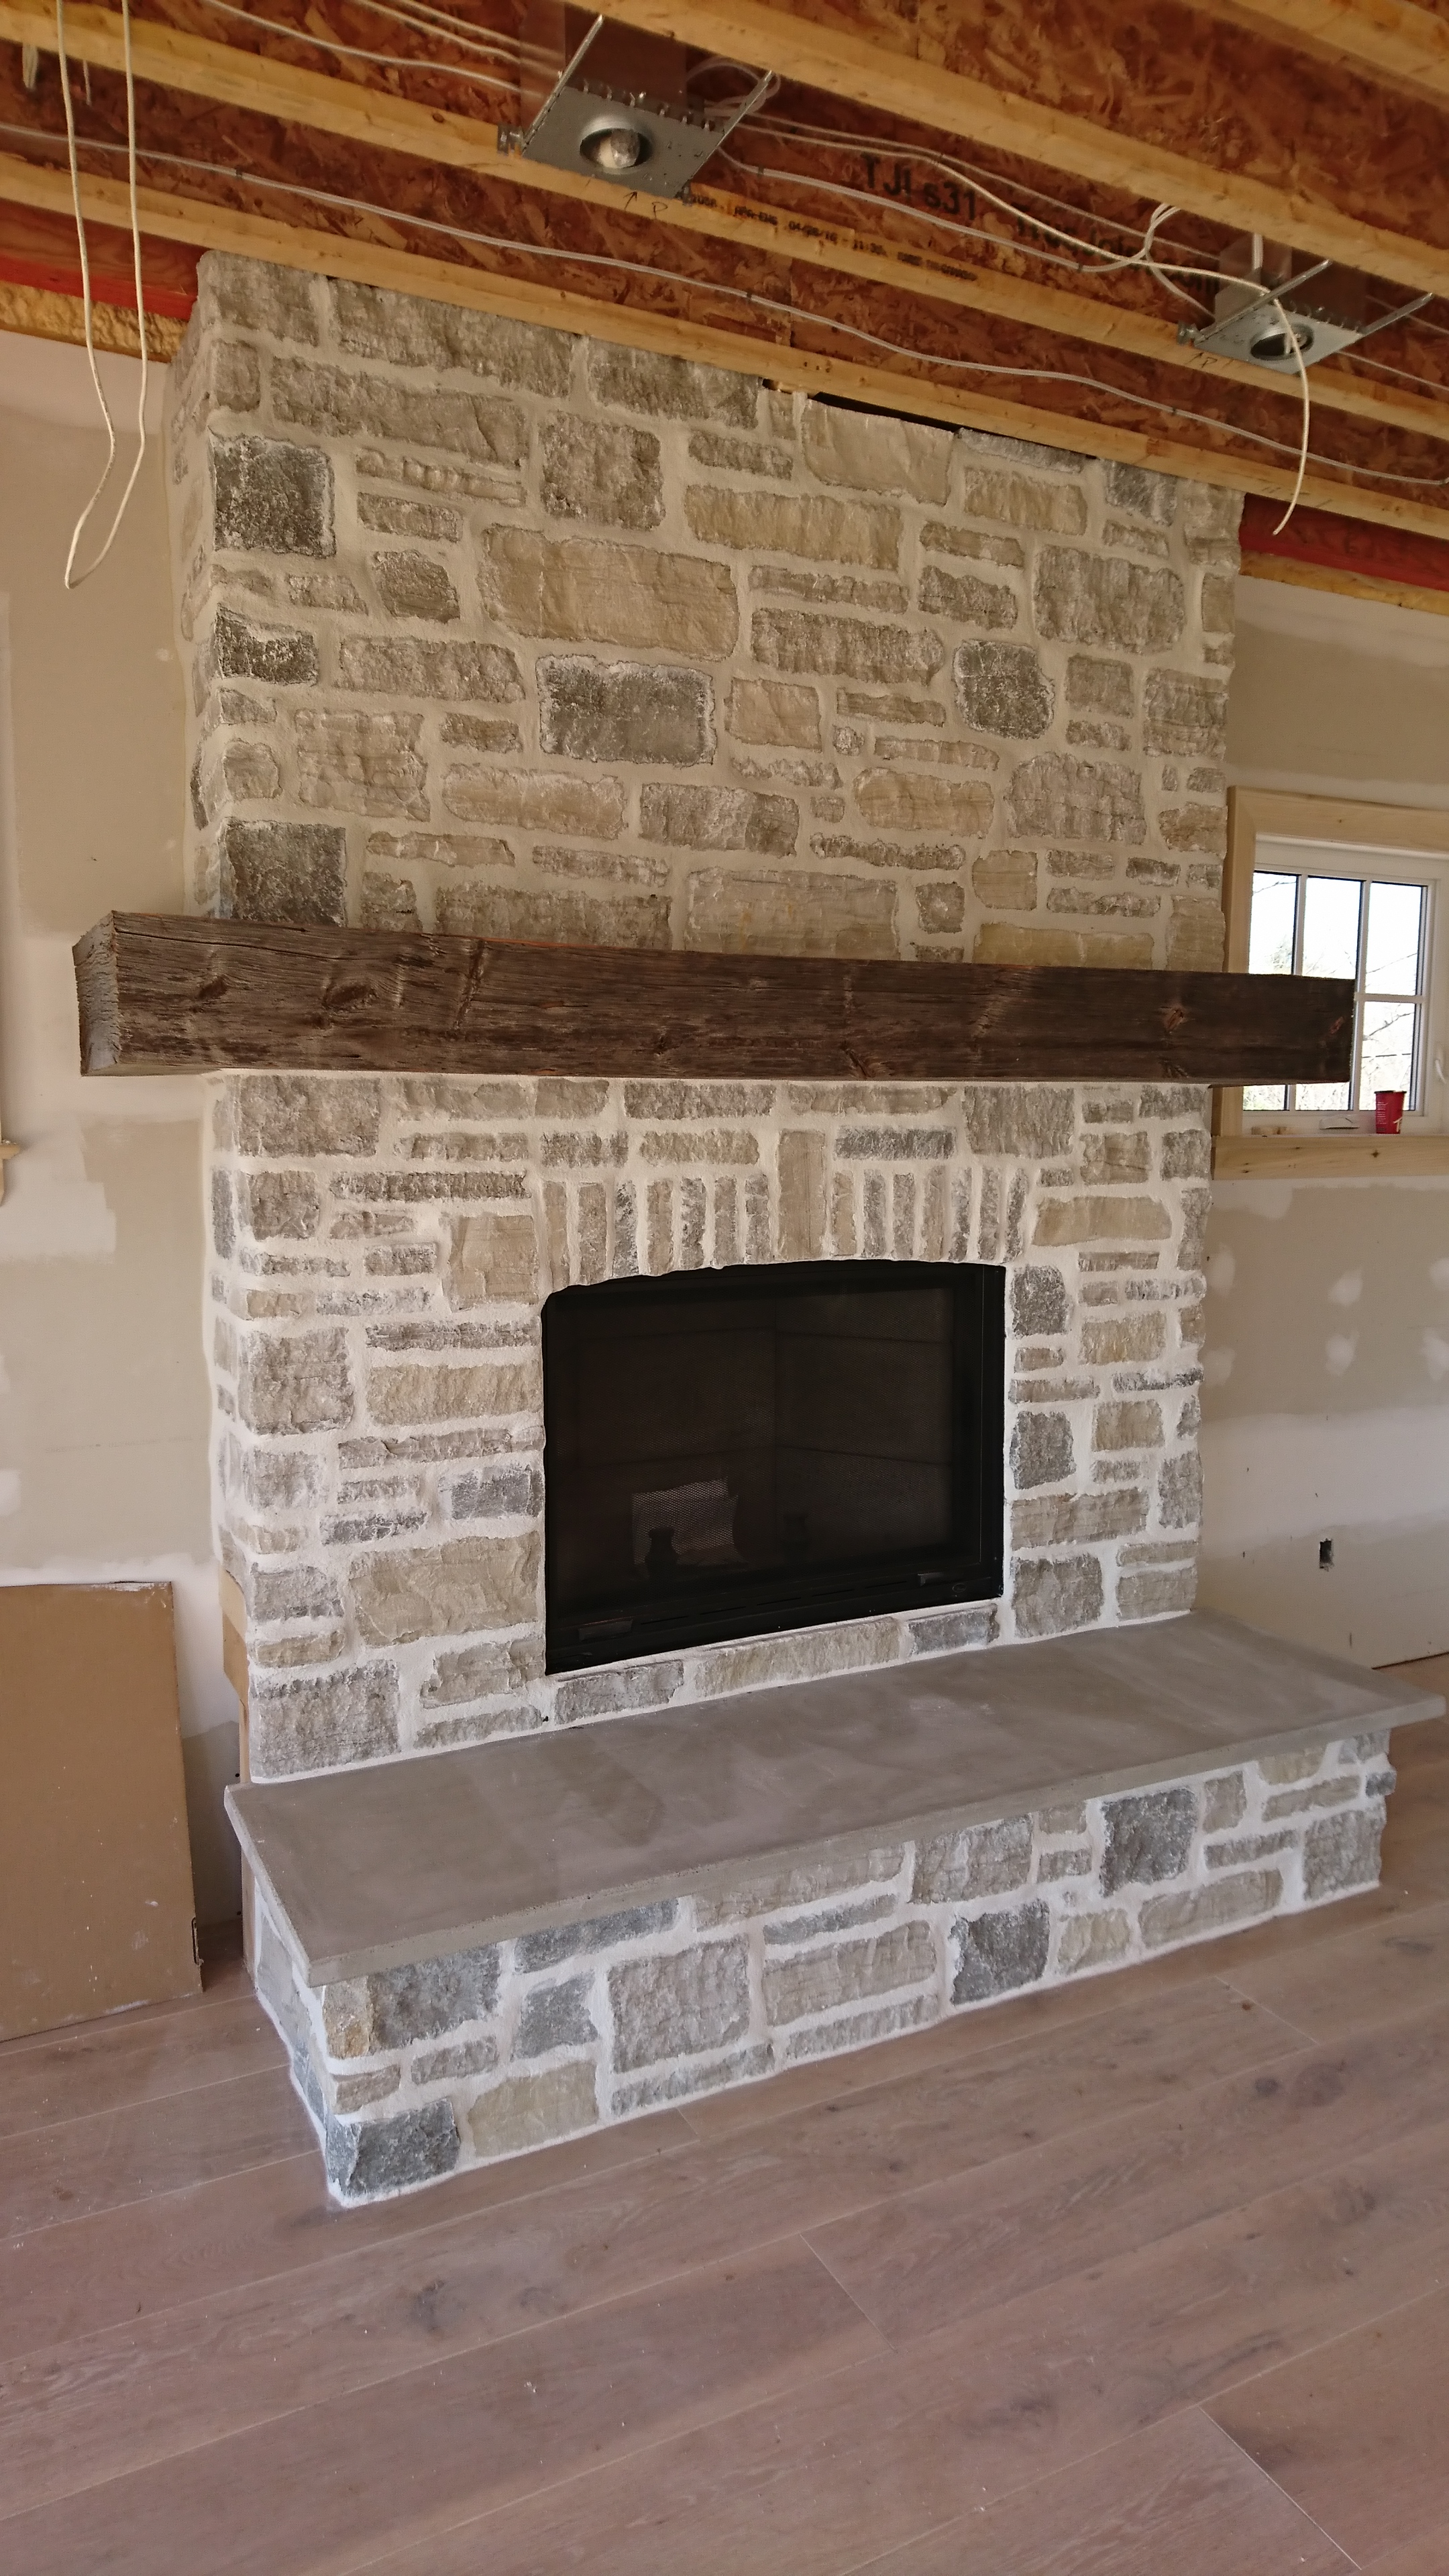
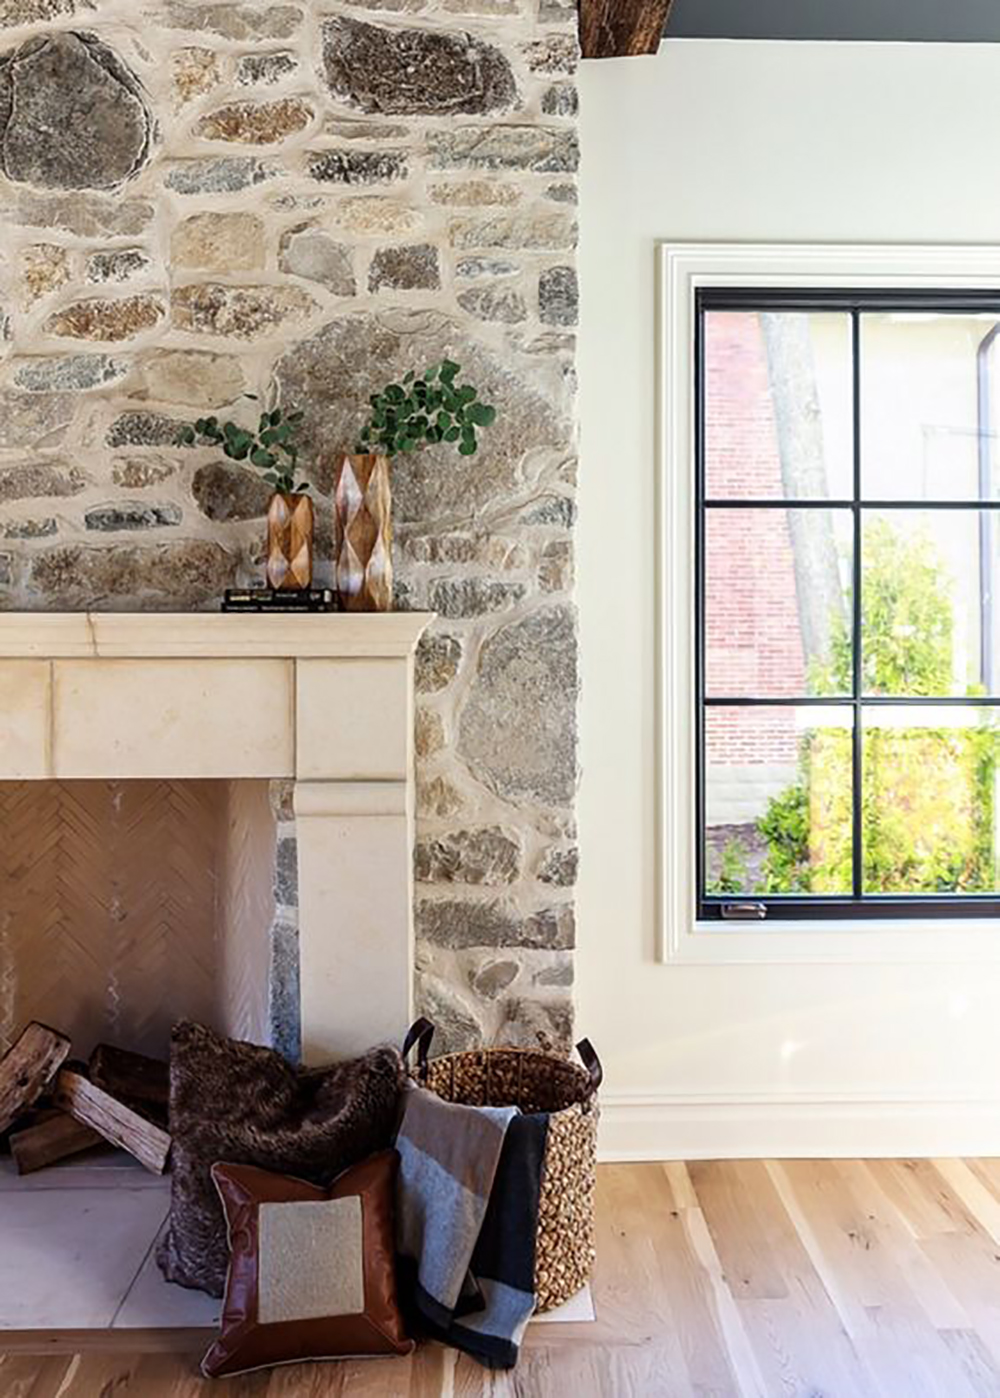
Moreover, grouting a stone fireplace offers an opportunity to enhance the aesthetic appeal of the fireplace surround by selecting the right grout color and texture to complement the stones. Grout comes in a variety of colors, ranging from natural earth tones to bold and dramatic shades, allowing homeowners to achieve the desired look and feel for their fireplace. Additionally, the texture of the grout can be adjusted to create different effects, from smooth and sleek to rough and rustic, depending on the style preferences and design goals of the homeowner. By carefully selecting the grout color and texture, homeowners can highlight the beauty of the stone and create a visually striking fireplace surround that enhances the overall aesthetics of the room.
Furthermore, grouting a stone fireplace requires careful planning and execution to ensure a professional and polished finish. The process typically involves mixing the grout to the desired consistency, applying it to the gaps between the stones using a grout float or trowel, and then smoothing and shaping the grout to achieve a uniform and even surface. Properly grouting a stone fireplace requires attention to detail and precision to ensure that all gaps are filled completely and that the grout lines are clean and consistent throughout. Additionally, homeowners may choose to seal the grout once it has cured to enhance its durability and resistance to staining, further protecting the integrity of the fireplace surround.
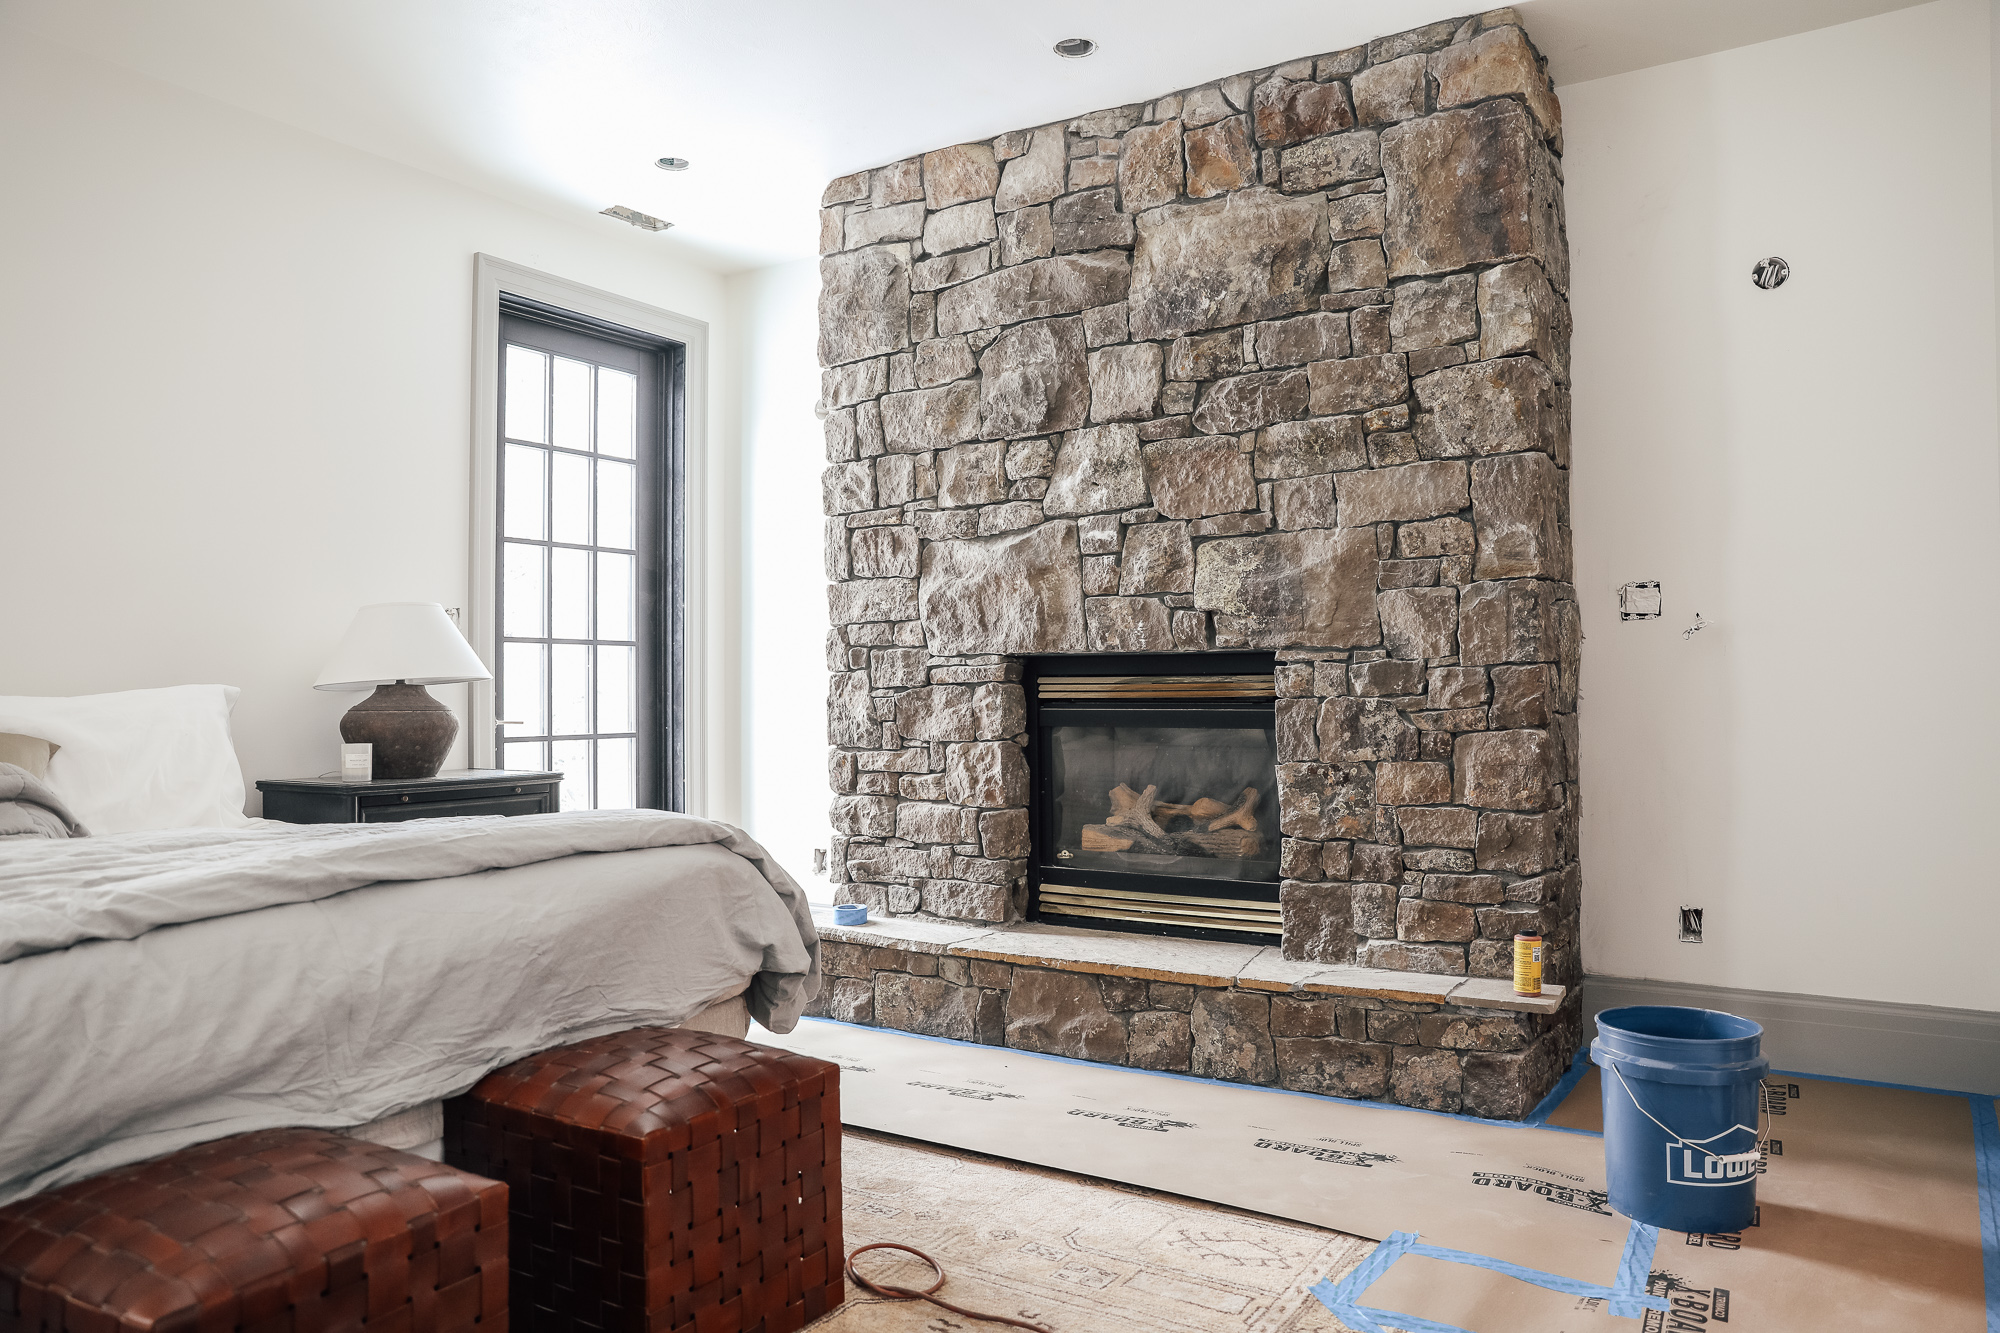
Grouting a stone fireplace is a critical step in the installation process that enhances both the structural integrity and visual appeal of the finished fireplace surround. By properly filling the gaps between the stones with grout, homeowners can create a cohesive and seamless surface that provides stability, durability, and resistance to moisture penetration. Additionally, selecting the right grout color and texture allows homeowners to customize the look and feel of their fireplace surround, creating a visually stunning focal point that enhances the overall aesthetics of the room. With careful planning and execution, grouting a stone fireplace can transform an ordinary fireplace into a beautiful and functional feature that adds value and charm to any home.

Stone Fireplace Makeover – A Girl and Her Glitter

Grout Styles for Stone Veneer – The Cultured Stoners
Over-Grouted Fireplace Project u2013 Love Living Here

How to: DIY Over-Grouted Stone Fireplace! (For Under $200
How to: DIY Over-Grouted Stone Fireplace! (For Under $200

How-To: Overgrouting a Stone Fireplace u2014 Little Reesor House

Over-Grouted Fireplace Project u2013 Love Living Here

Over-Grouted Fireplace Project u2013 Love Living Here

Over grouted stone for a gas fireplace Stone fireplace makeover

How to: DIY Over-Grouted Stone Fireplace! (For Under $200
Related Posts:
- Country Stone Fireplace
- Rustic Stone Fireplace Ideas
- Farmhouse Stone Fireplace
- Corner Stone Fireplaces Ideas
- Log Cabin Stone Fireplace
- French Style Stone Fireplaces
- Portuguese Stone Fireplaces
- Indoor Stone Fireplace Designs
- Corner Stone Fireplace Ideas
- Natural Stacked Stone Fireplace
Grouting a stone fireplace is a crucial step in the installation process that not only enhances the appearance of the fireplace but also ensures its durability and longevity. Grouting involves filling the gaps between the stones with a specific material called grout, which helps seal the joints and prevent moisture from seeping in. In this article, we will discuss the importance of grouting a stone fireplace, the materials and tools needed for the job, step-by-step instructions on how to grout a stone fireplace, and some frequently asked questions related to grouting stone fireplaces.
Importance of Grouting a Stone Fireplace
Grouting plays a vital role in enhancing the overall aesthetics of a stone fireplace by providing a clean and finished look. It also strengthens the structure of the fireplace by stabilizing the stones and preventing them from shifting over time. Additionally, grout helps insulate the fireplace, making it more energy-efficient by reducing heat loss through the joints. By sealing off gaps between the stones, grout also acts as a barrier against moisture penetration, which can cause damage to both the stones and the underlying structure.
Materials and Tools Needed for Grouting
Before starting the grouting process, gather all the necessary materials and tools to ensure a smooth and efficient workflow. You will need:
- Grout: Choose a high-quality grout that is suitable for use with natural stone. There are different types of grout available, such as sanded or unsanded, depending on the size of the gaps between the stones.
- Grout float: A tool used to apply and pack grout into the gaps between stones.
- Grout sponge: A damp sponge used to clean excess grout from the surface of the stones.
- Bucket: To mix the grout according to manufacturer’s instructions.
- Water: For mixing grout and cleaning tools.
- Gloves: To protect your hands from irritation caused by handling grout.
- Safety glasses: To protect your eyes from dust and debris.
Step-by-Step Instructions on How to Grout a Stone Fireplace
- Clean the surface: Before applying grout, make sure the surface of the stones is clean and free of dust, dirt, or debris. Use a brush or vacuum cleaner to remove any loose particles.
- Mix the grout: Follow the manufacturer’s instructions to mix the grout to the desired consistency. Avoid mixing too much grout at once to prevent it from drying out before you can use it.
- Apply grout: Using a grout float, apply a generous amount of grout onto the surface of the stones, pressing it into the gaps between them. Work in small sections to ensure even coverage.
- Pack grout: Use the edge of the grout float to pack more grout into deep or wide gaps between stones. Make sure all joints are filled completely.
- Clean excess grout: Once you have filled all the joints with grout, use a damp sponge to gently wipe away excess grout from the surface of the stones. Rinse your sponge frequently in clean water to avoid smearing excess grout across the stones.
- Finishing touches: After cleaning up excess grout, allow it to dry according to manufacturer’s instructions. Once dry, buff any remaining haze from the stone surface with a soft cloth or brush.
Do I need to seal the grout after it dries?
It is recommended to seal the grout after it has dried to protect it from moisture and stains. Sealing the grout can help prolong its lifespan and keep it looking new.
It is important to use a grout that is specifically designed for use with natural stone. Using the wrong type of grout can result in discoloration, cracking, or other damage to the stones.
B: Make sure to seal your natural stone tiles before grouting to protect them from any potential stains or discoloration. This will also make it easier to clean the grout lines and maintain the overall appearance of the stone.