When I decided to add an electric fireplace to my living room last winter, I never imagined that building the mantel would become one of my most rewarding DIY projects. What started as a simple desire for cozy ambiance turned into a three-weekend adventure that taught me new woodworking skills and gave me a stunning focal point that guests always compliment. The best part? I built a custom mantel that perfectly fits my space and style for a fraction of what a pre-made unit would have cost. Let me walk you through everything I learned during this project, from planning and materials to the finishing touches that made it truly special.
Planning and Measuring: Getting the Foundation Right
Before I touched a single tool, I spent hours measuring and sketching different mantel designs. My electric fireplace insert was already purchased, so I knew the exact dimensions I needed to accommodate, but determining the overall proportions took more thought than I expected. I measured my wall space, ceiling height, and existing furniture to ensure the mantel would be properly scaled. The general rule I learned is that mantels should be roughly 12 inches wider than the fireplace opening on each side.
Creating detailed plans saved me from costly mistakes and multiple trips to the lumber yard. I sketched the mantel from multiple angles, noting every measurement and joint location. This planning phase helped me visualize potential problems, like how the mantel would sit against my baseboard trim and where I’d need to route cables for the electric fireplace. I also used painter’s tape to mock up the mantel size on my wall, which helped me adjust the proportions before cutting any wood.
The electrical planning was crucial since my electric fireplace needed both power and a potentially hardwired installation. I located the nearest outlet and planned cable management routes before finalizing my mantel design. I decided to build a hollow back section that could hide all the wiring while still providing easy access for maintenance. This forward thinking made the installation process much smoother and kept my finished project looking clean and professional.
Selecting Materials: Balancing Budget, Quality, and Style
Choosing the right materials felt overwhelming at first, but I learned that mixing different wood types and grades could achieve a high-end look without breaking my budget. For the main structure, I used construction-grade pine studs, which are affordable and perfectly adequate for parts that won’t be visible. For the visible face frame and decorative elements, I splurged on clear pine boards and high-quality molding from the trim section.
The mantel shelf itself deserved special attention since it would be the most prominent feature. I found a beautiful piece of maple butcher block at a local lumber yard that cost more than expected but transformed the entire project. The rich grain and smooth finish became the focal point that tied everything together. I learned that investing in one premium material can make budget materials in other areas look much more expensive than they actually are.
Hardware selection was another area where quality mattered. I initially planned to use basic screws throughout, but investing in proper pocket screws, wood glue, and finishing nails made assembly easier and created much stronger joints. The mantel needed to support decorative items and occasional leaning, so structural integrity couldn’t be compromised. I also purchased a high-quality wood stain and polyurethane finish that would protect the wood and enhance its natural beauty for years to come.

Tools and Workspace Setup for Success
Setting up my workspace properly made the difference between enjoying this project and struggling through it. I cleared out half my garage and set up a makeshift workbench using sawhorses and plywood. Good lighting was essential, so I strung up additional work lights and positioned them to minimize shadows while cutting and assembling. Having a dedicated workspace meant I could leave the project set up between work sessions, which kept momentum going.
The tool list for this project was longer than I initially anticipated, but I didn’t need to buy everything new. I borrowed a miter saw from my neighbor, which was essential for accurate cuts, and rented a pocket hole jig for the weekend. My existing circular saw, drill, and basic hand tools handled most other tasks. The key was having sharp blades and bits, which made every cut cleaner and every hole more precise.
Organization became crucial as the project progressed and I accumulated cut pieces, hardware, and tools. I used a large sheet of plywood as a layout surface where I could arrange all the components before assembly. This helped me catch measurement errors early and ensured I had all necessary pieces cut before starting the gluing and screwing process. Good organization also meant I could work efficiently during the limited time I had available each weekend.
Step-by-Step Construction Process
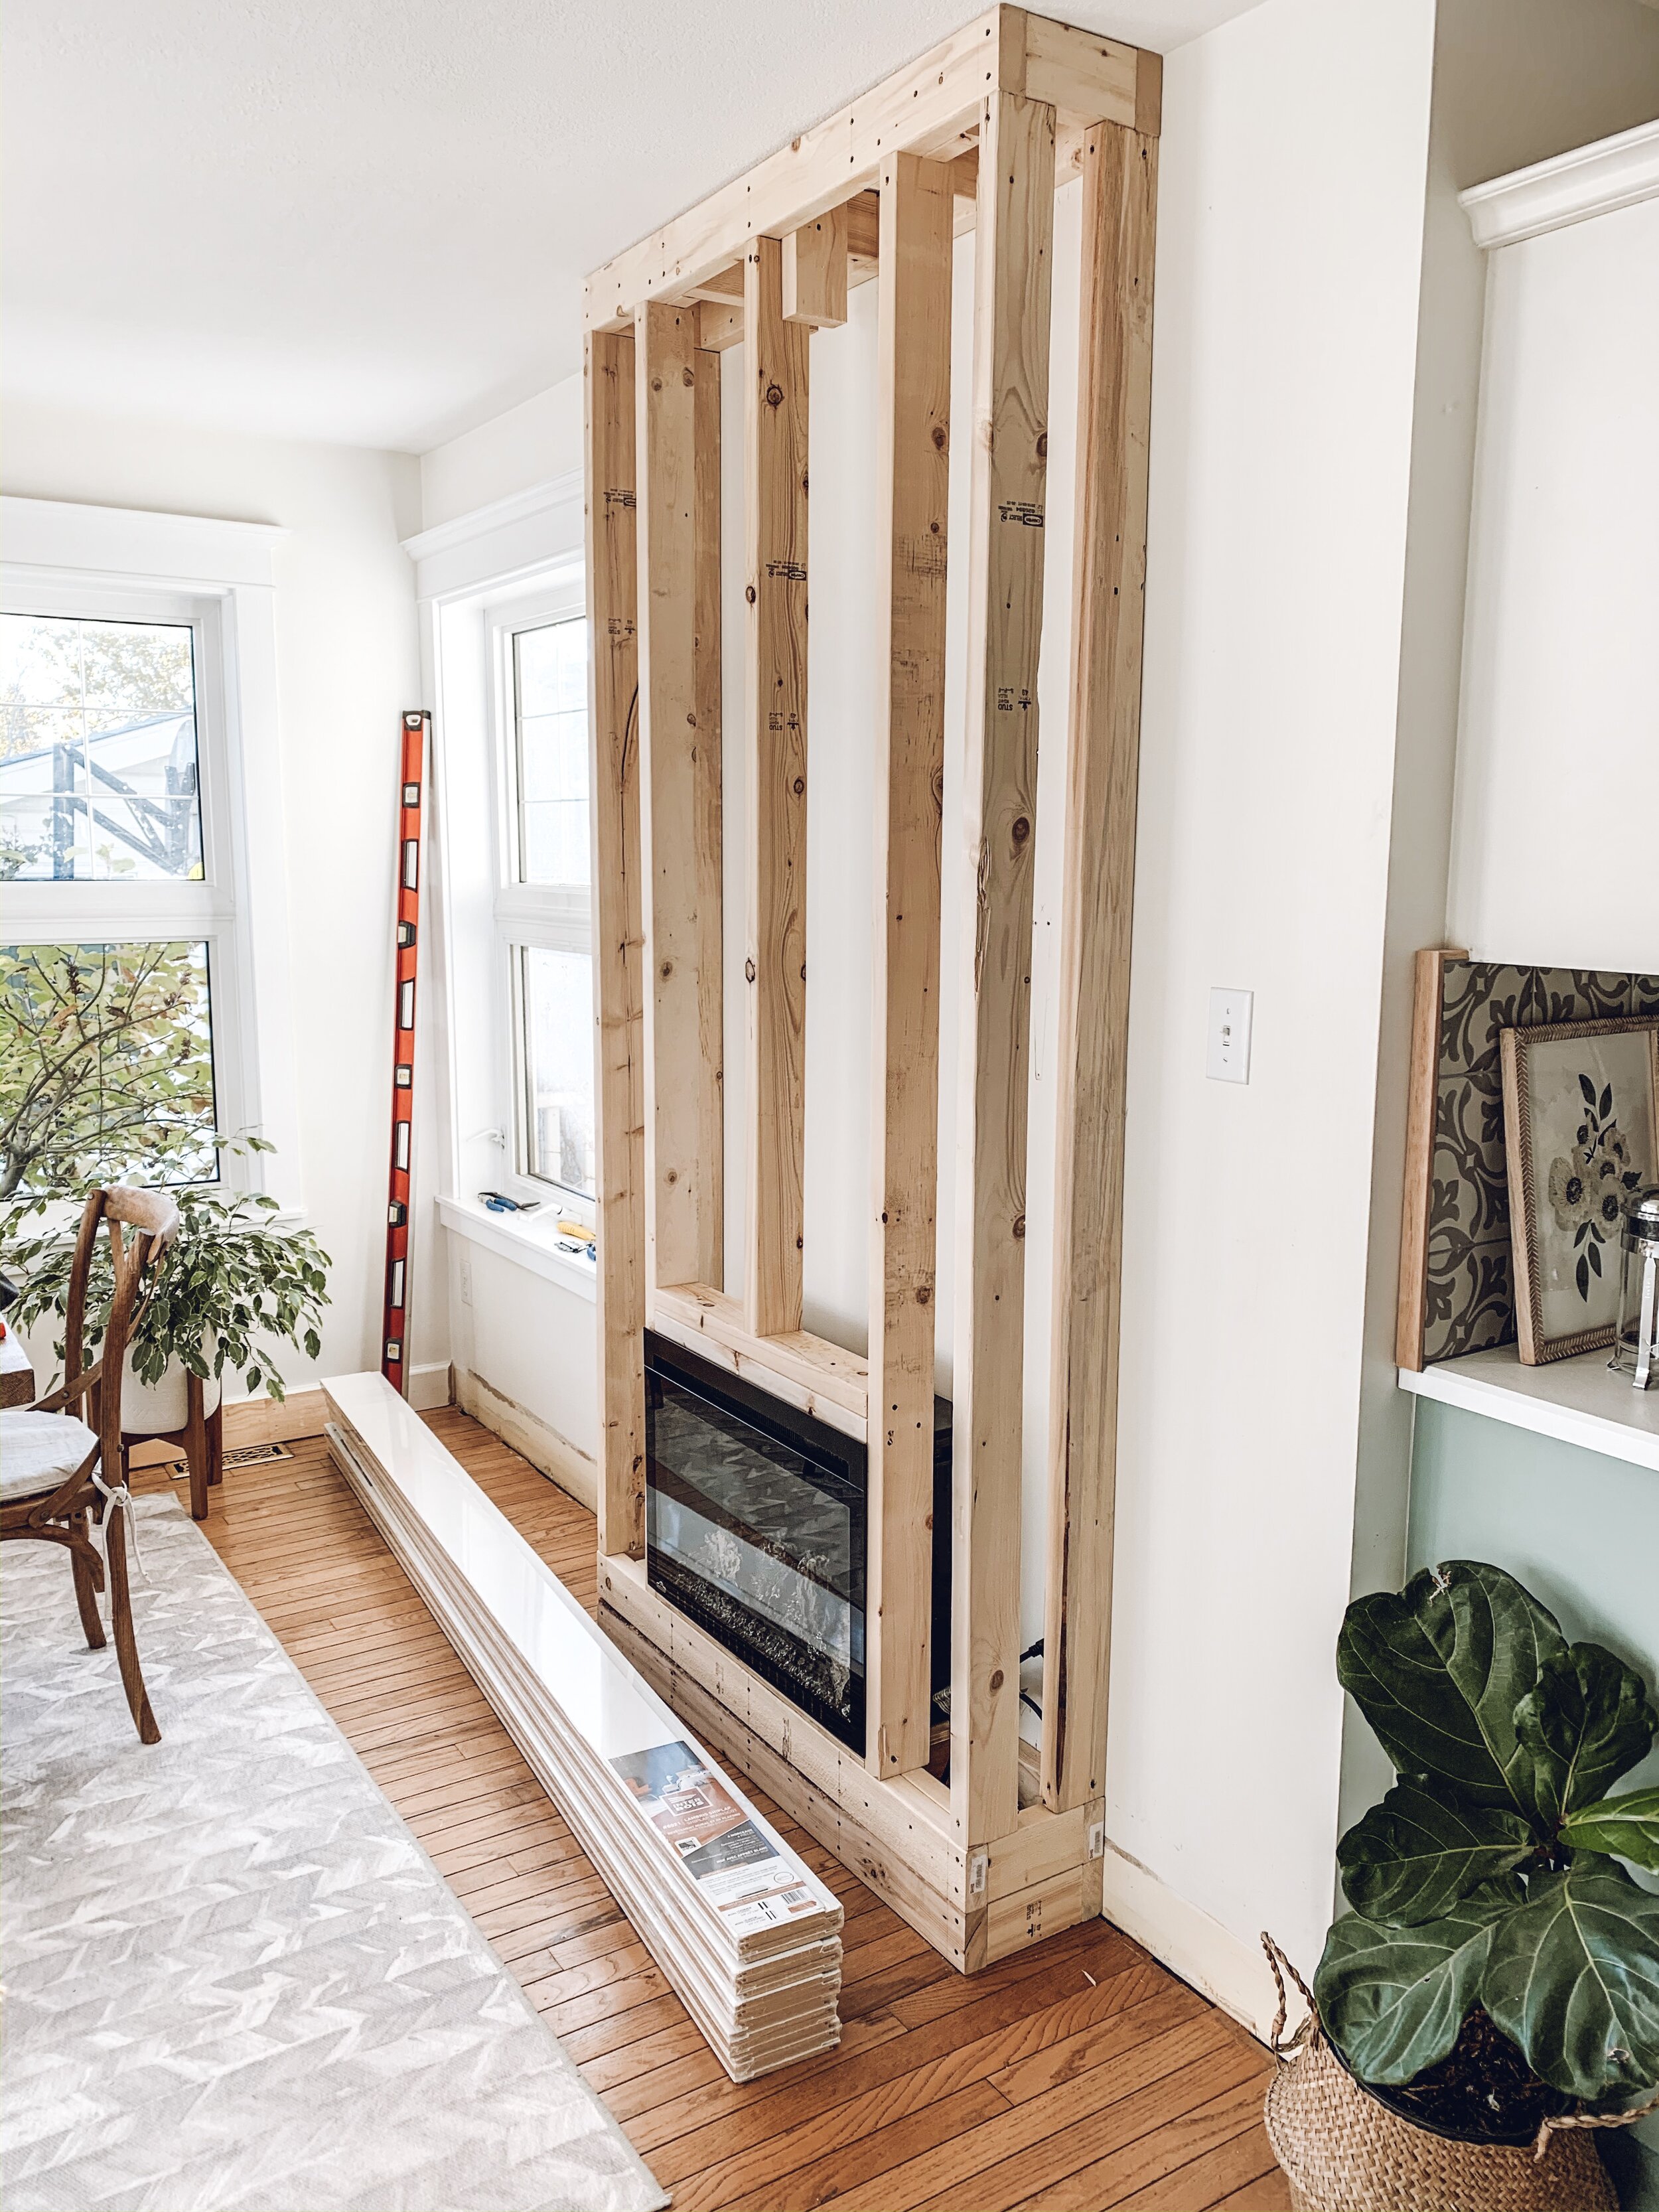
Building the main frame was my first major milestone, and I learned that taking time with this foundation made everything else easier. I started by cutting all the vertical and horizontal frame pieces, then dry-fitted everything before applying glue or driving screws. The pocket hole joinery created incredibly strong connections that would easily support the weight of the mantel shelf and any decorative items. I checked for square constantly during assembly, adjusting as needed to ensure the frame was perfectly rectangular.
Installing the face frame required patience and precision that tested my novice woodworking skills. Each piece needed to fit perfectly against the structural frame while creating clean, consistent reveals around the fireplace opening. I learned to cut pieces slightly long and trim them to exact fit, which gave me room to adjust for small measurement errors. The face frame transformed the basic structural box into something that actually looked like furniture, and seeing that transformation kept me motivated through the tedious fitting process.
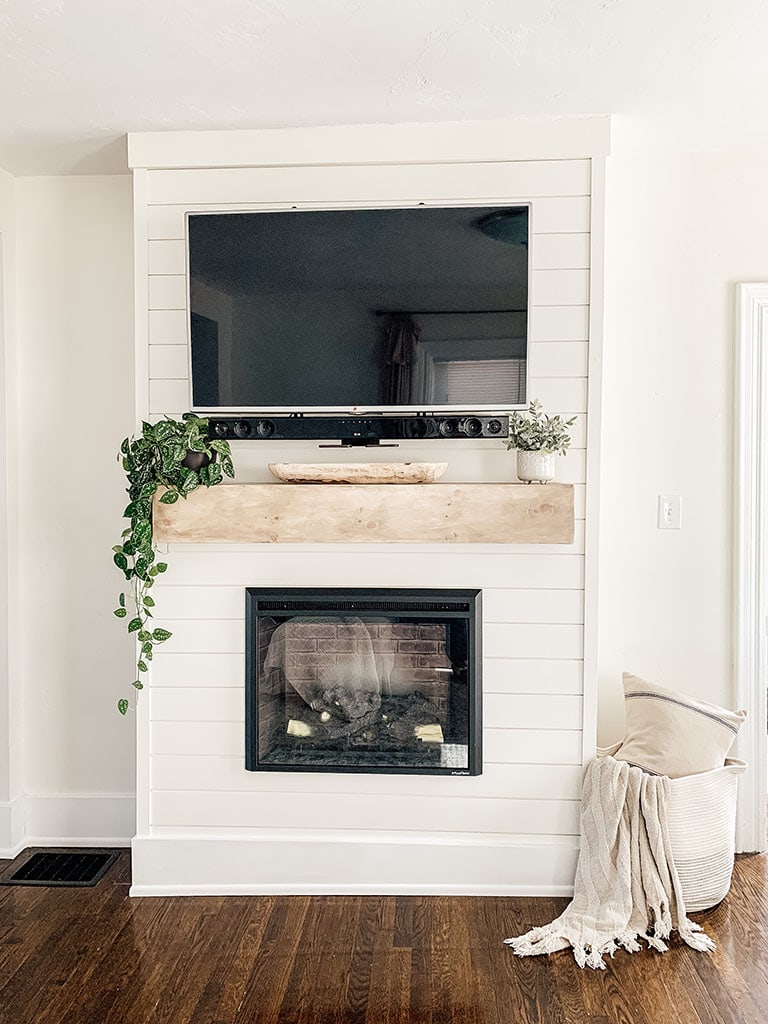
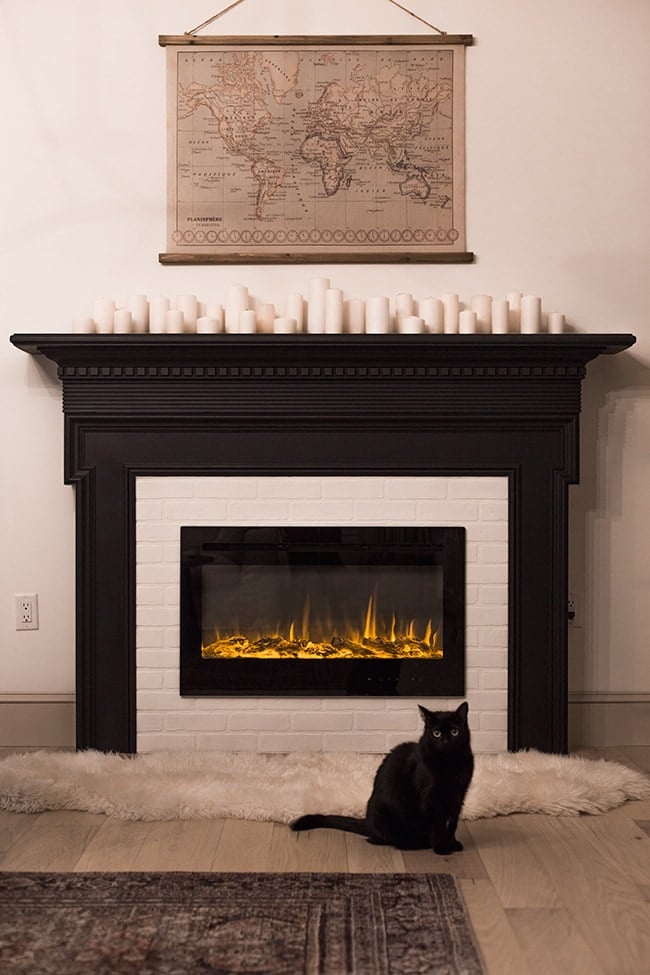
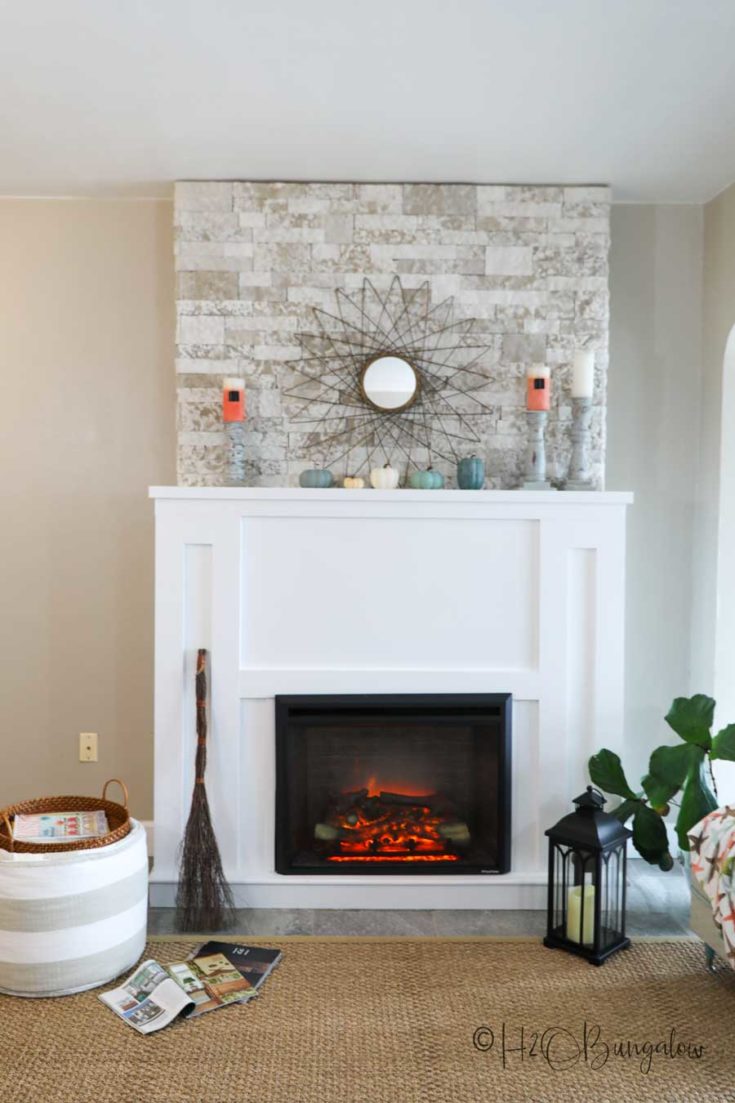
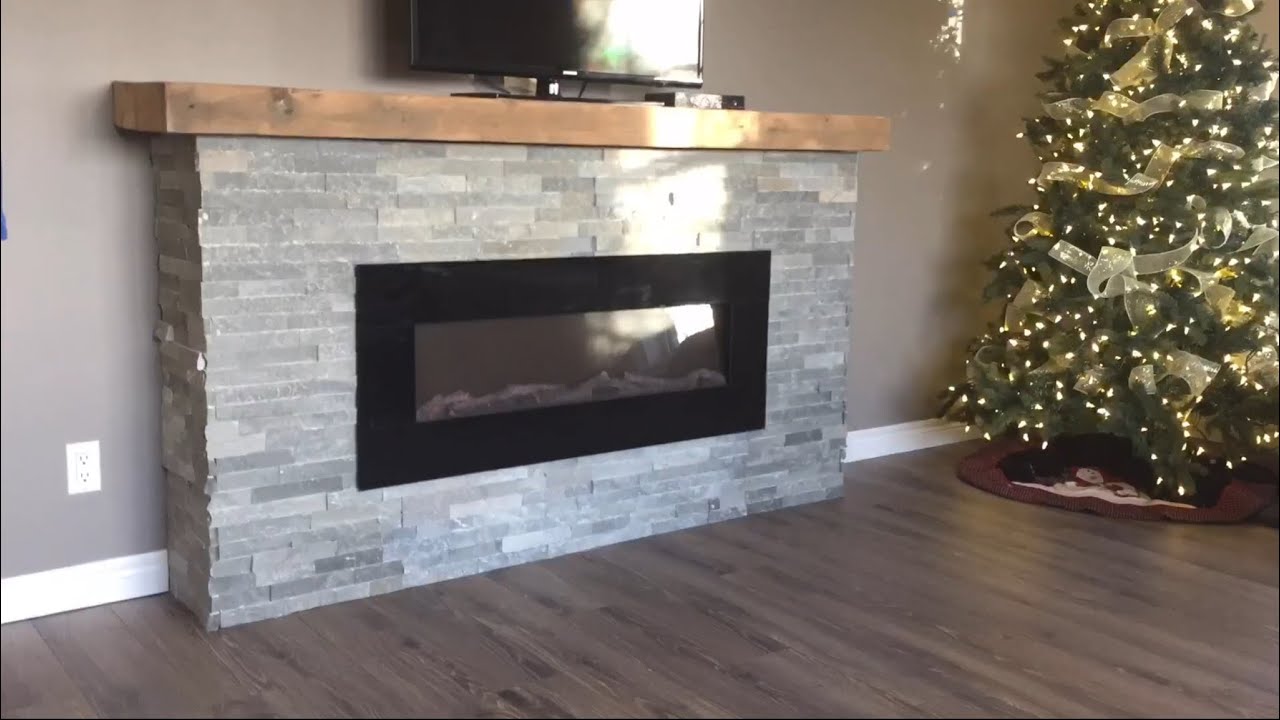
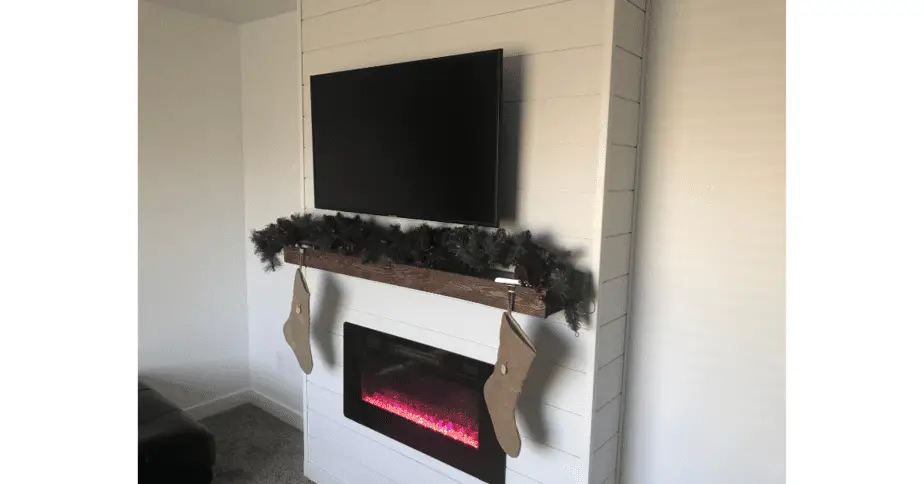
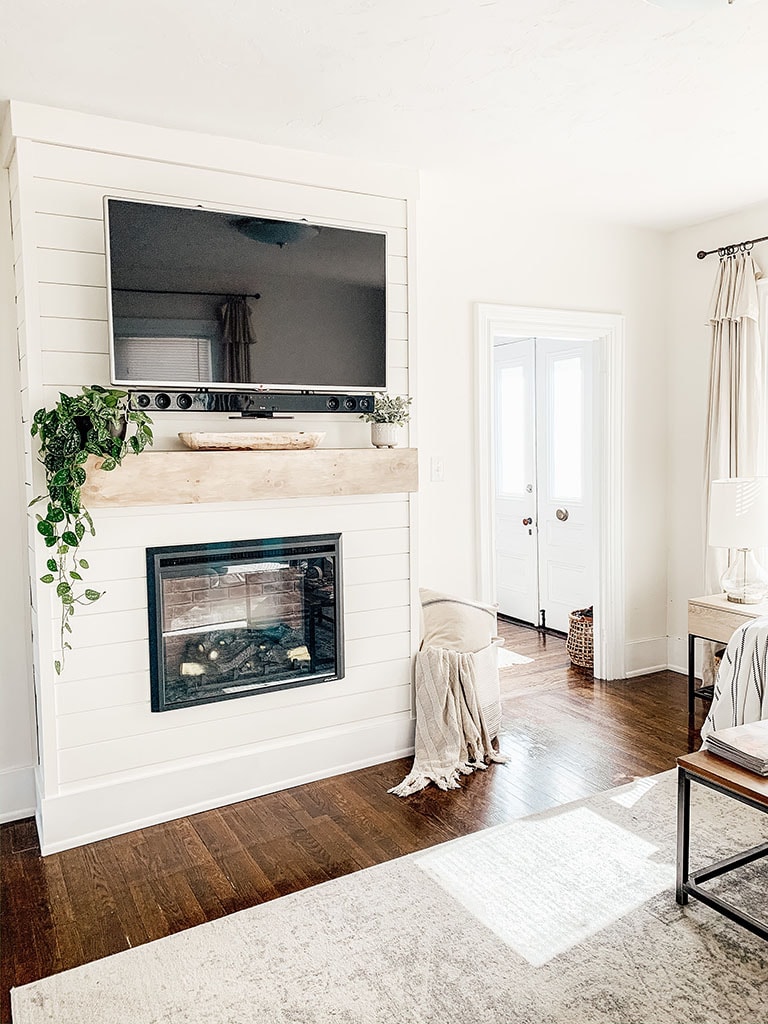
Adding the decorative elements and mantel shelf felt like the fun part after all the structural work was complete. I chose simple but classic molding profiles that complemented my home’s existing trim. The mantel shelf required careful planning to ensure it was perfectly level and securely attached to the frame. I used hidden brackets inside the frame structure to support the shelf, which meant no visible hardware to detract from the clean lines. Installing the shelf was nerve-wracking since it was the most expensive single component, but careful measuring paid off.

Finishing Techniques for Professional Results
Sanding was more time-consuming than I expected, but it made an enormous difference in the final appearance. I started with 120-grit sandpaper to smooth any rough cuts or joints, then progressed through 150 and 220-grit for the surfaces that would be most visible. The mantel shelf required extra attention since it would be touched and examined closely. I learned that proper sanding technique, working with the grain and using consistent pressure, was just as important as the grit sequence.
Staining the mantel required several test samples before I achieved the color I wanted. I tested different stain colors and application techniques on scrap pieces, which saved me from disappointing results on the finished project. I ultimately chose a warm honey-colored stain that brought out the natural grain patterns while complementing my existing furniture. The key was applying thin, even coats and wiping off excess stain quickly to avoid blotchiness, especially on the softer pine components.
The final polyurethane finish required patience but provided the protection and durability the mantel needed. I applied three thin coats, lightly sanding between each with fine-grit sandpaper to ensure smooth adhesion. The first coat raised the grain slightly, which I expected after researching finishing techniques online. By the third coat, the surface was smooth and glossy, providing excellent protection against heat, moisture, and everyday wear while enhancing the natural beauty of the wood.
Installation and Final Assembly Challenges
Installing the completed mantel required careful planning since it was heavier and more awkward than I anticipated. I enlisted help from two friends, and we used a combination of temporary supports and careful lifting to position the mantel against the wall. The electrical connections for the fireplace insert had to be made during installation, which meant coordinating the physical placement with getting power connected properly. Having planned the wiring routes during design made this process much smoother.
Securing the mantel to the wall required finding studs and using appropriate fasteners for the weight load. I used long lag screws through the back frame into wall studs, ensuring the mantel was perfectly level and couldn’t shift over time. The connection points were hidden behind the fireplace insert, so the mounting hardware doesn’t detract from the appearance. I also added small shims behind the mantel to ensure it sat tight against the wall without gaps.
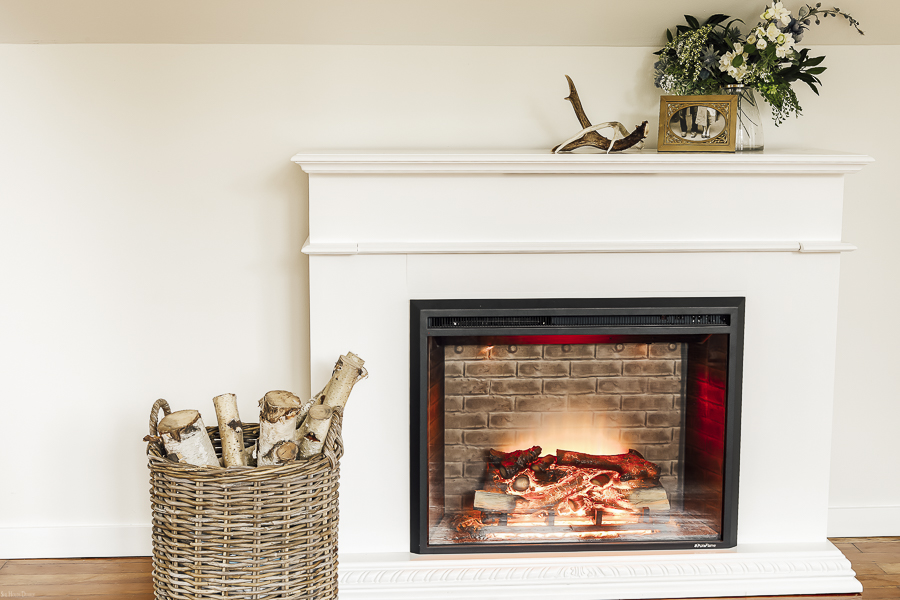
The final details made the biggest visual impact and required the most precision. Installing the electric fireplace insert required exact measurements and careful handling to avoid damaging either the insert or the mantel. I had to route the power cord through my planned cable management system and ensure proper ventilation around the unit. Adding trim pieces around the fireplace opening created a built-in appearance that made the insert look like an integral part of the mantel rather than an afterthought.
How much did building a DIY electric fireplace mantel cost compared to buying one?
I spent about $350 on materials for my custom mantel, including the maple shelf, pine lumber, hardware, and finishing supplies. Comparable pre-made mantels were $800-1200, so I saved significant money while getting exactly the size and style I wanted. The biggest expense was the mantel shelf, but it made the whole project look premium.
What skill level is required for this type of DIY project?
I’d say intermediate DIY skills are helpful, but it’s definitely doable for motivated beginners. The key is taking your time, measuring twice, and having the right tools. I had basic woodworking experience, but learned new techniques during this project. The pocket hole joinery made strong connections easier than traditional methods would have been.

How long does building a mantel typically take?
My project took three full weekends, working about 6-8 hours each day. This included planning time, material shopping, construction, and finishing. The drying time between stain and polyurethane coats added time, but was not active work. Someone with more experience could probably complete it faster, while beginners might need an extra weekend.
What’s the most challenging part of building a fireplace mantel?
Getting the proportions right was harder than I expected. The mantel needs to look balanced with both the fireplace and the room size. Also, achieving professional-looking joints and finish quality requires patience. The electrical coordination with the fireplace insert was tricky but manageable with proper planning.

Can I build a mantel for any electric fireplace insert?
Most electric fireplaces have standard dimensions, but you definitely need to plan around your specific insert. I measured my fireplace carefully and built the opening to the manufacturer’s specifications. The key is ensuring proper ventilation and electrical access while creating a custom fit that looks intentional rather than retrofitted.
What tools are essential for this project?
A miter saw for accurate cuts, a drill for assembly, and a pocket hole jig for strong joints are crucial. I also needed sanders, clamps, and measuring tools. If you don’t own these, borrowing or renting is more economical than buying for a single project. Sharp blades and bits make every step easier and produce better results.

Weekend DIY fireplace build – ELECTRIC fireplace time lapse
DIY Electric Fireplace For Under $500 – House To Home DIY
DIY Fireplace using an Electric Insert Tutorial – The Beauty Revival
DIY Shiplap Electric Fireplace u0026 Mantel – Micheala Diane Designs
Electric Fireplace Mantle DIY – She Holds Dearly
Related Posts:
- Rustic Electric Fireplace
- Vintage Style Electric Fireplace
- Electric Fireplace Mantel DIY
- Stone Wall Electric Fireplace
- Small Free Standing Electric Fireplace
- Electric Fireplaces White Finish
- Limestone Electric Fireplace
- Electric Fireplace Surround DIY
- Electric Fireplace With TV
- The Most Realistic Electric Fireplace