Installing a DIY Wood-Burning Fireplace Insert
A wood-burning fireplace insert is an excellent option for homeowners who want to enjoy the warmth and ambiance of a traditional wood-burning fireplace while increasing the heating efficiency of their homes. Installing a wood-burning fireplace insert can reduce your heating costs and add value to your property. This guide will take you through five steps to install a DIY wood-burning fireplace insert.
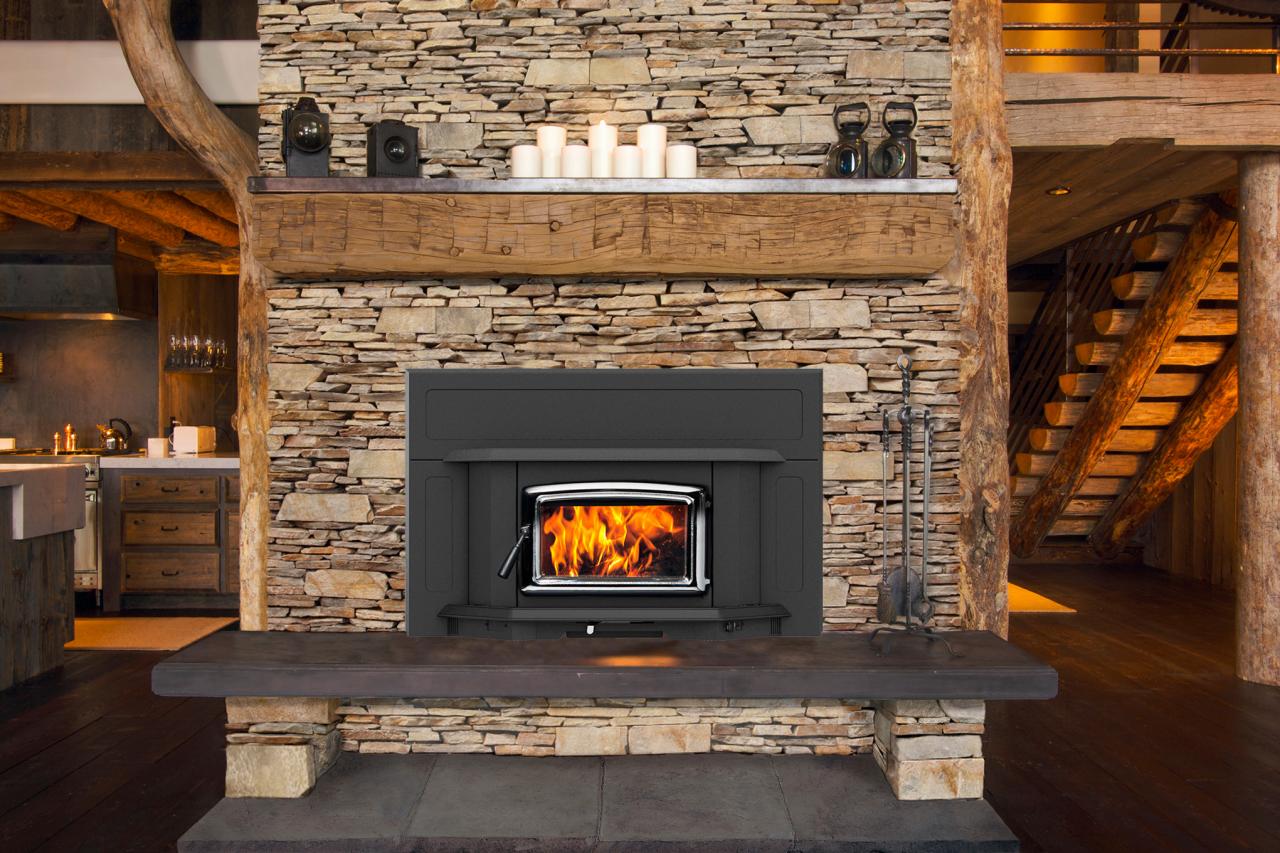
Step 1: Choose the Right Fireplace Insert
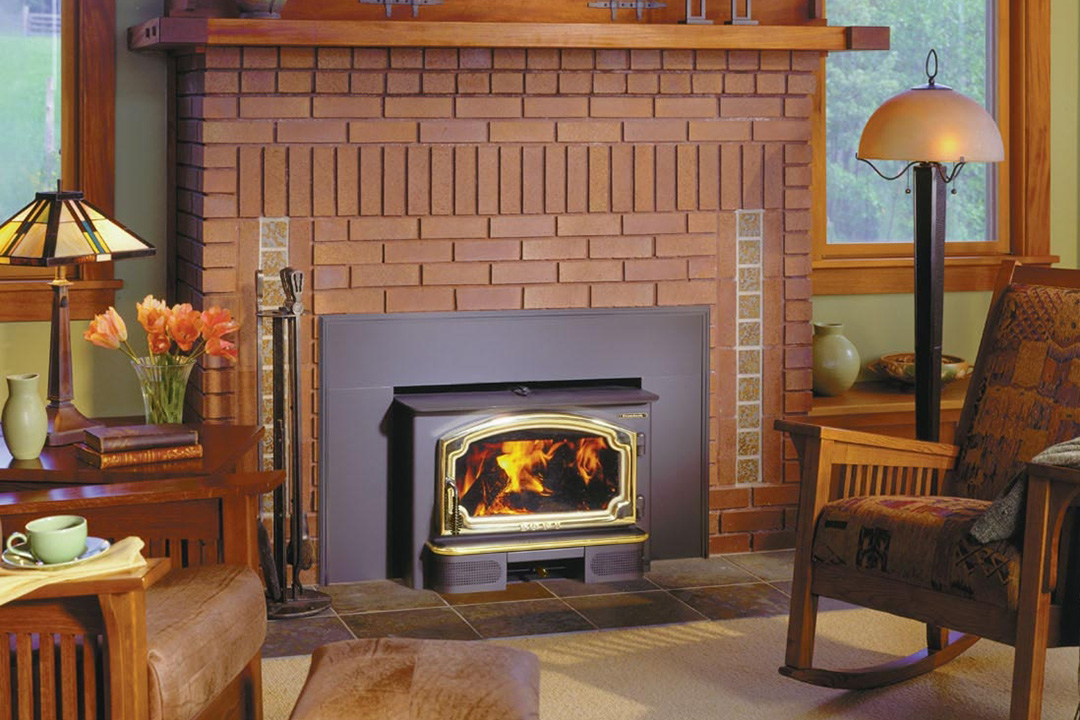
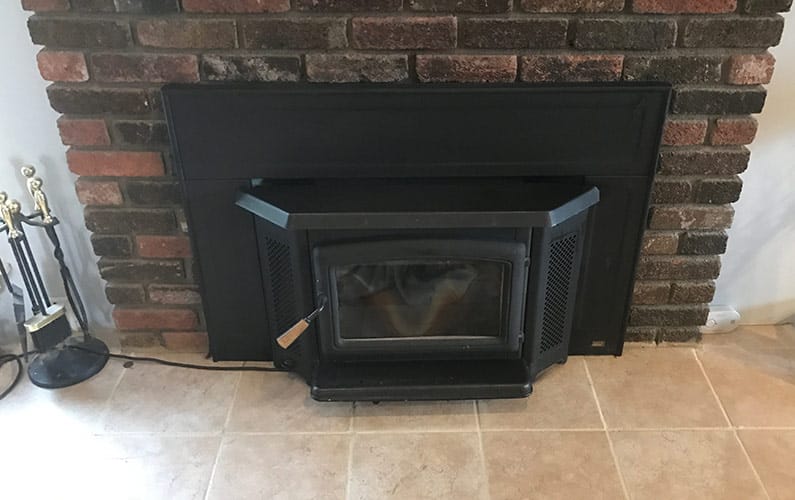
Before installing a wood-burning fireplace insert, you must choose the right one for your needs. Fireplace inserts come in various styles and sizes, so it’s essential to measure your existing fireplace carefully. You’ll need to know the height, width, and depth of your fireplace opening to ensure you choose the right insert. You’ll also need to choose between a catalytic or non-catalytic insert. Catalytic inserts have a catalyst that helps to reduce emissions and increase efficiency, while non-catalytic inserts rely on the design of the insert to achieve the same results.
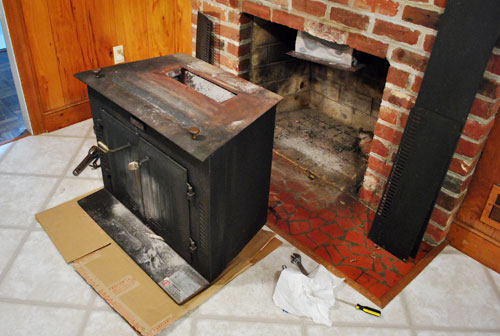
Step 2: Prepare the Area
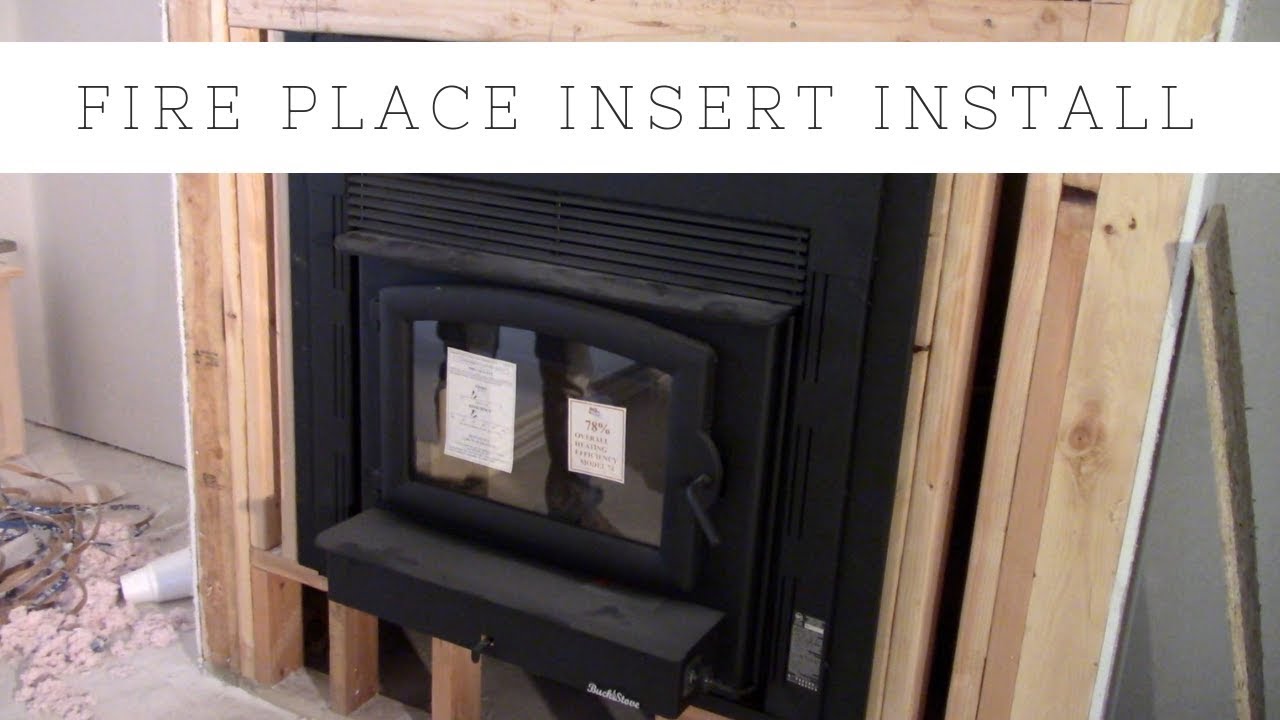
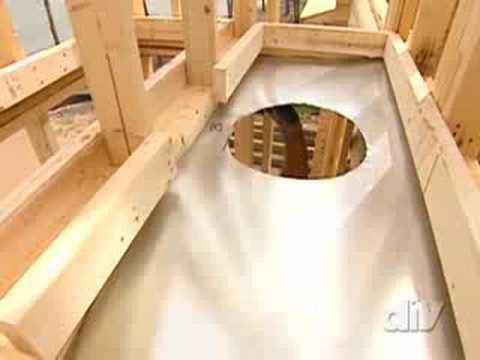
The next step is to prepare the area for the installation of the insert. Start by cleaning out the fireplace and removing any debris or ash. You’ll need to install a liner in the chimney to ensure the smoke and gases are correctly vented. The liner should be the same diameter as the flue collar on the insert. You may need to remove or modify the damper to fit the liner properly.
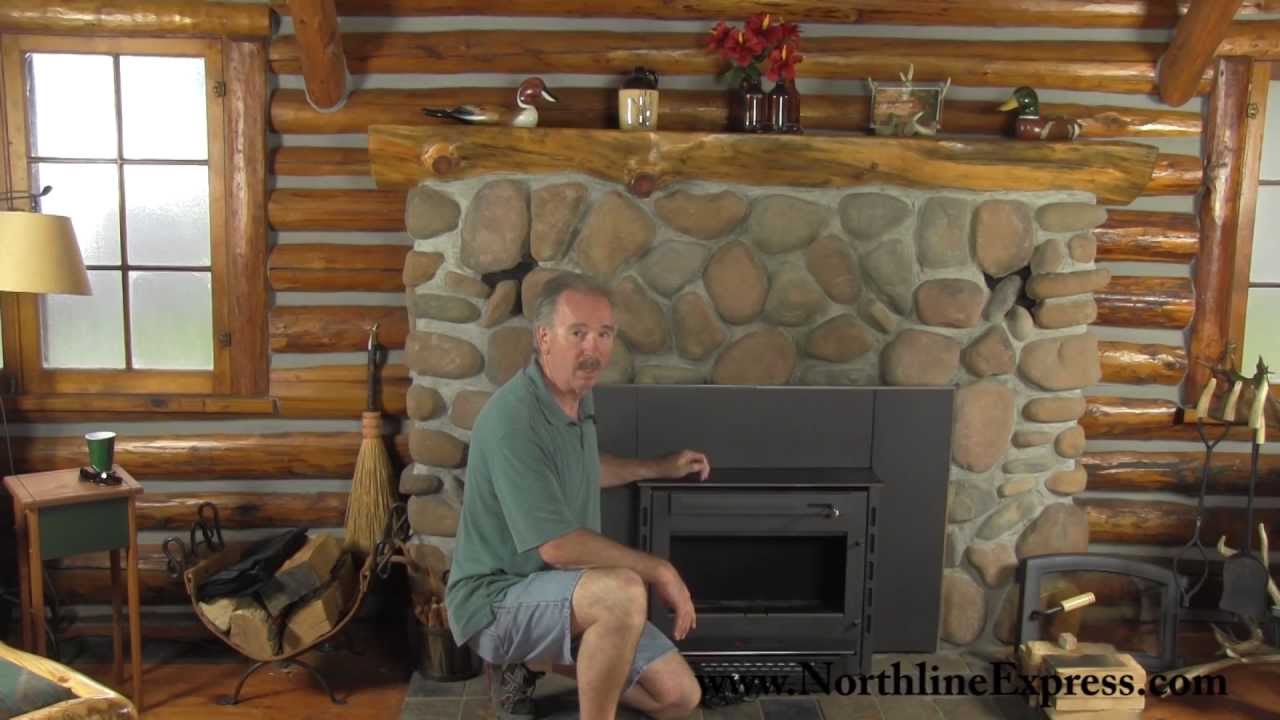
Step 3: Install the Insert
Once you’ve prepared the area, you can begin installing the insert. Start by placing the insert in the fireplace opening and ensuring it’s level. Use a tape measure to ensure the insert is centered in the opening. You’ll need to connect the stovepipe to the insert and run it up the chimney. The stovepipe should be as short and straight as possible to ensure the smoke and gases are correctly vented.
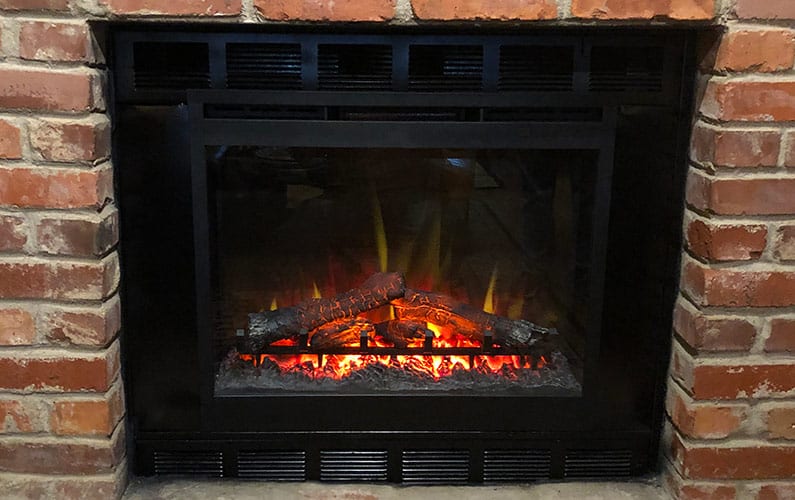
Step 4: Install the Chimney Cap
Once you’ve installed the insert and stovepipe, you must install a chimney cap. The chimney cap will keep rain, snow, and debris from entering the chimney while allowing the smoke and gases to escape. Ensure the chimney cap is securely attached to the top of the chimney.
Step 5: Test the Insert
The final step is to test the insert to ensure it works correctly. Build a small fire in the fireplace and watch to ensure the smoke and gases are venting correctly. You may need to adjust the damper or modify the insert to achieve the best results.
Installing a wood-burning fireplace insert is an excellent way to increase your home’s heating efficiency while enjoying the ambiance of a traditional wood-burning fireplace. Following these five steps, you can install a DIY wood-burning fireplace insert and enjoy a warm and cozy home all winter. Remember to choose the right insert for your needs, prepare the area carefully, install it correctly, and test it to ensure it works correctly.
Fireplace Insert Installation u0026 Wood Burning Inserts
Building Process 29: Fireplace Installation

Build or Remodel Your Own House: Fireplace Problems Prefab

MONEY SAVER! How To Install A Fire Place Insert For Burning Wood
Fireplace Inserts: Everything You Need to Know » Full Service Chimney™
Fireplace Insert Install-DIY
Fireplace Inserts: Upgrade Costs and the Best Models – This Old House
/cdn.vox-cdn.com/uploads/chorus_asset/file/22300472/AdobeStock_42337577.jpeg)
The Beginning Of A Fireplace Makeover: Removing A Woodstove Insert
10 Tips for Maintaining a Wood-Burning Fireplace HGTV
Fireplace Inserts: Everything You Need to Know » Full Service Chimney™
Installing a Volgalzang Colonial Wood Burning Stove Insert
Benefits of Installing a Wood Burning Fireplace Insert

Related Posts:
- Fireplace Wood Inserts
- Vintage Electric Fireplace Insert
- DIY Wood Fireplace Insert
- Natural Gas Fireplace Inserts
- Wall Mount Gas Fireplace Inserts
- Upgrade Fireplace Insert
- Cast Iron Fireplace Insert
- Propane Heater Insert For Fireplace
- How To Change A Fireplace Insert
- Ethanol Gel Fireplace Insert