Tiling a fireplace surround is an effective way to enhance the aesthetic appeal and durability of your fireplace. The process involves several key steps, from preparing the surface to choosing the right materials and techniques for installation. Proper tiling not only improves the look of your fireplace but also protects against heat and wear. Here’s a comprehensive guide on how to tile a fireplace surround to achieve a professional and polished result.
Images about How To Tile A Fireplace Surround
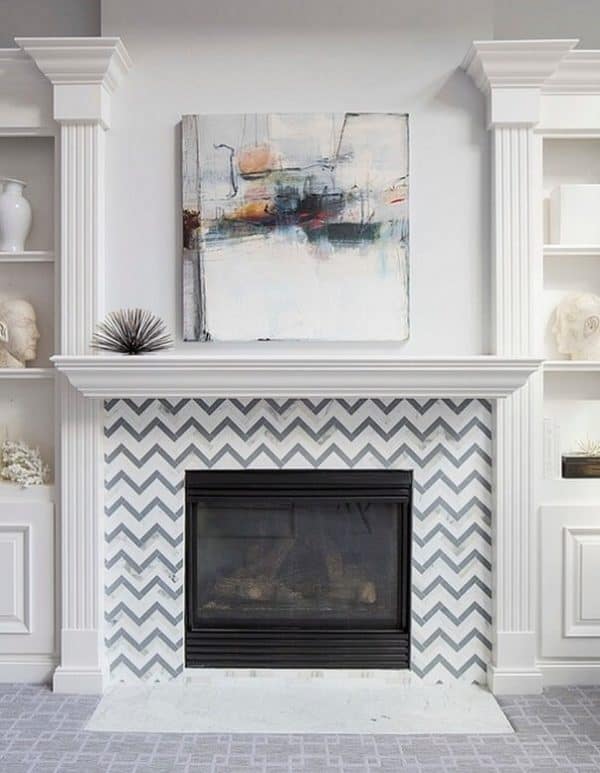
How To Tile A Fireplace Surround

Preparation is crucial before starting any tiling project. Begin by ensuring that the surface of the fireplace surround is clean, dry, and free from any loose debris. If the existing surface is painted or has a glossy finish, it should be sanded or stripped to ensure proper adhesion of the tile adhesive. Measure the area to be tiled and calculate the amount of tile needed, including allowances for cuts and waste. It’s also important to prepare the necessary tools and materials, which typically include tiles, thin-set mortar or tile adhesive, grout, a trowel, a tile cutter, spacers, a grout float, and a sponge. Make sure to choose tiles that are heat-resistant and suitable for high-temperature environments, such as ceramic, porcelain, or natural stone tiles.
Installation starts with applying the tile adhesive or thin-set mortar to the prepared surface. Use a notched trowel to spread the adhesive evenly, working in small sections to prevent it from drying out before you place the tiles. Press the tiles firmly into the adhesive, using spacers between each tile to ensure consistent grout lines. For a more intricate design or pattern, plan your layout beforehand and dry-fit the tiles to check the arrangement. Make any necessary cuts with a tile cutter or a wet saw to fit the tiles around edges and corners. Once the tiles are in place, allow the adhesive to set according to the manufacturer’s instructions before grouting, usually for about 24 hours. This curing time is essential to ensure that the tiles are securely bonded to the surface.
Grouting is the next step and involves filling the spaces between the tiles to create a finished look. Once the adhesive has fully set, remove the tile spacers and apply grout using a grout float. Spread the grout diagonally across the tiles, pressing it into the joints and wiping off excess grout with the edge of the float. Be sure to work in small sections and clean off excess grout promptly to prevent it from hardening on the tile surface. After applying grout to all joints, use a damp sponge to clean the tiles and smooth out the grout lines. Rinse the sponge frequently to avoid spreading grout haze on the tiles. Allow the grout to cure as per the manufacturer’s recommendations, typically for at least 24 hours, before sealing.

Finishing touches involve sealing the grout and cleaning up the work area. Once the grout has cured, apply a grout sealer to protect it from stains and moisture. This step is particularly important for grout used in high-traffic or wet areas. Follow the sealer’s instructions for application and drying times. After sealing, clean any remaining grout haze from the tile surface with a clean, dry cloth. If necessary, polish the tiles to restore their shine. Finally, inspect the tiled fireplace surround for any imperfections or gaps and make any necessary touch-ups. Properly tiled fireplace surrounds not only enhance the visual appeal of your fireplace but also ensure its durability and functionality, making it a standout feature in your home.

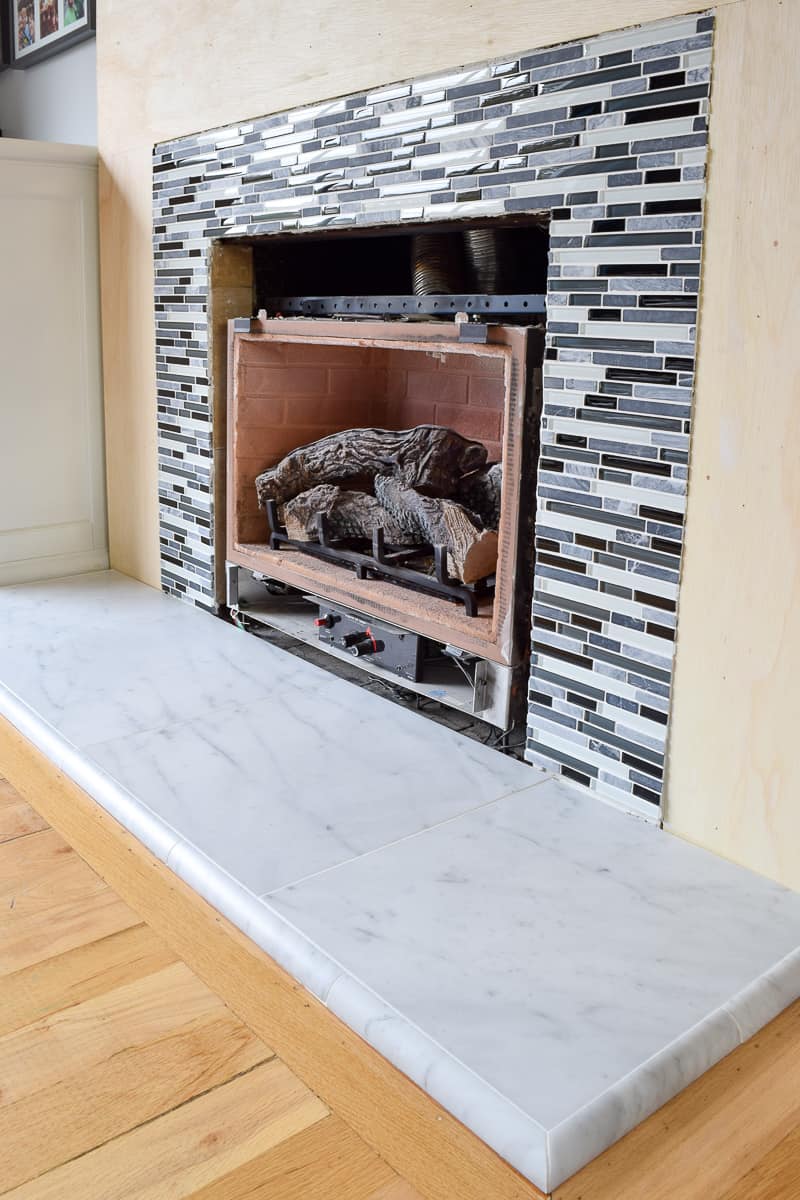
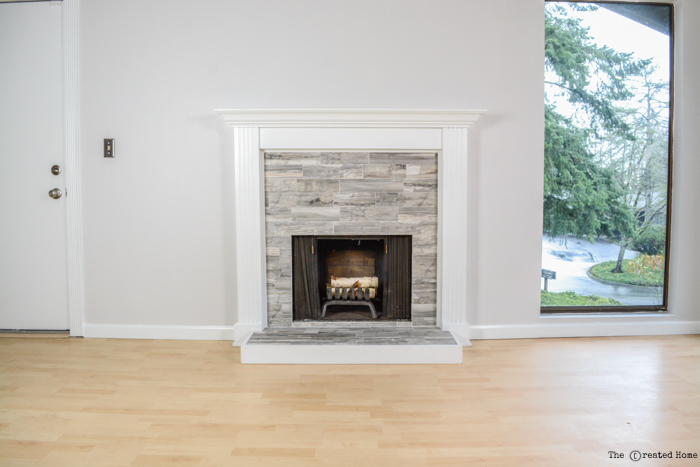
DIY Tiling a Fireplace Surround What We Learned Along the Way
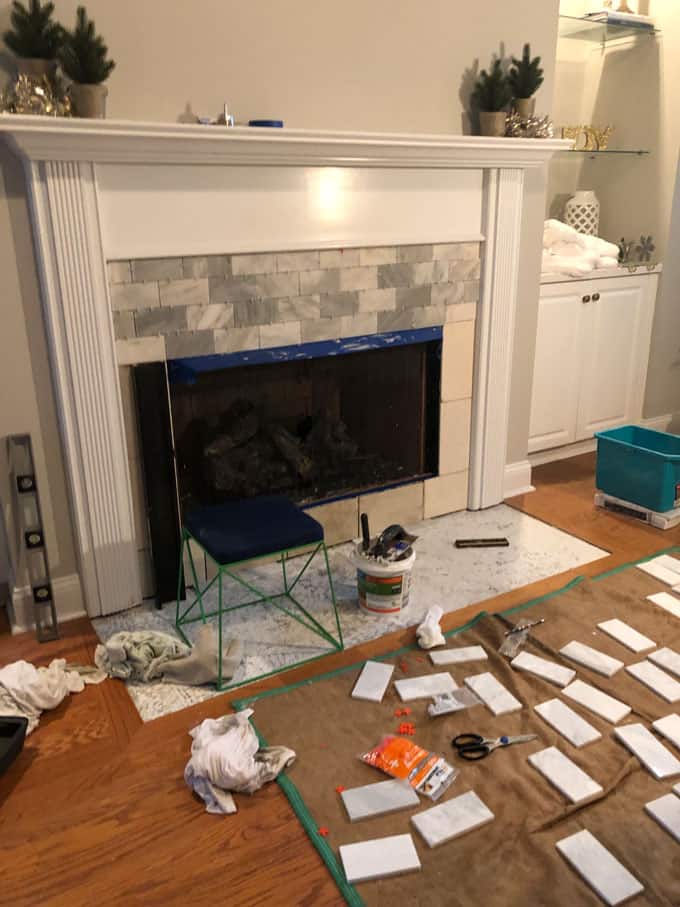
DIY Fireplace Makeover Centsational Style

DIY Tiling a Fireplace Surround What We Learned Along the Way

Tile Fireplace Surround Floor Coverings

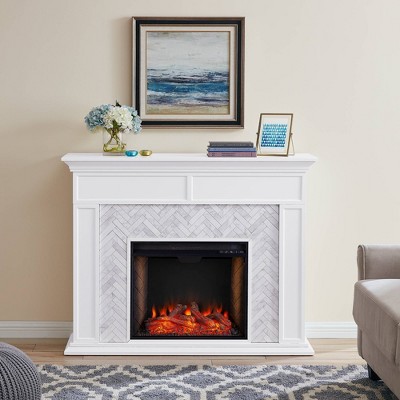
Tenmoor Tiled Marble Fireplace Mantel
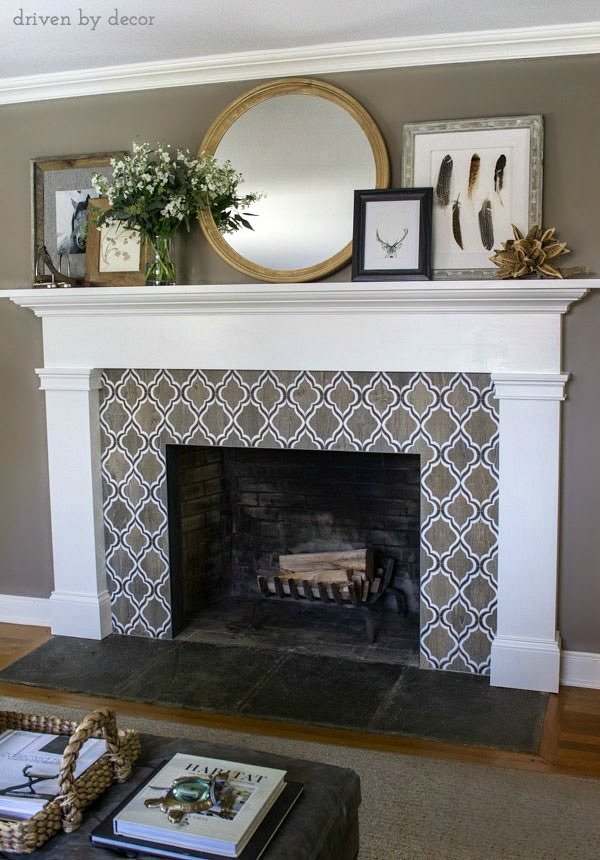
Our New Fireplace Tile Surround! – Driven by Decor
How to Tile a Fireplace – Pretty Handy Girl
Related Posts:
- Modern Tile Fireplace Wall
- Mosaic Tile Fireplace DIY
- Quartz Fireplace Tile
- Ceramic Tiles Fireplace Surround
- Sandstone Tile Fireplace
- Spanish Tile Fireplace
- Porcelain Tile Fireplace Ideas
- Travertine Tile Fireplace Surround
- Tile Fireplace Surround Ideas
- White Stone Tile Fireplace
Tiling a fireplace surround can be a great way to enhance the look and feel of your living space. Whether you want to add a pop of color, texture, or just give your fireplace a fresh new look, tiling is a versatile and customizable option. In this article, we will guide you through the process of tiling a fireplace surround, from prepping the area to grouting the tiles.
Prepping the Area:
Before you begin tiling, it’s important to prepare the area around the fireplace. Start by cleaning the surface thoroughly to remove any dirt, dust, or debris. If there are any existing tiles or other materials on the surround, make sure to remove them carefully. You may need to use a chisel or pry bar to loosen stubborn tiles.
Next, inspect the surface for any cracks or uneven areas. If needed, fill in any gaps with spackling compound and sand down rough spots to create a smooth, even surface. You may also want to consider adding a waterproof membrane or backer board to protect the surrounding walls from heat and moisture.
Choosing the Right Tiles:
When selecting tiles for your fireplace surround, consider both the aesthetic appeal and practicality of the material. Ceramic and porcelain tiles are popular choices for fireplace surrounds due to their durability and heat resistance. Natural stone tiles like marble, granite, or slate can add a touch of elegance but may require more maintenance.
Take measurements of the fireplace surround and calculate how many tiles you will need. It’s a good idea to purchase extra tiles to account for any mistakes or breakages during installation. Consider creating a design mockup by arranging the tiles on the floor before adhering them to the wall.
Installing the Tiles:
Start by applying thinset mortar to the back of each tile using a notched trowel. Press each tile firmly onto the prepared surface, leaving a small gap between each tile for grout. Use tile spacers to ensure even spacing and straight lines. Continue this process until the entire fireplace surround is tiled.
Once all the tiles are in place, allow the mortar to dry completely before grouting. Mix grout according to package instructions and use a grout float to fill in the gaps between tiles. Wipe away excess grout with a damp sponge and let it cure for 24 hours before sealing.
Finishing Touches:
After grouting, inspect the fireplace surround for any remaining grout haze or imperfections. Use a grout haze remover and buff with a clean cloth to reveal the beauty of your newly tiled fireplace surround. Consider adding decorative trim pieces or molding around the edges for a polished look.
Common Mistakes to Avoid:
1. Not properly prepping the surface before tiling can lead to adhesion issues and uneven tile placement.
2. Using incorrect tools or materials can result in poor tile adhesion or grout failure.
3. Rushing through installation without allowing mortar or grout to dry can compromise the integrity of your tiled fireplace surround.
4. Neglecting to seal natural stone tiles can leave them vulnerable to stains and damage over time.
Can I tile over an existing fireplace surround?
Yes, you can tile over an existing fireplace surround as long as it is clean and structurally sound.
Do I need special tools for tiling a fireplace surround?
While basic tiling tools like a notched trowel and tile spacers are necessary, you may also need specialized tools like a wet saw for cutting tiles.
How long does it take to tile a fireplace surround?
The timeline for tiling a fireplace surround will vary depending on factors like prep work, tile size, and complexity of design. Plan for at least a few days from start to finish.
Can I use any type of tile for my fireplace surround?
While ceramic and porcelain tiles are commonly used due to their heat resistance, natural stone tiles are also suitable as long as they are properly sealed.
How do I maintain my tiled fireplace surround?
Regular cleaning with mild soap and water is typically all that’s needed to keep your tiled fireplace surround looking its best. Make sure to reseal natural stone tiles every few years to maintain their luster and protect against stains.
Should I hire a professional contractor to tile my fireplace surround, or is it something I can do as a DIY project?
It ultimately depends on your level of experience and comfort with home improvement projects. Tiling a fireplace surround can be a complex task that requires precision and attention to detail.
If you are confident in your abilities and have some experience with tiling, you may be able to tackle this project as a DIY project. However, if you are unsure or hesitant about your skills, it may be best to hire a professional contractor who has the expertise and tools needed to ensure a high-quality finish.
Consider factors such as the complexity of the design, the type of tile being used, and your own time constraints when making this decision. In the end, it is important to choose the option that will result in a beautiful and functional fireplace surround that meets your expectations.
What are some creative design ideas for incorporating different tile shapes, colors, and patterns in a fireplace surround tiling project?
Here are some creative ideas for incorporating different tile shapes, colors, and patterns in a fireplace surround tiling project:
1. Mix and match different tile shapes: Instead of using only one type of tile, consider mixing different shapes such as hexagon, chevron, or arabesque tiles to create a unique and eye-catching design.
2. Contrast colors: Use contrasting colors to create visual interest in your fireplace surround. For example, pair a light-colored tile with a dark grout or use a bold color like navy blue or emerald green alongside neutral tones.
3. Create a pattern with tiles: Experiment with different patterns such as herringbone, basketweave, or subway layout to add depth and dimension to your fireplace surround.
4. Incorporate metallic or textured tiles: Consider adding metallic or textured tiles to create a luxurious and modern look. These tiles can be used as accents or as the main feature of your fireplace surround.
5. Use mosaic tiles: Mosaic tiles come in a variety of shapes, sizes, and colors and can be arranged in intricate patterns to create a stunning focal point in your fireplace surround.
6. Play with tile placement: Get creative with how you arrange the tiles on your fireplace surround. Instead of sticking to traditional straight lines, consider diagonal or staggered placements for a more dynamic look.
7. Add a border or trim: Include a border or trim around the edges of your fireplace surround using a different color or shape of tile to frame the design and make it pop.
The key to incorporating different tile shapes, colors, and patterns in a fireplace surround tiling project is to experiment and have fun with the design process. Don’t be afraid to mix and match different elements to create a one-of-a-kind look that reflects your personal style and aesthetic preferences.