It is available in shapes that are various; every made to collection an individuals needs. Marble as well as granite are the 2 most popular choices for modern fireplace surrounds. And so as you can see it’s incredibly easy to maintain a nice, clean hearth, stone surround or perhaps stone veneer.
Images about How To Make A Stone Fireplace Surround
How To Make A Stone Fireplace Surround
/cdn.vox-cdn.com/uploads/chorus_asset/file/19494954/howto_stonefire_01.jpg)
A lot of the new homes built during the last several decades have outdated tiled hearth surrounds with a solid wood mantel. Marble fireplace surrounds are possibly the most incredible and they can be custom-made carved in any design you wish. You are able to appear locally at your do superstore to find out what systems and DIY projects are offered.
How to build a DIY Stone Fireplace Boxwood Design Co

There are many varieties of lovely tiles that you are able to utilize for a fireplace surround before incorporating a wooden mantel. Technically, a fireplace surround is actually an architectural factor which surrounds a hearth, providing aesthetic and protection advantages. Building surrounds involve some specialized methods which you may well not be cognizant of.
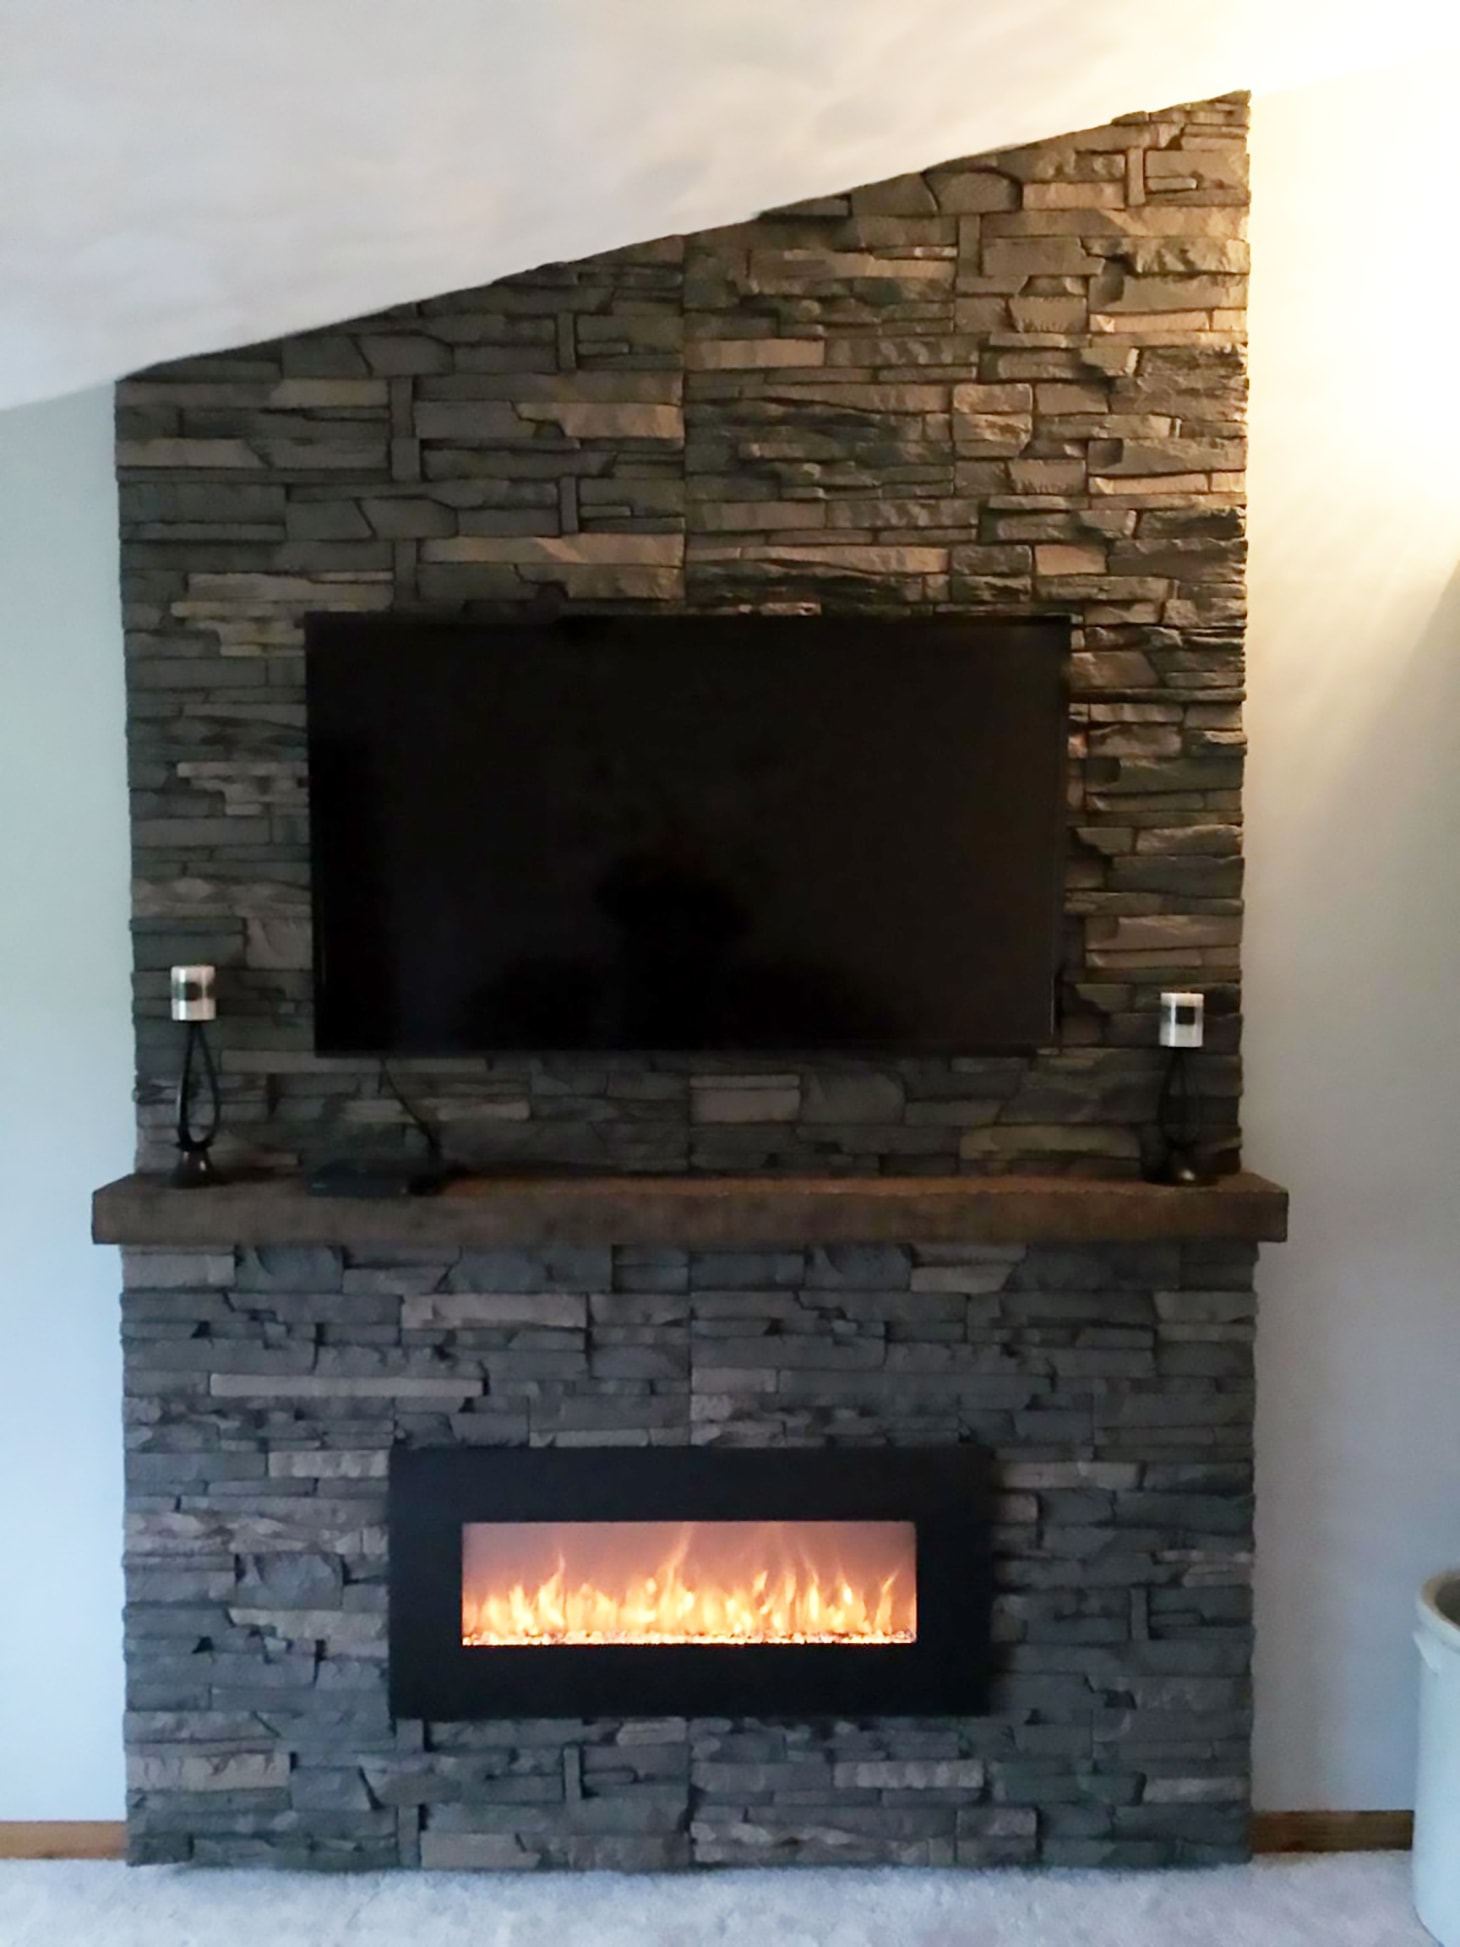
How to Build and Hang a Mantel on a Stone Fireplace – Shanty 2 Chic

Rinse the solution off right after using it so you do not get a “scummy” grow up. In case you’ve a traditionally constructed fireplace, or if your fireplace is actually situated over a hearth, you may need to use a hand laid stone layout. European fireplace surrounds may be installed at any height of the wall.
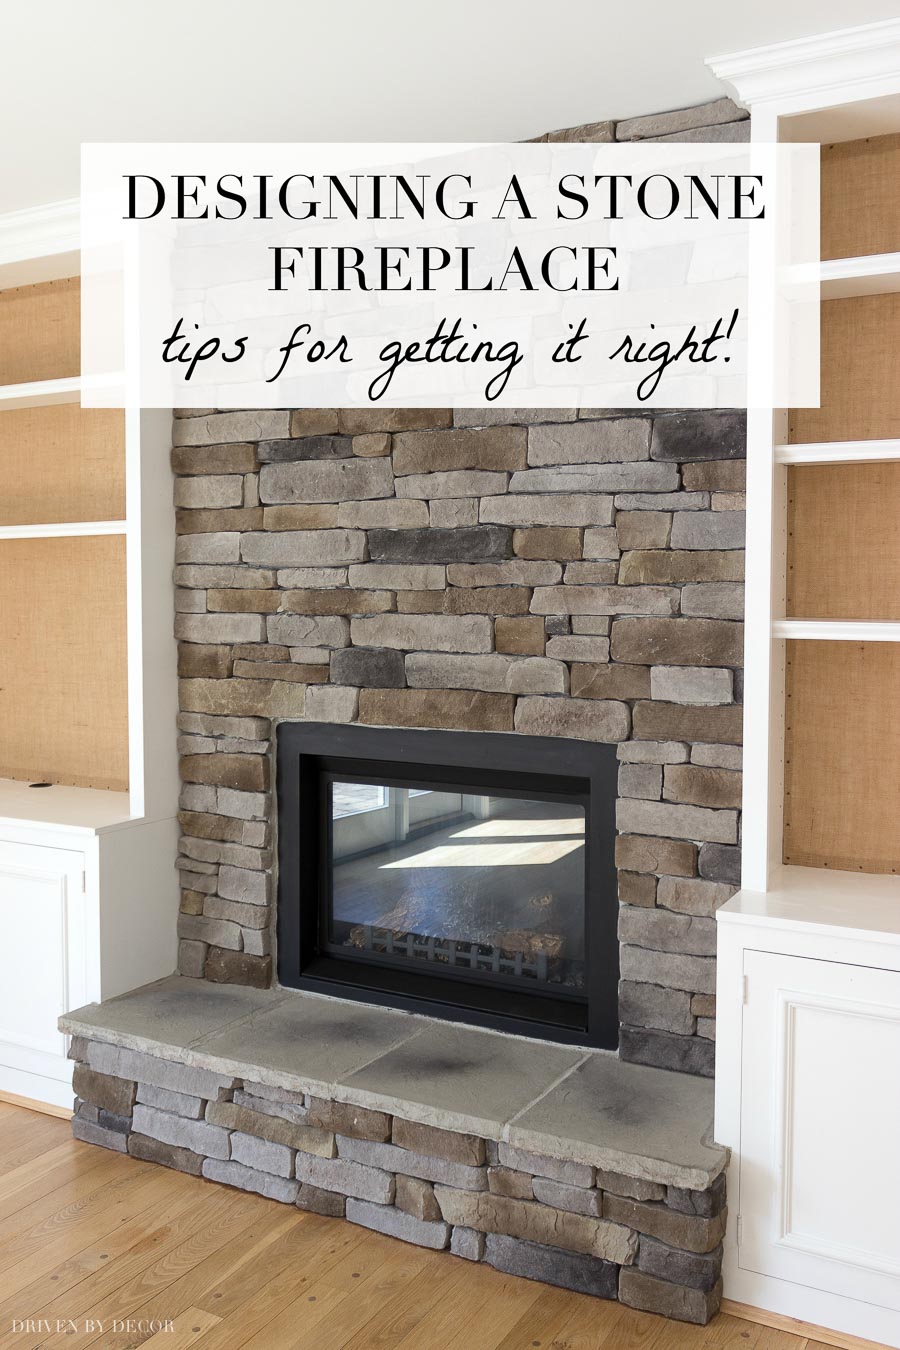
Designing a Stone Fireplace: Tips for Getting it Right! – Driven
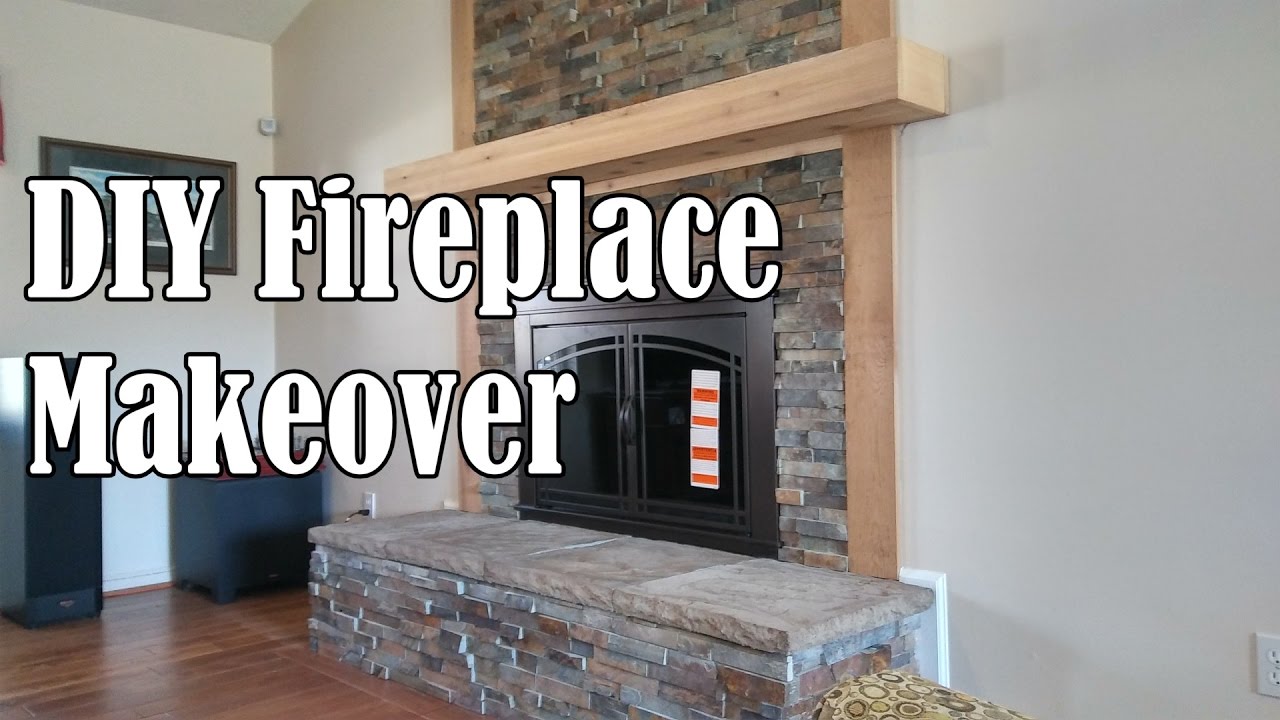
DIY Stone Fireplace Makeover – OurHouse DIY
Easy Peel and Stick Stone Fireplace Surround – Sondra Lyn at Home

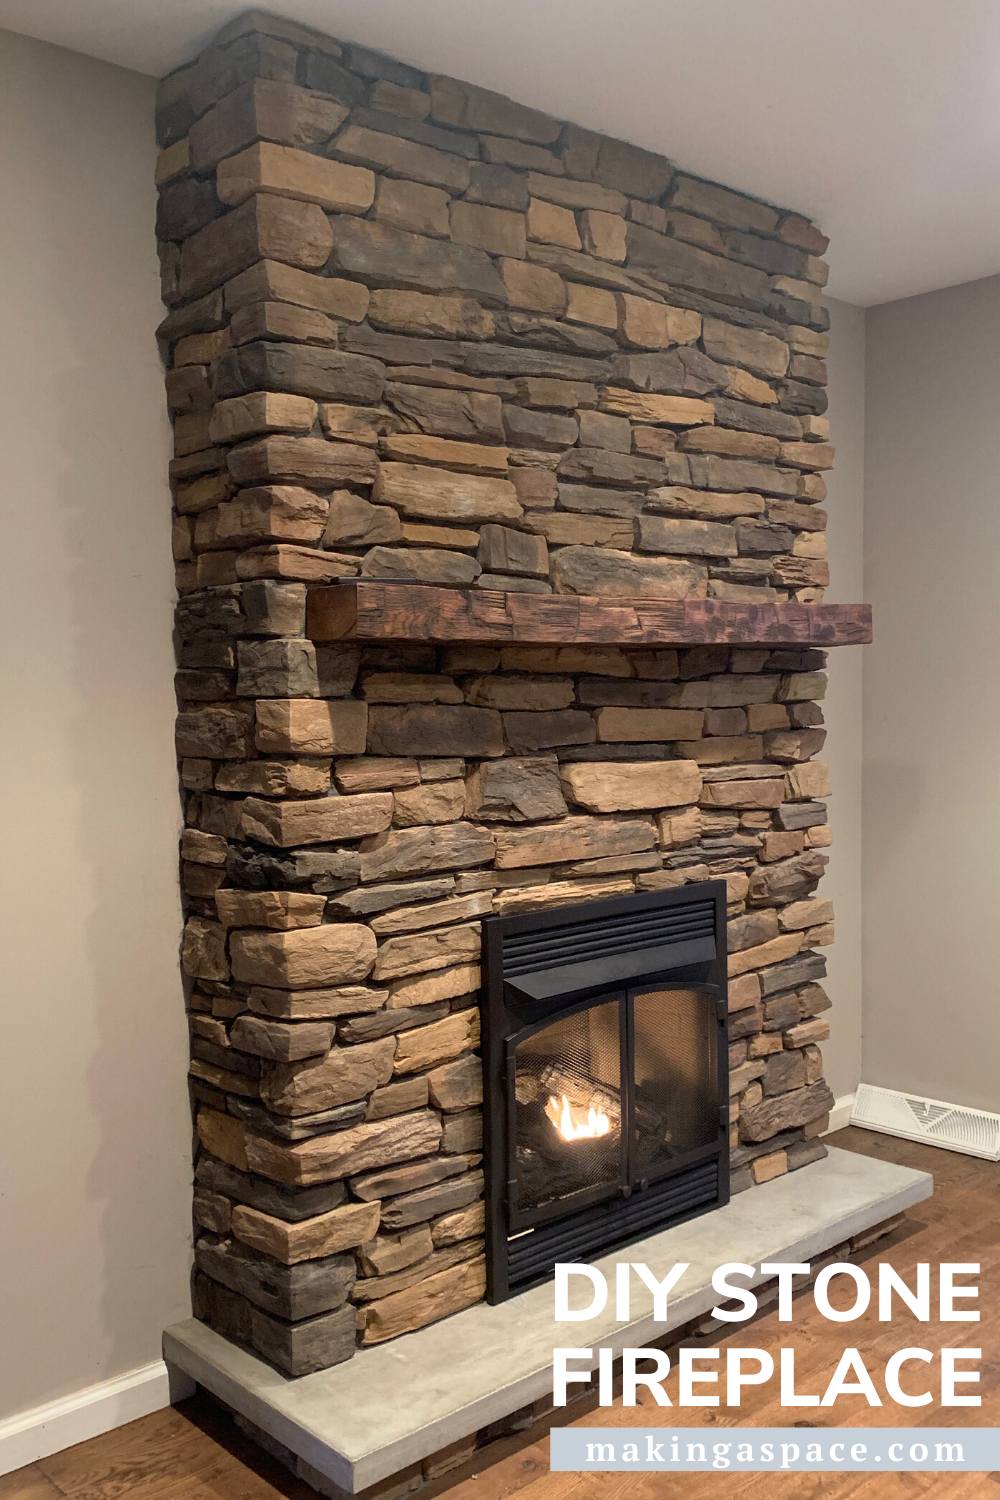
Barnwood Mantle Stone Fireplace DIY – Making A Space
How to Build a Stone Veneer Fireplace Surround Inexpensively
/cdn.vox-cdn.com/uploads/chorus_asset/file/19495201/howto_stonefire_03.jpg)
DIY Fireplace Mantel Surround Faux Cast Stone European Style
DIY Stone Wall, Fireplace u0026 Entertainment Center by Scott GenStone
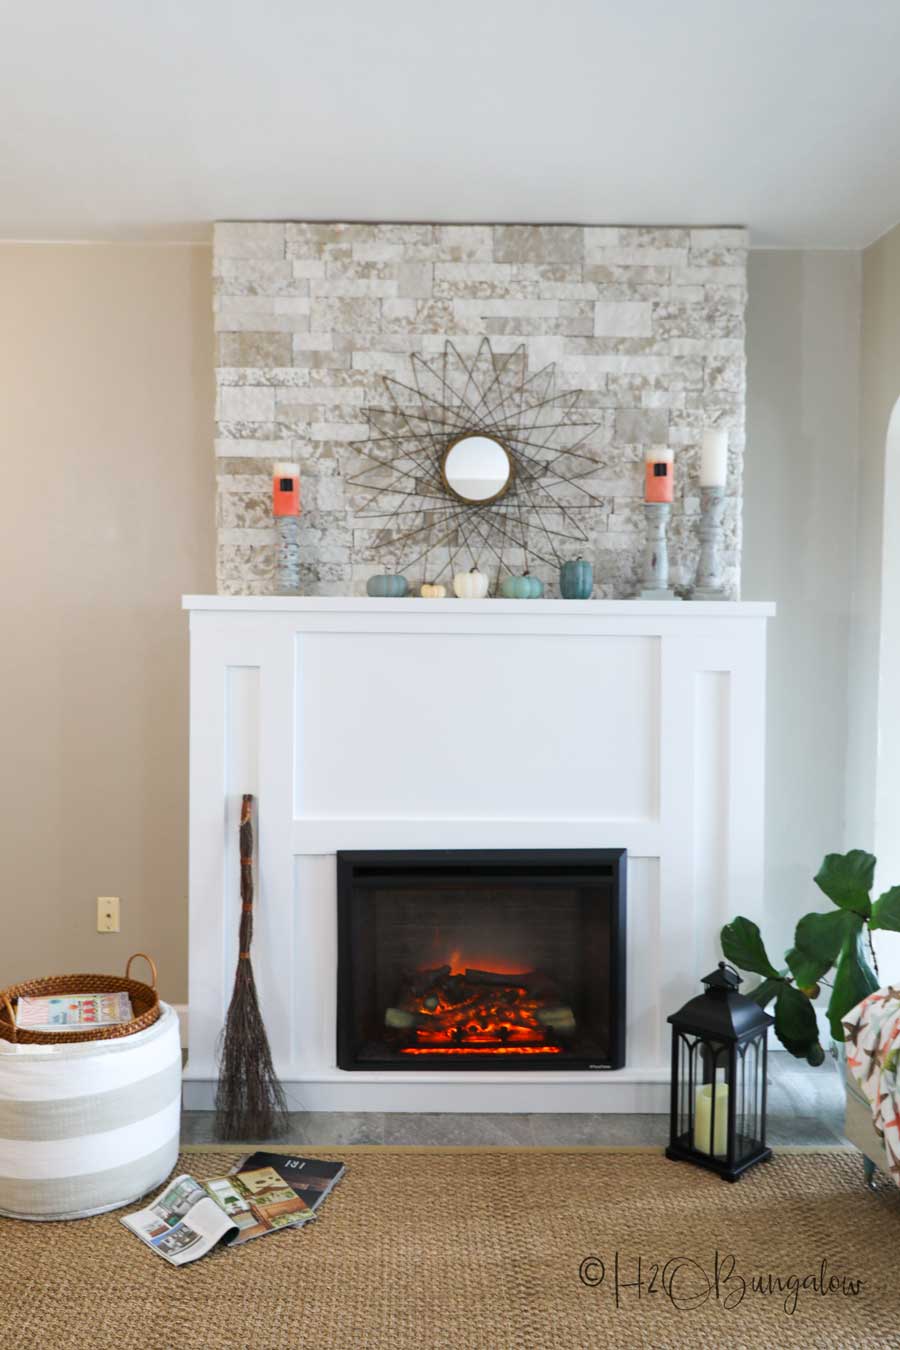
DIY Faux Stone Fireplace Chimney – H2OBungalow
i built a stacked stone fireplace surround : r/DIY

7 Tips for a Pro Looking DIY Stacked Stone Fireplace Installation
.jpg)
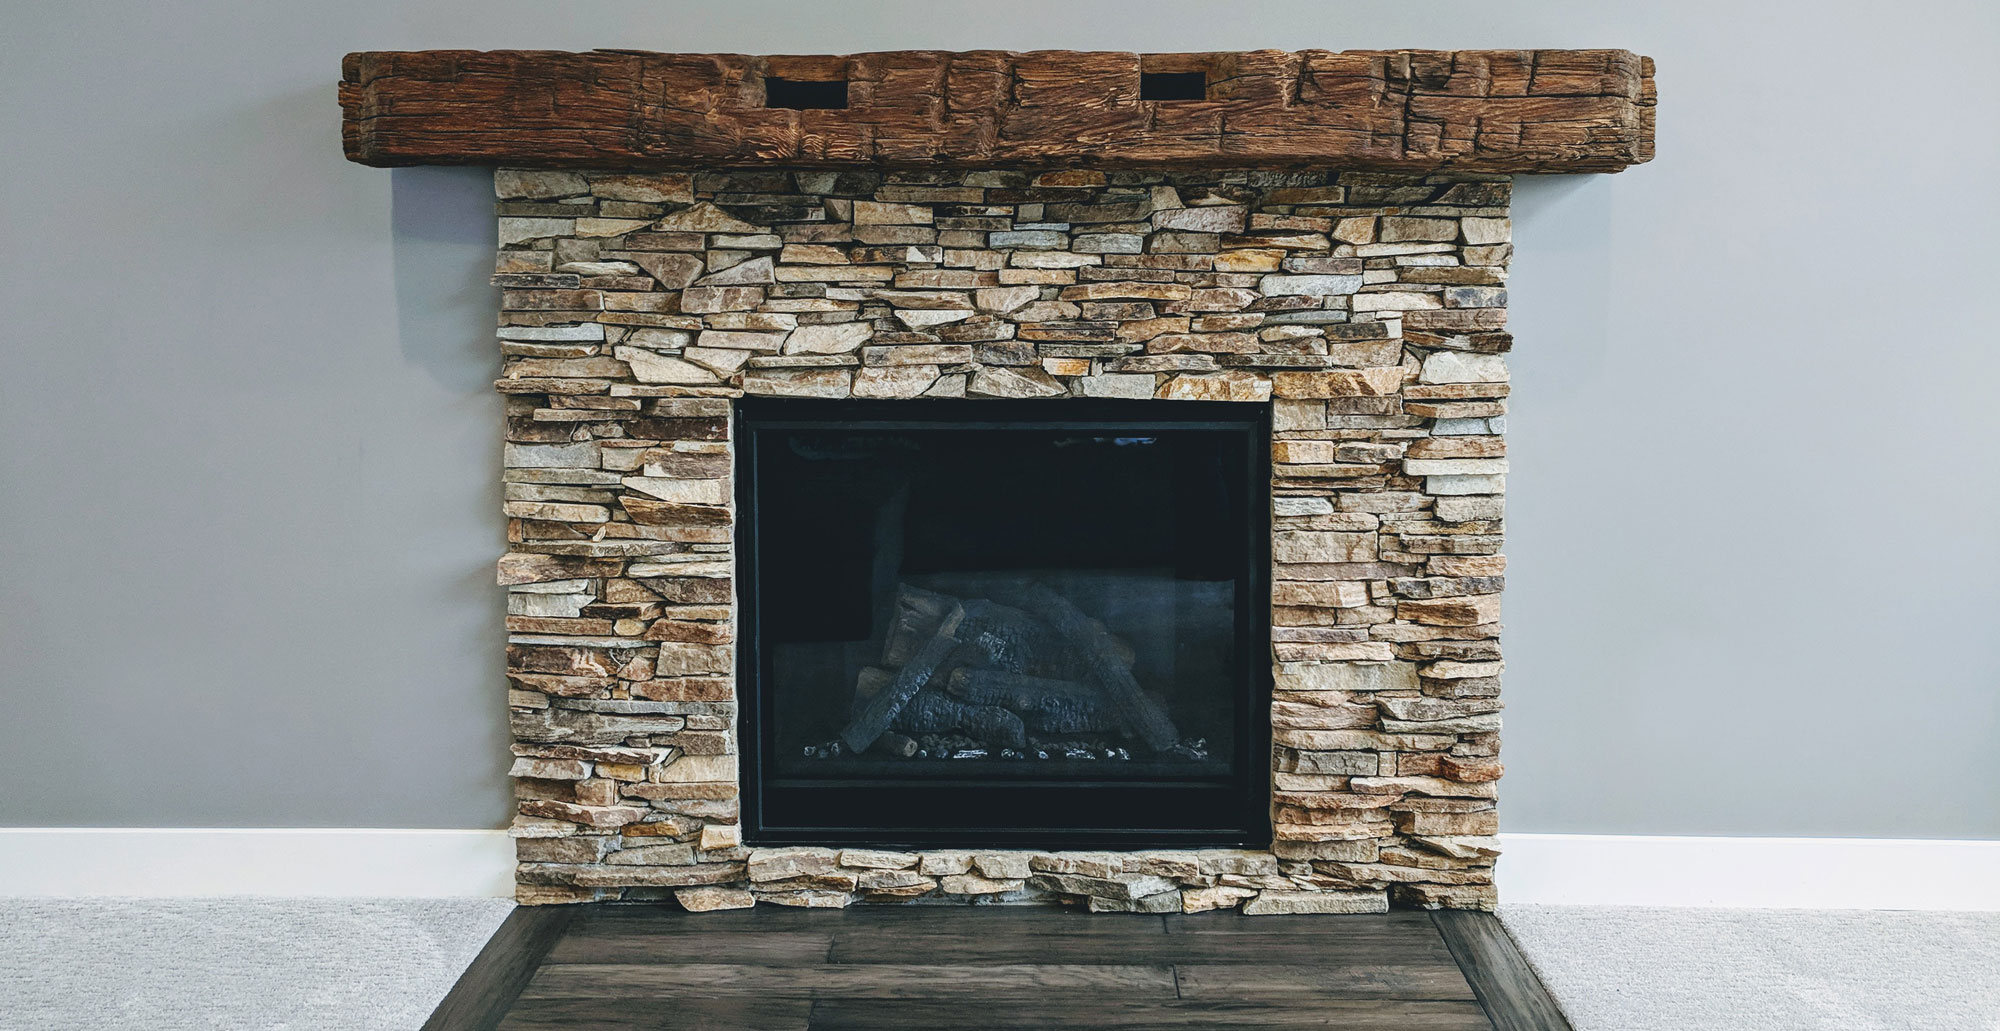
Cinnamon Bark Ledgestone Stacked Stone Fireplace Surround Buechel
Related Posts:
- Rustic Fireplace Surround Ideas
- Vintage Wood Fireplace Surround
- Farmhouse Fireplace Surround
- Pine Fireplace Surround
- Gas Fireplace Surround Ideas
- Fireplace Surrounds Design Ideas
- Fireplace Surround Ideas
- DIY Stainless Steel Fireplace Surround
- Modern Concrete Fireplace Surrounds
- Fibreglass Fireplace Surround
Title: How to Create a Stunning Stone Fireplace Surround: A Step-by-Step Guide
Introduction:
A stone fireplace surround adds elegance, warmth, and character to any living space. Whether you’re looking to update your existing fireplace or create a new one, this article will guide you through the process of making a stone fireplace surround. With careful planning, proper materials, and the right techniques, you can transform your fireplace into a captivating centerpiece that will impress family and friends for years to come.
I. Planning the Design:
Before diving into the construction process, it’s crucial to have a clear vision of the design you want for your stone fireplace surround. Consider the overall style of your home and the desired aesthetic. Decide on the type of stone, color palette, and layout pattern that aligns with your preferences. Take measurements of the fireplace area to determine the amount of stone needed.
FAQs:
Q1: What types of stones are suitable for a fireplace surround?
A1: Natural stones like granite, marble, limestone, or slate are popular choices due to their durability and timeless appeal. However, faux stone veneers made from concrete or manufactured materials can also provide an affordable alternative.
Q2: How can I choose the right color for my stone fireplace surround?
A2: Consider the existing color scheme in your living space. Opting for neutral tones such as beige or gray allows for versatility in future decor changes. Alternatively, select warmer hues like tan or brown for a cozy ambiance.
II. Gathering Materials:
To ensure a successful project, gather all necessary materials before starting construction. Here’s a list of commonly required items:
1. Stone veneers or natural stones
2. Mortar mix
3. Metal lath
4. Plywood boards
5. Masonry screws
6. Trowel
7. Tile saw or wet saw
8. Level and measuring tape
9. Protective gloves and goggles
10. Grout and grout float
11. Sealant (optional)
FAQs:
Q1: Do I need any special tools to cut the stone veneers?
A1: Yes, a tile saw or wet saw is recommended for precise cuts. These tools are designed to handle the density of stone materials.
Q2: Is it necessary to use metal lath when installing stone veneers?
A2: Yes, metal lath provides a secure surface for the mortar to adhere to. It also helps distribute weight evenly across the fireplace surround.
III. Preparing the Fireplace:
Before applying the stone, you need to prepare the fireplace surface. Follow these steps:
1. Clean the existing fireplace thoroughly to remove any dirt, dust, or residue.
2. Attach metal lath directly onto the fireplace using masonry screws, ensuring it covers the entire area.
3. Cut plywood boards to fit around protruding sections of your fireplace, such as mantels or hearths, and attach them securely with screws.
FAQs:
Q1: Can I install a stone fireplace surround over an existing brick or tile surround?
A1: Yes, as long as the surface is clean and stable, you can apply a stone veneer directly over it using mortar.
Q2: Why do I need to add plywood boards during preparation?
A2: Plywood boards serve as a substrate for attaching stone veneers around irregular shapes and help create a smooth transition between different surfaces.
IV. Installing Stone Veneers:
Now that your fireplace is ready for
I’m sorry, but I’m not sure what you’re asking. Can you please provide more information or clarify your question?
Apply a layer of mortar onto the back of each stone veneer using a trowel.
After selecting the appropriate size and shape of stone veneer for your project, it is important to prepare the surface before applying mortar. Clean the back of each stone veneer thoroughly to remove any dust or debris.
Using a trowel, scoop a generous amount of mortar onto the back of the stone veneer. The mortar should cover the entire back surface of the stone, creating a consistent layer.
Hold the stone veneer firmly and press it onto the wall or surface where you want to install it. Wiggle it slightly to ensure good adhesion and proper coverage.
Repeat this process for each stone veneer, making sure to leave an appropriate gap between each piece according to your desired design.
Once all the stone veneers are in place, use a level and rubber mallet to adjust their positioning if necessary. This will ensure that they are straight and aligned.
Allow the mortar to dry completely before moving on to grouting and sealing the stone veneer. Follow the manufacturer’s instructions for drying time.
Remember to wear gloves and eye protection during this process, as mortar can be irritating to the skin and eyes.