When you are pleased with the layout, the tiles are taken off the area. Fireplace tiles let you easily change the house luxurious and contemporary at effort that is minimal. Tiles are very stylish as well as clean looking which can add that best ambiance to the home of yours.
Images about Tiling Around A Fireplace Insert
Tiling Around A Fireplace Insert
/fireplaces-with-beautiful-tile-4153599-hero-d62ee234d5a048208be916aca68bb7c1.jpg)
If you opt to go this route, you'll have to mask off all of the surrounding areas before you decide to spray. Pebble Fireplace Tiles are fantastic option to conventional tiling like ceramics. Actually, several of them list the open fireplace as one of their main criteria when looking for a brand new home. Start at the midpoint above the open fireplace.
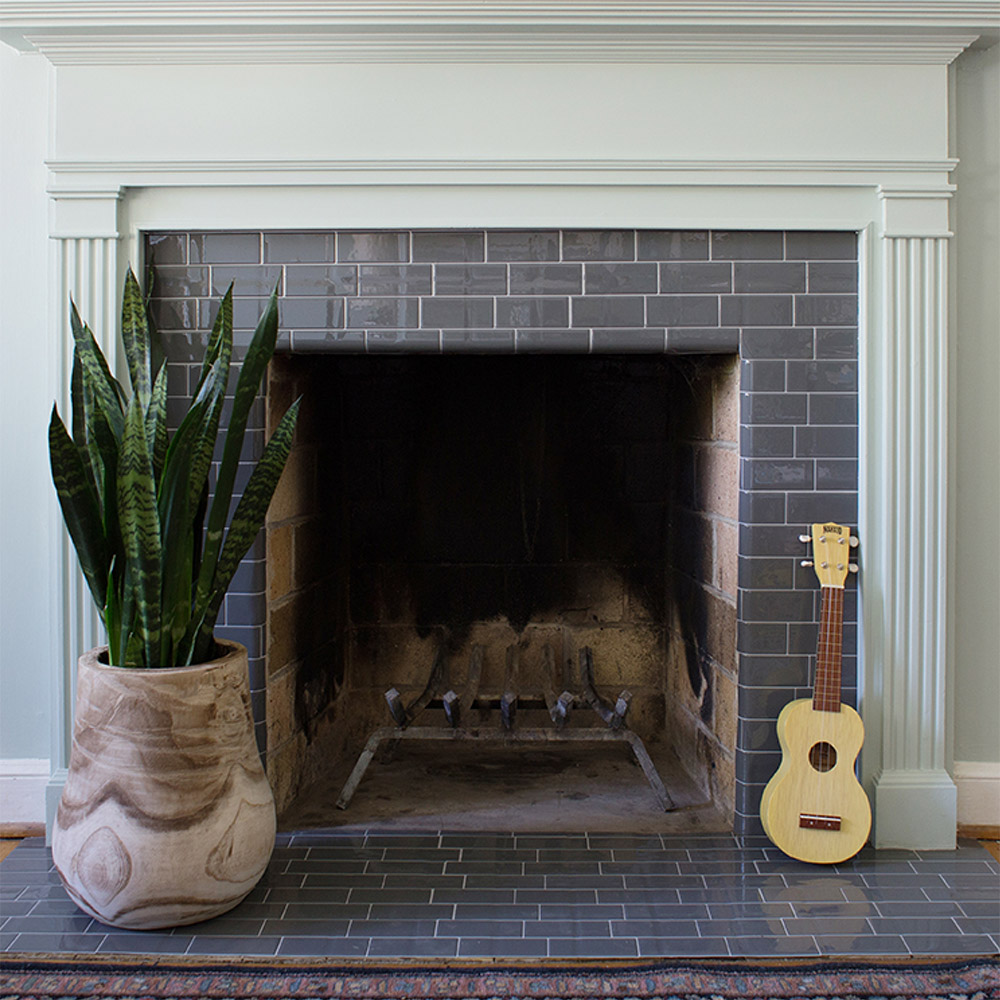
How to Tile a Fireplace (even if itu0027s brick!) – The Handymanu0027s
They're additionally very economical to throw up and they bring down the expense of having to end up with a fireplace surround. Nevertheless, you may then need to paint the grout all over again using white colored or even off whitish if it had been negatively discolored to start with. Hobbies often turn into lifelong professions.
31 Beautifully Tiled Fireplaces
:max_bytes(150000):strip_icc()/michellelisactilefireplace-52fb02e8250a463b87e75246d33c6f9d.jpeg)
How to Tile a Fireplace Surround and Hearth The Home Depot

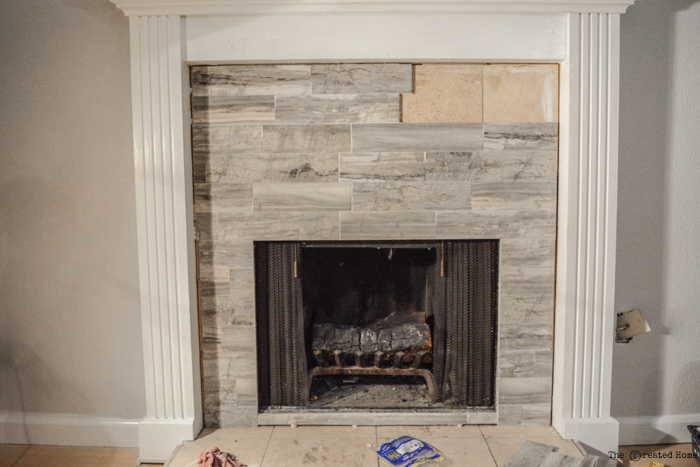
Fireplace Tile Surround: Upgrade With Art Tiles – This Old House
/cdn.vox-cdn.com/uploads/chorus_image/image/65891754/howto_firesorround_09.0.jpg)
31 Beautifully Tiled Fireplaces
:max_bytes(150000):strip_icc()/MaryPatton_May2020-7-c8f9bc316eb84db49437d69baeb1e98f.jpeg)
How to Tile a Fireplace (even if itu0027s brick!) – The Handymanu0027s
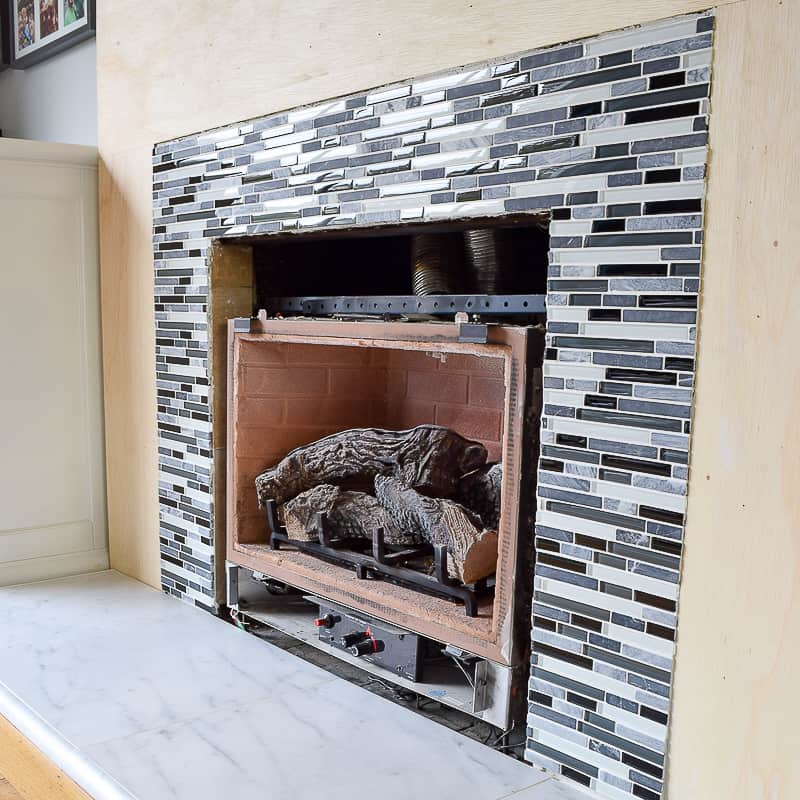
How to Tile a Fireplace – Pretty Handy Girl
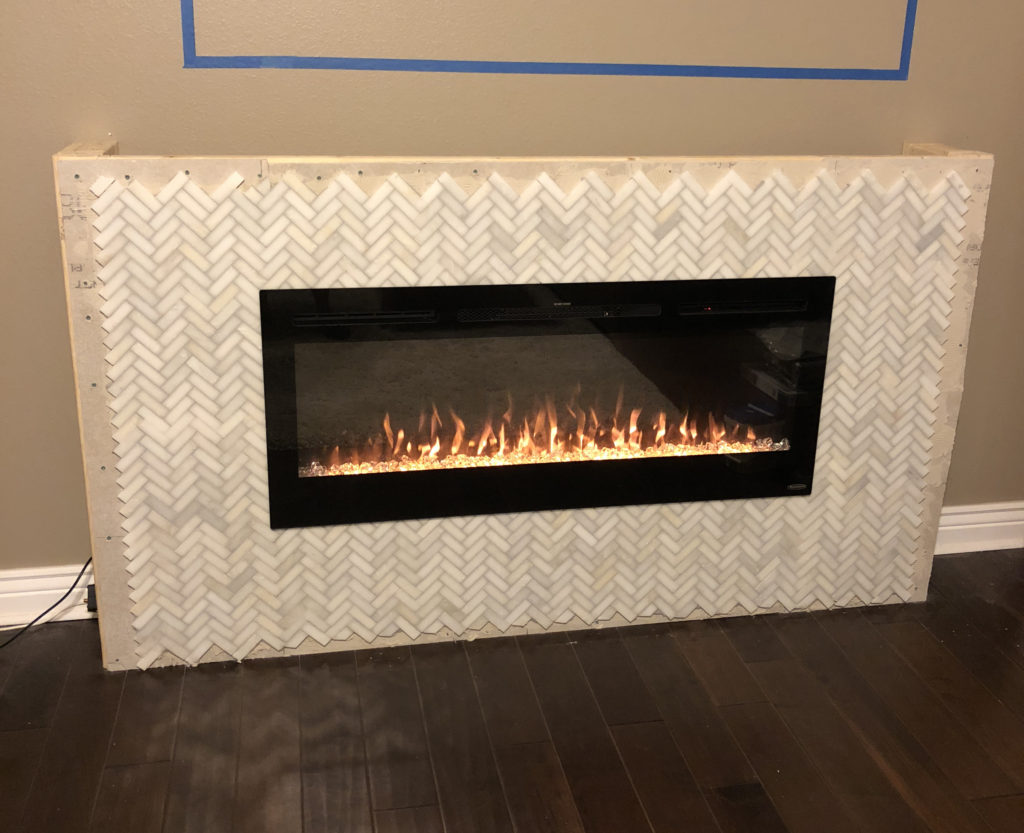
DIY Tile Fireplace Makeover
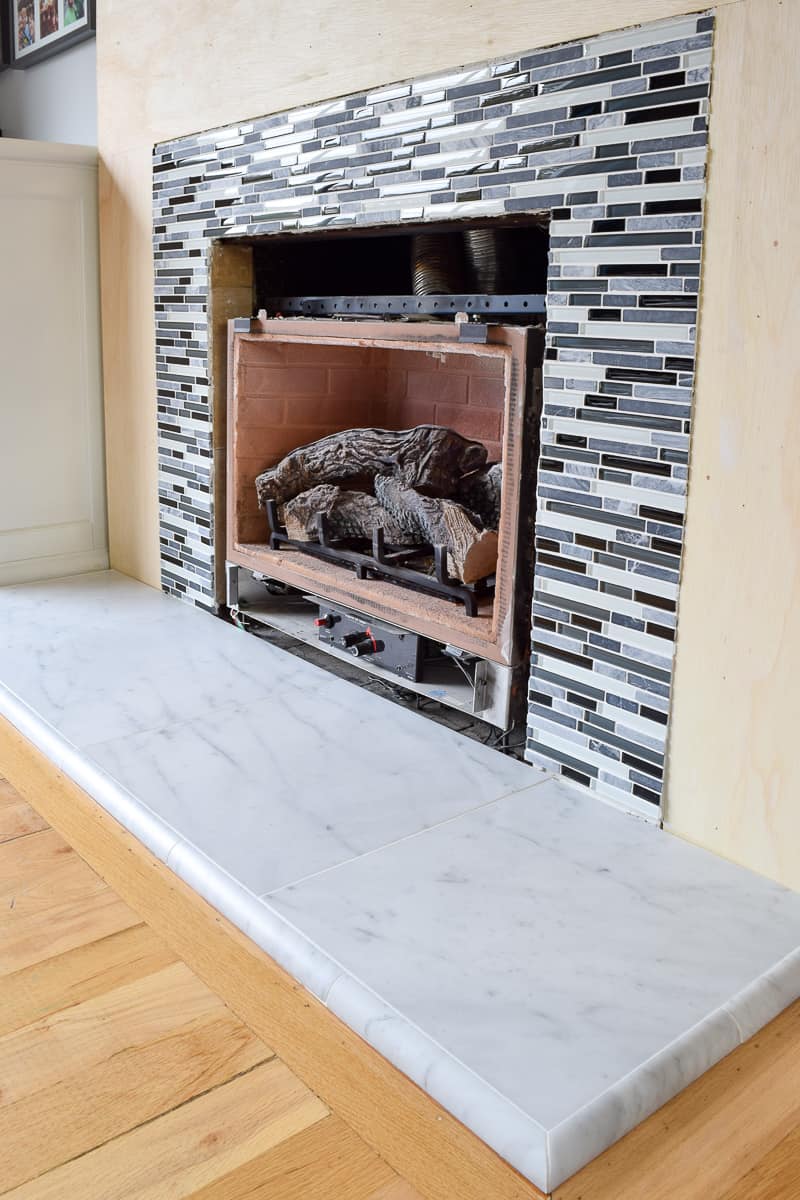
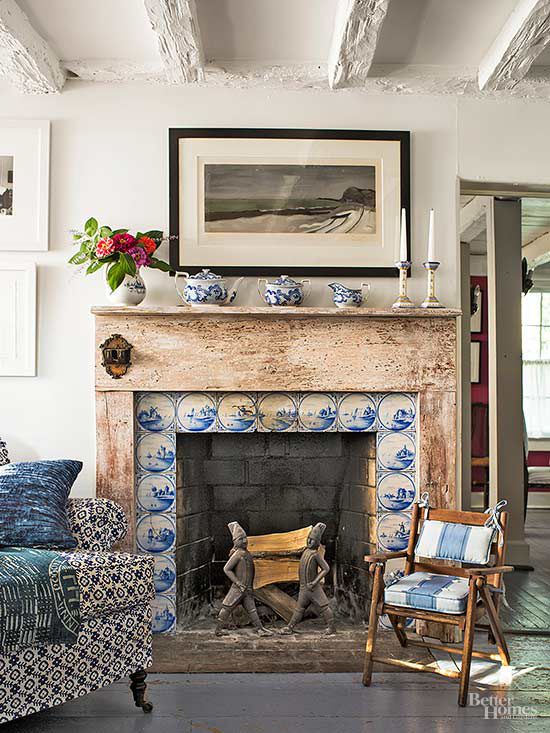
Tiling a Fireplace Better Homes u0026 Gardens
Tiling a Fireplace Surround – Fireplacegenius
Tiling Around Gas Fireplace – DoItYourself.com Community Forums

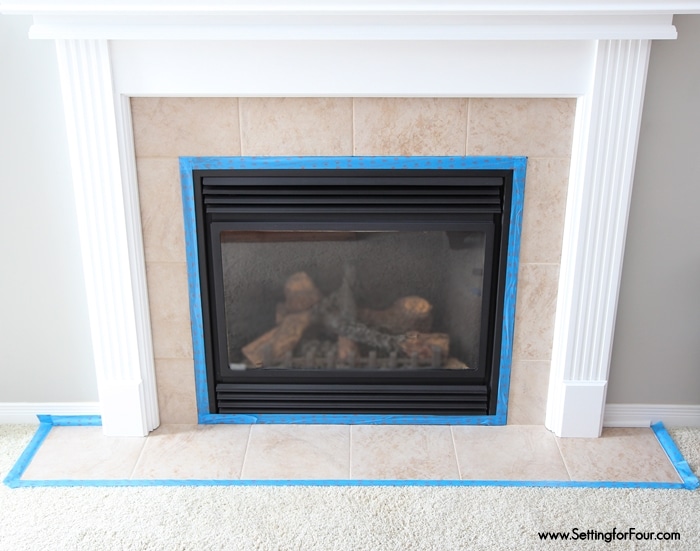
How to Paint Tile – Easy Fireplace Paint Makeover – Setting for Four
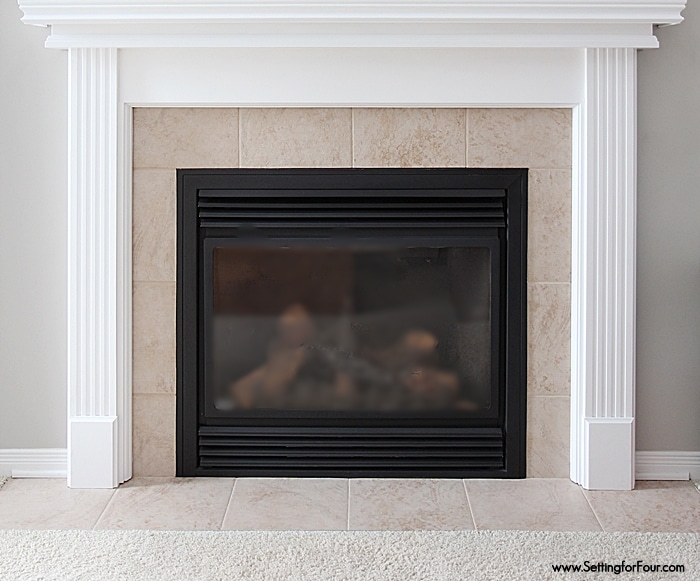
How to Paint Tile – Easy Fireplace Paint Makeover – Setting for Four
Related Posts:
- Retro Fireplace Tiles
- Rustic Tile Fireplace
- Farmhouse Fireplace Tile
- Slate Tile Fireplace Surround
- Modern Tile Fireplace Wall
- Mosaic Tile Fireplace DIY
- Quartz Fireplace Tile
- Ceramic Tiles Fireplace Surround
- Sandstone Tile Fireplace
- Spanish Tile Fireplace