Choosing the Right Tiles for Withstanding Fireplace Heat
When I took on my fireplace tiling project, picking tiles that could withstand the heat was crucial. The right materials and glazes make all the difference for durability inside a fireplace. Here’s what I learned about choosing tiles:
- Porcelain and natural stone tiles stand up to heat best. I went with porcelain for affordability and wide style options. Slate and granite were pricier but worked well too.
- Check the manufacturer’s specs on firing temperature and thermal shock resistance. Tiles rated for high temps, and rapid heating/cooling handle fireplace conditions best.
- Glossy or matte glazes designed for fireplaces handle temperatures better than plain ceramic. I found color options were limited but provided needed durability.
- Format considerations – smaller mosaics leave more grout exposed to heat. For a seamless look, I opted for a brick pattern in 4×8” tiles with minimal grout.
- Darker tiles show soot less over time. I loved the look of white subway tiles but went with a black slate tile to avoid constant cleaning.
Don’t use handmade art tiles – they lack durable fired glazes and crack more easily. As nice as handmade looked, durability had to win out.

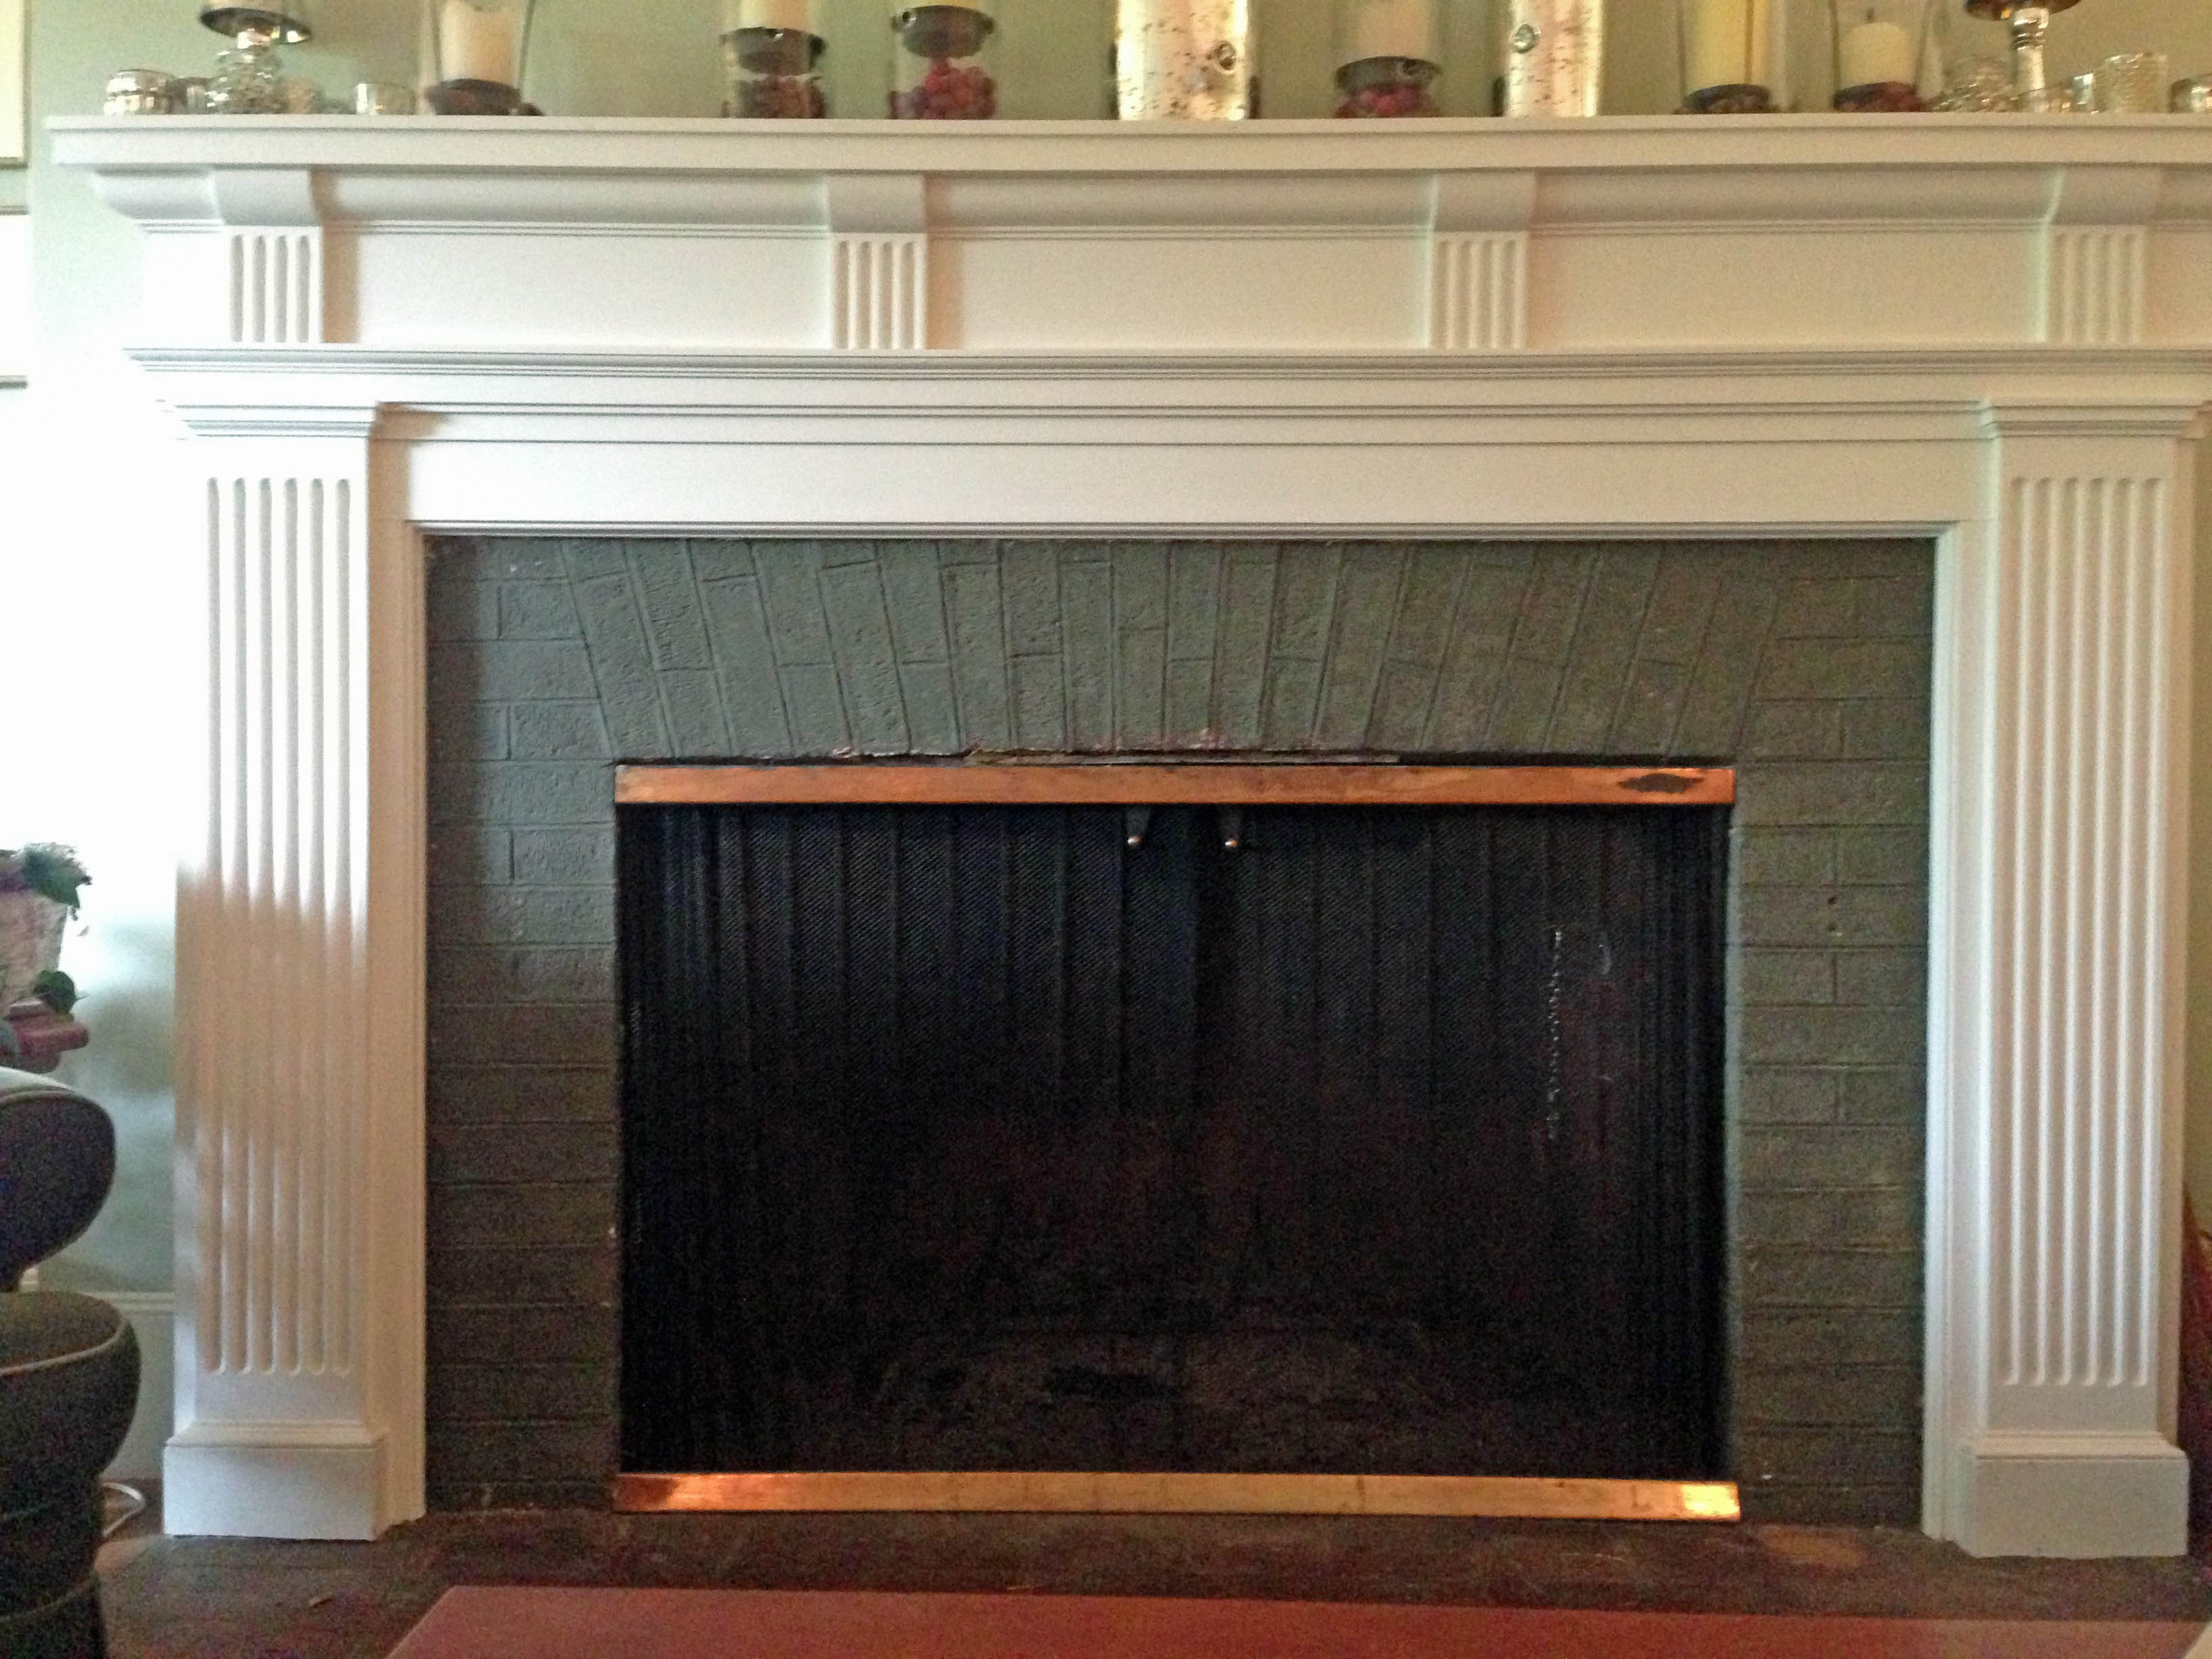
Preparing and Cleaning the Fireplace Interior for Tiling
Prepping my dated brick fireplace for new tile was dirty work, but taking time to clean and ready the surface well set my installation up for success. Here’s how I prepped:
- Chisel away old damaged mortar so tiles adhere properly. I had a few loose bricks that had to be completely removed and surfaces scraped.
- Vacuum loose debris; clean the entire surface with an acidic masonry cleaner. I used a wire brush attachment to scour.
- Evaluate the need for rebuilding the structure with high-heat mortar if surfaces are very uneven. Mine just needed minor tuckpointing for a smooth finish.
- Wash surface several times after acid cleaning; let dry fully. This removed any cleaner residue.
- Apply concrete backerboard if missing firebrick behind the original brick. I opted to install this thermal barrier for added protection.
- Prime surface; tape and fill drywall joint compound over cracks/holes. This ensured adhesion and a seamless subfloor for the tile.

Installing and Grouting Fireplace Tiles
Installation day finally arrived! With my tiles selected and layout set, properly securing them to the fireplace surface while preserving the beautiful finish involved careful work. Here’s how I installed my fireplace tile:
- Gather all materials ahead – thinset mortar, tiles, spacers, grout float, etc. Once I started work, stopping risked the thinset drying before I could set tiles.
- Double check layout, make sure surface is clean. I wiped down with a slightly damp sponge right beforehand.
- Apply thinset with proper trowel size, work in small sections. I found a mortar with high heat tolerance. The trowel grids ensure full coverage.
- Set tiles with light twisting motion. Spacers kept grout channels even. I worked from the planned focal point outwards in sections.
- Let mortar cure fully – 24 hours before grouting. This allows drying and shrinking first so tiles don’t shift and crack grout later.
- Mix and apply grout, wiping gently across diagonals over the surface to fill all joints. I used an epoxy grout suitable for high heat.
- Clean grout off tile surface once dried to revealing color while still fresh. I used warm water and a soft sponge in a “swirl and wipe” technique.
:fill(white)/https://www.toppstiles.co.uk/static/uploads/2020/07/Tiling-Inside-A-Fireplace.jpg)
Caring for and Maintaining Fireplace Tiles
My fireplace tiling project has held up beautifully over a few years now. While durable, properly maintaining it ensures my fireplace tiles stay protected. Here are my best tips for care:
- Annual deep cleans tackle soot buildup most effectively. I use a fireplace spray cleaner and gently scrub with non-abrasive scouring pads.
- More frequent dusting keeps airflow optimal for my fireplace’s performance. I run a small brush attachment hose along the exhaust once a month.
- Re-apply sealants along grout lines periodically to protect from staining and damage over time. I re-seal mine every 2 years.
- Handle cracks or losses sooner rather than later. Thankfully I’ve only had one tile crack from a falling log. I switched it out quickly to avoid bigger issues.
- Consider re-grouting if soot stains appear in older grout to freshen up the look. I’ll likely re-grout mine within the next year.
Part II u2013 The Most Gorgeous Stone Fireplace Mantels Ever! Home

Tile School: Choosing Fireplace Tiles Fireclay Tile

Transforming Our Non-Working Dining Room Fireplace – Swoon Worthy
Tiled Fireplaces To Accent Your Living Room
Hot Fireplace Tile Trends Bedrosians Tile
Tiling a Fireplace Surround « Home Improvement Stack Exchange Blog
Related Posts:
- Retro Fireplace Tiles
- Rustic Tile Fireplace
- Farmhouse Fireplace Tile
- Slate Tile Fireplace Surround
- Modern Tile Fireplace Wall
- Mosaic Tile Fireplace DIY
- Quartz Fireplace Tile
- Ceramic Tiles Fireplace Surround
- Sandstone Tile Fireplace
- Spanish Tile Fireplace