If you want to give your fireplace a fresh look, tiling with a hearth is an excellent option. A tile fireplace with a hearth adds beauty and sophistication to any room, giving it a focal point that catches the eye. But before you get started on this DIY project, there are a few things you need to know.
Step 1: Choose Your Tiles
The first step in tiling your fireplace is to choose the right tiles. You’ll want to select tiles that can withstand high temperatures and ones that match your decor. Natural stone tiles like granite, marble, and slate are popular choices, as are ceramic and porcelain tiles. Choose the tiles that will complement your home’s style and ambiance.
Step 2: Measure and Cut
Once you’ve chosen your tiles, it’s time to measure the area you want to tile. Use a tape measure to determine the width and height of the area, then add an extra 10% to allow for cuts and wastage. Use a tile cutter or a wet saw to cut the tiles to the right size, ensuring they fit snugly around the hearth.
Step 3: Prep the Surface
Before you start tiling, you’ll need to prep the surface. Use a scraper to remove any debris or loose mortar from the fireplace’s surface. If the surface is particularly dirty, you may need a chemical cleaner or degreaser to remove any stains or grime. Once the surface is clean, allow it to dry completely before proceeding.
Step 4: Apply Adhesive
With the surface prepped and dry, it’s time to apply the adhesive. Use a notched trowel to apply a layer of tile adhesive to the fireplace’s surface. Make sure the adhesive is applied evenly, with no gaps or lumps.
Step 5: Lay the Tiles
Once the adhesive is in place, it’s time to lay the tiles. Start at the bottom of your tiling area and work your way up. Use tile spacers to ensure the tiles are evenly spaced, and use a spirit level to ensure they’re level. Cut tiles as necessary to fit snugly around the hearth.
Step 6: Apply Grout
Once the tiles are in place, and the adhesive has dried, it’s time to apply the grout. Mix the grout according to the manufacturer’s instructions, then apply it to the tiles using a rubber float. Make sure to fill all the gaps between the tiles and wipe away any excess grout with a damp sponge.
Step 7: Seal the Tiles
Finally, once the grout has dried, it’s time to seal the tiles. Use a tile sealer to protect the tiles from dirt, stains, and moisture. Apply the sealer with a brush or a roller, covering all the tiles evenly. Allow the sealer to dry completely before using your newly tiled fireplace.
Tiling your fireplace with a hearth is an excellent way to add style and elegance to any room. Following these steps, you can transform your fireplace into a beautiful focal point that will impress your guests and warm your heart. Just remember to choose the right tiles, prep the surface, and take your time to ensure that everything is done correctly. With a little patience and effort, you can enjoy a stunning tile fireplace with hearth that will last for years.
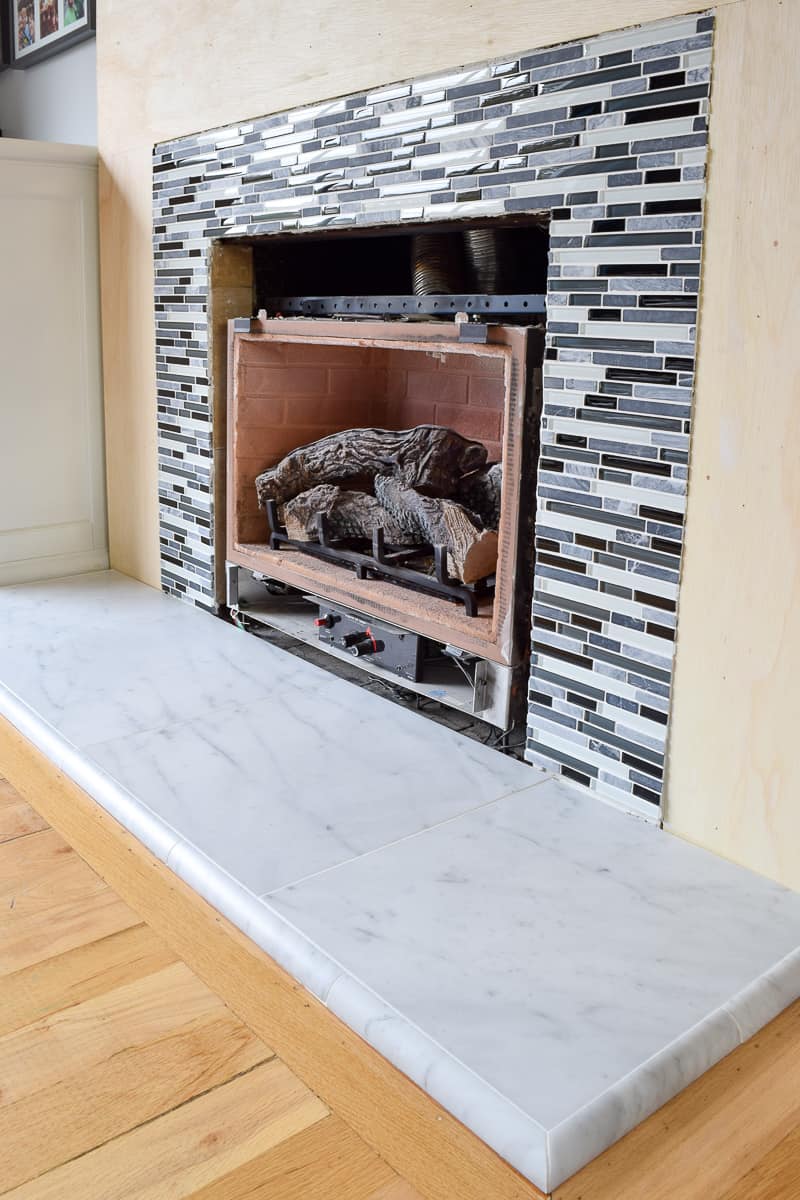
DIY Tile Fireplace Makeover
How To Tile Over A Brick Hearth – Shine Your Light

How to Paint a Ceramic Tile Fireplace for an Easy Update – allisa
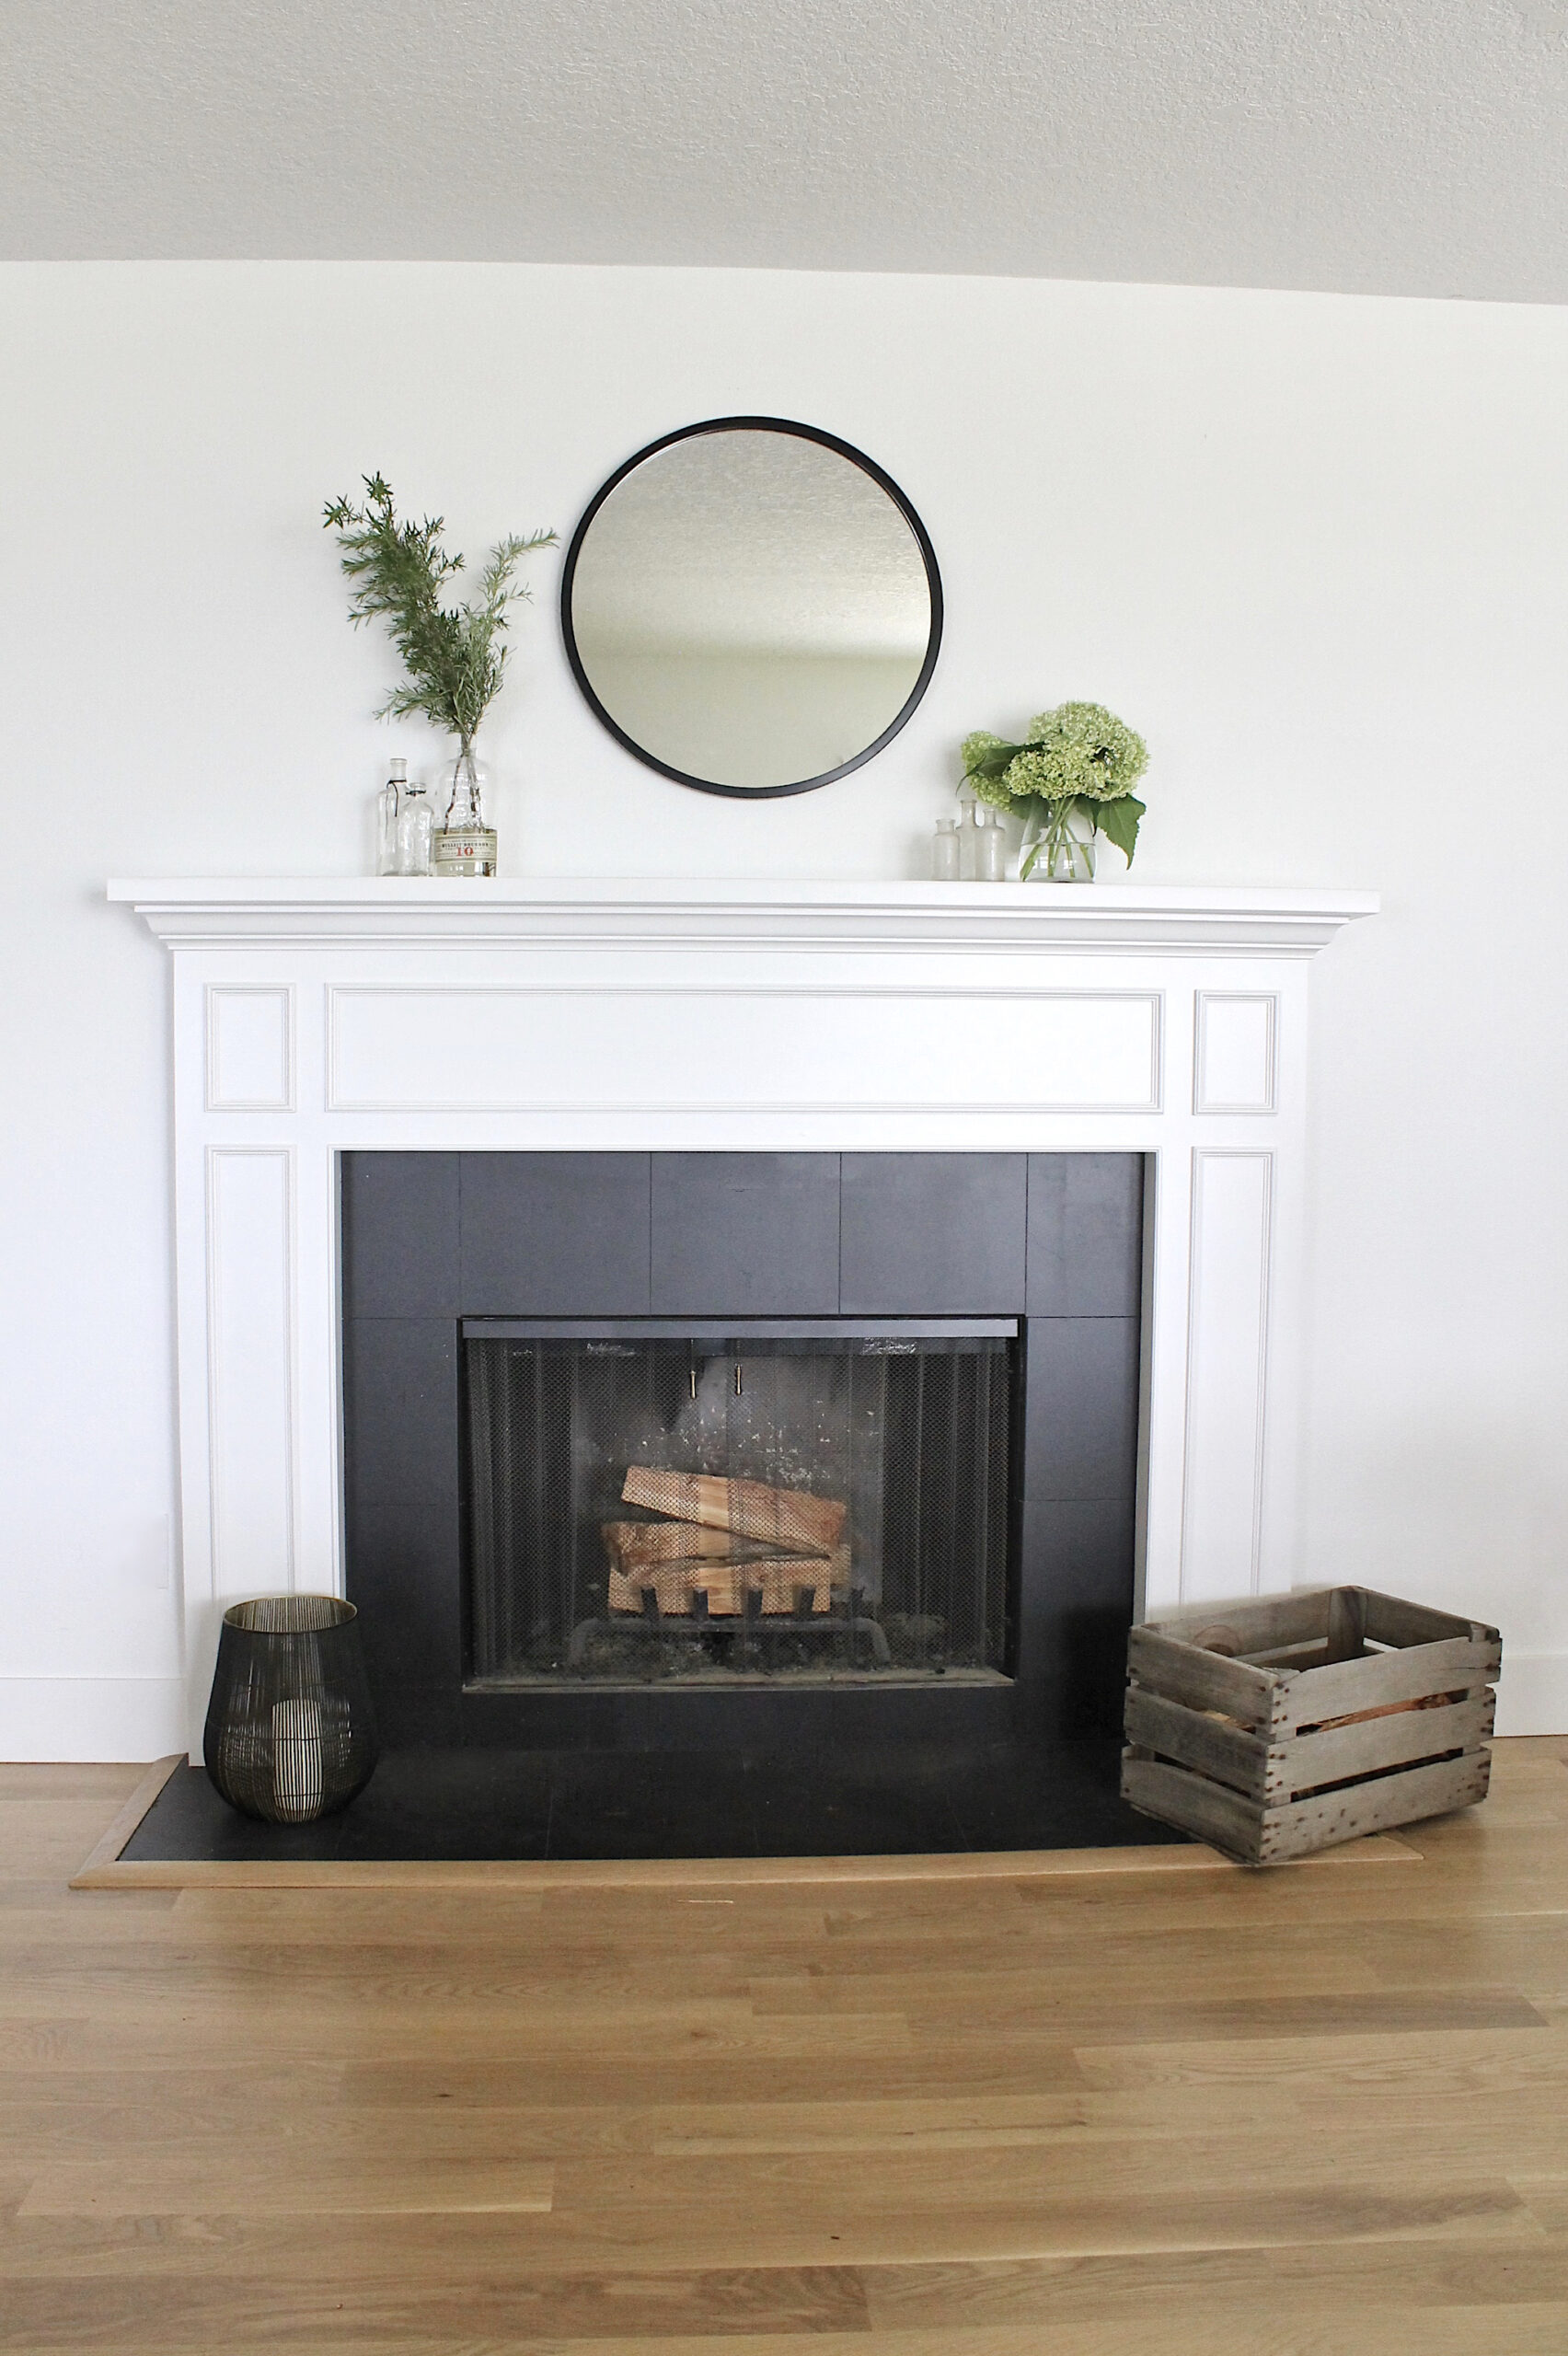
How to Tile a Fireplace – This Old House
/cdn.vox-cdn.com/uploads/chorus_asset/file/19938376/How_to_Tile_a_Firepalce_by_House_One_TOUT_560x359.png)
How to Tile a Fireplace Surround and Hearth The Home Depot

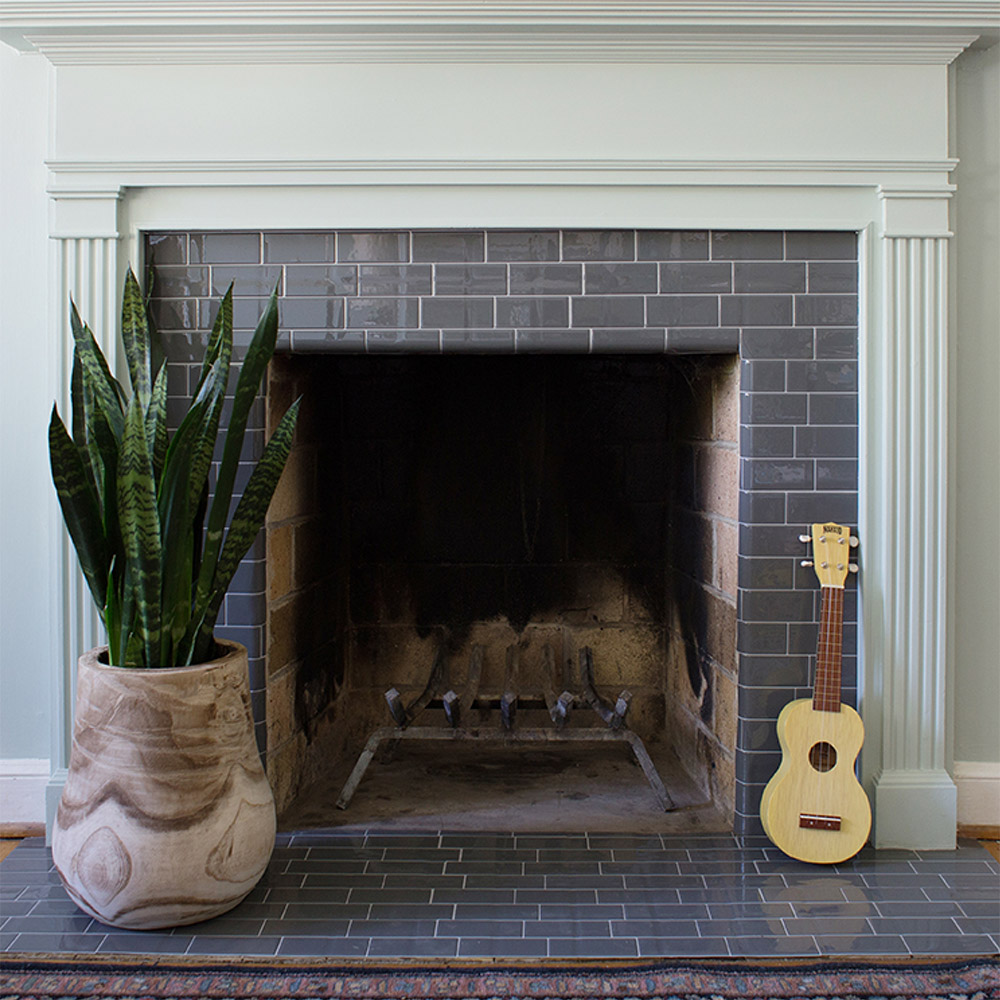
31 Beautifully Tiled Fireplaces
/fireplaces-with-beautiful-tile-4153599-hero-d62ee234d5a048208be916aca68bb7c1.jpg)
How to Tile a Hearth – This Old House
/cdn.vox-cdn.com/uploads/chorus_asset/file/19497418/howto_tilehearth_08.jpg)
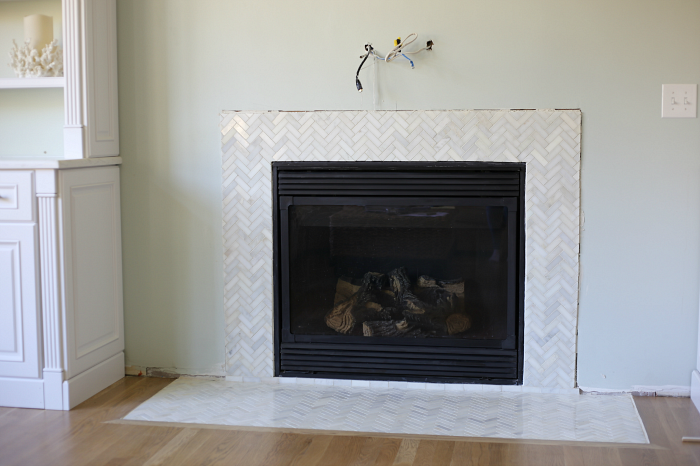
How to Install a Marble Herringbone Fireplace Surround and Hearth
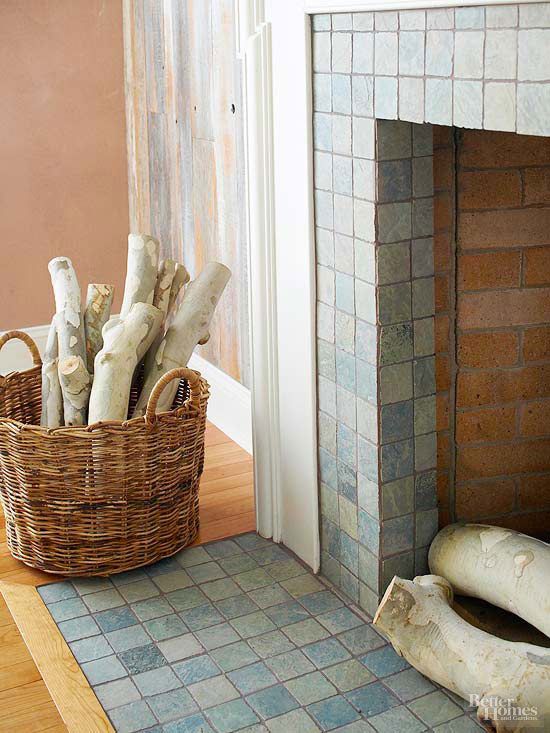
Tiling a Fireplace Hearth Better Homes u0026 Gardens
14 Fresh Designs for Tiled Fireplaces Bob Vila – Bob Vila

How to Tile a Fireplace (even if itu0027s brick!) – The Handymanu0027s
14 Fresh Designs for Tiled Fireplaces Bob Vila – Bob Vila

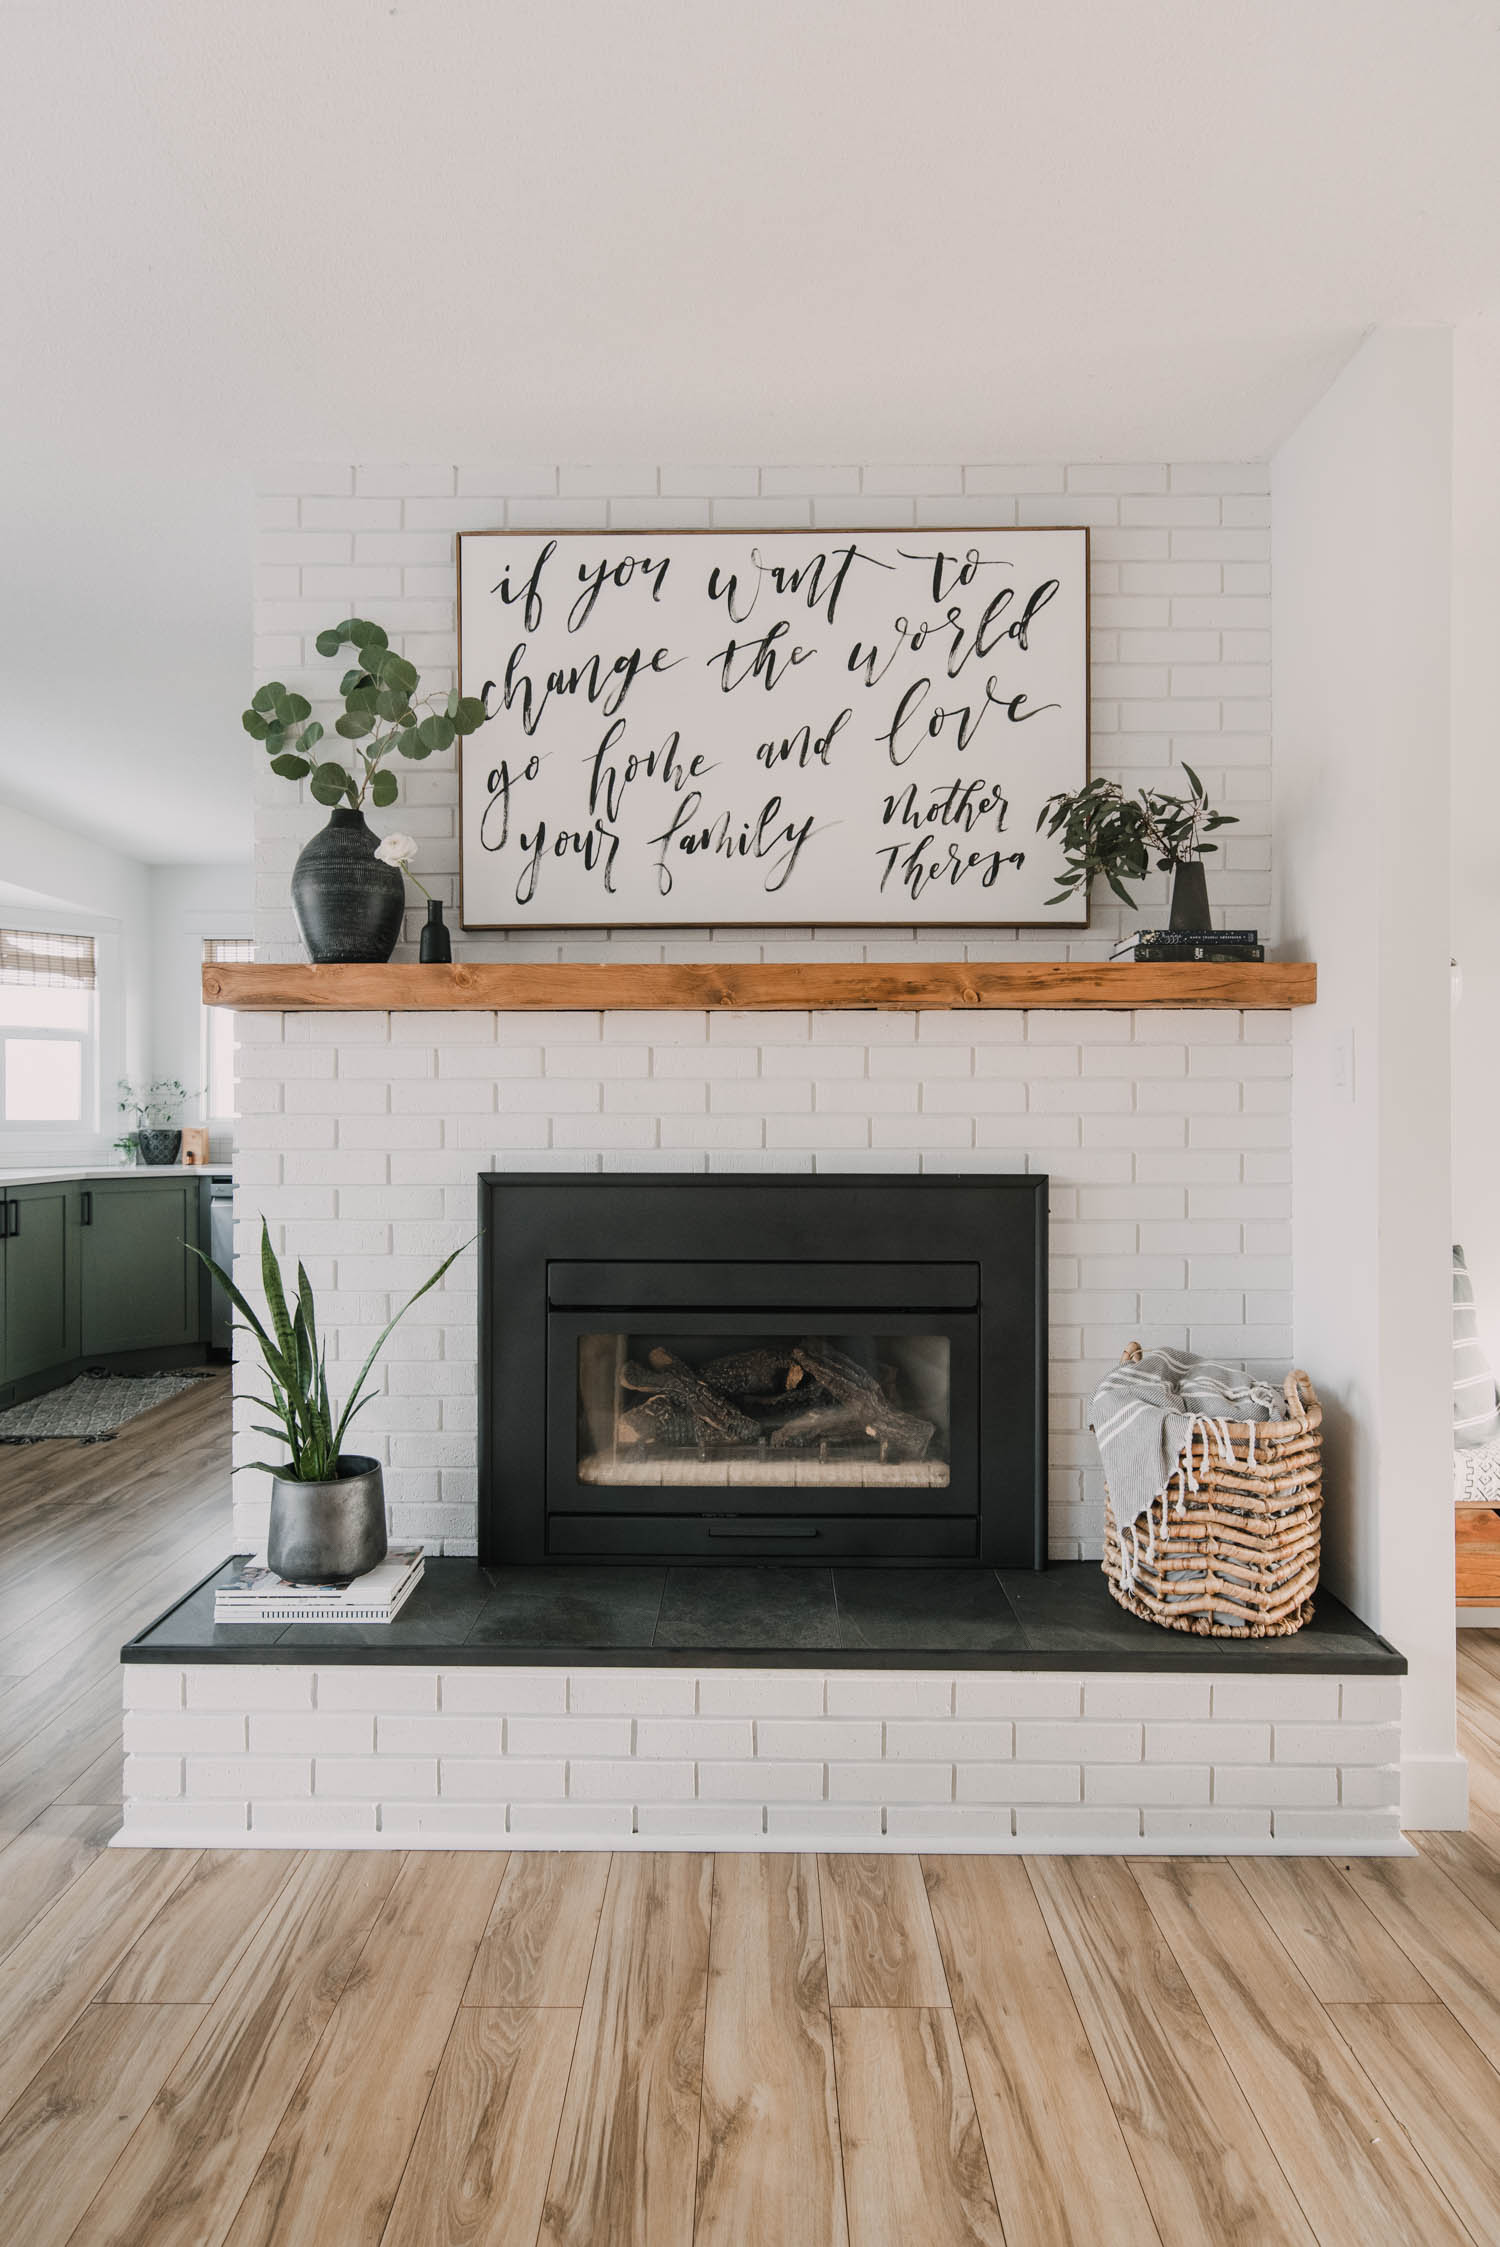
DIY Brick Fireplace Makeover – Lemon Thistle
Related Posts:
- Retro Fireplace Tiles
- Rustic Tile Fireplace
- Farmhouse Fireplace Tile
- Slate Tile Fireplace Surround
- Modern Tile Fireplace Wall
- Mosaic Tile Fireplace DIY
- Quartz Fireplace Tile
- Ceramic Tiles Fireplace Surround
- Sandstone Tile Fireplace
- Spanish Tile Fireplace