Remodel Brick Fireplace With Tile
A brick fireplace is a classic home feature, but over time, it can start to feel outdated, dark, or simply mismatched with your evolving interior style. One of the most effective ways to transform a tired fireplace is to remodel it with tile. Whether you want a sleek modern finish, a timeless herringbone pattern, or a pop of colorful ceramic, tiling over brick can breathe new life into your living space. It’s a project that blends beauty with practicality—tile is heat-resistant, easy to clean, and incredibly versatile. Let’s break down the remodeling process into five manageable steps, giving you a stylish upgrade without a full demolition.
Evaluate and Prep the Existing Brick Surface
- Assess Brick Condition: Before you begin tiling, it’s essential to evaluate the condition of your existing brick fireplace. Look for signs of crumbling mortar, uneven surfaces, or moisture damage. If the brick is loose or deteriorating, it must be repaired or stabilized first to create a safe and lasting base for the tile.
- Clean Thoroughly: Brick tends to accumulate soot, dust, and grime over the years, especially around active fireplaces. Use a stiff-bristle brush and a mixture of water and trisodium phosphate (TSP) or vinegar to scrub the surface clean. Rinse with water and allow the brick to dry completely for at least 24 hours.
- Smooth Uneven Areas: Old brickwork is rarely flat, which can make tiling a challenge. Apply a layer of thinset mortar or a skim coat of cement backerboard to level the surface. This gives your tile a flat, solid substrate to adhere to and helps prevent future cracking.
- Prime the Surface: If you’re tiling directly onto brick, it’s a good idea to apply a bonding primer or masonry sealer. This improves the grip of the mortar or adhesive and reduces the chances of tile shifting over time. For extra grip, consider installing a metal lath before adding mortar.
- Gather Tools and Materials: Before moving on, make sure you have everything you need: tile adhesive or mortar, trowel, tile spacers, tile cutter or wet saw, grout, sponge, and safety gear. Planning ahead will ensure a smoother installation process and help you avoid mid-project delays.

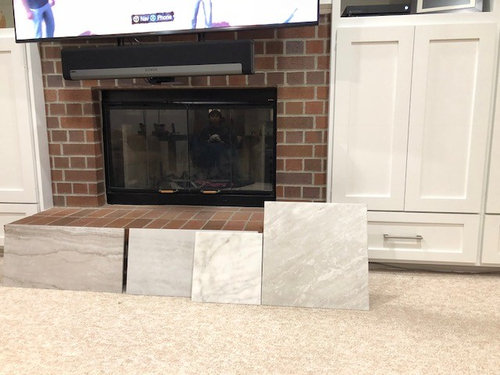
Choose the Right Tile for Your Style and Function
Consider the Room’s Aesthetic:
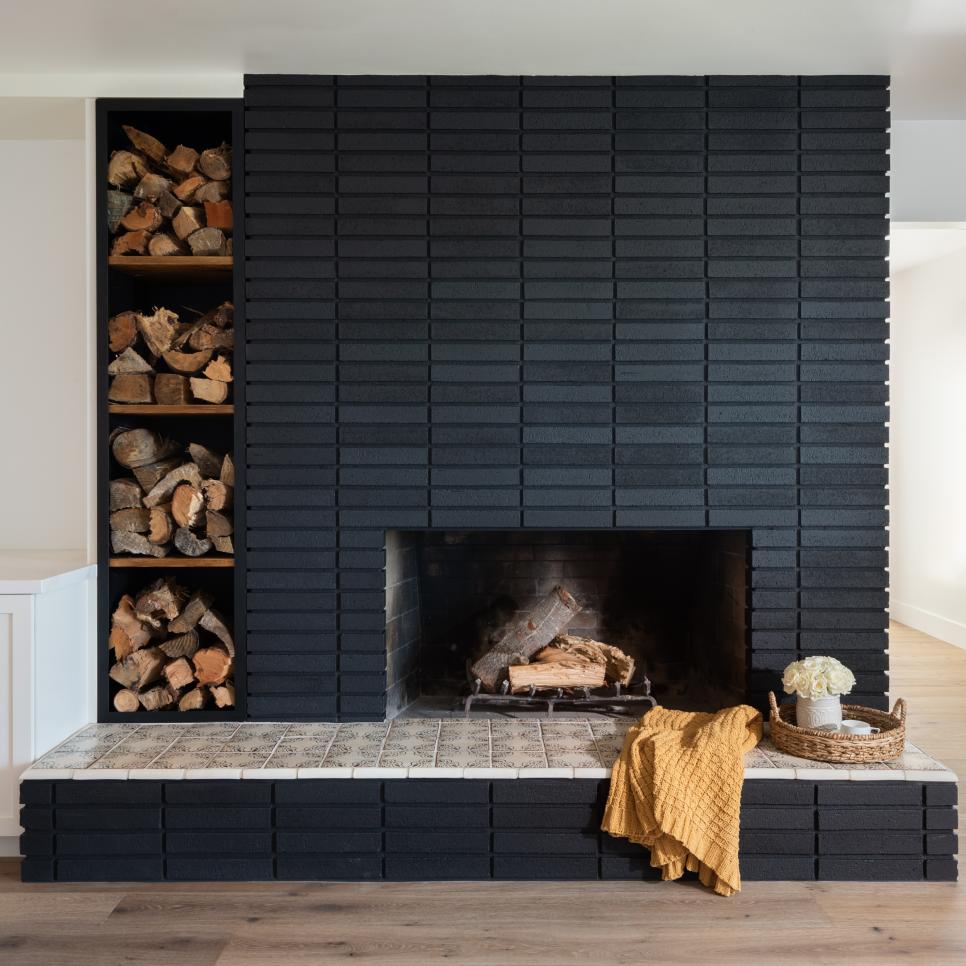
The tile you choose should complement the overall style of your room. For a clean, modern look, opt for large-format porcelain tiles in neutral colors. Want something cozier? Go for natural stone, stacked slate, or textured ceramic. Patterned or hand-painted tiles add character and are perfect for eclectic or boho interiors.
Think About Heat and Durability:
Not all tiles are created equal when it comes to fireplace use. Make sure to choose heat-resistant tiles rated for high temperatures. Avoid plastic-based or laminate tiles, as they can warp or emit fumes under heat. Natural stone, ceramic, and porcelain are excellent choices.
Choose the Right Size and Shape:
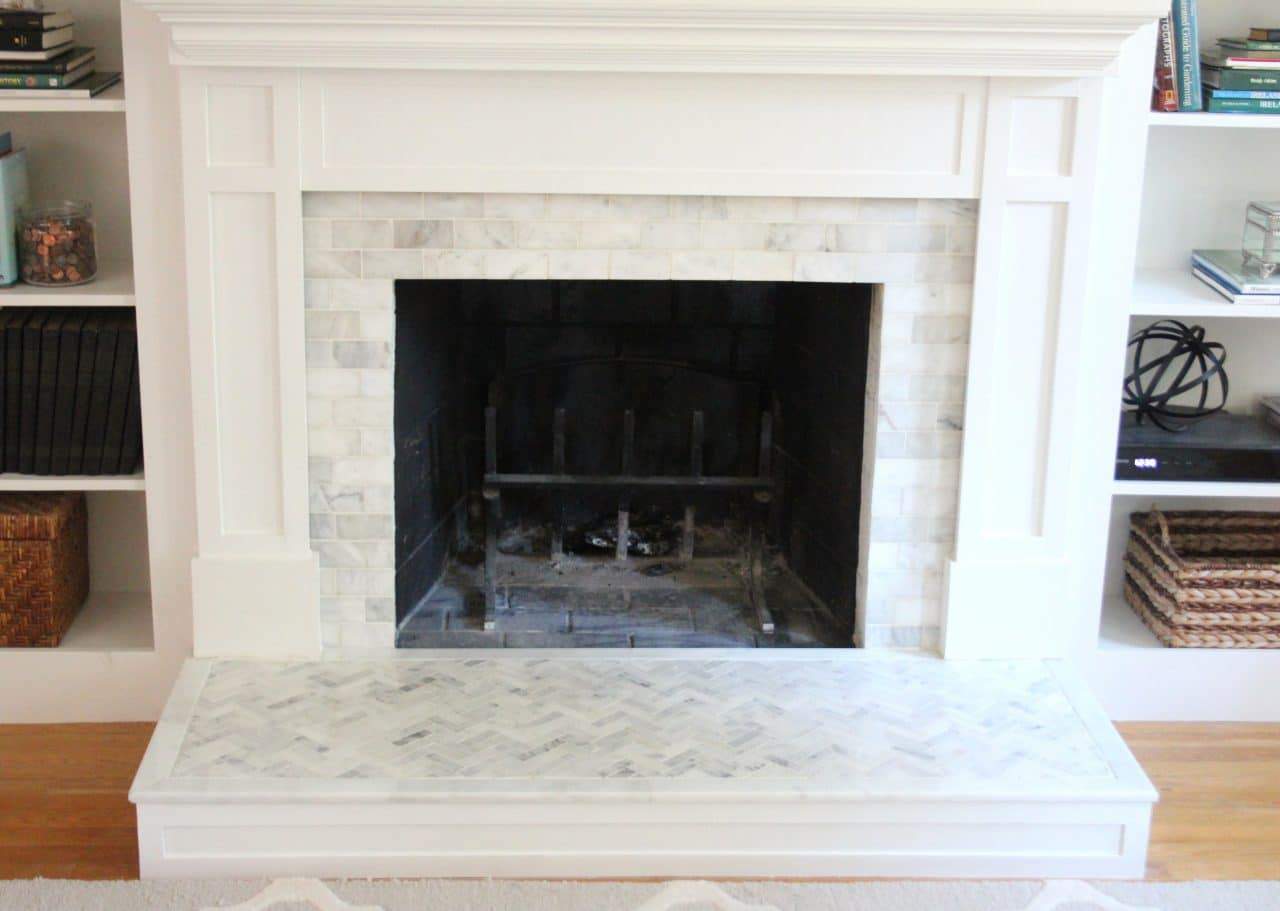
Tile size can dramatically affect the final look. Large tiles can make a small fireplace feel grand, while smaller mosaic tiles work well for intricate details or framing the firebox. Subway tiles offer a timeless look, while hexagons or herringbone patterns bring a modern twist.
Select Your Grout Wisely:
Grout color can either blend or contrast with your tile for different effects. Light grout with dark tile adds visual drama, while matching tones create a seamless surface. Choose a heat-resistant, sanded grout for durability and easy maintenance.
Order Extra Materials:
Always order more tile than you think you’ll need—at least 10–15% extra—to account for cuts, breakage, and future repairs. The same goes for grout and adhesive. Double-check that all tile boxes are from the same dye lot to ensure consistent coloring across your surface.
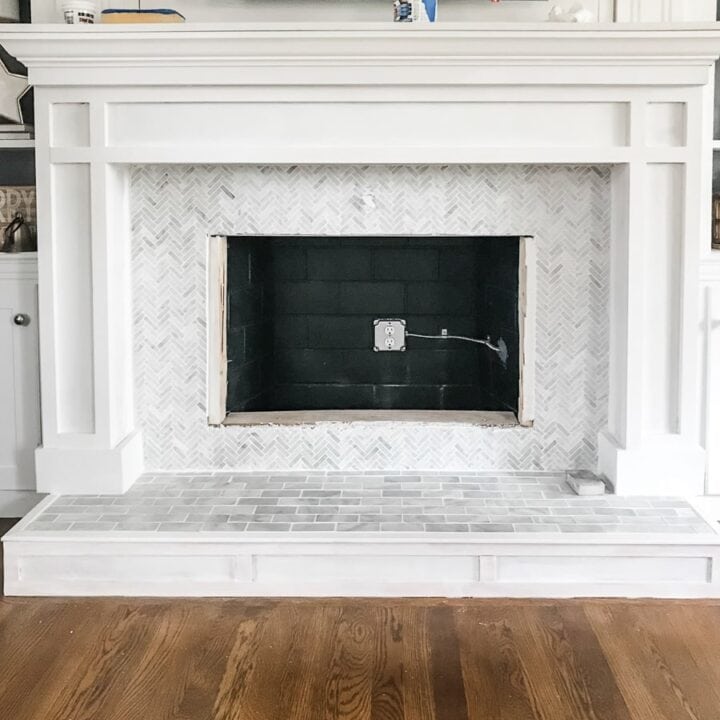
Install Tile Over Brick Like a Pro
Plan the Layout First:
Before applying any adhesive, dry-lay your tiles on the floor to visualize the pattern and layout. Mark the center of your fireplace face to help balance the design. Planning ahead ensures fewer awkward cuts or uneven rows during the actual install.
Apply Thinset or Mortar:
Using a notched trowel, apply a layer of thinset mortar (or tile adhesive) directly onto the prepared brick or cement board. Start from the bottom center and work your way out and up. Only spread as much adhesive as you can tile over in about 15–20 minutes to avoid it drying too quickly.
Place Tiles Carefully:
Press each tile firmly into place, twisting slightly to ensure full contact. Use tile spacers to keep consistent gaps between tiles. A level is crucial here—check each row as you go to maintain even alignment, especially if you’re tiling across uneven surfaces.
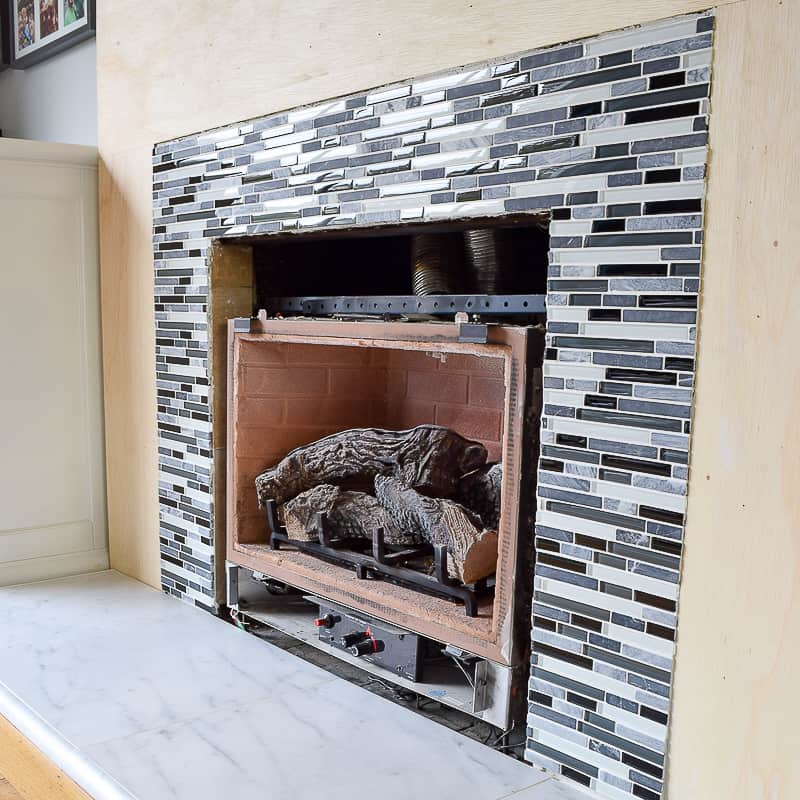
Cut to Fit:
Use a tile cutter or wet saw to trim pieces that go around edges, outlets, or the firebox. Take your time with cuts, especially when working with expensive or brittle materials. Wear safety goggles and gloves while cutting to protect yourself from flying fragments.
Let It Cure:
Once all tiles are in place, let the adhesive dry for at least 24 hours before moving on to grouting. Avoid disturbing the surface while it cures. If necessary, tape off the area or place a barrier to keep pets and kids away during the drying process.
Grout, Seal, and Finish the Surface
Mix and Apply Grout:
Mix your grout according to the package instructions and apply it using a rubber grout float, pressing it into the gaps at a 45-degree angle. Work in small sections to ensure a consistent finish. Remove excess grout with the float before it dries.
Clean the Surface:
After about 15–30 minutes, use a damp sponge to wipe away grout haze from the surface of the tiles. Rinse the sponge frequently and don’t use too much water, as this can weaken the grout. After a few hours, buff the tiles with a dry cloth for a clean shine.
Seal if Necessary:
Depending on your tile and grout type, you may need to apply a sealant to protect against staining and moisture. Natural stone and porous tiles almost always require sealing. Use a high-quality grout sealer and apply it evenly with a brush or sponge applicator.
Caulk the Edges:
Apply heat-resistant caulk along the edges of the tile where it meets the wall or firebox to prevent cracking. Choose a color that matches your grout for a seamless finish. This step adds flexibility to the tile joints and helps keep the surround clean.
Final Touches:
Reinstall your mantel if removed, and clean up any leftover dust or debris. Add trim or molding around the tile edges for a professional finish. Once fully dry and sealed, your fireplace is ready for display and use.
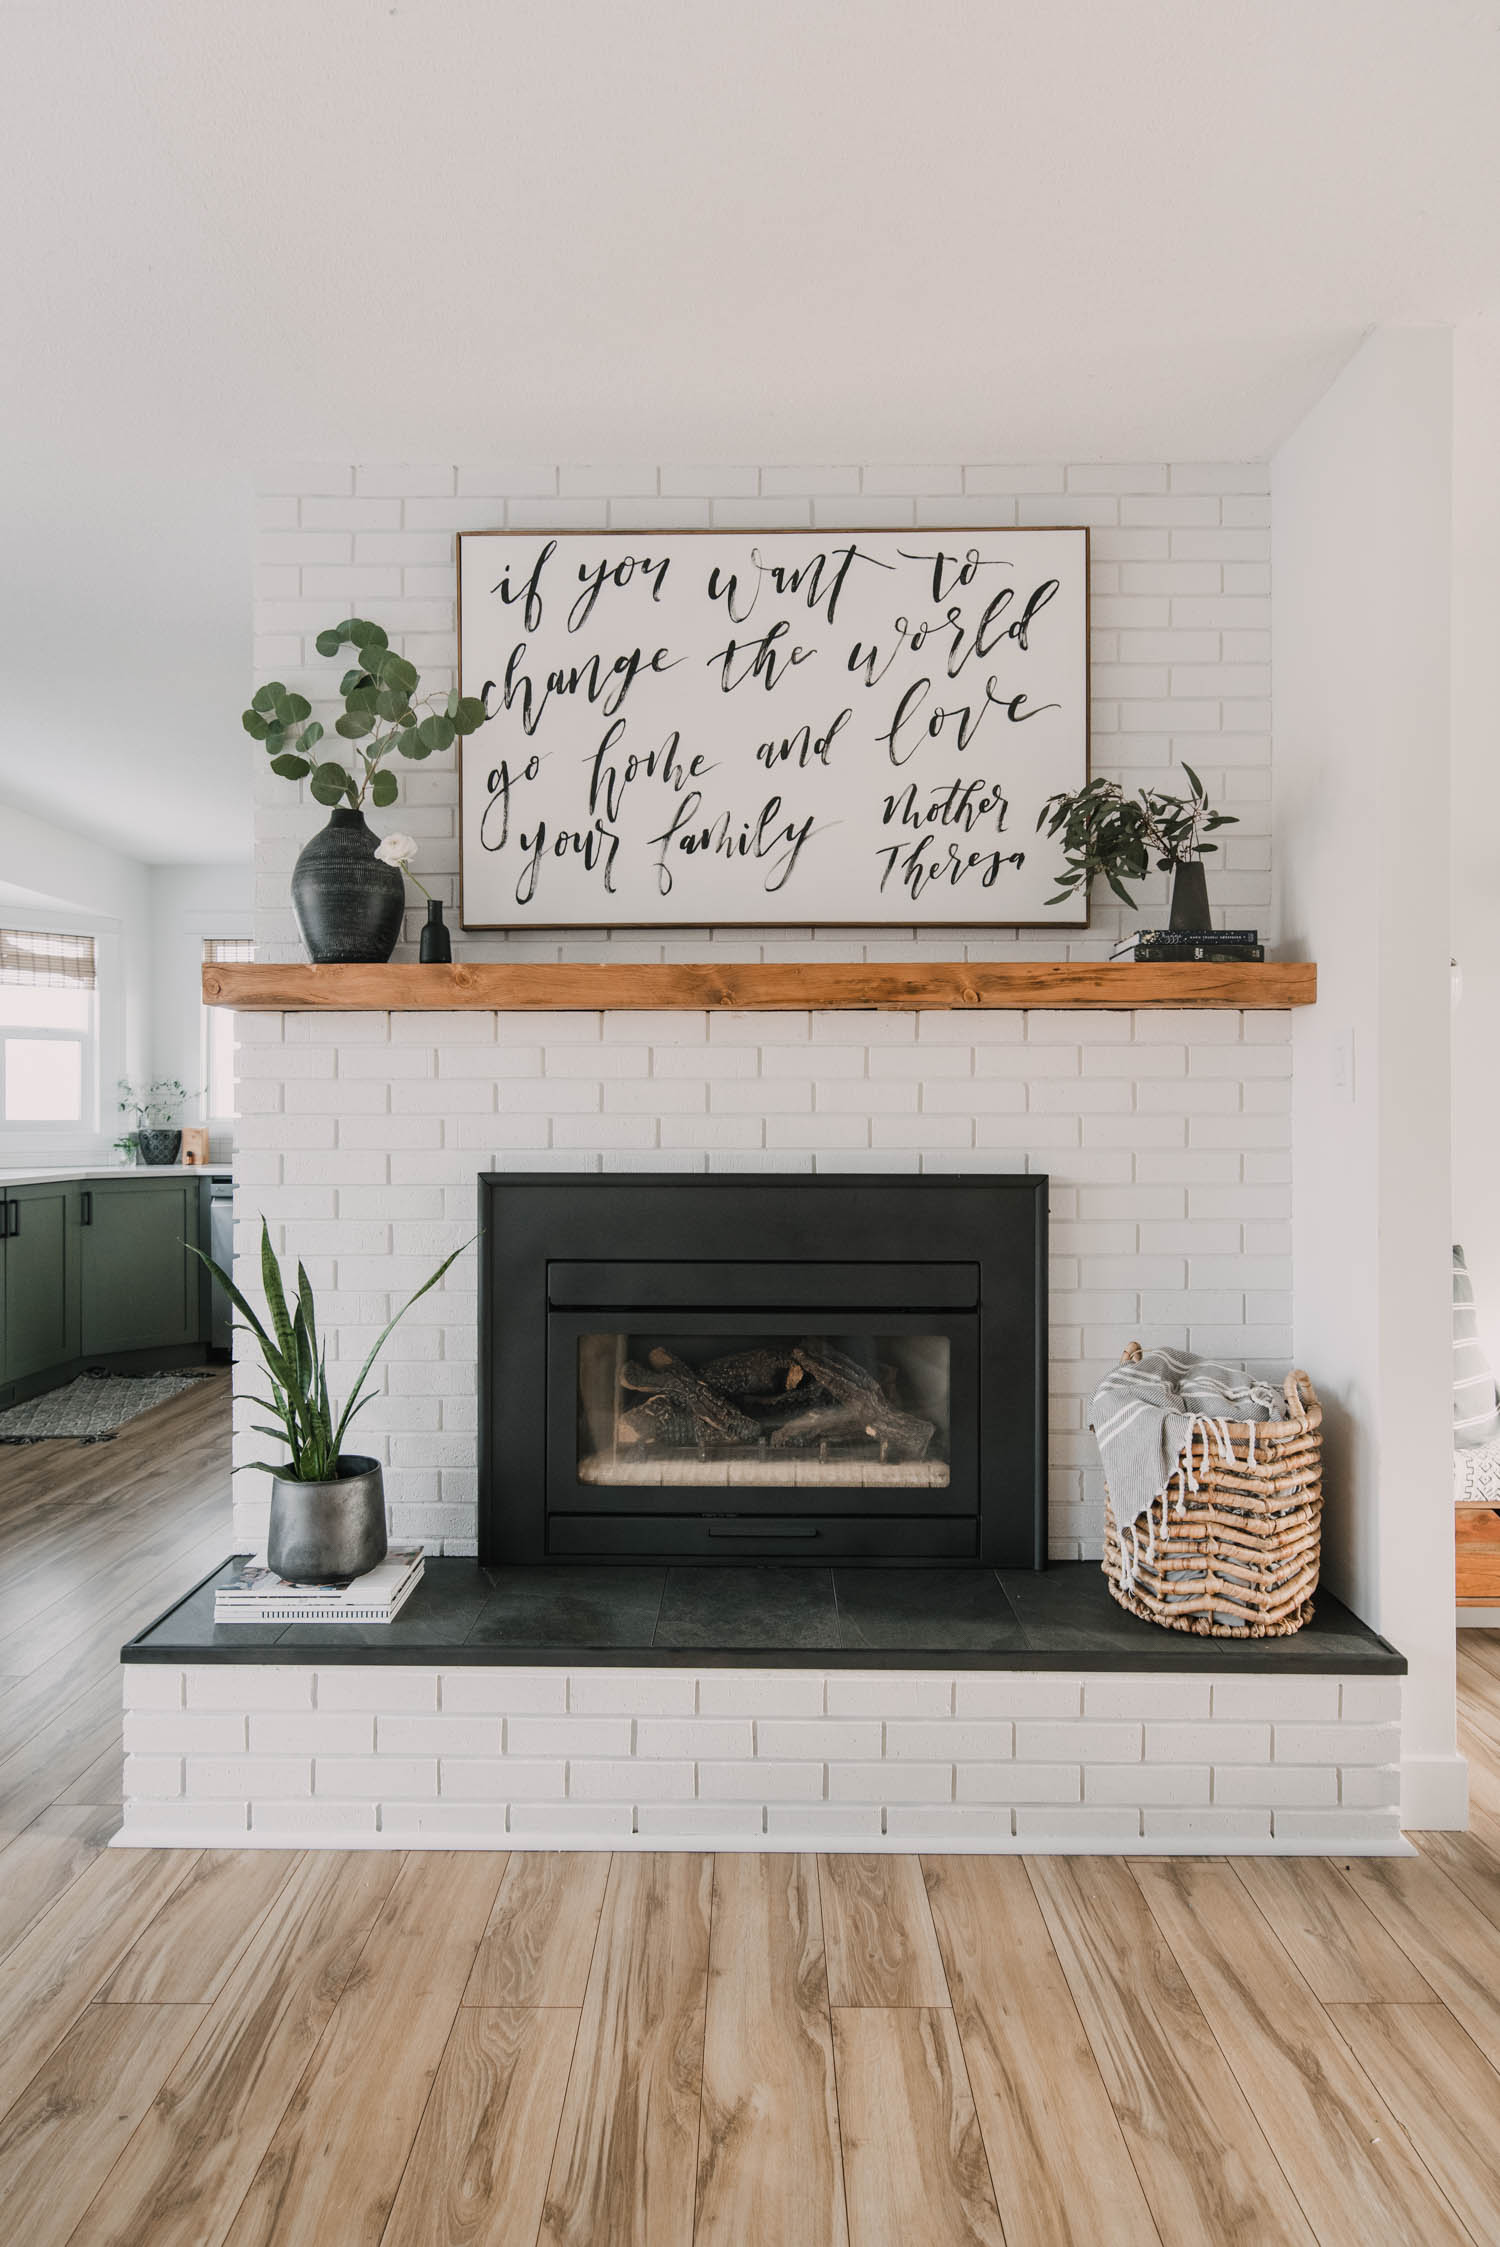
Style and Maintain Your New Fireplace
Decorate the Mantel:
Now that your fireplace surround looks brand new, have fun styling the mantel! Add framed art, vintage mirrors, vases, or candles. Stick with elements that match the style of your new tile—whether modern, rustic, or traditional—to create a cohesive look.
Keep It Clean:
Tile is relatively low-maintenance, but soot and dust can still build up. Wipe down your tile regularly with a damp cloth or a mild cleaner. Avoid abrasive scrubbers, especially on delicate or high-gloss finishes, to keep the surface looking fresh.
Address Grout Over Time:
Grout can discolor or crack over the years. Use a grout cleaner or steam cleaner to deep clean occasionally. For areas near the firebox, reapply grout sealer annually to protect from heat and smoke stains.
Be Fire-Safe:
Even though tile is heat-resistant, make sure you follow fire safety guidelines. Keep flammable decorations and materials at a safe distance. If you have a wood-burning fireplace, always use a screen and clean the chimney regularly.
Enjoy the Transformation:
Your once-dated brick fireplace is now a stylish statement piece. Whether it’s the focal point of your living room or a cozy feature in your den, enjoy the comfort and elegance of your new tile surround. It’s proof that a little DIY effort can lead to dramatic, lasting results.

How to Tile Over a Brick Fireplace Hunker Brick fireplace

Gorgeous Painted Brick Fireplace Ideas
Brick Fireplace Makeover

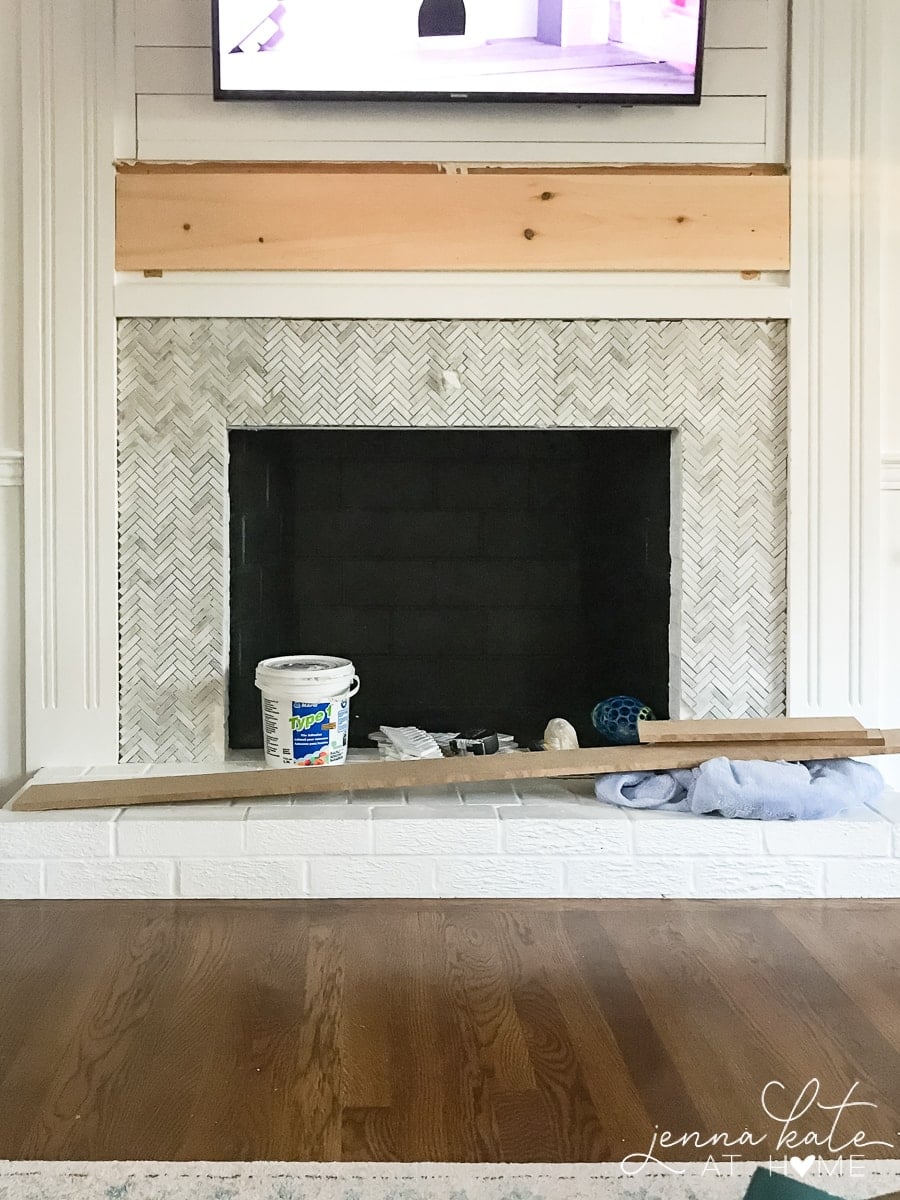
How to Tile a Brick Fireplace – Jenna Kate at Home
DIY Brick Fireplace Makeover – Lemon Thistle
refacing red brick fireplace: which tile should i use??
Related Posts: