Preparing the Surface: Essential Steps for a Flawless Fireplace Surround
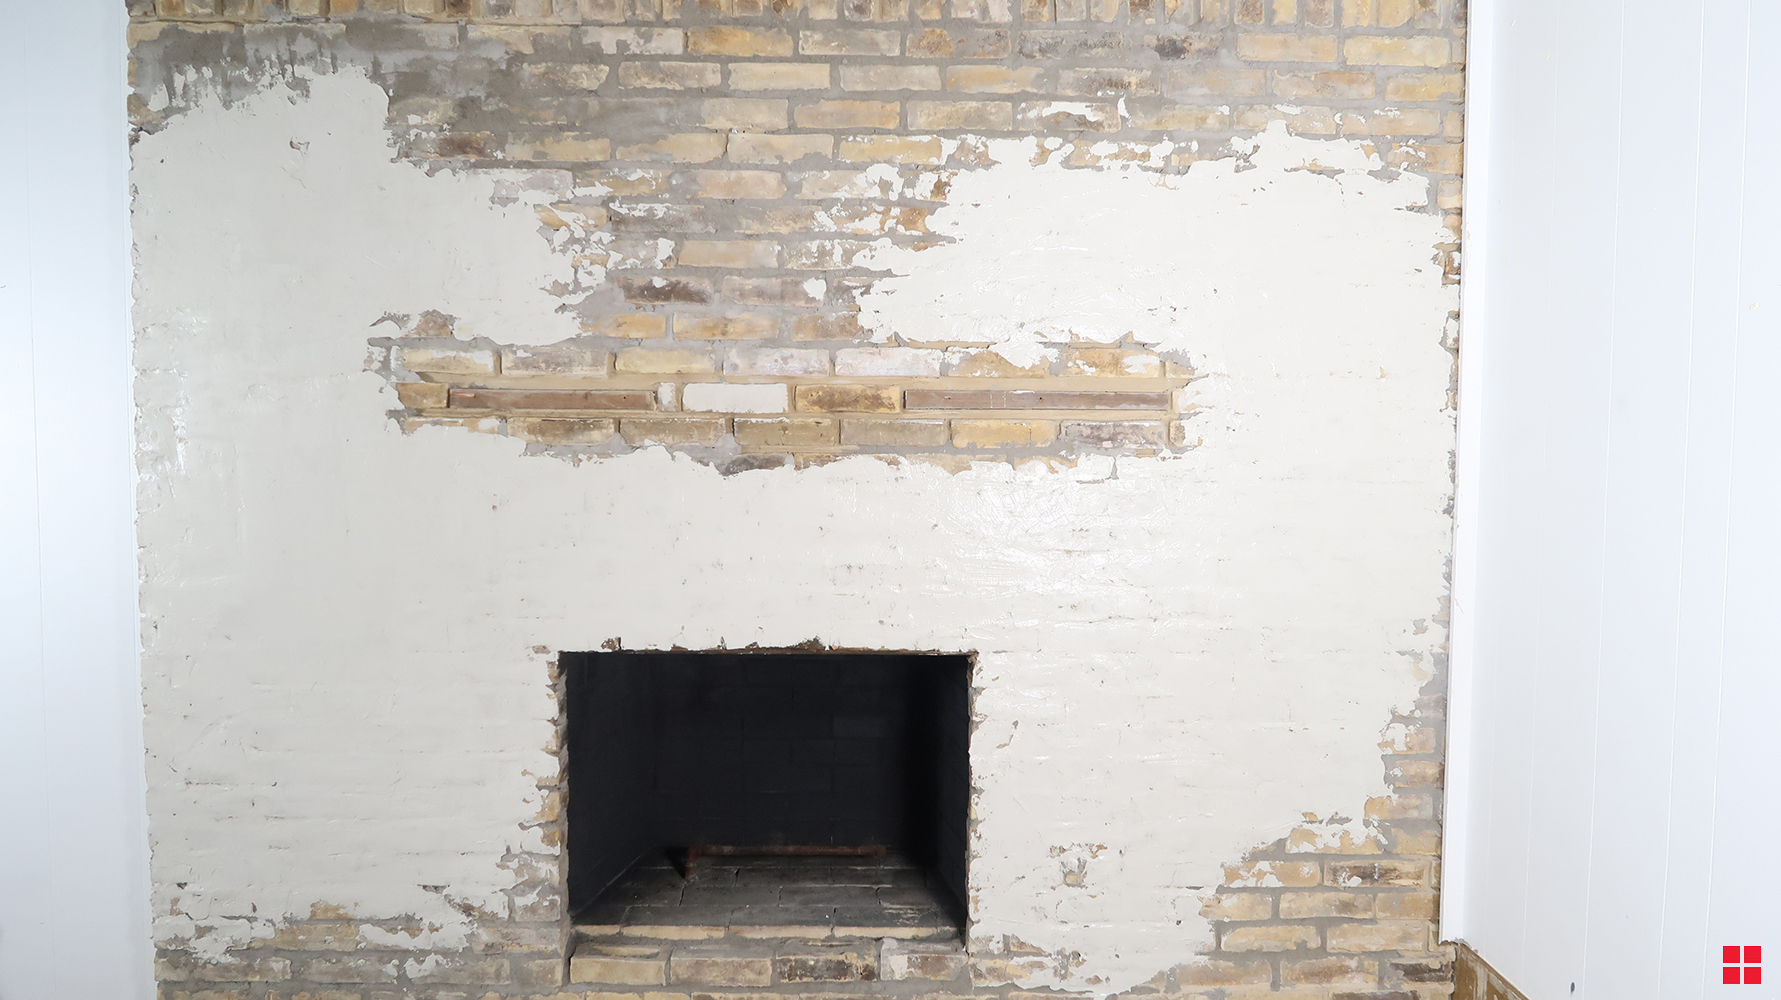
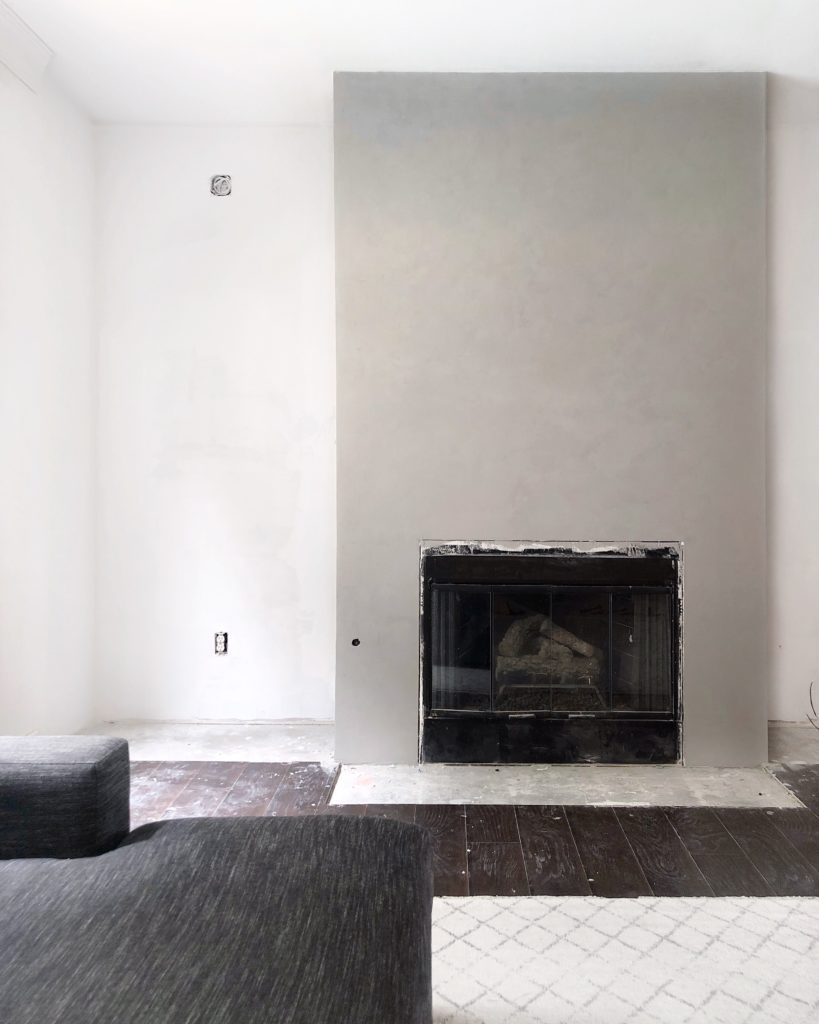
When it comes to plastering a fireplace surround, proper surface preparation is crucial for achieving a flawless end result. Whether you’re starting from scratch or renovating an existing fireplace, taking the time to prepare the surface properly will ensure a smooth and long-lasting finish. Below are the essential steps you need to follow to prepare the surface of your fireplace surround before plastering.
- Clearing the Area: Before you begin, remove any furniture, decorations, or flammable materials from the vicinity of the fireplace. This will give you a clear and safe working space and prevent any accidental damage or mess.
- Cleaning the Surface: Next, thoroughly clean the surface of the fireplace surround. Remove any dust, dirt, or loose debris using a stiff brush or vacuum cleaner. If there are any stubborn stains or residues, use a mild detergent and warm water solution to gently scrub the surface clean.
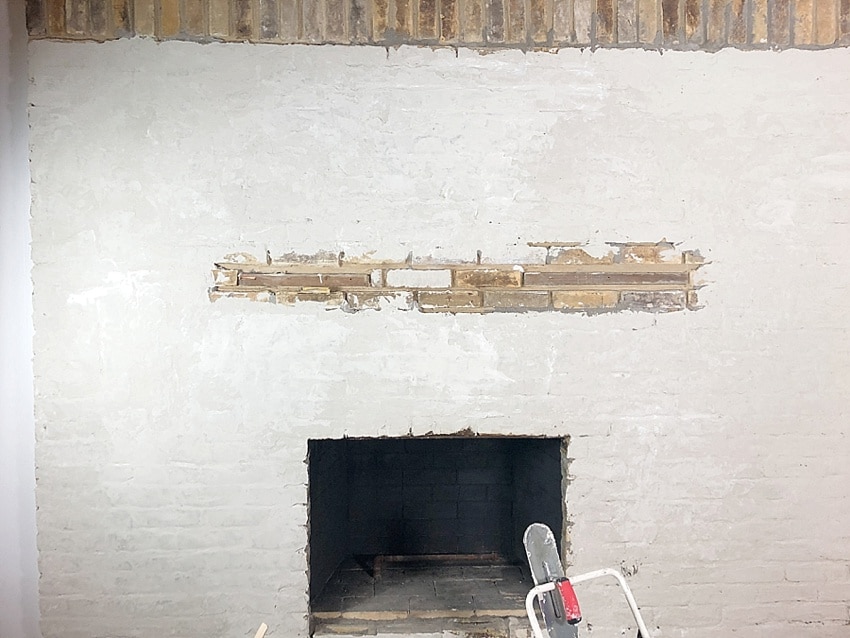
- Repairing Damages: Inspect the surface for any cracks, holes, or damaged areas. Use a suitable filler or patching compound to repair these imperfections. Smooth out the repaired areas with sandpaper to create a level and even surface.
- Sanding and Smoothing: To achieve a smooth and uniform finish, sand the entire surface of the fireplace surround. Start with coarse-grit sandpaper to remove any roughness or unevenness. Gradually move to finer-grit sandpaper until the surface feels smooth to the touch.
- Priming the Surface: Before applying the plaster, it’s important to prime the surface to enhance adhesion and prevent moisture absorption. Choose a high-quality primer suitable for your fireplace surround material and apply it evenly using a brush or roller. Allow the primer to dry completely as per the manufacturer’s instructions.
- Masking and Protecting: If necessary, use masking tape and plastic sheets to protect surrounding surfaces, such as walls or flooring, from any potential splatter or damage during the plastering process. This step will help maintain a neat and tidy workspace.
Choosing the Right Plastering Materials
The success of your fireplace surround plastering project depends greatly on selecting the right materials. With a plethora of options available, it’s important to understand the qualities and properties of different plaster mixes. Let me guide you through the process of choosing the perfect plastering materials for your fireplace surround, ensuring a durable and visually appealing finish.
- Traditional Lime Plaster: Lime plaster is a classic choice for fireplace surrounds due to its breathability and natural aesthetic. Made from lime putty and aggregate, it offers good workability and is suitable for both restoration and new construction projects. Lime plaster is versatile and can be finished with various textures and colors.
- Gypsum Plaster: Gypsum plaster, also known as plaster of Paris, is a popular choice for indoor applications due to its ease of use and fast drying time. It provides a smooth and even finish and is suitable for both solid and drywall surfaces. Gypsum plaster is available in pre-mixed bags, making it convenient for DIY enthusiasts.
- Cement Plaster: Cement plaster is a durable and strong option for fireplace surrounds that need to withstand high heat or outdoor elements. It is made by mixing cement, sand, and water, providing excellent adhesion and resistance to cracking. Cement plaster is a popular choice for modern and contemporary fireplace designs.
- Synthetic Plaster: Synthetic plaster, such as acrylic or polymer-based mixes, offers excellent flexibility and resistance to cracking. These plasters are available in various finishes and can be tinted to achieve a wide range of colors. Synthetic plasters are often used for creating unique and textured fireplace finishes.
- Specialty Plasters: Depending on your design preferences, you may consider specialty plasters like Venetian plaster, which offers a luxurious and glossy finish, or textured plasters that can mimic the look of stone or brick. These specialty plasters require specific application techniques and may be more suitable for experienced plasterers.
- Considering Environment and Safety: When selecting plastering materials, consider the environmental impact and safety aspects. Look for low VOC (volatile organic compound) or eco-friendly options if you want to minimize chemical emissions. Additionally, ensure that the chosen plaster is suitable for your fireplace’s heat exposure and meets fire safety regulations.

Instructions for Applying Plaster on a Fireplace Surround
Now that you have prepared the surface and selected the appropriate plastering materials, it’s time to dive into the technique of applying plaster to your fireplace surround. Proper execution of the plastering process will determine the final outcome of your project. Here are step-by-step instructions to help you master the technique of plastering and achieve a beautiful fireplace surround.
Mixing the Plaster: Follow the instructions provided with your chosen plaster mix to prepare the plaster. Measure the correct ratio of plaster and water, and mix them in a clean bucket or mixing container. Use a drill with a mixing attachment or a mixing paddle to ensure a smooth and lump-free consistency. Let the mix sit for a few minutes to allow any air bubbles to rise to the surface.
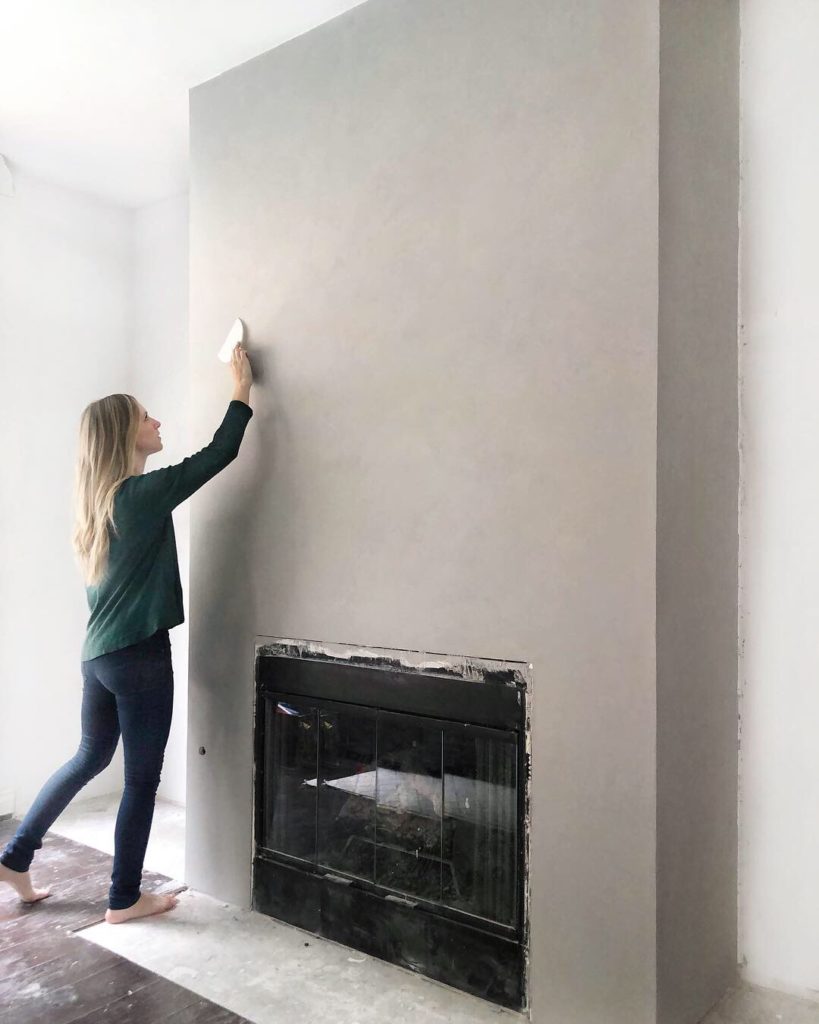
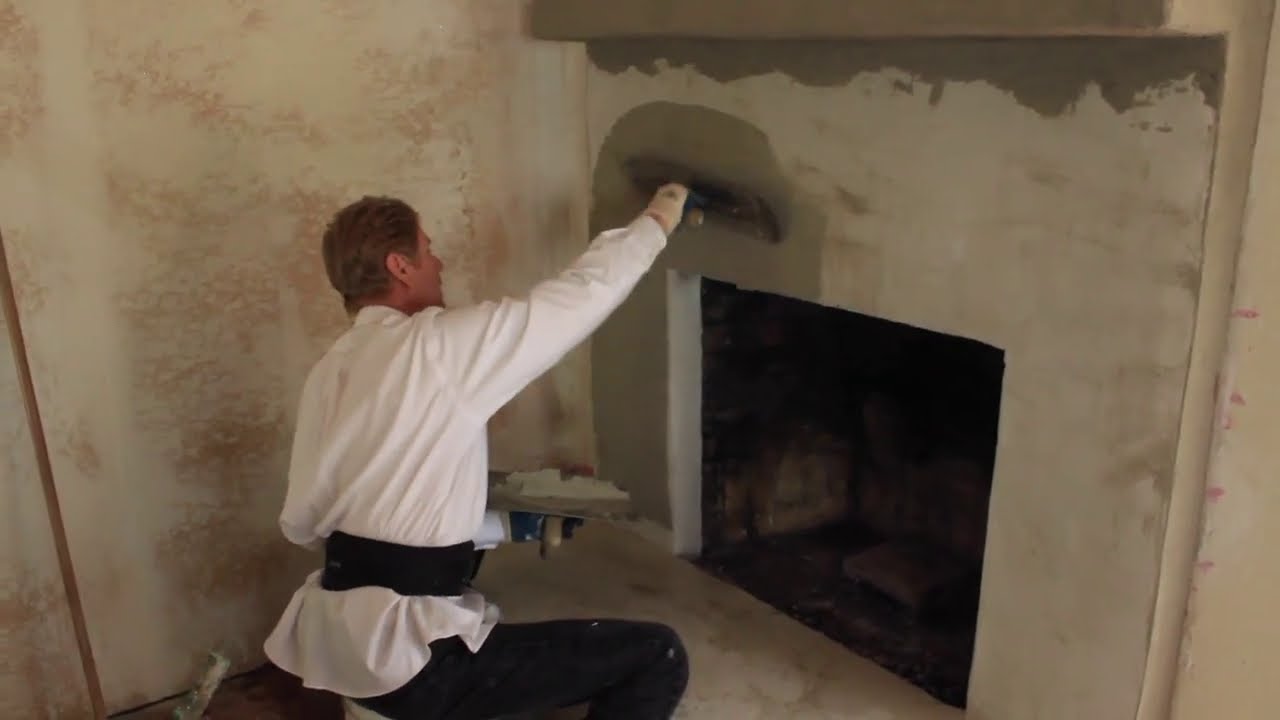
Applying the First Coat: Start by dampening the surface of the fireplace surround with clean water. This will help the plaster adhere properly. Using a trowel, apply the first coat of plaster to the surface in a thin, even layer. Spread the plaster smoothly, working from the bottom to the top and from one side to the other. Maintain a consistent thickness throughout.
Building Up Layers: Allow the first coat to partially dry, following the recommended drying time for your specific plaster mix. Once the first coat has reached a tacky state, use a scratch comb or a notched trowel to create horizontal or diagonal scratches on the surface. This will provide a better grip for subsequent layers. Apply additional coats of plaster, each slightly thicker than the previous one, until you reach the desired thickness and texture.
Smoothing and Leveling: After applying the final coat, use a plastering float or a trowel to smooth and level the surface. Work in a circular or figure-eight motion to remove any trowel marks or imperfections. Pay attention to achieving evenness and consistency in texture across the entire fireplace surround.
Creating Texture and Design: If you desire a textured finish, now is the time to add it. While the final coat is still slightly wet, use tools like a sponge, brush, or trowel to create desired patterns or textures. Experiment with different techniques to achieve the look you desire, whether it’s a rustic, aged effect, or a more modern and sleek finish.
Curing and Drying: Allow the plaster to cure and dry according to the instructions provided with your chosen plaster mix. This typically takes several days. During the curing process, it is important to maintain proper ventilation and avoid excessive moisture or temperature fluctuations that could hinder the drying process.

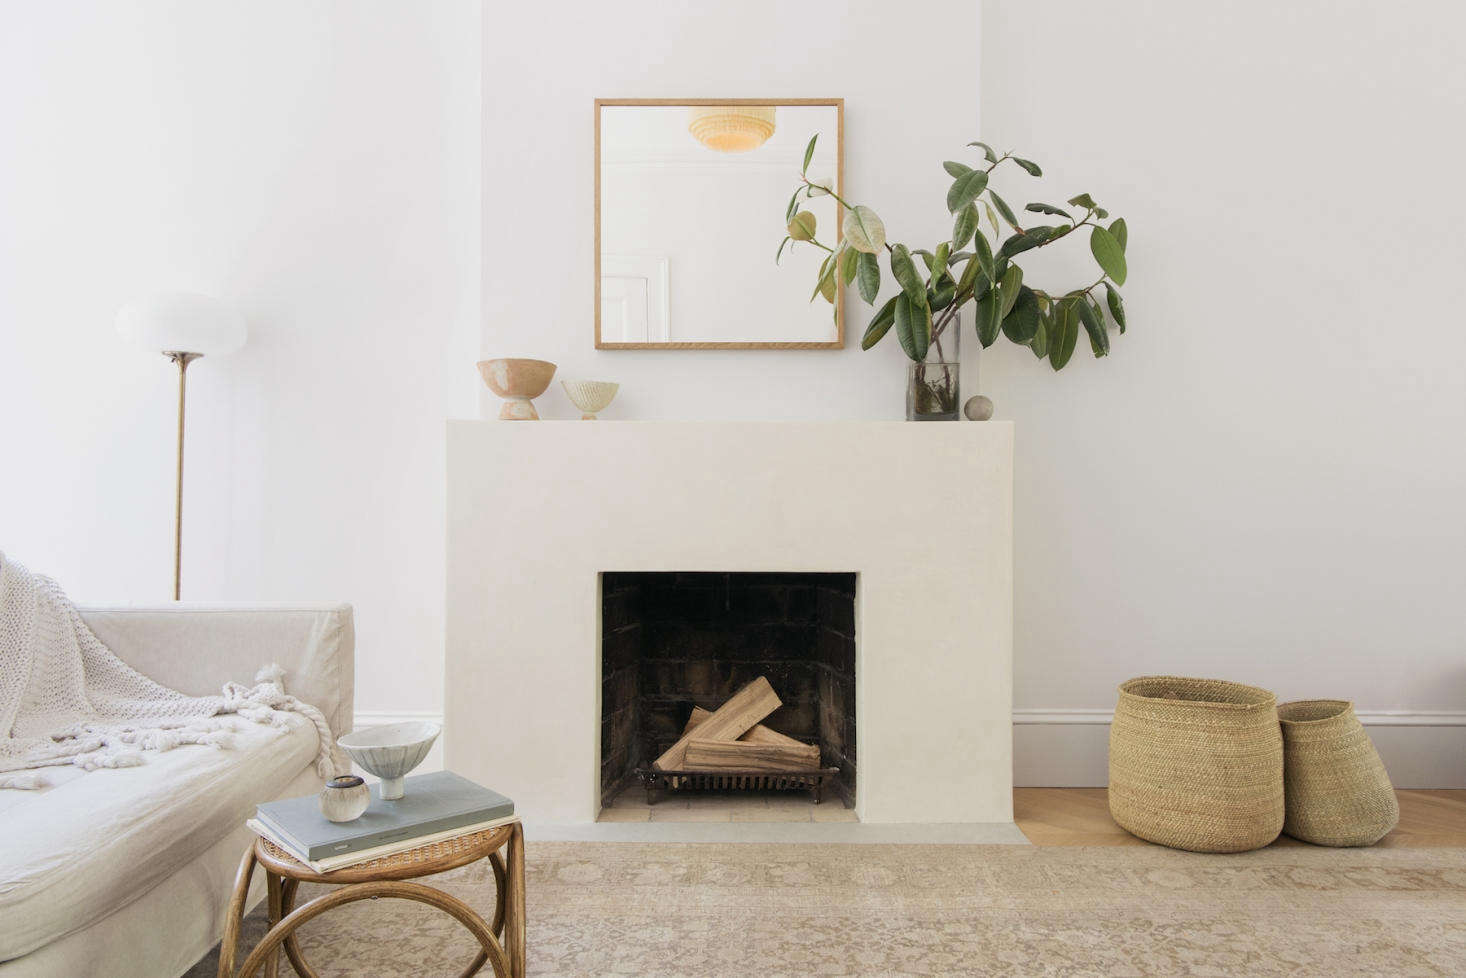
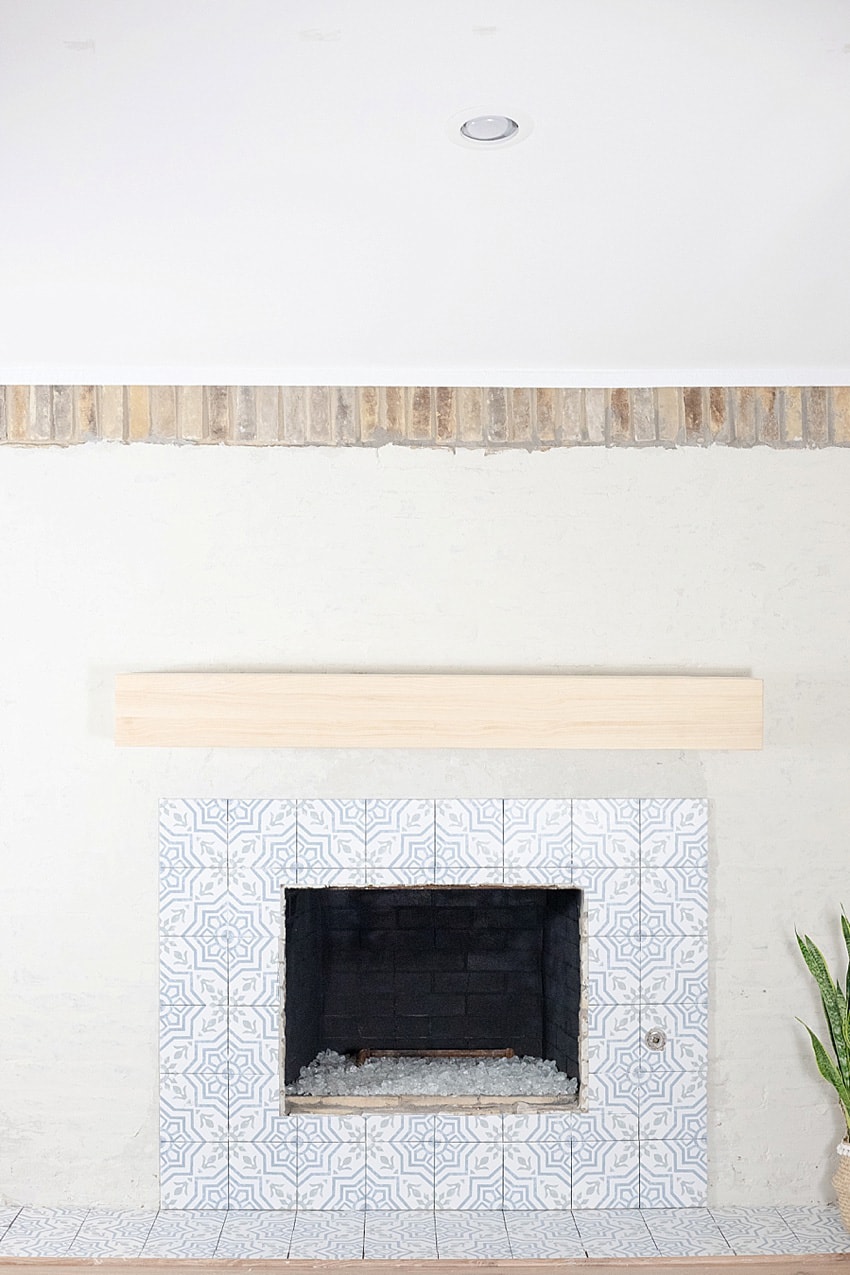
Creative Ideas for Designing a Unique Fireplace Finish
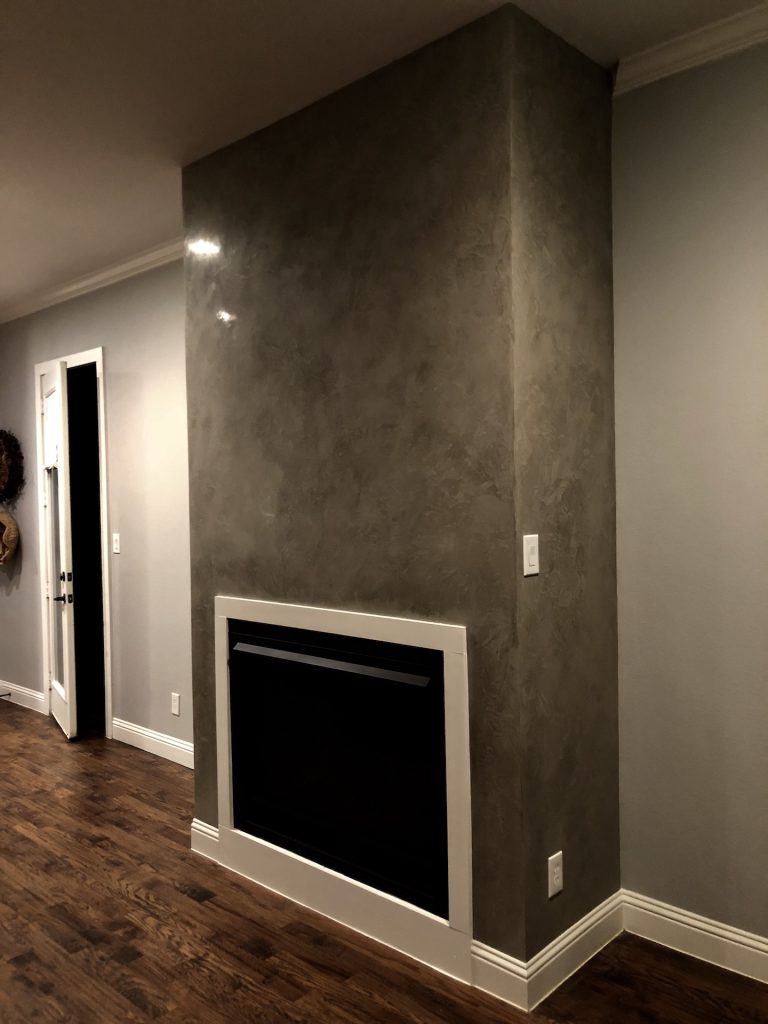
Adding texture and depth to your fireplace surround can elevate its visual appeal and make it a focal point in your space. Whether you prefer a rustic, modern, or eclectic look, there are various creative techniques you can use to achieve a unique fireplace finish. Below are some ideas and methods for adding texture and depth to your plastered fireplace surround.
Venetian Plaster: Venetian plaster is a classic technique that creates a luxurious, marble-like finish. Apply multiple thin layers of polished plaster using a trowel or spatula, allowing each layer to dry before applying the next. With each layer, burnish the surface to create a smooth and glossy effect. Experiment with different colors and techniques to achieve various textures and patterns.
Exposed Aggregates: For a more organic and natural appearance, consider incorporating exposed aggregates into your fireplace surround. Mix in small stones, pebbles, or even seashells into your plaster mix before applying it to the surface. As you trowel the plaster, some of the aggregates will become exposed, giving your fireplace a unique and textured look.
Stamped Patterns: Create intricate patterns and designs on your fireplace surround by using stamps. There are various stamping tools available, ranging from geometric patterns to floral motifs. Apply the plaster to the surface and, while it is still wet, press the stamp into the plaster to transfer the pattern. Repeat the process across the entire fireplace surround to create a cohesive design.
Faux Brick or Stone: If you desire the look of brick or stone without the weight or expense, consider using a faux finish technique. After applying the base plaster coat, use a trowel or brush to create the texture of bricks or stones. Once the texture is created, paint or stain the surface to resemble the desired material. This technique can provide a realistic and cost-effective way to achieve a textured fireplace finish.
Dry Brushing: Dry brushing is a technique that adds subtle texture and depth to a plastered surface. After applying the base coat and allowing it to dry, dip a dry brush into a contrasting paint color. Wipe off most of the paint on a cloth or paper towel, leaving only a small amount on the brush. Lightly brush the surface in a random or deliberate pattern, allowing the base color to show through. This technique adds a distressed or aged look to your fireplace surround.
Custom Artwork: For a truly unique and personal touch, consider adding custom artwork or designs to your plastered fireplace surround. Whether it’s a mural, stenciled patterns, or hand-painted motifs, incorporating artwork can transform your fireplace into a piece of art. Hire a professional artist or explore your own creativity to create a one-of-a-kind design that reflects your style and personality.

Finishing Touches: How to Achieve a Polished Look with Paint or Sealant
Once you have completed the plastering and added texture to your fireplace surround, it’s time to apply the finishing touches. This step involves adding paint or sealant to achieve a polished and professional look. let’s learn how to properly apply paint or sealant to your plastered fireplace surround for a beautiful and long-lasting finish.
Choosing the Right Paint: Select a high-quality paint that is suitable for your specific fireplace surround material and the desired look. Matte or eggshell finishes can provide a more subtle and contemporary appearance, while semi-gloss or gloss finishes offer a more polished and reflective surface. Consider the color scheme of your space and choose a paint color that complements or contrasts with the surrounding decor.
Surface Preparation: Before painting, ensure that the plastered surface is clean and free from any dust or debris. Use a damp cloth or sponge to wipe away any residue. If necessary, lightly sand the surface to smooth out any imperfections or rough spots. Once the surface is prepared, allow it to dry completely before applying the paint.
Priming the Surface: For optimal paint adhesion and color consistency, it is recommended to apply a primer before painting. Choose a primer that is specifically designed for plastered surfaces and follow the manufacturer’s instructions for application. Apply the primer evenly using a brush or roller and allow it to dry completely before proceeding with the paint.
Applying the Paint: Stir the paint thoroughly to ensure an even color distribution. Use a brush or roller to apply the paint to the plastered surface. Work in small sections, applying the paint in smooth and even strokes. For corners or intricate areas, use a smaller brush to ensure proper coverage. Allow the first coat to dry according to the paint manufacturer’s instructions before applying additional coats if necessary.
Sealant Application: If you prefer a more natural or matte finish, you may choose to skip the paint and opt for a clear sealant instead. A sealant will protect the plastered surface from moisture, stains, and wear. Select a sealant that is suitable for your specific fireplace surround material and follow the manufacturer’s instructions for application. Apply the sealant evenly using a brush or roller, and allow it to dry completely before using the fireplace.
Maintenance and Touch-ups: Once the paint or sealant has dried, it’s important to maintain the appearance of your fireplace surround. Regularly clean the surface with a soft cloth or sponge to remove dust or dirt. If any chips or imperfections occur over time, touch them up with paint or sealant as needed to maintain a polished look.
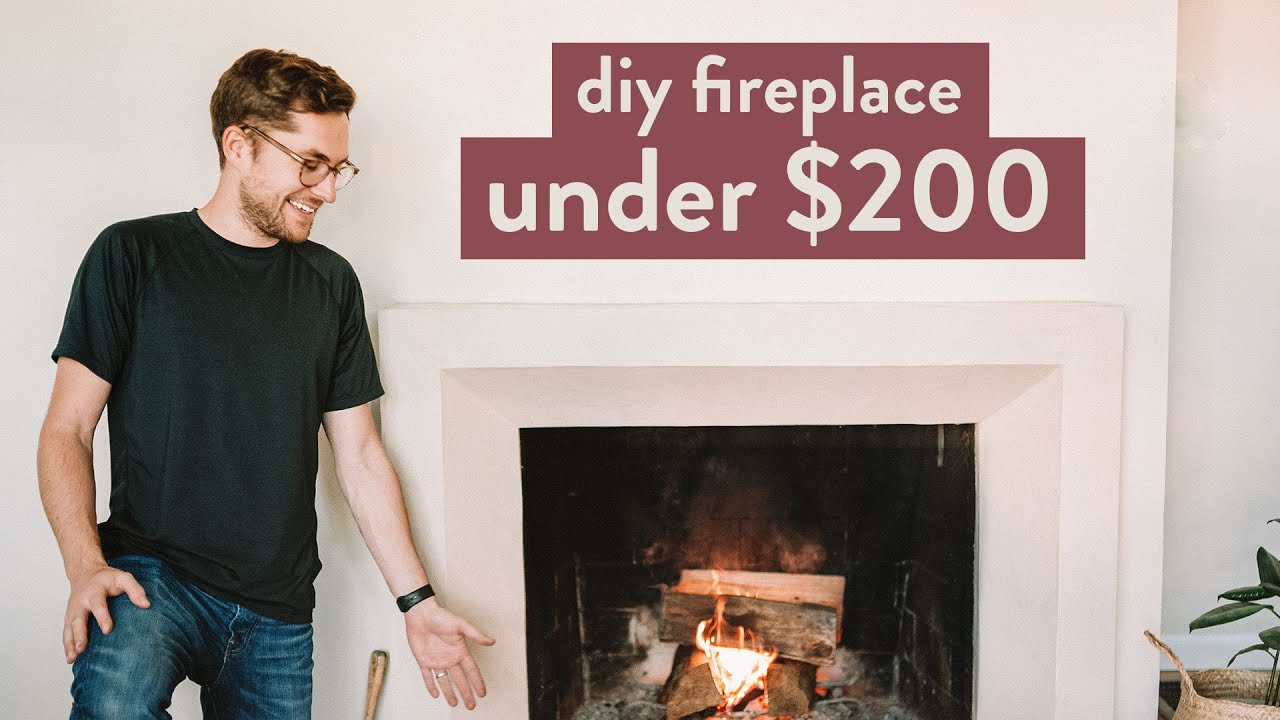
DIY VENETIAN PLASTER FIREPLACE made for under $200
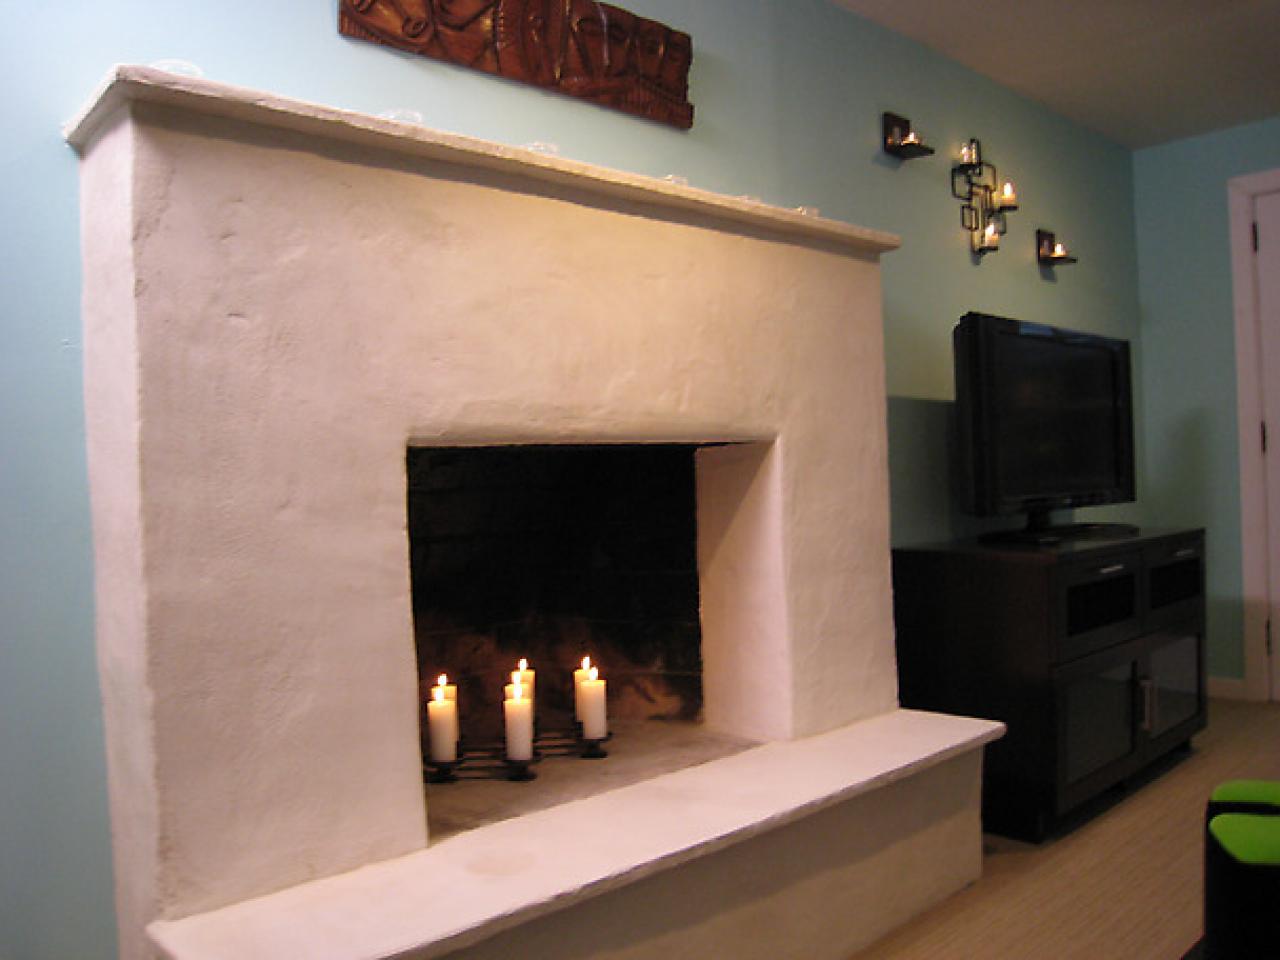
Weekend Projects: Resurface a Fireplace with Stucco HGTV
DIY Fireplace Makeover
DIY Fireplace Makeover with Venetian Plaster – With Video – Run To
Types Of Fireplaces For Your Home Fireplace, Fireplace

DIY Fireplace Makeover with Venetian Plaster
Interior Fireplace Plastering Basecoat Structo-lite
DIY a Cement Look Fireplace for less than $100
Fireplace Surround Venetian Plaster Plasters of Italy
 Related Posts: