If you want to update your fireplace’s look without breaking the bank, consider painting the tile around it. A fresh coat of paint can transform a dated or dingy fireplace into a stunning focal point in your living or family room. This article will provide tips and tricks for painting tiles around your fireplace.
Preparation is Key
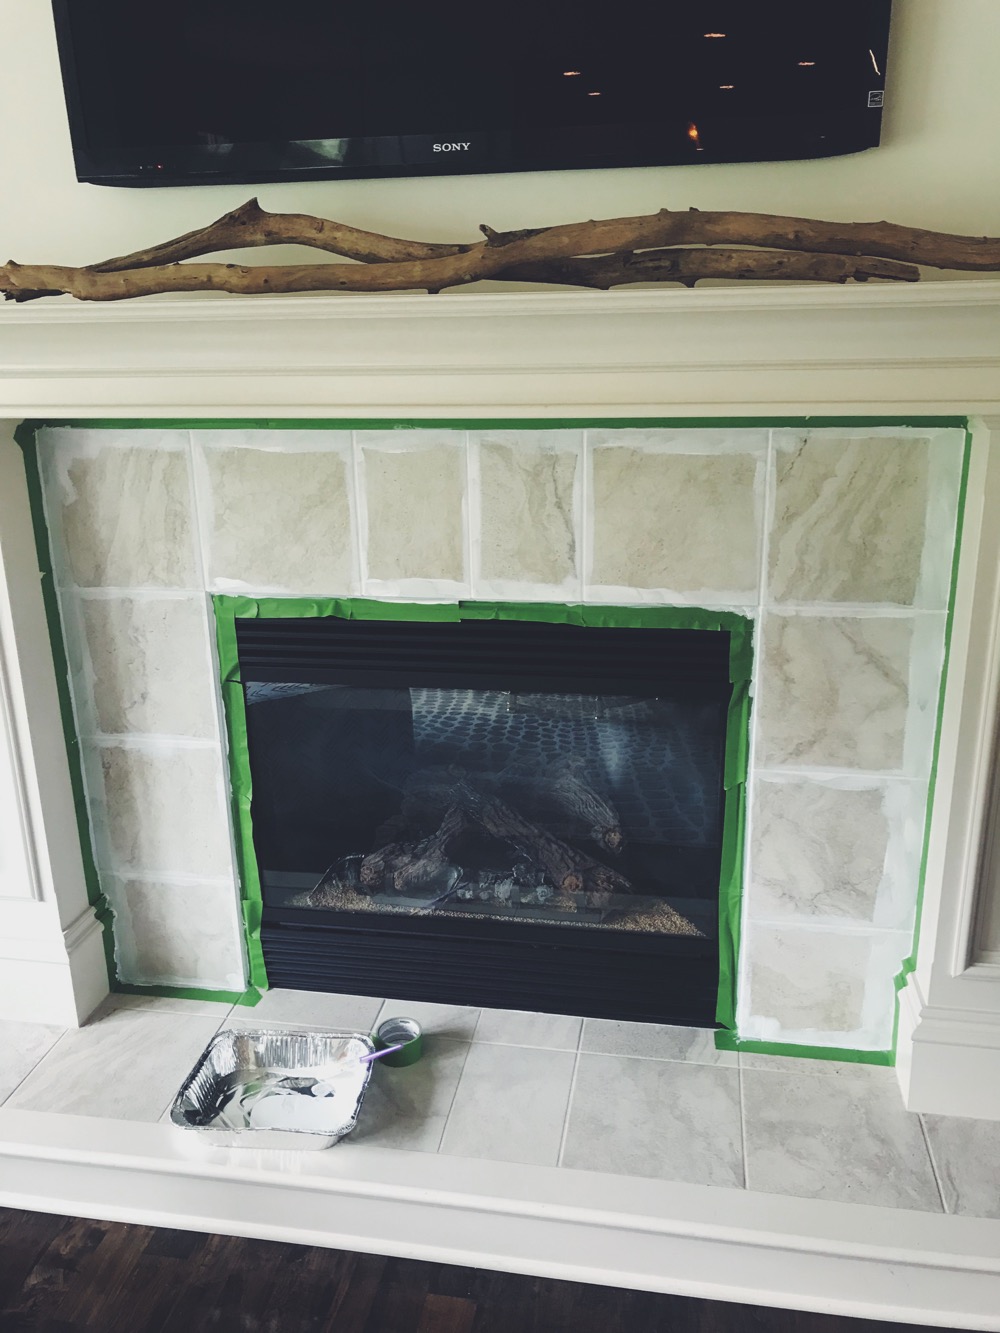
Before you begin painting, it’s essential to prepare the tile properly. Start by thoroughly cleaning the tile with warm water and mild soap. Scrub the surface with a stiff brush to remove dirt, grime, or soot. Rinse the tile with clean water and allow it to dry completely. Next, sand the tile to create a rough surface to help the paint adhere better. Use 220-grit sandpaper to lightly sand the tile, removing any gloss or shine. Wipe the tile with a clean, damp cloth to remove dust or debris.
Priming the Tile
Once the tile is clean and dry, it’s time to prime it. Use a high-quality primer that’s specifically designed for tile surfaces. Apply the primer using a paintbrush or roller in a thin, even coat. Be sure to work in small sections to prevent the primer from drying too quickly. Allow the primer to dry completely before moving on to the next step. Depending on the product, this could take anywhere from a few hours to overnight.
Painting the Tile
Now it’s time to paint the tile. Choose a high-quality paint that’s designed for tile surfaces. There are several options available, including ceramic tile paint and epoxy paint. Ceramic tile paint is a great choice for a quick and easy update, while epoxy paint is more durable and long-lasting.
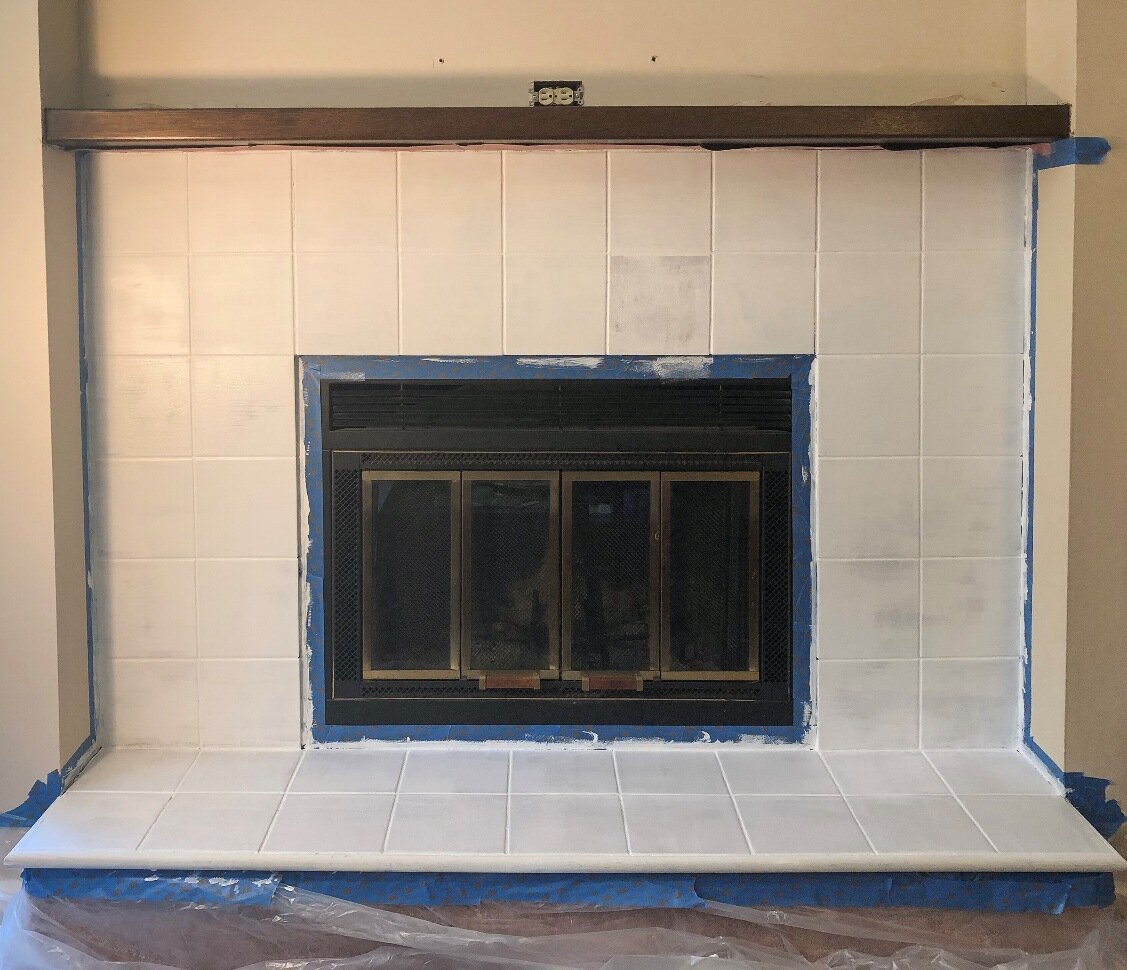
Apply the paint in thin, even coats using a paintbrush or roller. Work in small sections, starting at the top of the fireplace and working your way down. Be sure to follow the manufacturer’s instructions for the product you’re using.
Allow the first coat to dry completely before applying a second coat. Depending on the product, you may need three or four coats to achieve the desired coverage and finish.
Finishing Touches
Once the final coat of paint is dry, it’s time to add the finishing touches. Use a small brush to touch up any areas that need it, and remove any tape or paper that you used to protect the surrounding surfaces.
If you want to add flair to your newly painted tile, consider using stencils or painter’s tape to create a pattern or design. You could also add a coat of clear sealer to protect the surface and make it easier to clean.
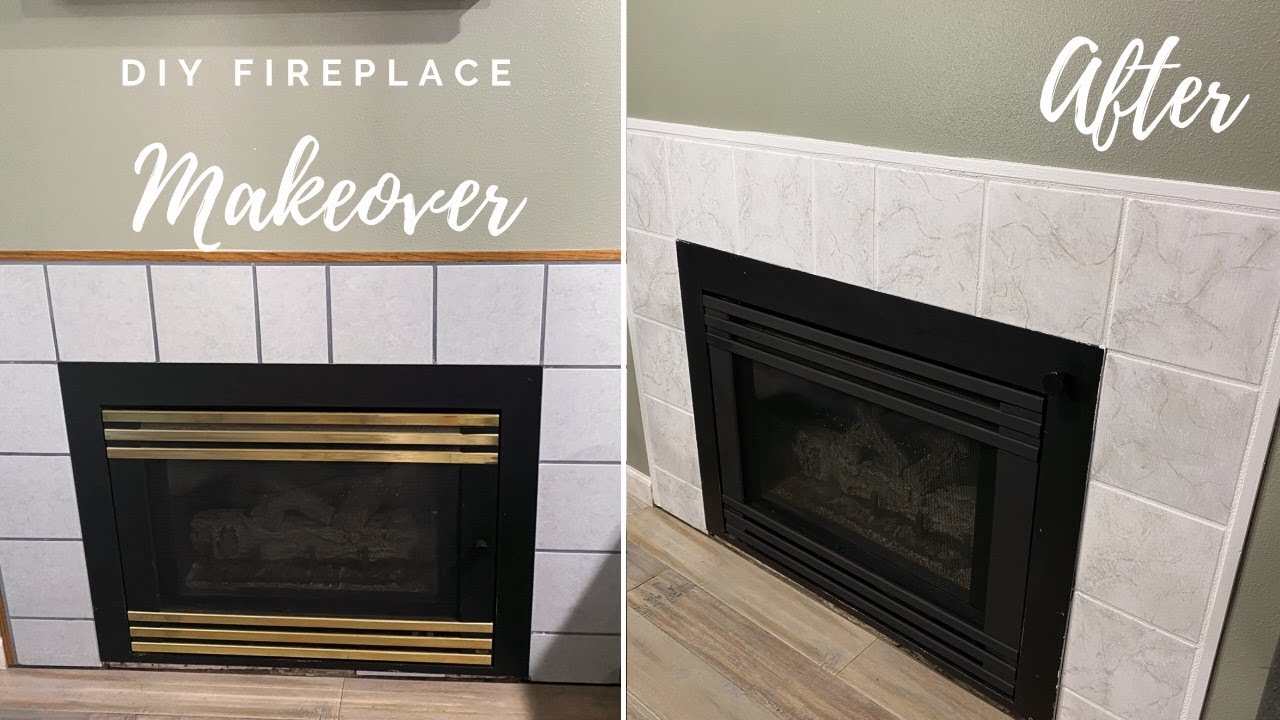
Painting tile around your fireplace is an easy and affordable way to update the look of your home. Proper preparation, priming, and painting techniques are key to achieving a beautiful, long-lasting finish. Following these tips and tricks, you can transform your fireplace into a stunning focal point in your living or family room.
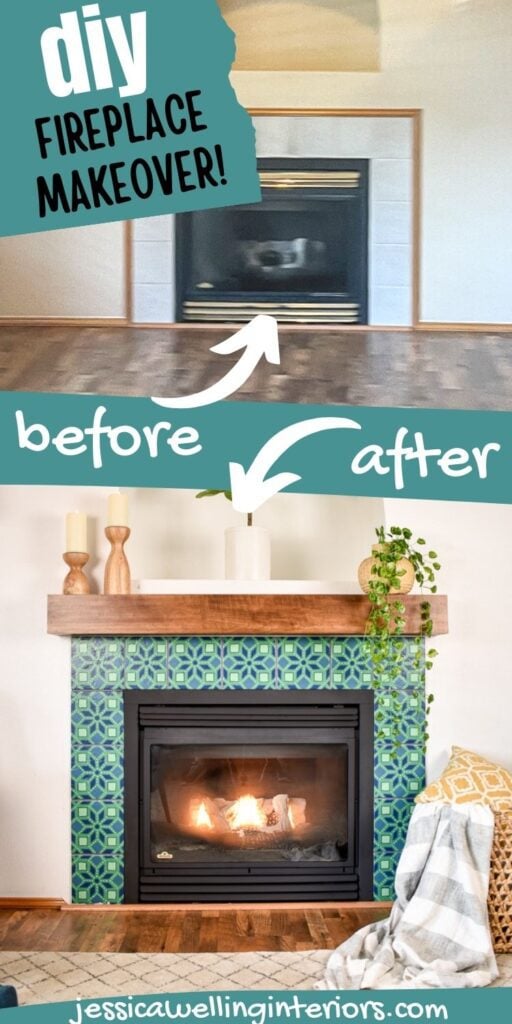
Painting Tile Around Fireplace Before And After
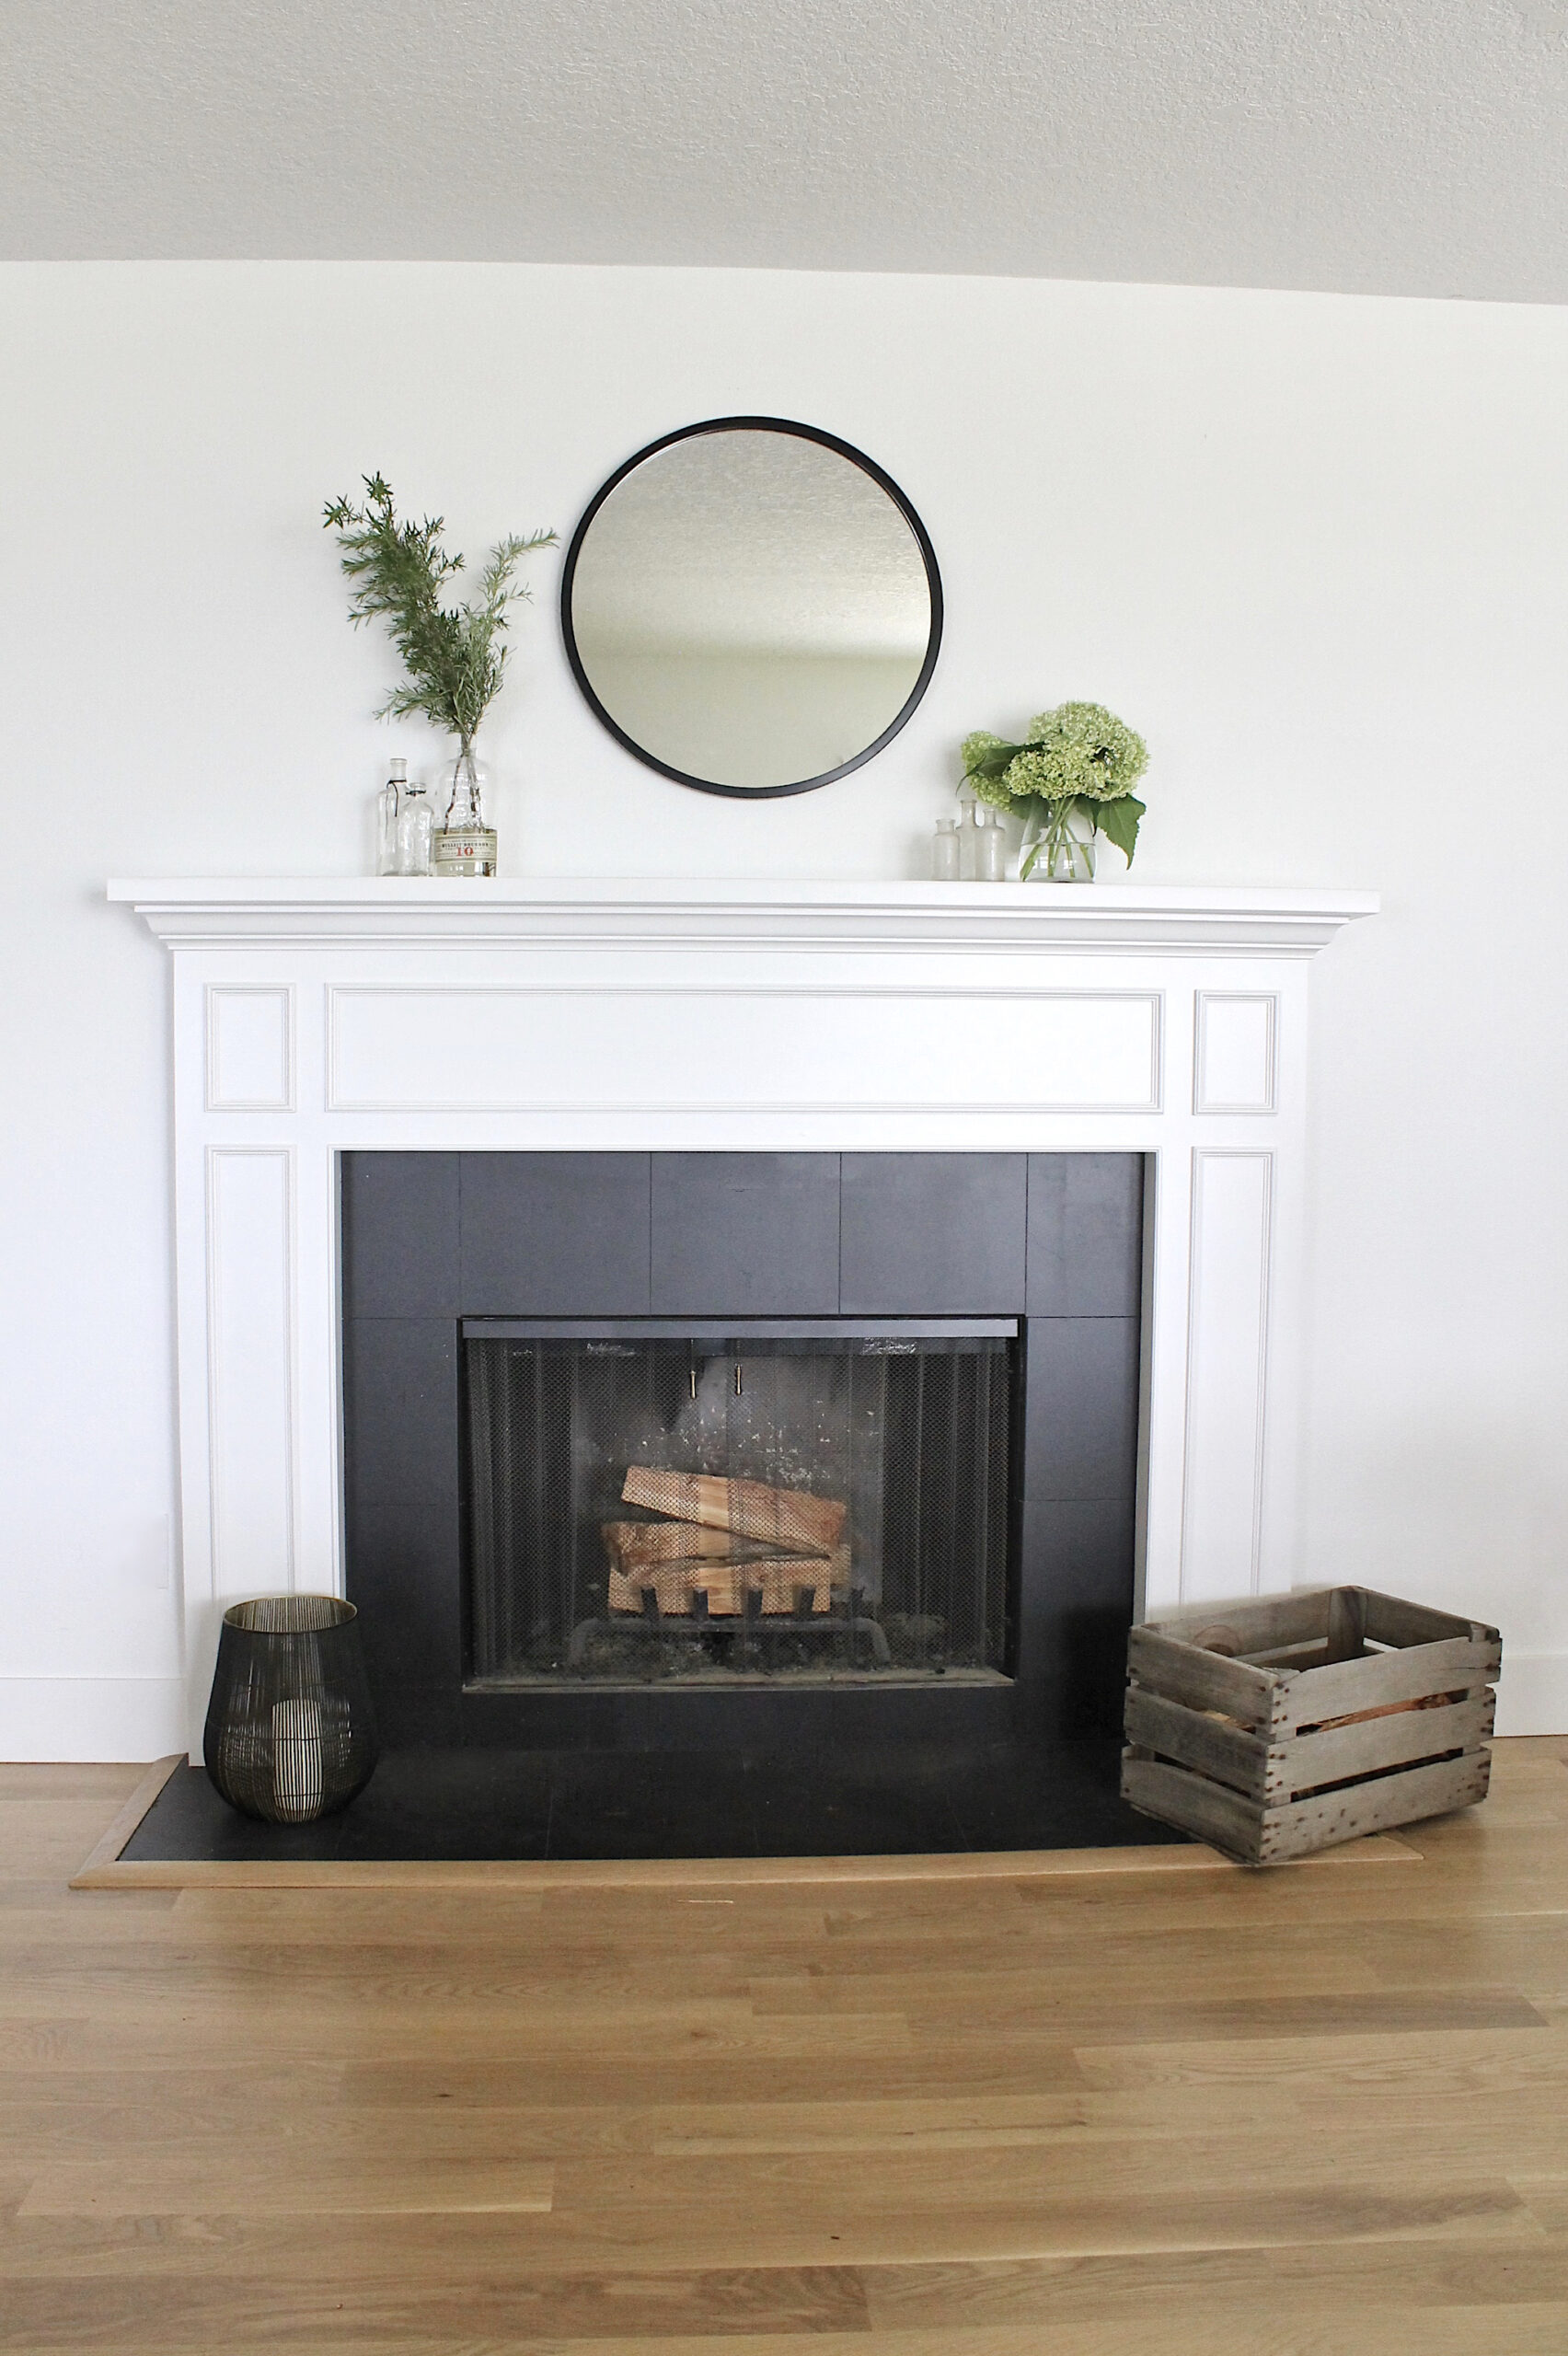
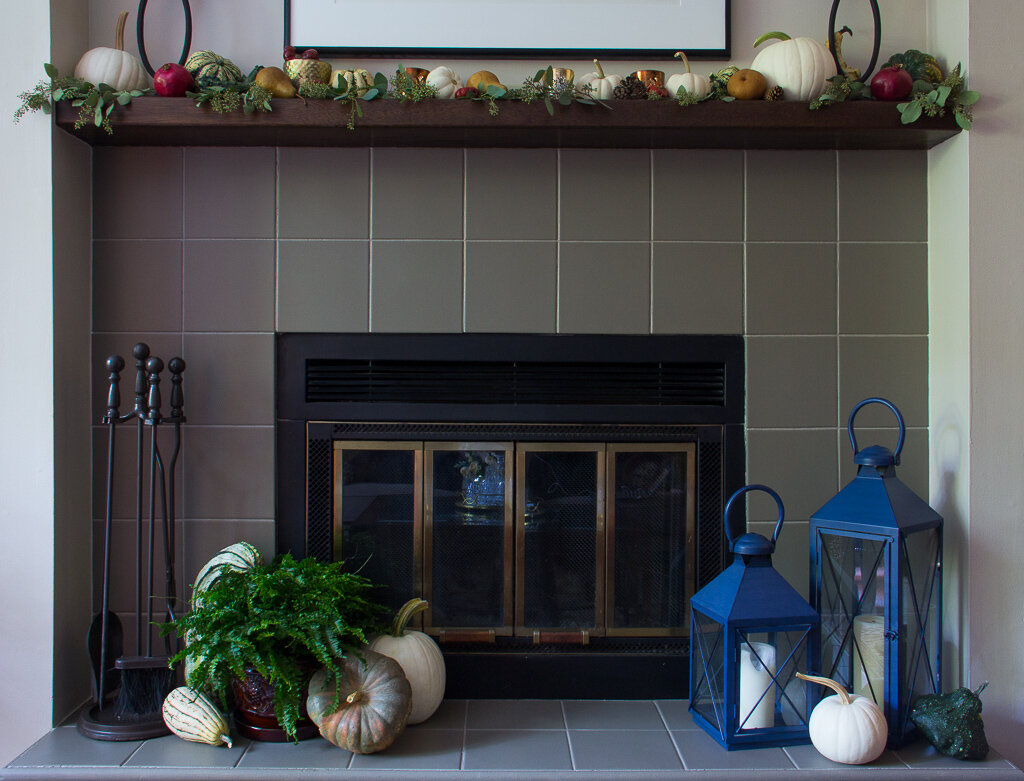
Painted Tile Around Fireplace – Life Love Larson
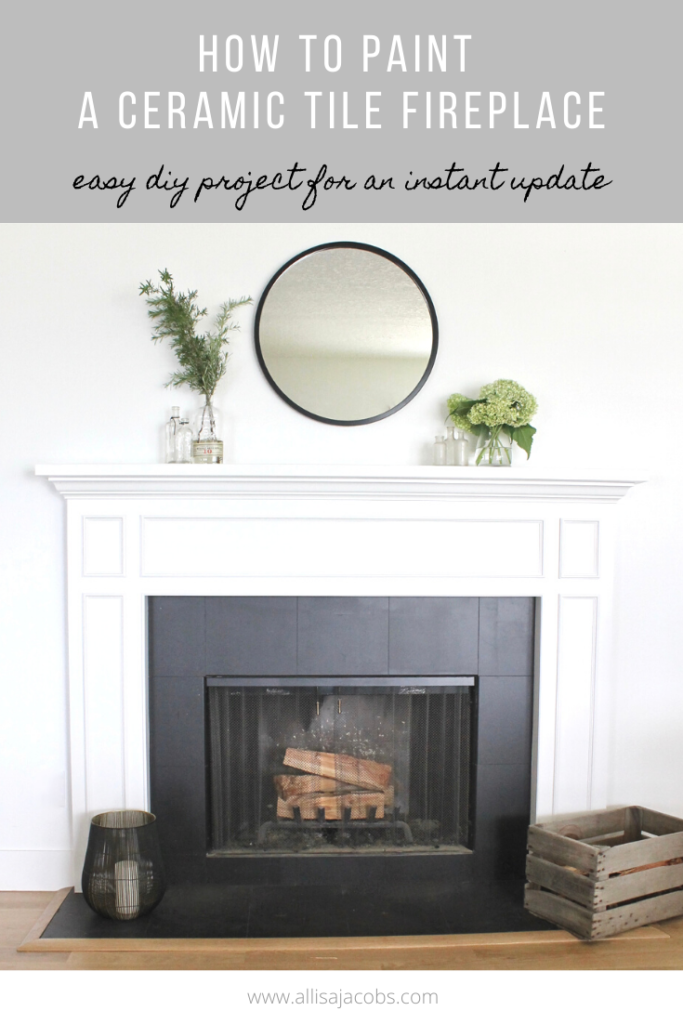
How to Paint a Ceramic Tile Fireplace for an Easy Update – allisa

Fireplace Makeover: How to Paint Tilesu2013Including the Grout
Fireplace Makeover // How to paint over existing tiles // DIY Painted Marble Granite
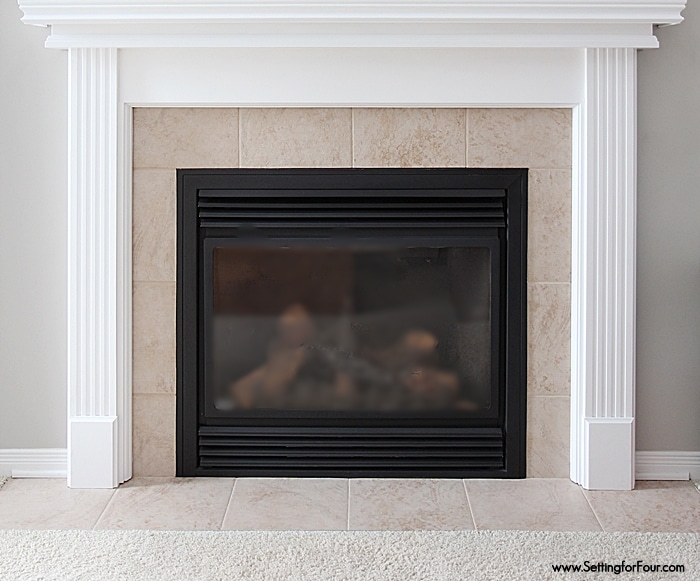
How to Paint Tile – Easy Fireplace Paint Makeover – Setting for Four
Painted Tile Around Fireplace – Life Love Larson
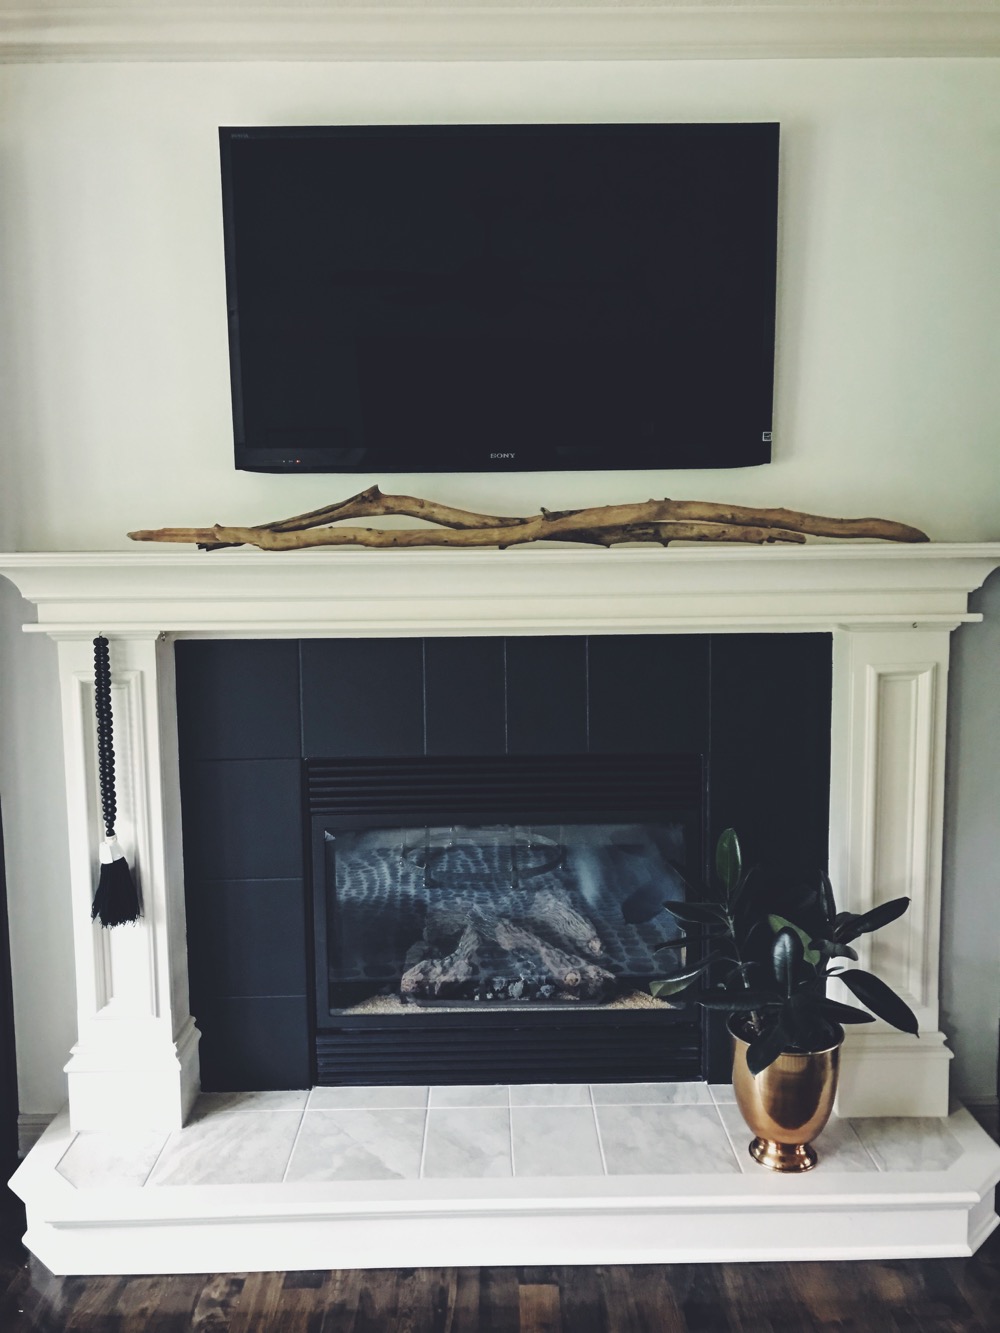
DIY Mantel and Painting the Tiles; Fireplace Makeover

How to Paint a Ceramic Tile Fireplace for an Easy Update – allisa
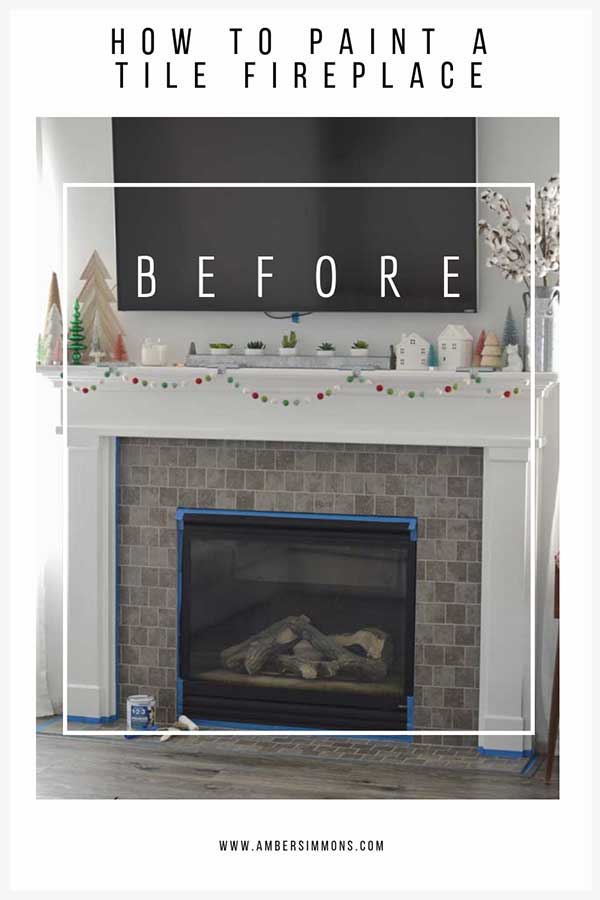
How To Paint a Tile Fireplace – Amber Simmons
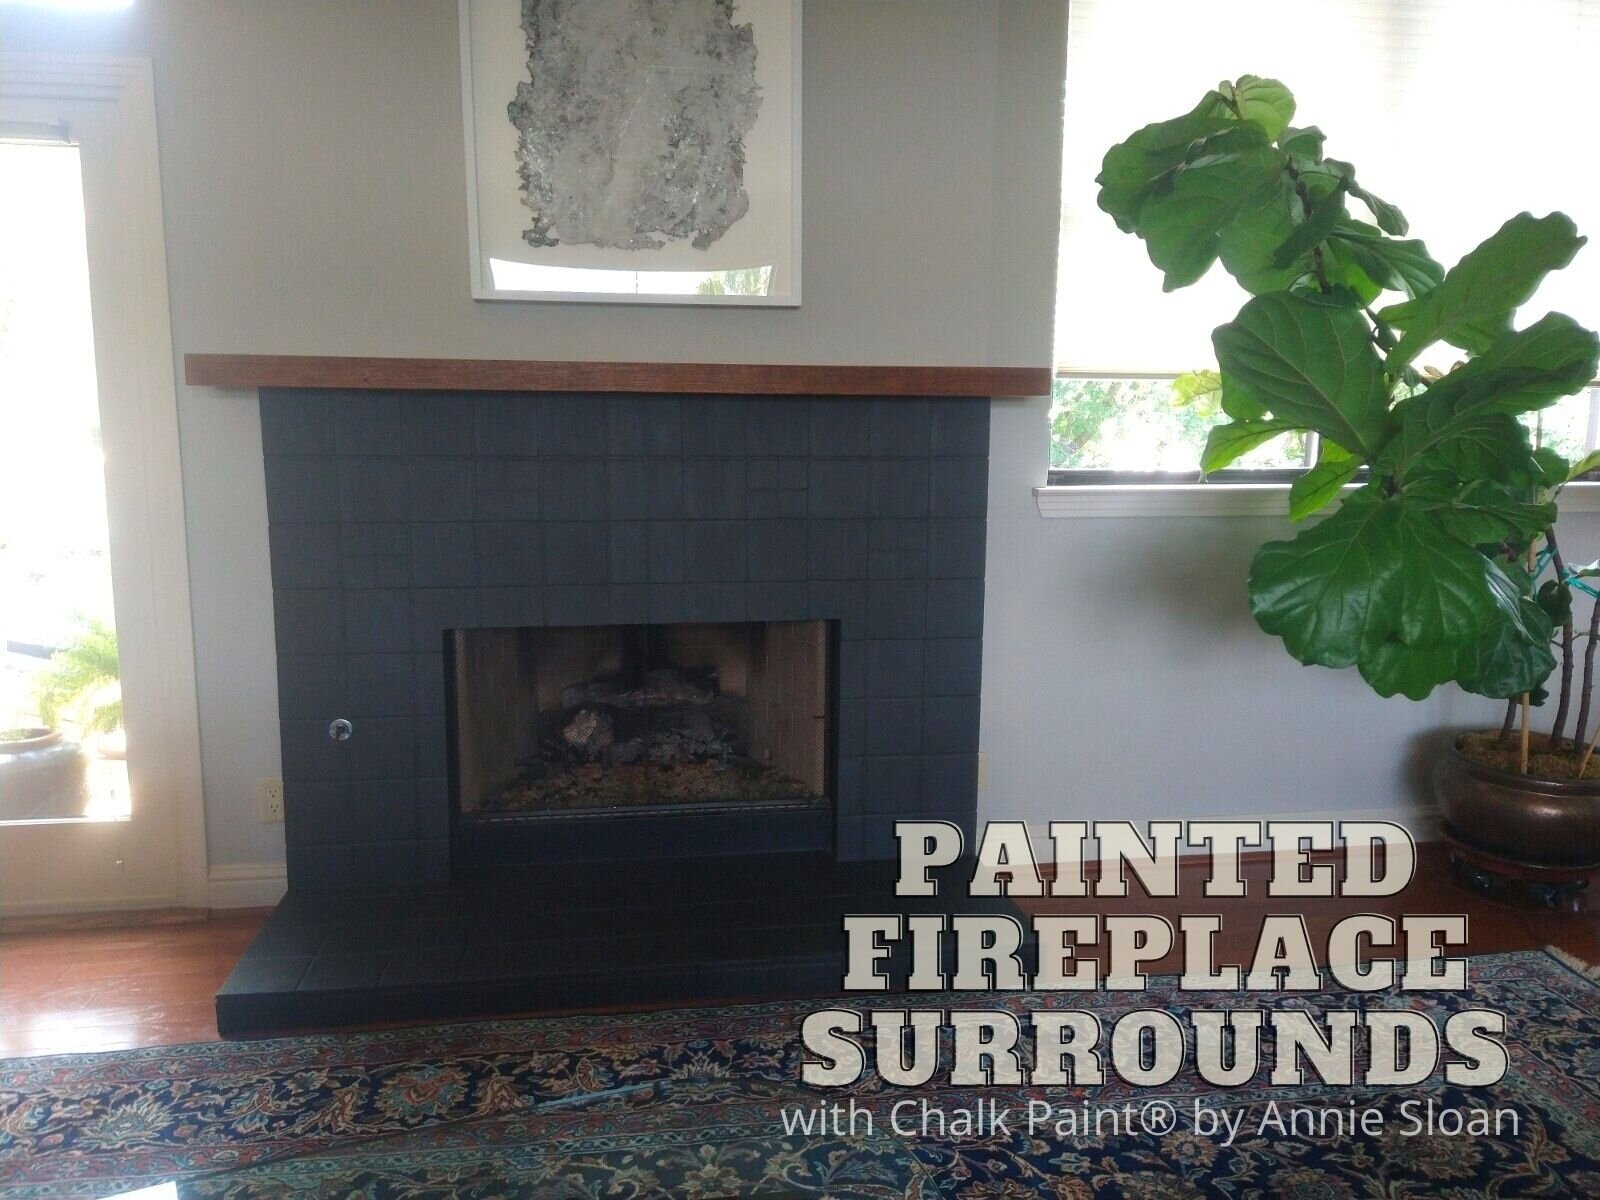
Painted Fireplace Surrounds with Chalk Paint® by Annie Sloan
Painting Fireplace Tile: The Ultimate Guide – Jessica Welling
Fireplace Makeover: How to Paint Tilesu2013Including the Grout
Simple Fireplace Upgrade {Annie Sloan Chalk Paint} East Coast

Related Posts:
- Retro Fireplace Tiles
- Rustic Tile Fireplace
- Farmhouse Fireplace Tile
- Slate Tile Fireplace Surround
- Modern Tile Fireplace Wall
- Mosaic Tile Fireplace DIY
- Quartz Fireplace Tile
- Ceramic Tiles Fireplace Surround
- Sandstone Tile Fireplace
- Spanish Tile Fireplace