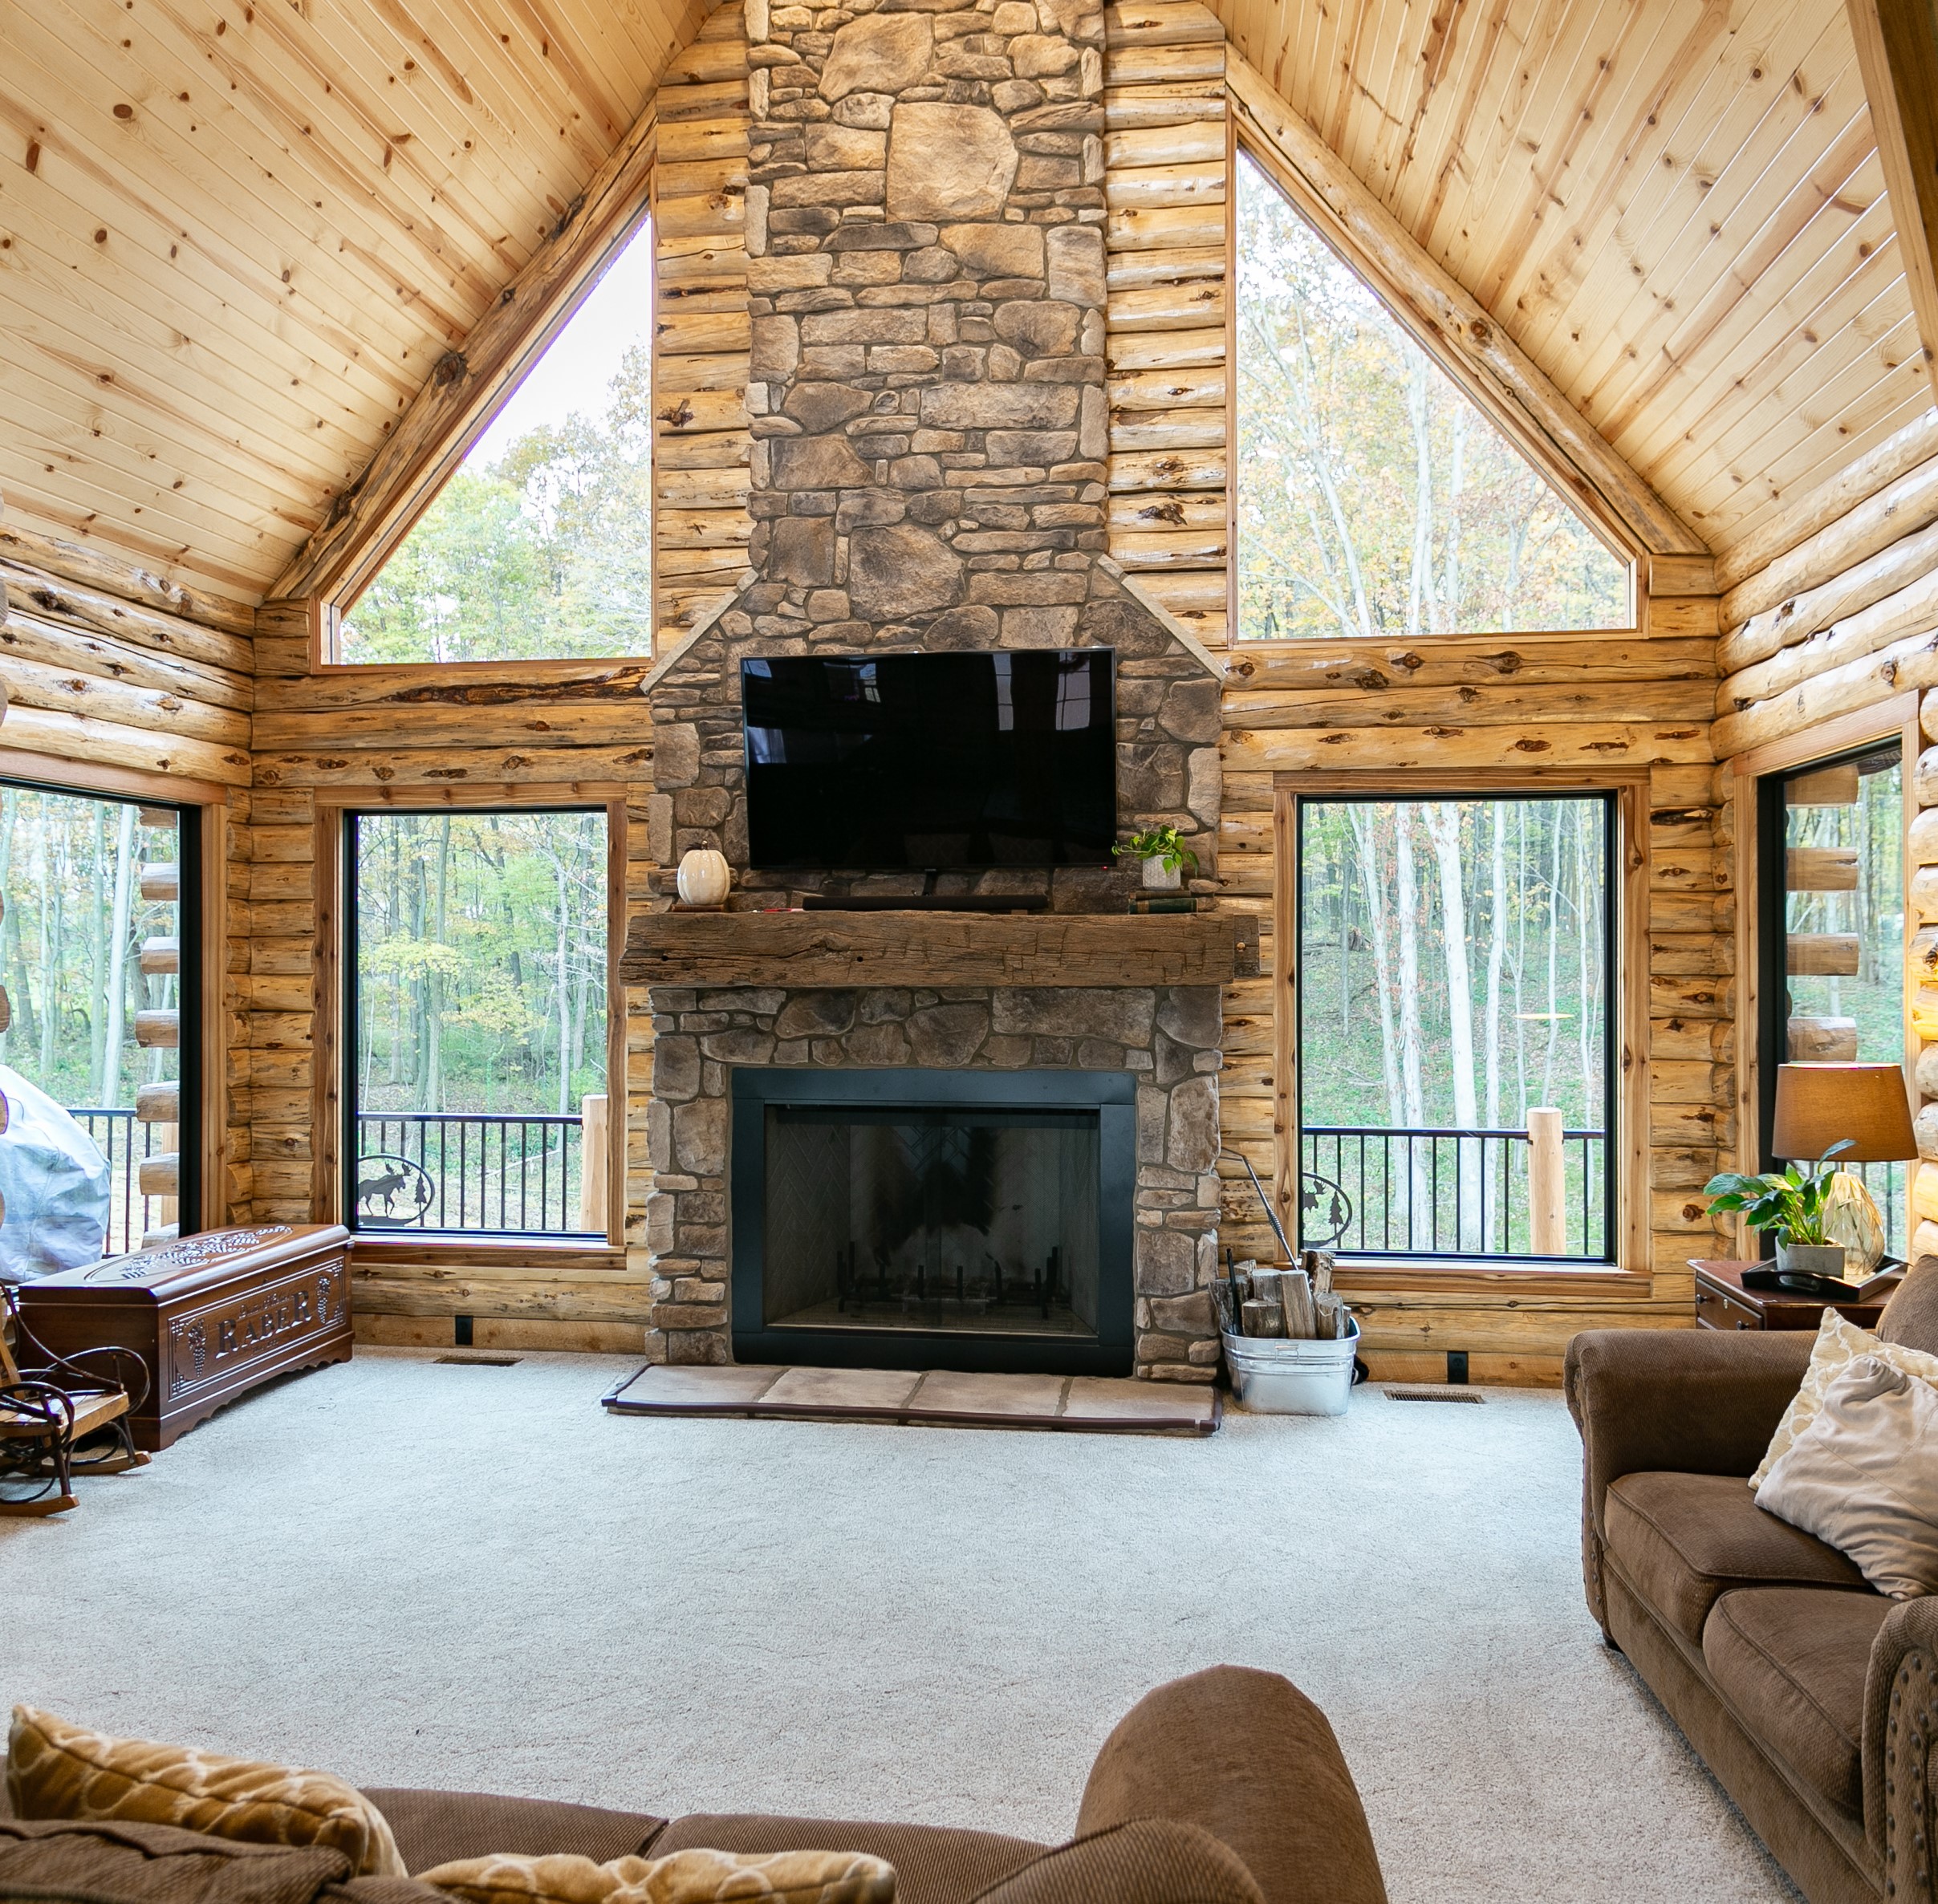
A stone fireplace serves as the heart of any log cabin, providing warmth, ambiance, and a natural gathering spot. The rugged beauty of stone complements the organic textures of log walls, creating a harmonious connection to the outdoors. Whether you prefer a massive floor-to-ceiling hearth or a compact woodstove surround, a well-designed fireplace enhances both the aesthetics and functionality of your cabin. From material selection to maintenance considerations, every detail contributes to the fireplace’s performance and visual impact. Let’s have a deep discussion on some aspects of log cabin stone fireplaces to help you create the perfect rustic centerpiece.
Choosing the Right Stone for Your Cabin Aesthetic
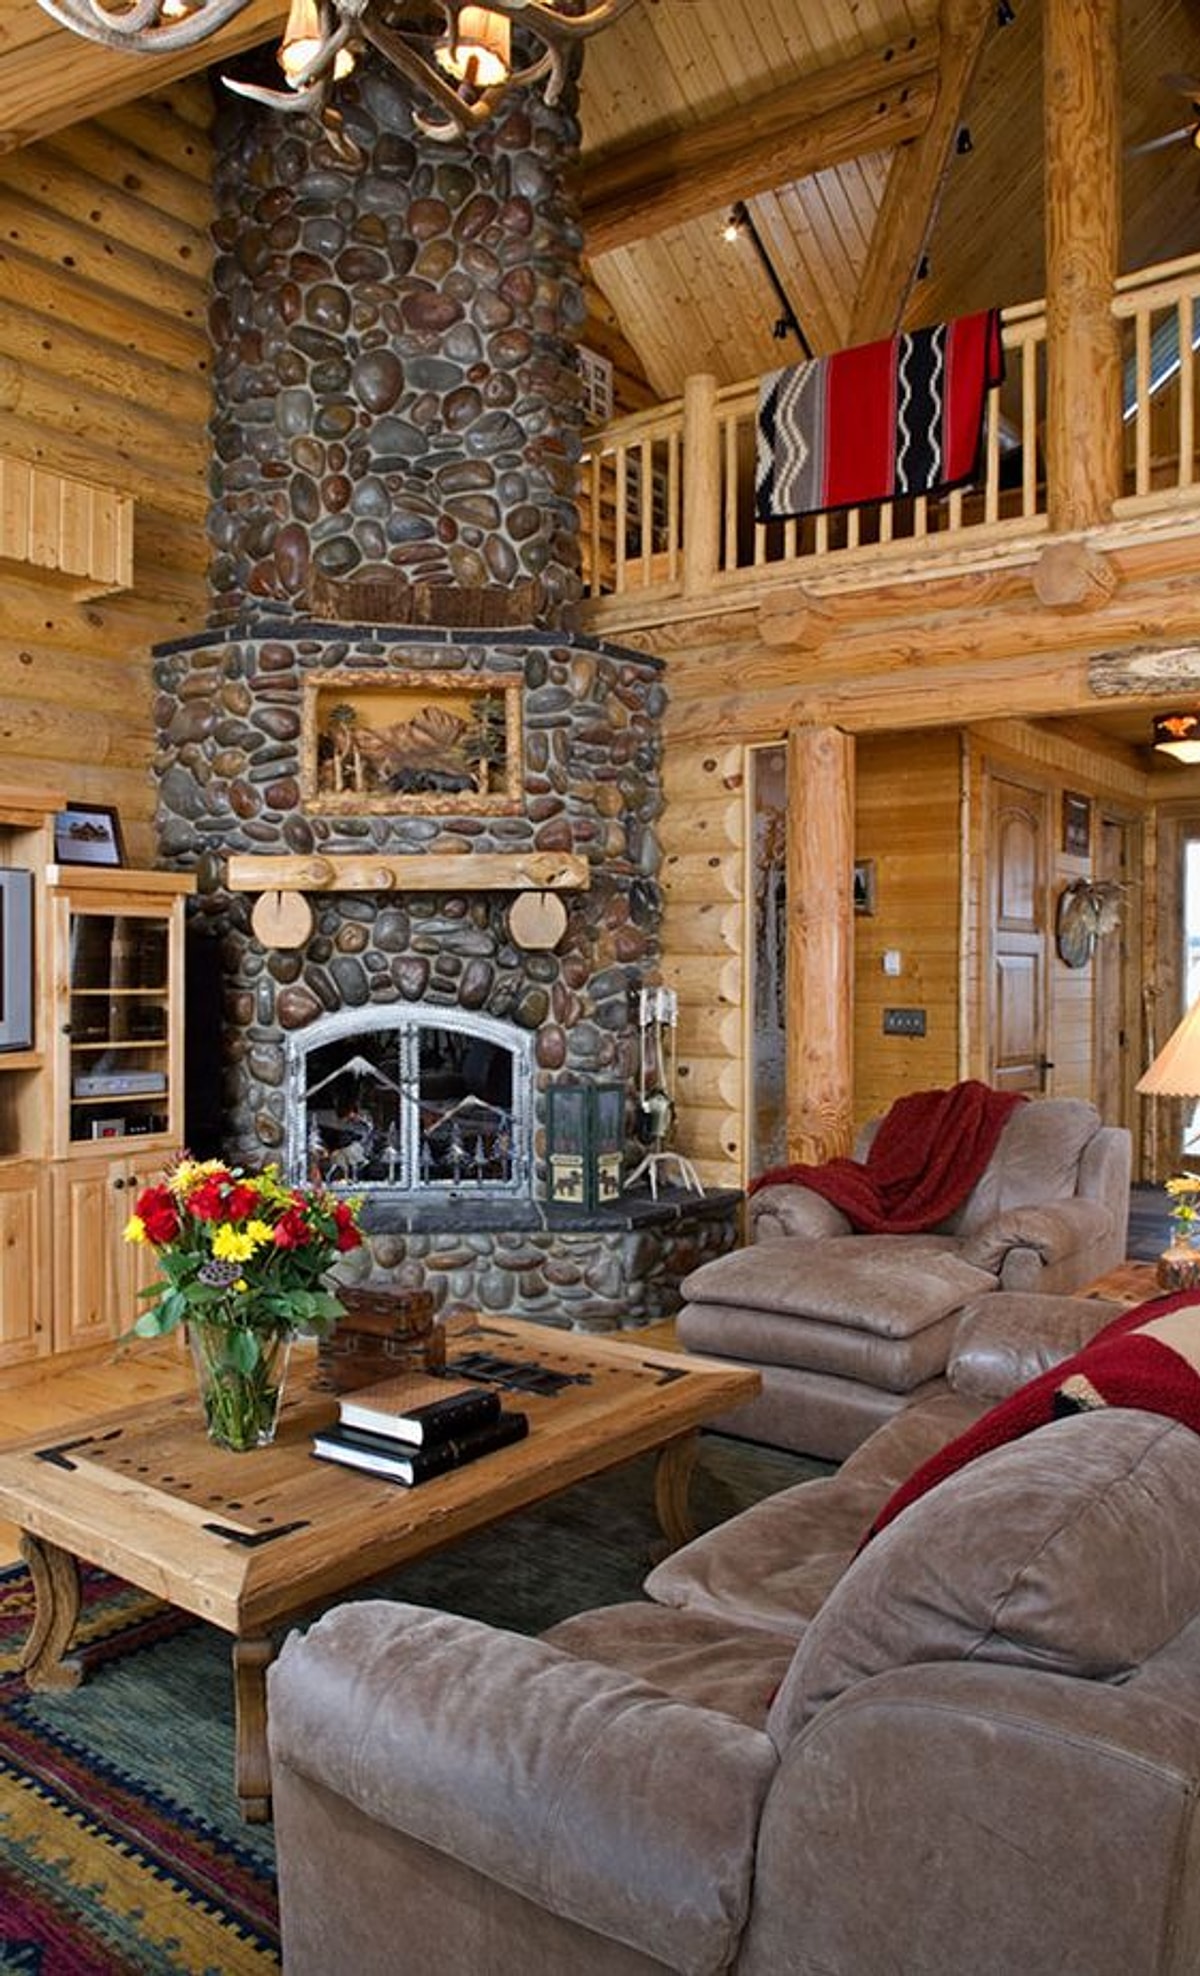
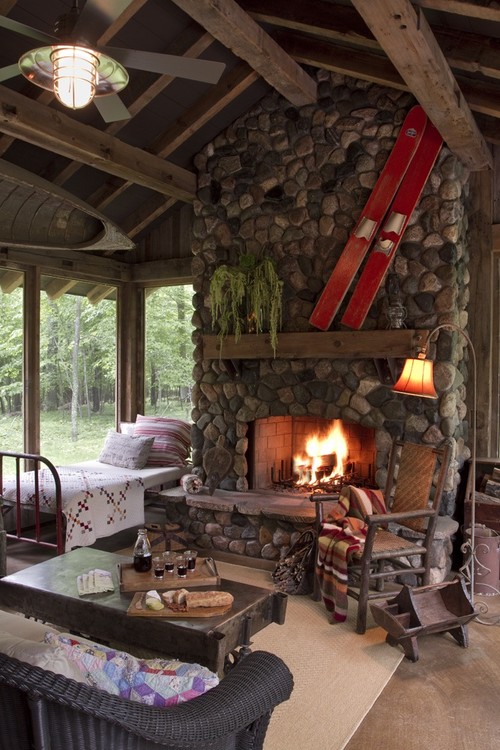
Natural stone options each bring unique characteristics to cabin fireplaces. Fieldstone offers irregular shapes and earthy tones that blend seamlessly with woodland settings. River rock provides smooth, rounded stones that create a softer appearance while maintaining natural appeal. For a more refined look, stacked slate or quartzite offers flat surfaces that stack neatly with clean lines. The stone’s color should complement your log walls, warmer tones for yellow pine, cooler grays for cedar.
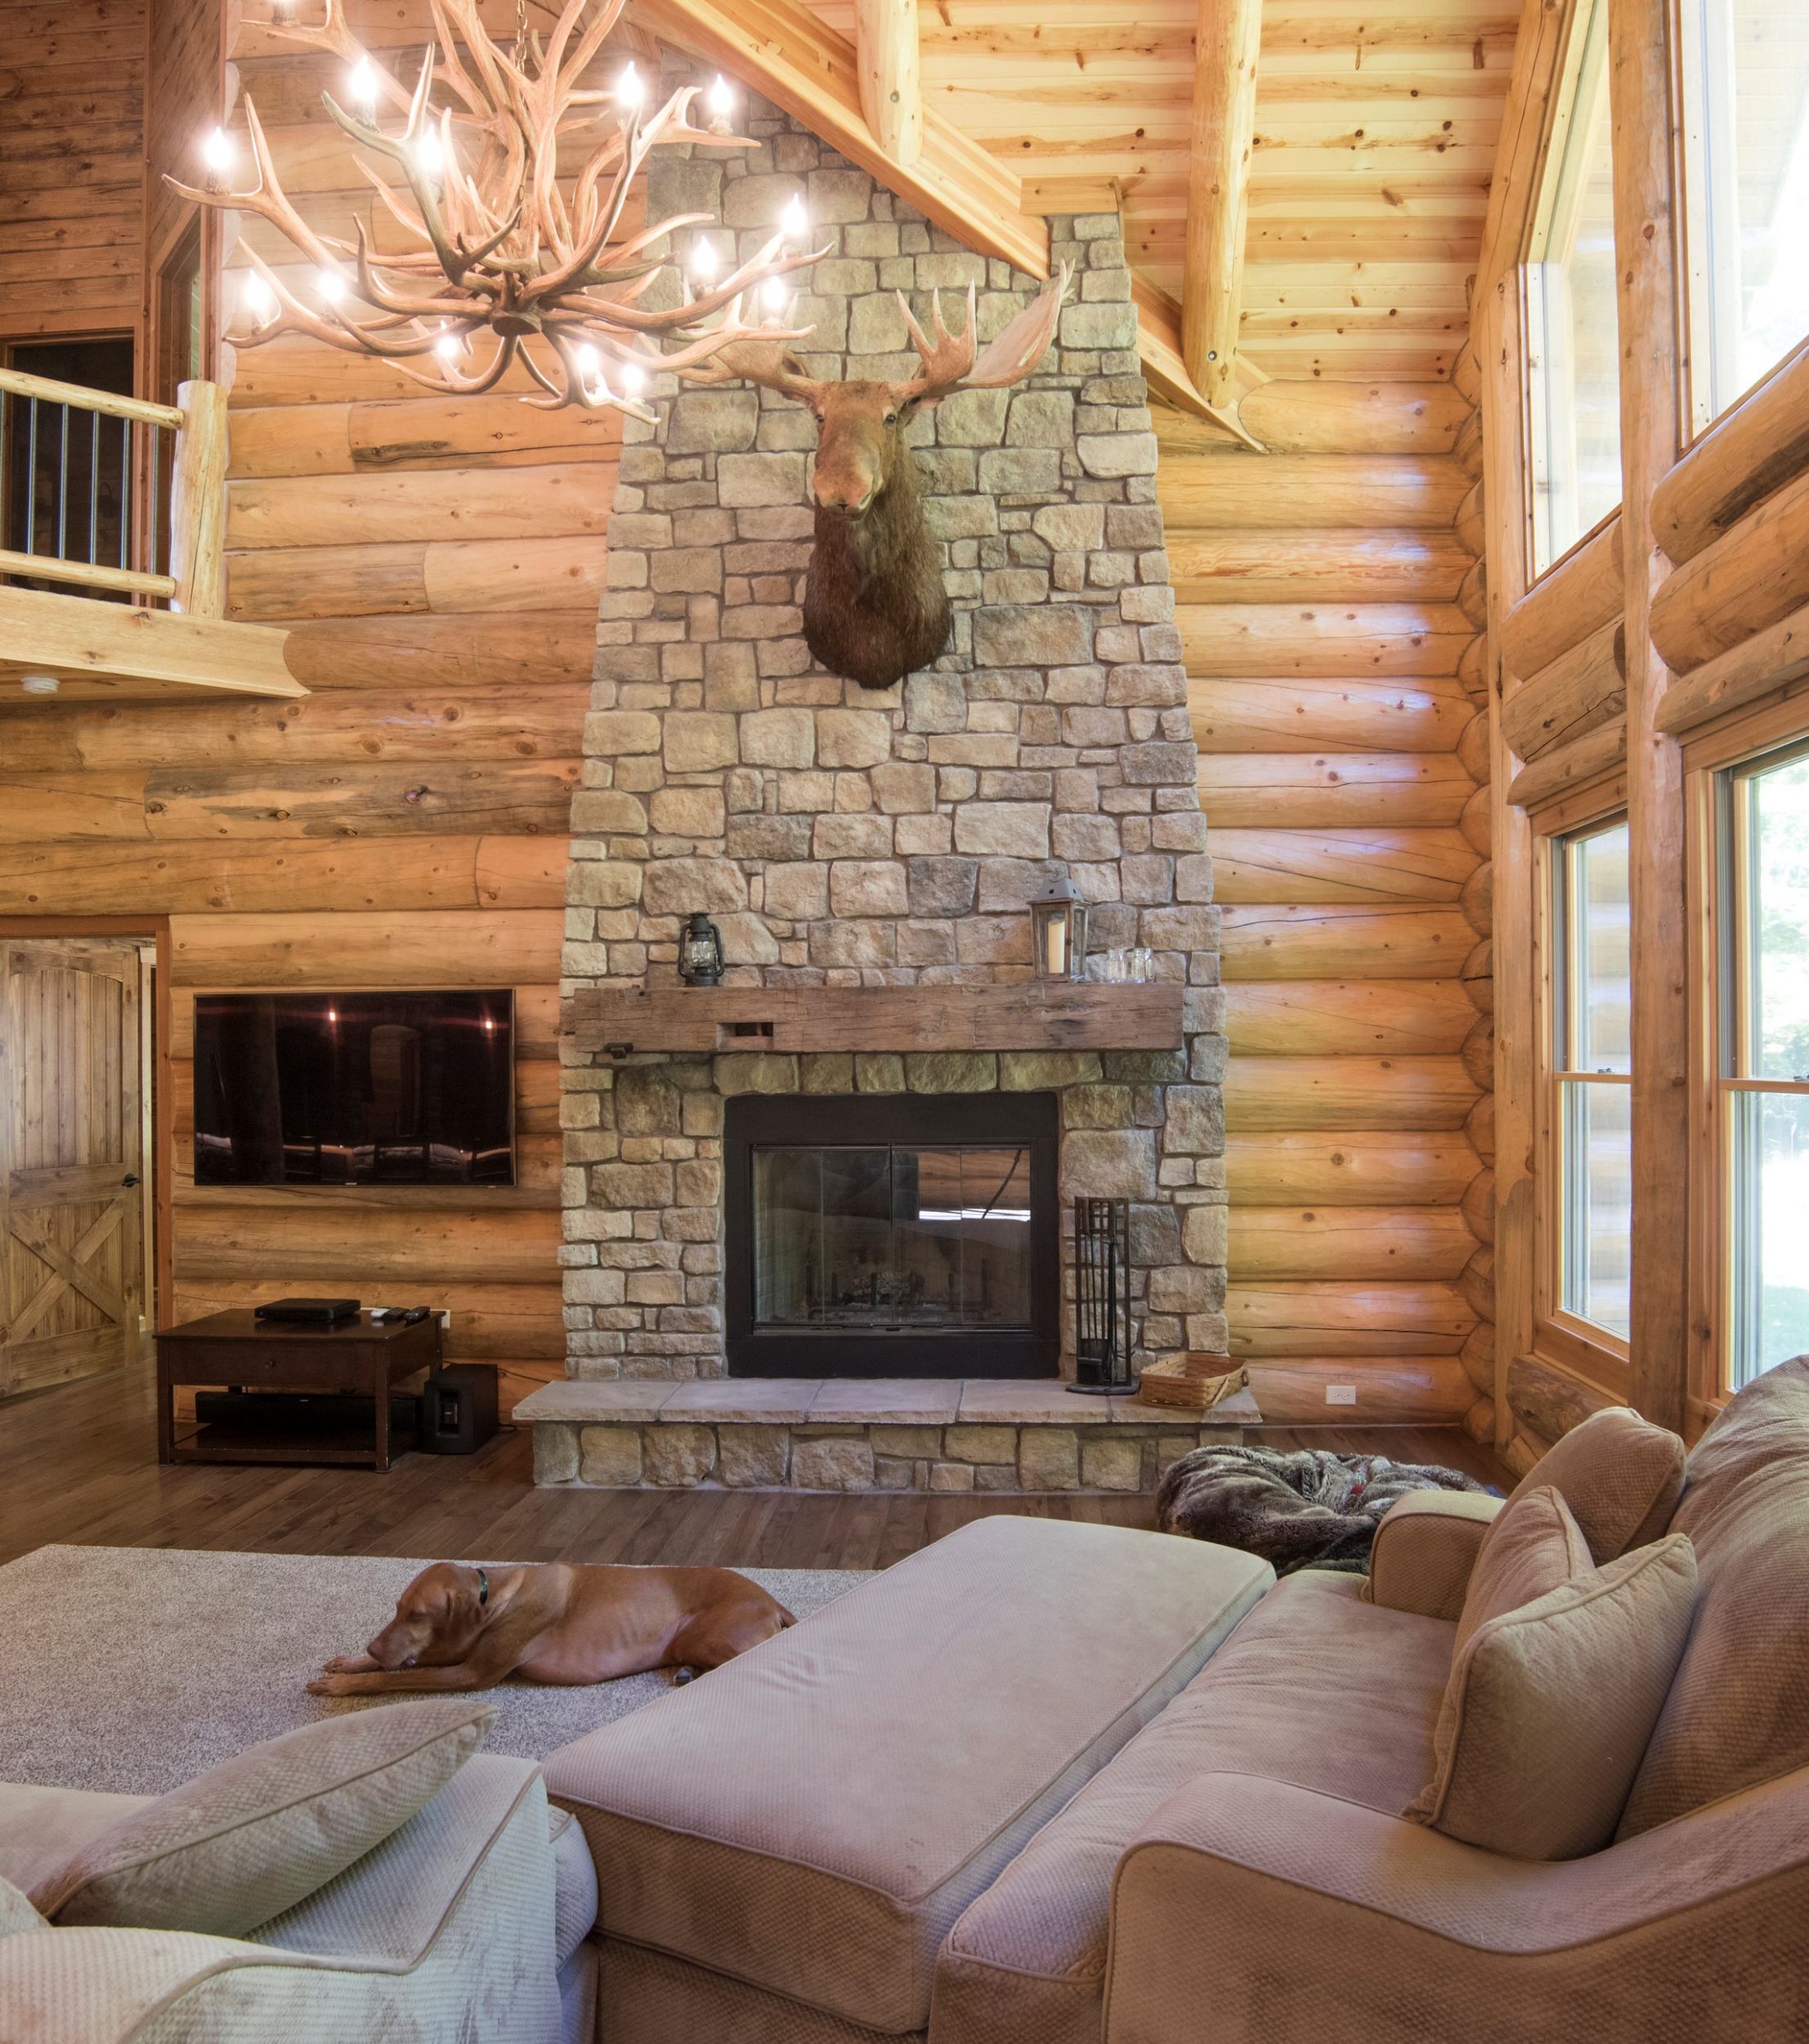
Consider the stone’s texture to your cabin’s style. Rough, mortarless dry-stack construction suits rugged, traditional cabins, while tightly fitted ashlar masonry works better in refined retreats. Local stone often provides the most authentic look and reduces transportation costs. For large fireplaces, mix larger foundation stones with smaller finishing stones to create visual interest. Always view stone samples in your actual cabin lighting before making final selections.
Practical considerations include the stone’s density and heat retention. Denser stones like granite withstand high temperatures better than porous sandstone. Thicker stones (4-6 inches) provide better heat radiation than thin veneers. In fire-prone areas, choose stone with high fire resistance ratings. The right stone selection ensures your fireplace looks authentic while performing reliably for years.
Designing the Fireplace Structure
The fireplace’s size should balance with your cabin’s dimensions, typically 5-8 feet wide for larger great rooms. A deep firebox (20-24 inches) accommodates substantial logs for overnight burns, while shallower designs (16-18 inches) work well for ambiance. Include a generous hearth (18-24 inch depth) for seating and safety, extending it at least 16 inches beyond the firebox opening. Consider incorporating a bake oven or warming shelf for added functionality.
Chimney design significantly affects performance. Masonry chimneys should extend at least 3 feet above the roof peak and 2 feet above any structure within 10 feet. Metal liners improve draft and reduce creosote buildup. For woodstove installations, use double-wall insulated pipe with proper clearances. The mantel can be crafted from reclaimed timber or stone slabs to match the cabin’s beams.
Design elements like arched openings, asymmetrical stone patterns, or integrated log storage enhance the rustic charm. A raised firebox (12-18 inches off the floor) creates better heat distribution. Include a smoke shelf and a proper damper system for efficient operation. Consult local building codes for required clearances and permits before finalizing your design.

Construction Techniques and Materials
A proper foundation is essential—pour concrete footings below frost depth with a reinforced slab at least 8 inches thick. The firebox requires refractory firebrick or high-temperature concrete board lined with vermiculite panels. Use type S mortar for its strength and heat resistance, mixing with fireclay for areas near the firebox.
Traditional masonry techniques involve laying stones with staggered joints, starting from the corners and working inward. For dry-stack appearances, select stones with at least one flat face and use minimal mortar in the joints. Metal rebar and anchors secure the stone to the core structure. Install a stainless steel lintel over the firebox opening to support the masonry above.
Consider the fireplace’s thermal mass when choosing thickness. Full-thickness stone (8-12 inches) radiates heat longer but takes more time to warm up. Veneer over concrete block provides good heat retention with easier installation. Allow at least two weeks for mortar to fully cure before building the first fire to prevent cracking.

Heating Efficiency and Maintenance
Stone fireplaces excel at radiant heat but often lose warmth up the chimney. Improve efficiency by installing tempered glass doors and an outside air intake. A properly sized flue (1/10 of the firebox opening area) ensures good draft without excessive heat loss. Soapstone or firebrick linings absorb and radiate heat more effectively than plain stone.
Regular maintenance keeps your fireplace safe and efficient. Clean the firebox after each use, removing ashes once completely cooled. Inspect mortar joints annually, repointing any cracks with high-temperature mortar. Have the chimney professionally swept before each heating season to remove creosote buildup.
Protect the stone’s appearance by dusting regularly with a soft brush. Avoid harsh cleaners that can damage the stone’s natural patina. Apply breathable stone sealer every few years to protect against soot penetration while allowing moisture vapor to escape. Keep flammable decorations at least 3 feet from the firebox opening.

Decorating Around Your Stone Fireplace
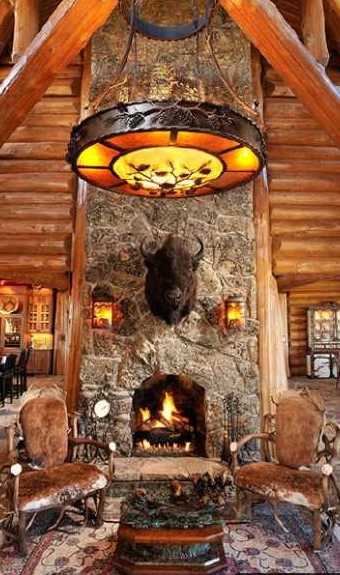
Enhance the fireplace’s rustic appeal with complementary decor. Hand-forged iron tools and a log holder add functional charm. Display vintage snowshoes, antlers, or wool blankets on the mantel for a cozy cabin feel. Layer the hearth with split logs and woven baskets for texture and practicality.
Lighting plays a key role in showcasing your stonework. Install recessed uplights in the floor to graze the stone’s texture at night. Wall sconces with amber-toned bulbs create a warm glow. Hang a wrought iron chandelier above the seating area to tie the space together.
Arrange furniture to maximize the fireplace’s warmth and social potential. Position sofas and chairs in a U-shape about 6-8 feet from the hearth. Use natural fiber rugs to define the space while complementing the stone’s organic character. Seasonal decorations like pine boughs or birch bark accents keep the look fresh year-round.

Cost Considerations and Professional Help
Professional stone fireplace installations in log cabins typically range from $8,000 to $25,000 depending on size and materials. Full masonry fireplaces with custom stonework occupy the higher end, while prefabricated inserts with stone surrounds reduce costs. Complex chimney installations through vaulted ceilings add significant expense.
DIY construction is possible for experienced masons but presents challenges. Working around existing log walls requires careful planning to maintain structural integrity. Specialized tools like stone splitters and mortar hoists may be necessary. Many cabin owners compromise by hiring professionals for the firebox and chimney while completing the stone facing themselves.
Budget-saving options include using manufactured stone veneer for portions of the facade or limiting elaborate stonework to the fireplace’s focal areas. Phasing the project—building the functional components first and adding decorative stone later—can spread out costs. Always obtain multiple bids and verify contractors’ experience with log cabin installations specifically.
How do you prevent smoke from backing up into a log cabin?
Proper chimney height is crucial—extend it at least 3 feet above the roof peak and 2 feet above any ridge within 10 feet. Ensure the flue size matches the firebox opening (typically 1/10 the opening area). Install a smoke shelf and properly adjusted damper to prevent downdrafts. Burn only well-seasoned wood to minimize smoke production. If problems persist, consider adding a chimney cap or exterior air intake to improve draft. Positioning the fireplace on an interior wall rather than an exterior one helps maintain consistent flue temperatures.
Can you build a stone fireplace directly against log walls?
Yes, but proper clearances and heat shielding are essential. Maintain at least 12 inches of clearance between the fireplace and combustible log walls. Install non-combustible shielding like sheet metal or cement board with a 1-inch air gap for closer placements. The chimney should pass through the roof with at least 2 inches clearance from logs, using firestop spacers. Some builders incorporate stone columns or masonry piers between the fireplace and log walls for both safety and aesthetic transition. Always consult local building codes for specific requirements.
What’s the best stone for heat retention in a cabin fireplace?
Soapstone offers exceptional heat retention, absorbing warmth slowly and radiating it evenly over time. Dense granite and basalt also perform well, though they take longer to heat up than thinner stones. For maximum heat radiation, choose stones with high thermal mass at least 4-6 inches thick. Avoid porous stones like limestone near the firebox, as they may crack under intense heat. Some owners combine materials—using heat-retentive stone around the firebox and lighter decorative stone for the surround. The stone’s color also affects heat absorption—darker stones generally absorb and radiate more heat.
How often should a log cabin chimney be cleaned?
Annual cleaning is recommended for regularly used wood-burning fireplaces. Heavy use (daily burning) may require mid-season cleaning. Signs that your chimney needs attention include visible creosote buildup (more than 1/8 inch thick), smoky odors, or reduced draft. Professional sweeps can inspect for cracks, blockages, and proper flashing while cleaning. Gas fireplaces need less frequent cleaning but should receive professional inspections every 2-3 years. Between professional cleanings, use creosote sweeping logs to help maintain the flue. Always burn properly seasoned wood to minimize creosote accumulation.

Are stone fireplaces efficient for heating entire cabins?
While stone fireplaces provide excellent radiant heat, they’re generally not efficient whole-cabin heaters. Much of the heat escapes through the chimney, and the warm air tends to stay near the fireplace. Improve efficiency by installing glass doors, using a fireplace insert, or adding a blower system. For primary heating, consider supplementing with a woodstove or radiant floor system. To distribute heat better, position ceiling fans to gently circulate warm air, or leave interior doors open to allow heat flow. Some cabin owners install ductwork that captures fireplace heat and distributes it to other rooms.
What maintenance does the exterior stone on a chimney require?
Exterior chimney stone needs periodic inspection for cracked mortar and loose stones. Repoint deteriorating joints every 5-10 years using weather-resistant type S mortar. Check flashing annually to ensure water isn’t penetrating behind the stonework. In freeze-thaw climates, apply breathable water repellent every few years to prevent moisture damage. Remove vegetation like ivy that can work its way into mortar joints. Watch for efflorescence (white mineral deposits), which indicates water infiltration needing attention. Stainless steel chimney caps help protect the top courses of stone from weather damage. Address any issues promptly to prevent more extensive repairs.
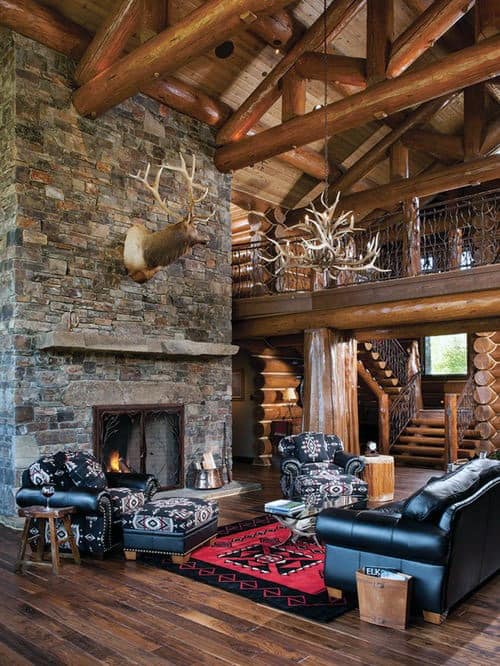
Standout Log Home FireplacesBold and Breathtaking!
Fireplaces
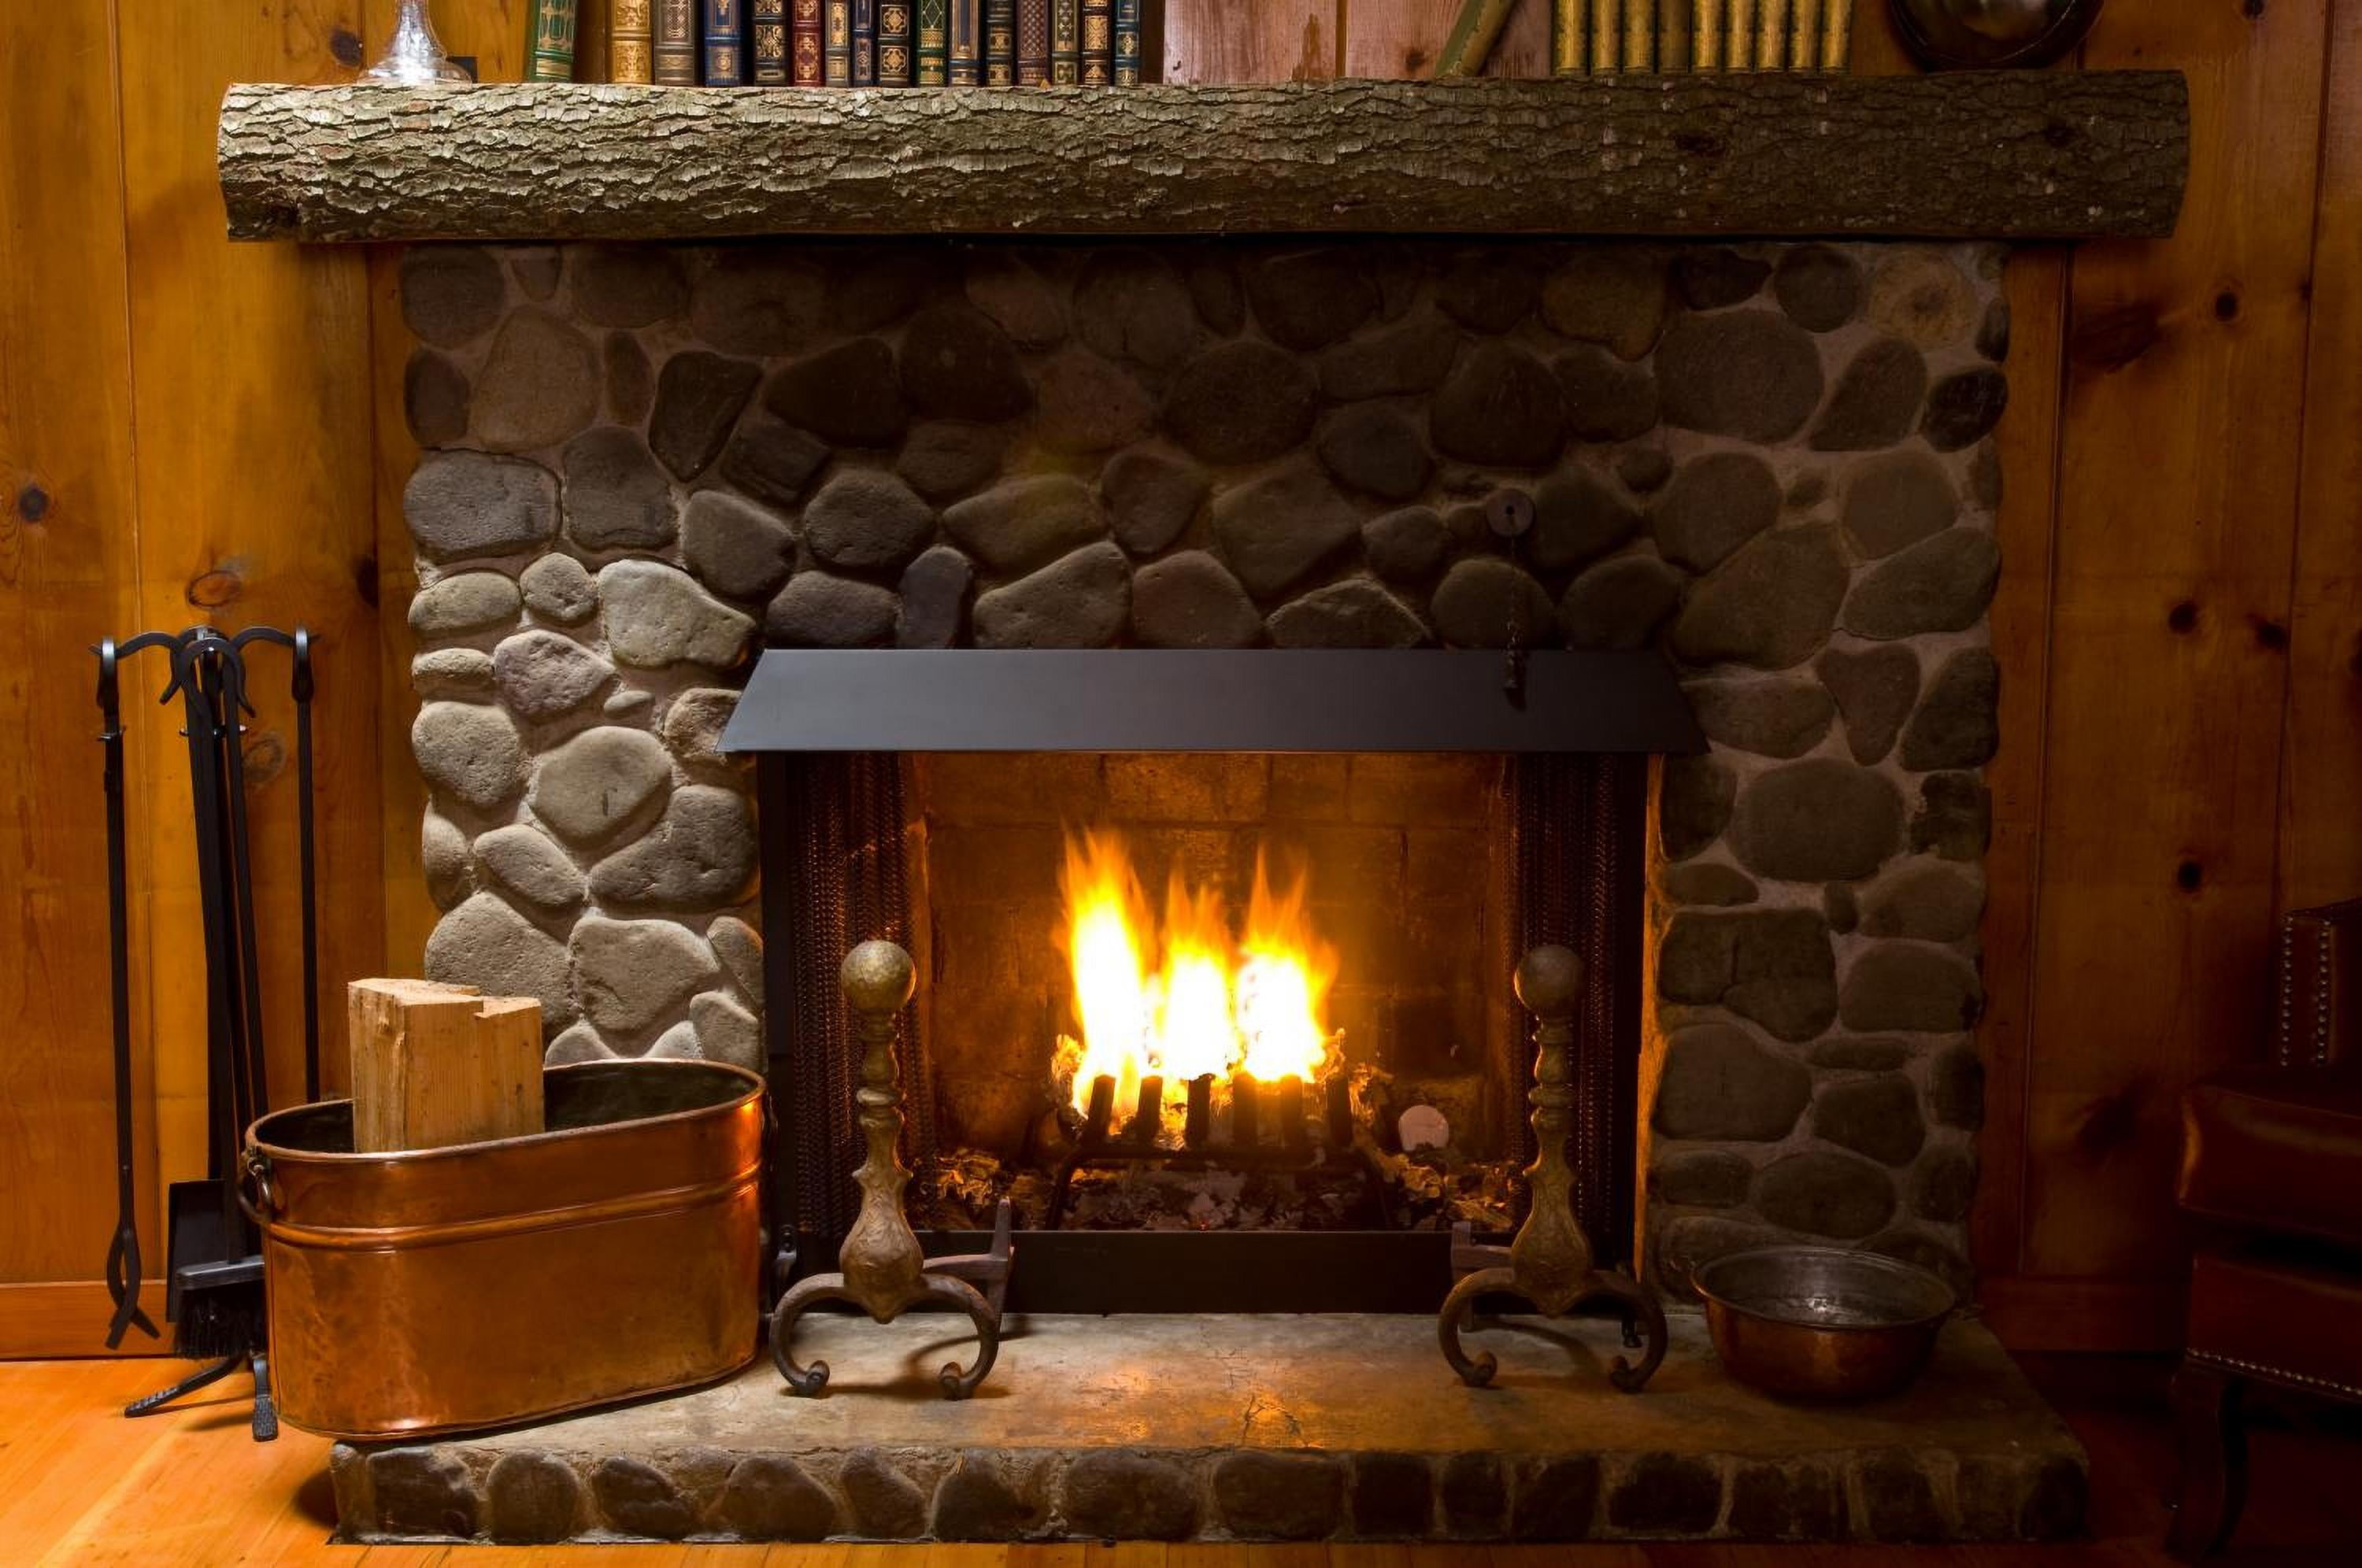
Wallmonkeys Close-up of Stone Fireplace in Log Cabin
Best Stone Fireplace Design Ideas – Rustic Rock Interiors
Related Posts: