There is in addition the option of installing fuel logs in your firebox when you would love a heat source which is better and much less labor. Instead of applying traditional bricks, a variety of suppliers are using decorative bricks to generate distinctive patterns and ingenious designs.
Images about How To Resurface A Brick Fireplace With Stone Veneer
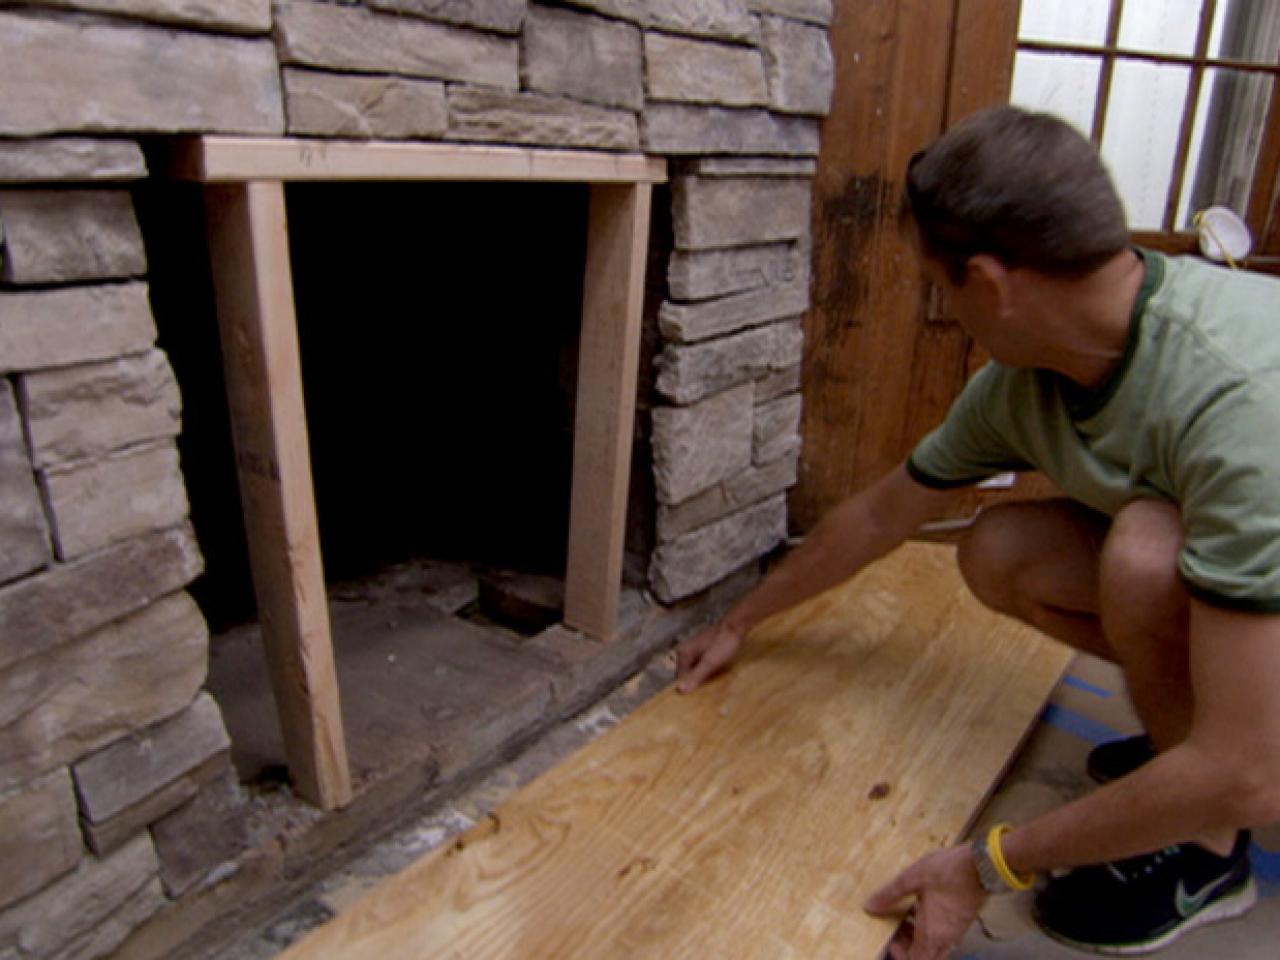
How To Resurface A Brick Fireplace With Stone Veneer
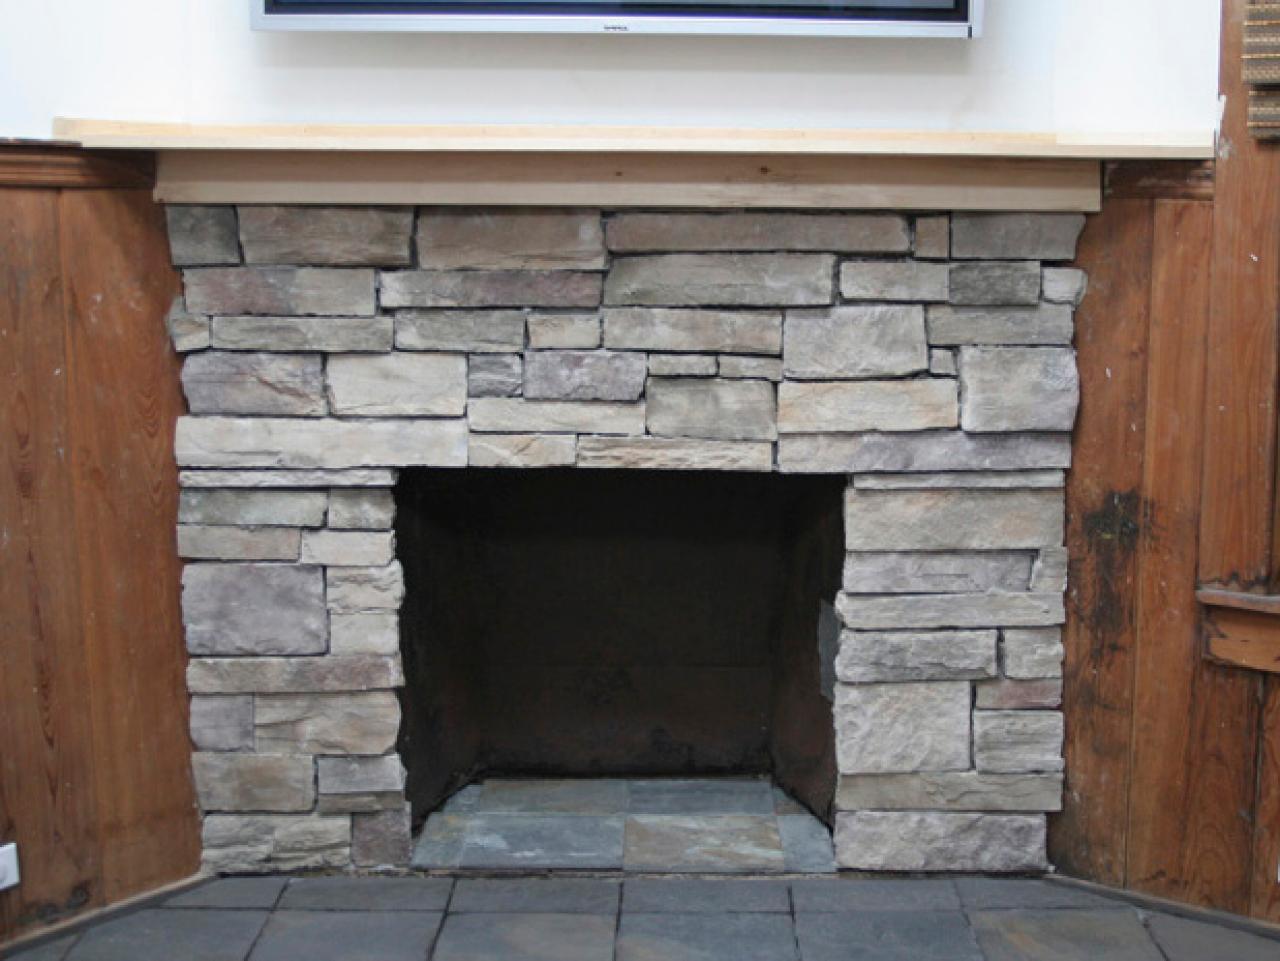
You’ll notice some which are simply brick experienced, some go from the floor to the ceiling as well as others yet are just nothing more than a box. All areas of the structure usually fits neatly into the cut out in the wall. Make sure you opt for the top mantles, preferably stones.
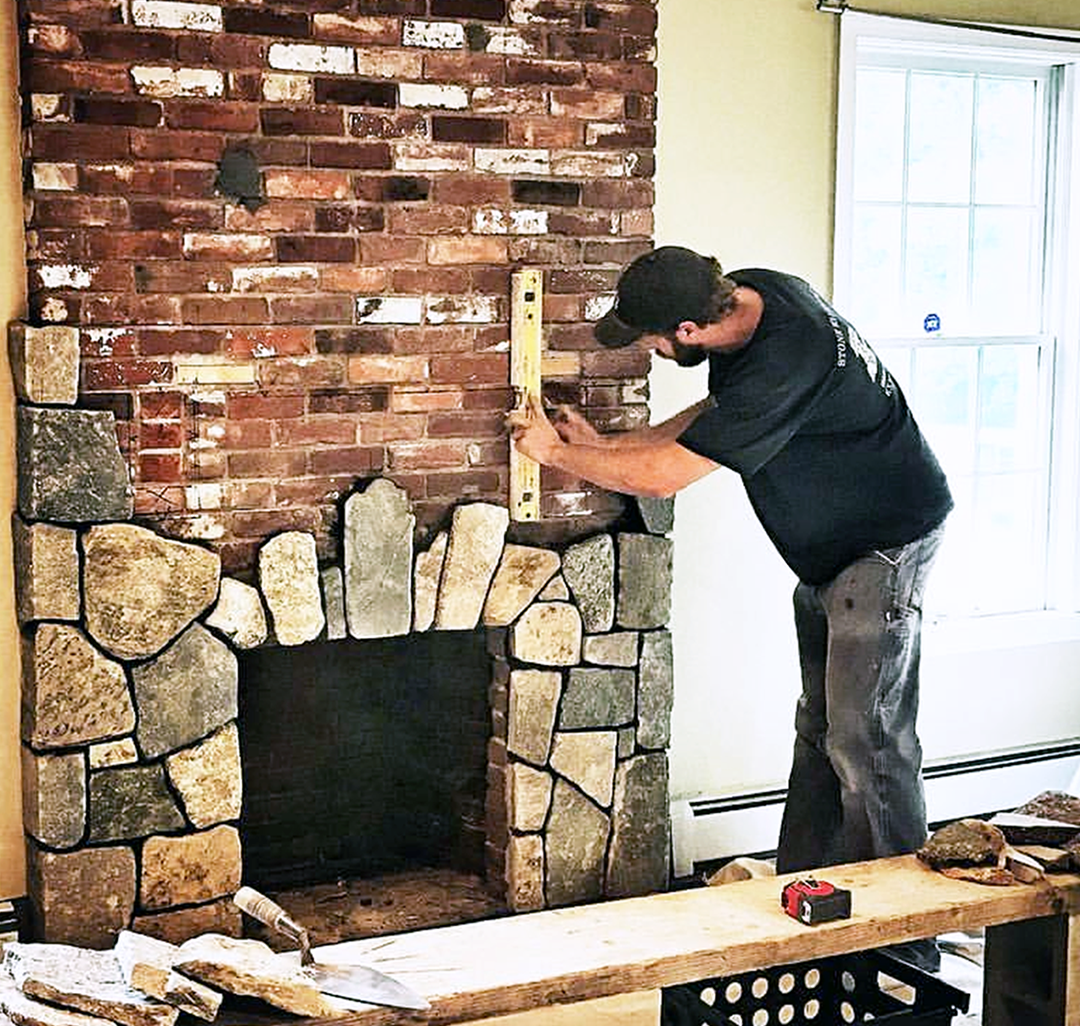
Fireplace recovering with stone
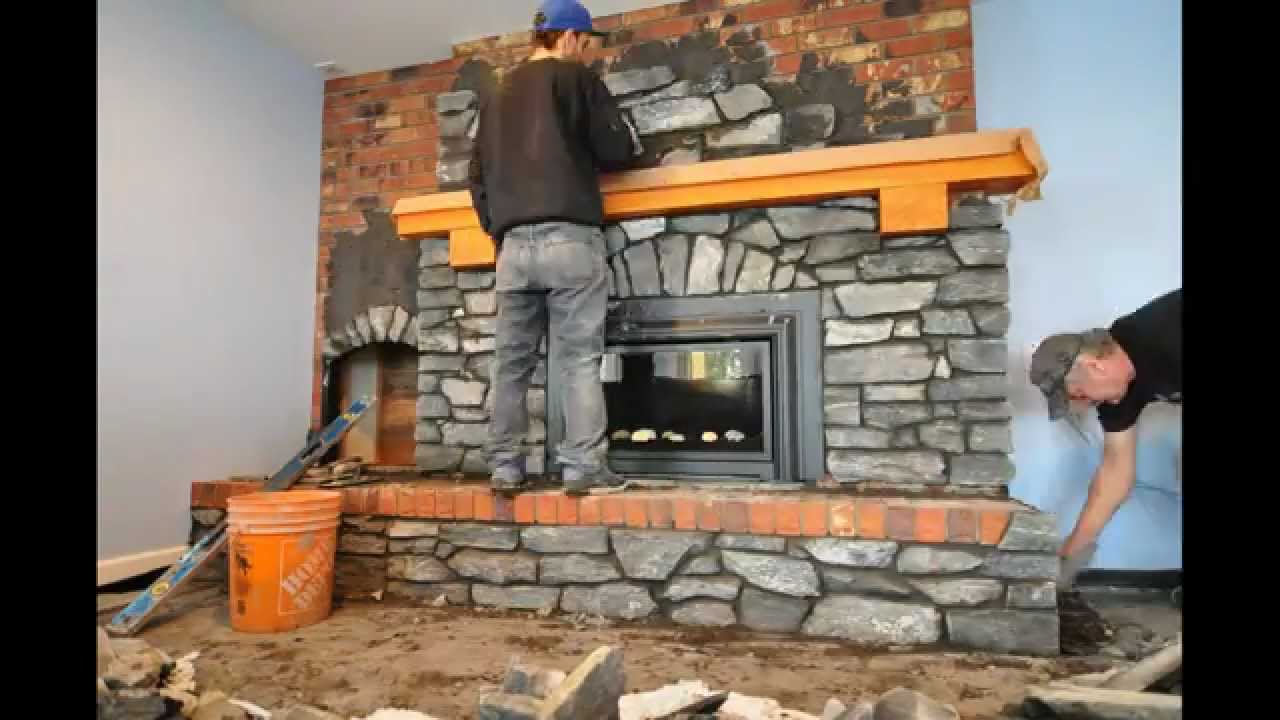
You are able to quickly get a great deal out about any business if you search online. A real fire spot made from bricks, will take a bit more work. The stones for the sides are the crucial to making the job seem to be as realistic you can make it. With respect to the design, the masonry material can include one or perhaps even more forms of materials.
Pin by Catherine Campbell on Home Improvements Brick fireplace

Can Stone Veneer be Applied Over Brick? – North Star Stone
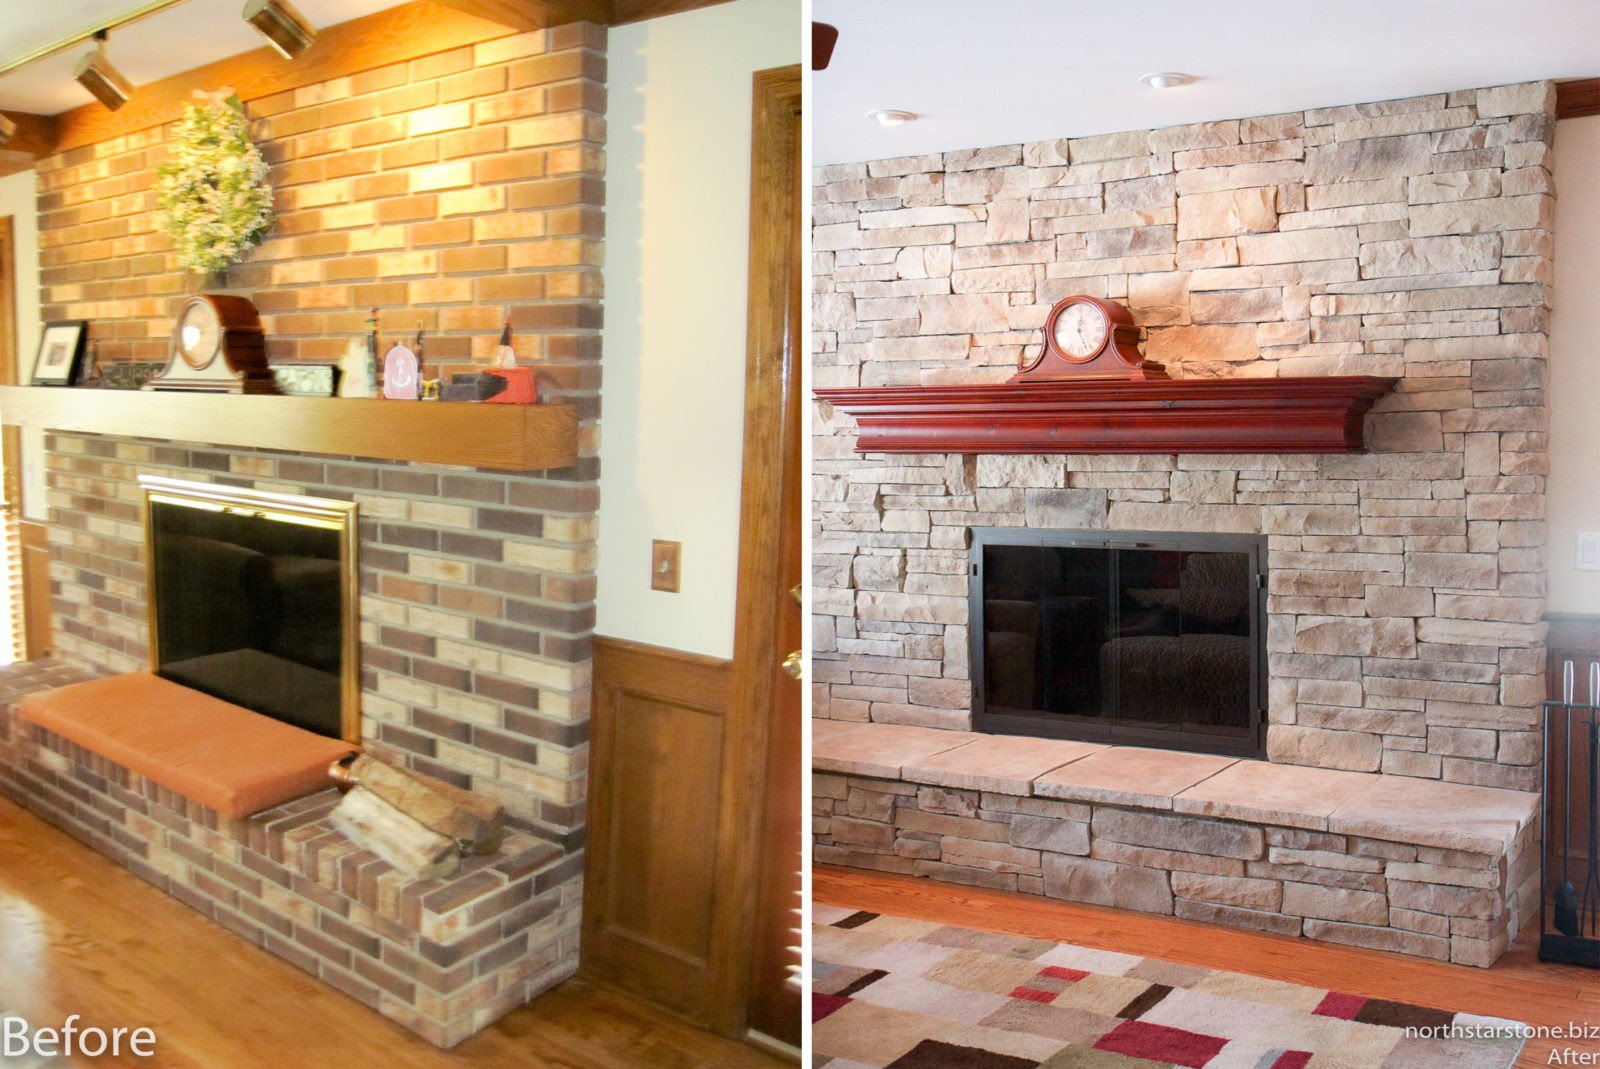
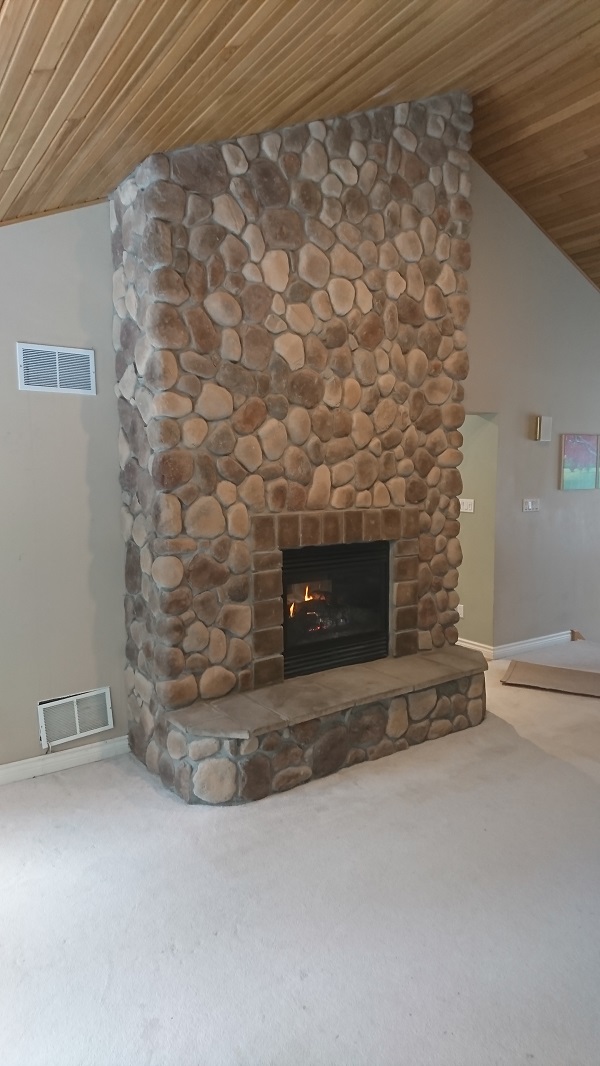
Stone Veneer Over a Brick Fireplace updates the look
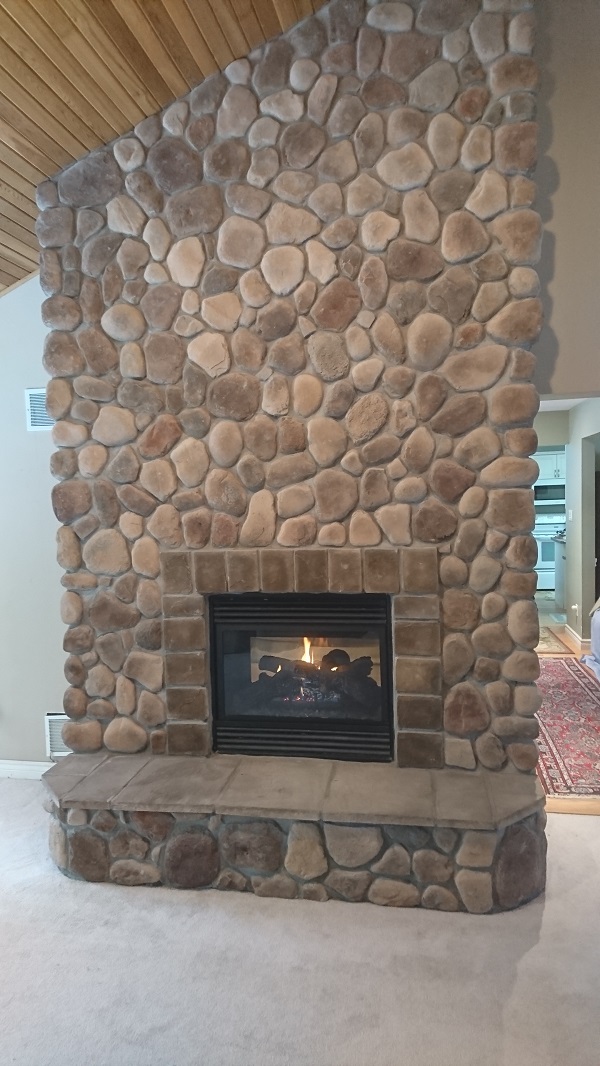
Install Stone veneers over old brick fireplace DIY

How To Transform Your Fireplace with Thin Stone Veneer
Can You Install Stone Veneer Over Brick?
/Stonefireplace-GettyImages-479108577-e37bf765941242bba4299721869e17de.jpg)
Faux Panels Reface brick fireplace, Reface fireplace, Fireplace

Stone Veneer Over a Brick Fireplace updates the look
How to Cover a Brick Fireplace With Stone HGTV
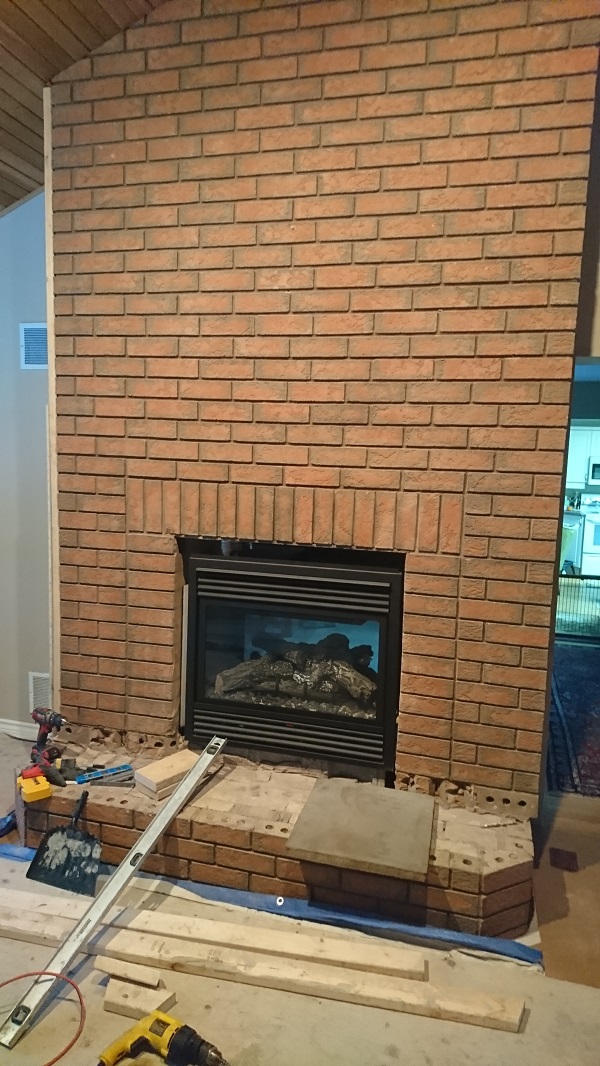
Our Brick Fireplace Makeover

Stone Veneer Over a Brick Fireplace updates the look
How to Cover a Brick Fireplace With Stone HGTV
Related Posts:
- Vintage Brick Fireplace
- Farmhouse Brick Fireplace
- Repaint Brick Fireplace
- How To Clean Brick Fireplace
- Small Brick Fireplace
- Remodel Brick Fireplace With Stone
- Red Brick Outdoor Fireplace
- How To Clean Mold Off Brick Fireplace
- Painted Gray Brick Fireplace
- Paint Wash Brick Fireplace
How To Resurface A Brick Fireplace With Stone Veneer
Introduction:
A fireplace is often the focal point of a room, providing warmth and a cozy ambiance. If you have a brick fireplace that no longer matches your decor or simply needs a facelift, resurfacing it with stone veneer can be an excellent solution. Stone veneer offers the natural beauty and durability of real stone at a fraction of the cost. In this article, we will guide you through the step-by-step process of resurfacing a brick fireplace with stone veneer, from preparing the surface to applying the final touches.
I. Preparing the Surface:
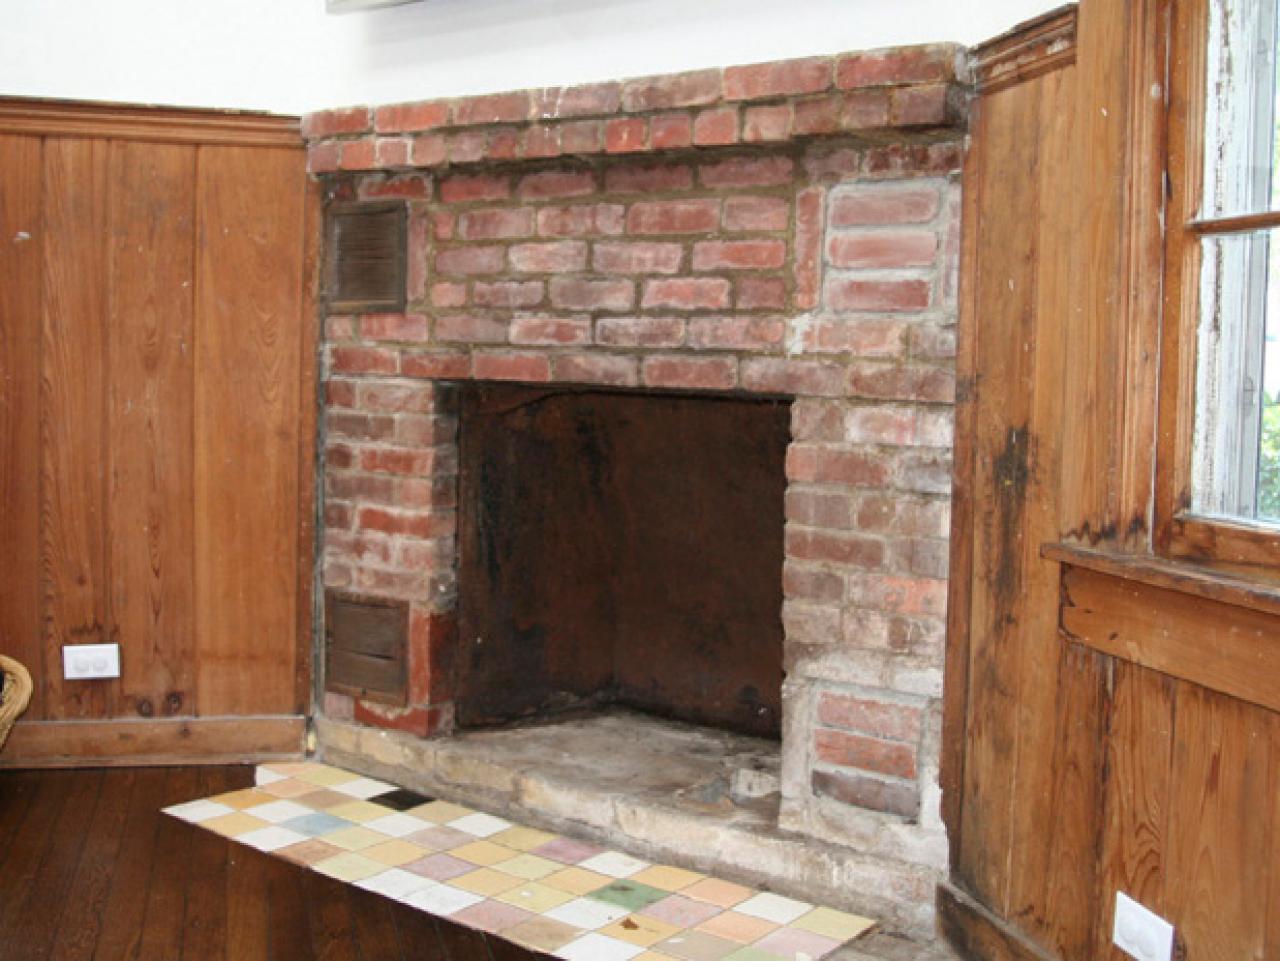
Before you begin resurfacing your brick fireplace with stone veneer, it is crucial to properly prepare the surface to ensure adhesion and longevity of the new material. Follow these steps for surface preparation:
1. Clean the Brick: Start by thoroughly cleaning the brick surface using a wire brush and warm soapy water. Remove any dirt, dust, or loose mortar. Allow it to dry completely before moving on to the next step.
2. Repair Any Damaged Areas: Inspect the brick for any damaged areas or cracks. Use a high-quality mortar repair mix to fill in these gaps. Smooth out the repaired areas with a trowel and let them dry completely.
3. Apply Bonding Agent: To enhance adhesion between the brick and stone veneer, apply a bonding agent designed specifically for this purpose. Follow the manufacturer’s instructions carefully while applying it evenly across the entire surface of the brick.
II. Choosing and Preparing Stone Veneer:
Choosing the right stone veneer for your fireplace is crucial to achieving the desired aesthetic appeal. Consider factors such as color, texture, and size to complement your existing decor. Once you have chosen your stone veneer, follow these steps to prepare it:
1. Measure and Cut: Measure each section of your fireplace where you plan to apply the stone veneer. Transfer these measurements to the stone veneer sheets and mark them. Using a wet saw or a diamond blade, carefully cut the stone veneer sheets to fit the dimensions of your fireplace.
2. Dry Fit: Before applying adhesive, dry fit the cut stone veneer pieces onto your fireplace. Ensure that they fit properly and make any necessary adjustments. This step helps you visualize the final look and allows you to make any modifications before permanently attaching the stones.
III. Applying Stone Veneer:
Now that you have prepared both the surface and the stone veneer, it is time to begin applying the stones to your brick fireplace. Follow these steps for proper installation:
1. Apply Adhesive: Using a trowel, apply a thin layer of mortar or stone veneer adhesive to the back of each stone veneer piece. Ensure complete coverage while leaving no exposed areas.
2. Press Stones into Place: Starting from the bottom, press each stone firmly onto the prepared brick surface, wiggling it slightly to create a strong bond. Use spacers between stones if desired to maintain consistent grout lines.
3. Cut and Shape Stones: As you progress upward, you may encounter areas where full-sized stones won’t fit. In such cases, use a wet saw or diamond blade to cut and shape smaller pieces accordingly. Remember to wear safety goggles and gloves while handling power tools.
4. Fill in Grout Lines: Once all the stones are in place, fill in the gaps between them with grout using a gr
After successfully applying the stone veneer to your brick fireplace, it’s time to add the finishing touches to complete the transformation. Follow these steps for a polished look:
1. Clean the stone veneer: Use a soft brush or cloth to remove any dust or debris from the surface of the stone veneer. This will ensure that the finish is smooth and free from any imperfections.
2. Seal the stone veneer: Apply a stone sealant to protect the surface of the stone veneer from stains and moisture damage. Follow the manufacturer’s instructions for application and drying time. Be sure to choose a sealant that is suitable for your specific type of stone veneer.
3. Fill in gaps: Check for any gaps between the stones and fill them in with a color-matched grout or caulk. Use a small putty knife or caulking gun to apply the grout or caulk, and then smooth it out with your finger or a tool.
4. Paint or stain the mantel: If your fireplace has a wooden mantel, consider painting or staining it to match the new look of your fireplace. Choose a color that complements the stone veneer and use a paintbrush or roller to apply an even coat. Allow it to dry completely before moving on to the next step.
5. Install trim: Add trim pieces around the edges of the fireplace to give it a finished look. You can use wood trim, metal trim, or even stone trim depending on your desired style. Measure and cut the trim pieces to fit, then use construction adhesive or nails to secure them in place.
6. Install a new hearth: If you want to completely transform your fireplace, consider replacing your old hearth with a new one. You can choose from materials like tile, marble, or granite for a sleek and modern look.
7. Add decorative accessories: Finally, add some decorative accessories to enhance the overall appearance of your fireplace. This could include items like candles, vases, artwork, or even a mirror above the mantel.
By following these steps, you can achieve a polished and complete transformation of your brick fireplace with stone veneer. Enjoy the new look and cozy ambiance of your updated space!