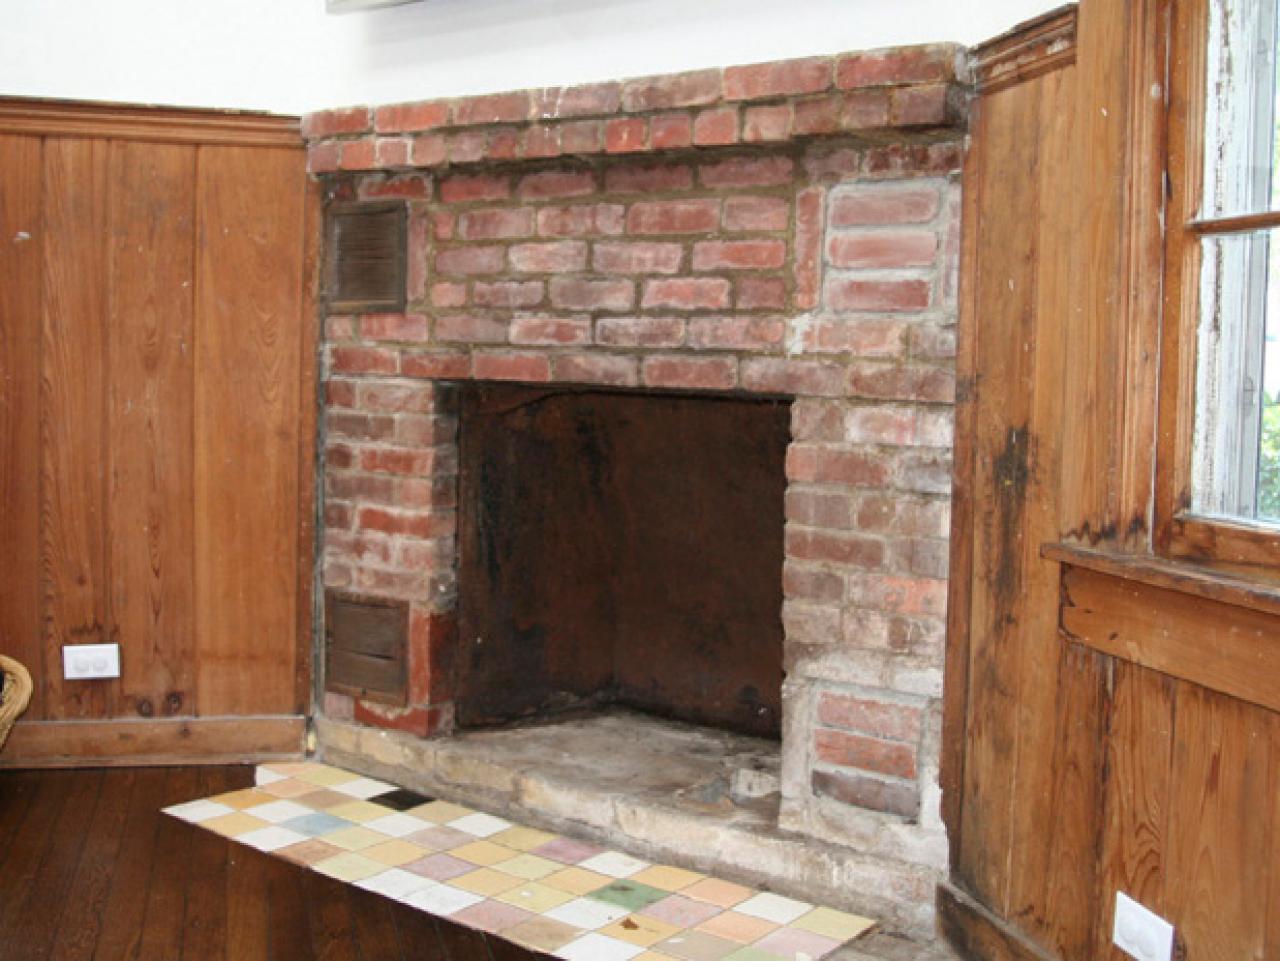
Preparing the Surface
Before refacing your brick fireplace with stacked stone, thorough surface preparation is essential. Start by cleaning the brick surface to remove dust, dirt, and any loose mortar. Use a wire brush and a vacuum to ensure a clean and even base. Next, inspect the bricks for any damage or cracks, and repair them using mortar. A properly prepared surface ensures that the stacked stone adheres securely, providing a stable foundation for the new look of your fireplace.
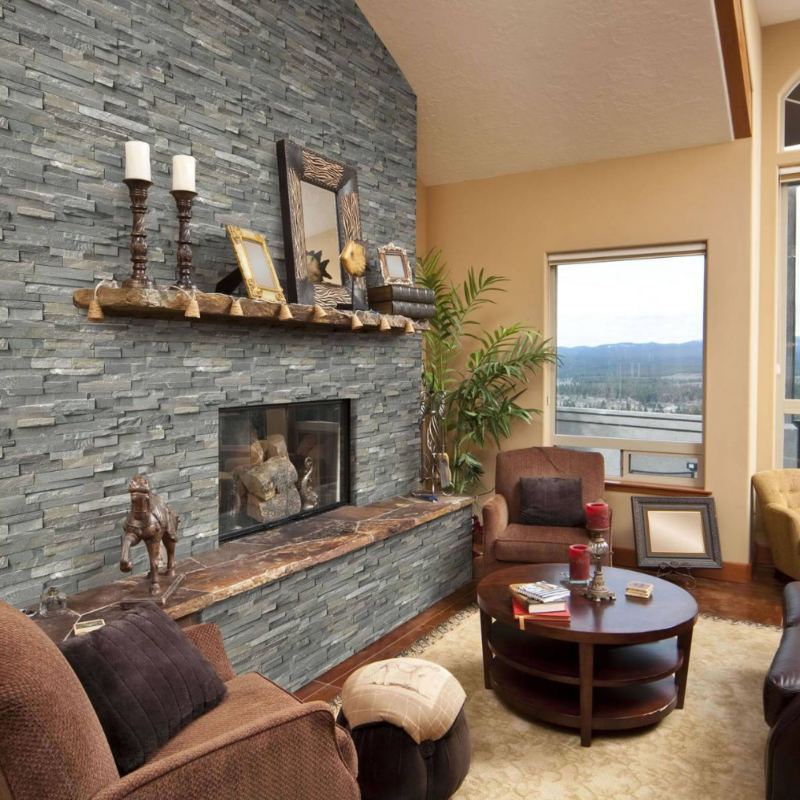
Images about How To Reface A Brick Fireplace With Stacked Stone
How To Reface A Brick Fireplace With Stacked Stone
Choosing Your Stacked Stone
Selecting the right stacked stone is a crucial step in transforming your fireplace. Stacked stone comes in a variety of colors, textures, and materials, such as natural stone or manufactured stone veneer. Consider the overall style of your room and choose a stone that complements the existing decor. Samples can help you visualize how the stone will look in your space. The right choice of stone enhances the aesthetic appeal and ensures a cohesive design.

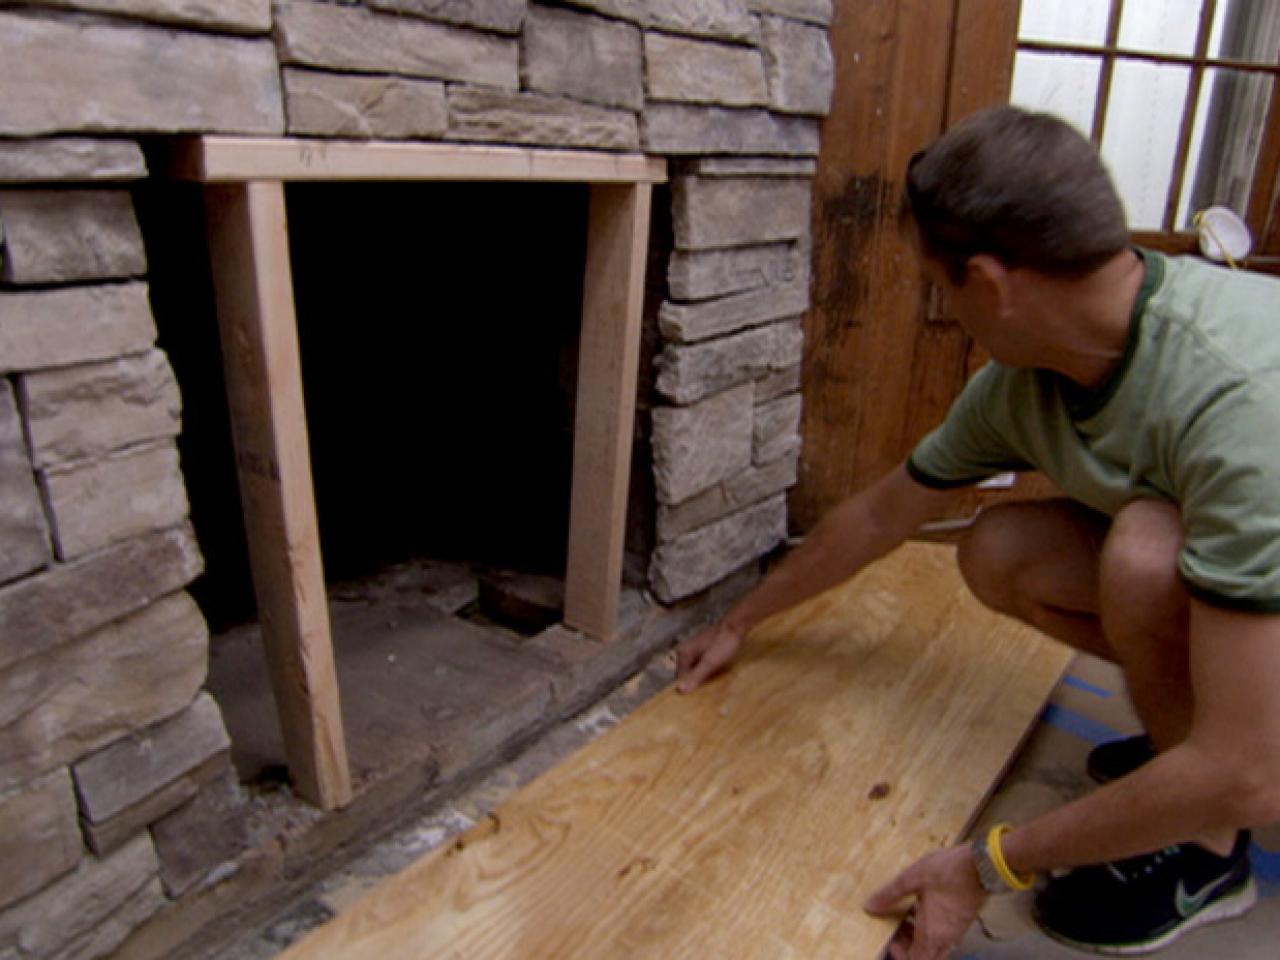
Applying the Scratch Coat
Once the surface is prepared and the stone is chosen, it’s time to apply a scratch coat. This layer of mortar provides a rough surface for the stacked stone to adhere to. Mix the mortar according to the manufacturer’s instructions and spread it evenly over the brick surface using a trowel. While the mortar is still wet, use a notched trowel to create horizontal grooves, which will help the stone bond securely. Allow the scratch coat to dry completely before proceeding.
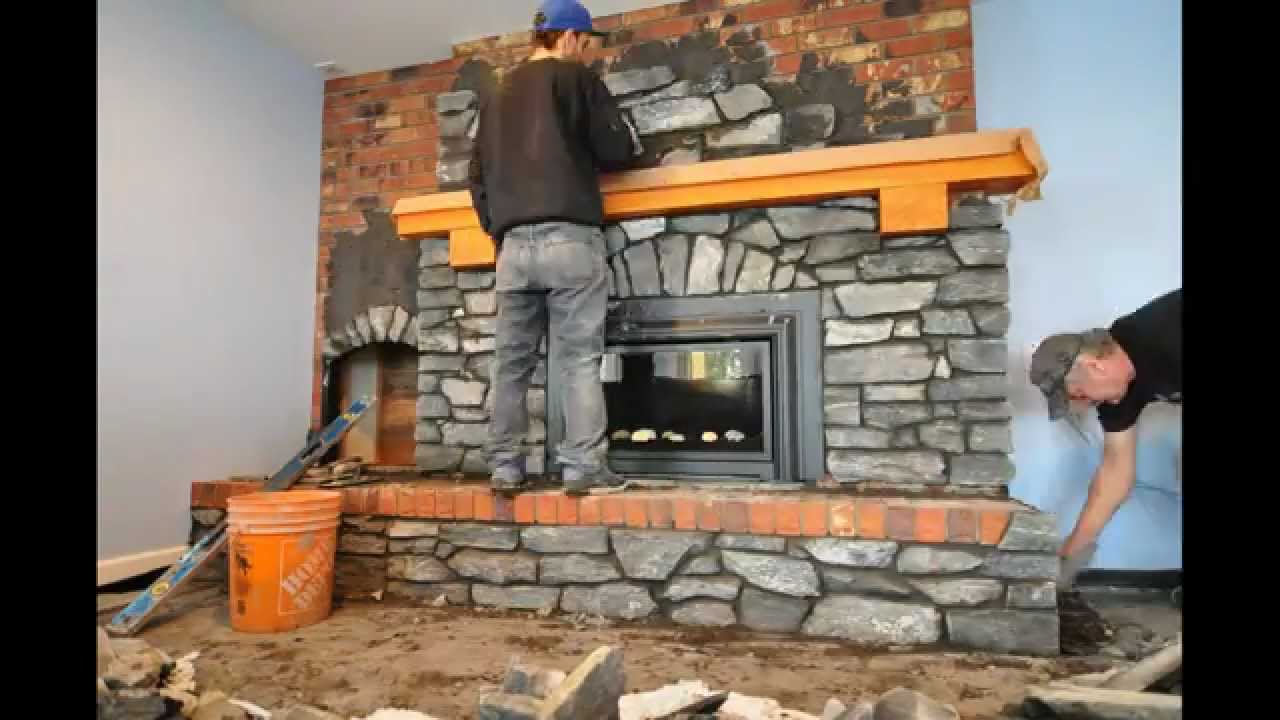
Installing the Stacked Stone
With the scratch coat in place, you can begin installing the stacked stone. Start from the bottom of the fireplace and work your way up, applying a layer of mortar to the back of each stone before pressing it firmly onto the surface. Use a level to ensure each row is straight and maintain consistent spacing between stones. Cut stones as needed to fit around edges and corners. This careful installation process ensures a professional-looking finish.
Grouting and Sealing
After all the stones are installed, it’s time to grout the joints. Mix the grout according to the instructions and use a grout bag to fill the gaps between the stones. Smooth the grout with a pointing tool and remove any excess with a damp sponge. Once the grout has dried, apply a stone sealer to protect the surface from stains and enhance its natural beauty. Sealing the stone ensures long-lasting durability and a polished look for your refaced fireplace.
Finishing Touches
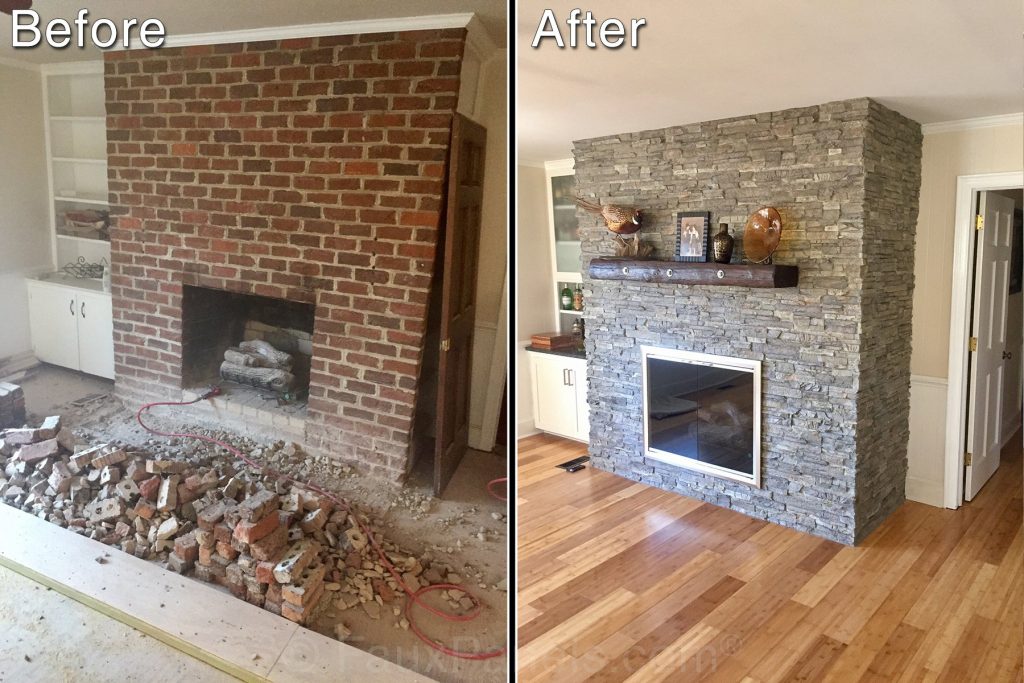
Finally, complete your fireplace refacing project with finishing touches that enhance the overall design. Consider adding a new mantel or updating the fireplace trim to complement the stacked stone. Decorate the mantel with accessories that match the room’s decor, such as candles, art, or plants. These finishing touches bring the entire look together, creating a focal point that adds warmth and style to your living space. Enjoy your beautifully transformed fireplace with stacked stone.
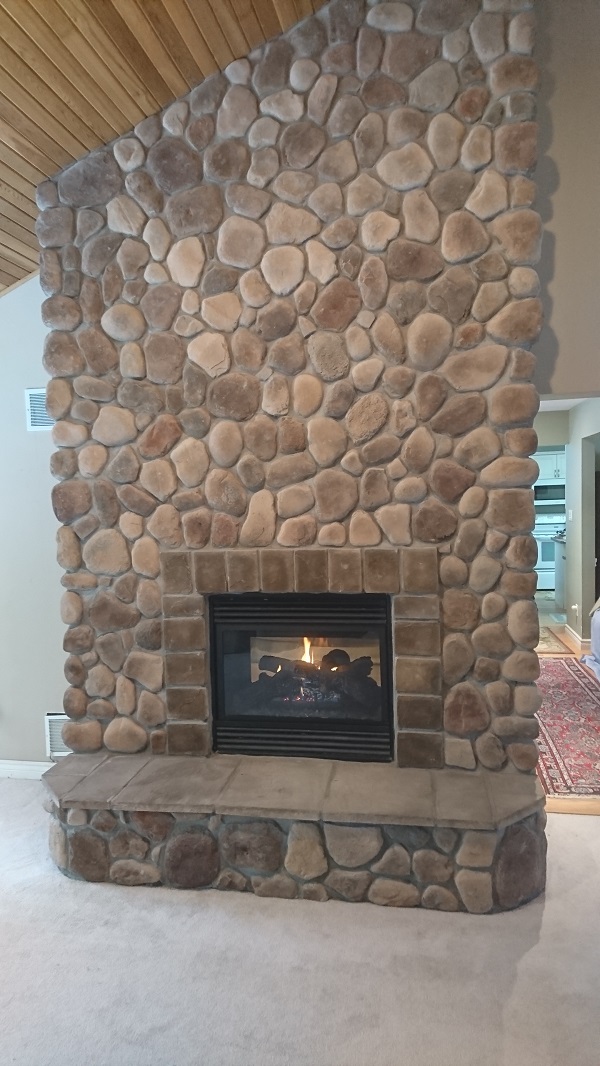
Reface a Fireplace with the Look of Stone or Brick
Stone Fireplace Painted White Fireplace On Pinterest Stone

How to DIY a Stacked Stone Feature Over Existing Brick
Home Improvements Brick fireplace

Stone Veneer Over a Brick Fireplace updates the look
Related Posts: