The fireplace is the heart of any home, radiating warmth and providing a cozy focal point for gatherings. If you’re looking to upgrade the appearance of your fireplace, adding tile is a fantastic option that can transform its look and make it a stunning centerpiece in your living space.
Whether you prefer a sleek and modern design or a timeless and rustic aesthetic, tiling your fireplace allows you to unleash your creativity and create a customized look that reflects your style. In this comprehensive guide, I will walk you through the step-by-step process of putting tile on a fireplace, from the necessary preparation to the final installation, ensuring a successful and visually appealing outcome.
Planning and Preparation
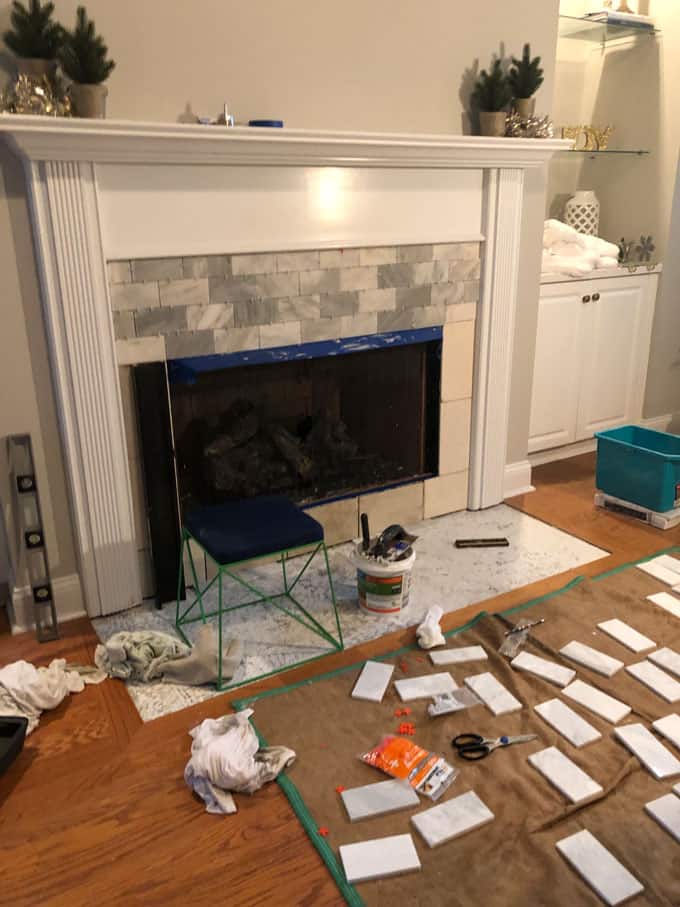
Proper planning and preparation are crucial before embarking on your tile installation project. Begin by determining the type of tile you wish to use and consider factors such as color, texture, and size that complement your overall decor. Measure the dimensions of your fireplace and calculate the number of tiles needed, including additional tiles for any potential mistakes or future repairs. Clear the area around the fireplace and protect nearby surfaces by covering them with drop cloths or plastic sheets to prevent any damage or debris from spreading.
Next, inspect the fireplace’s surface to ensure it is clean, smooth, and free from any loose materials. If any cracks or imperfections exist, patch them with a suitable filler or mortar and sand the surface for a level finish. If the existing surface is glossy or highly textured, consider applying a bonding primer to enhance the adhesion of the tile. Remove any protruding hardware or fixtures, such as mantels or grates, to create a smooth and uninterrupted tile installation surface.
Choosing the Right Tile and Design
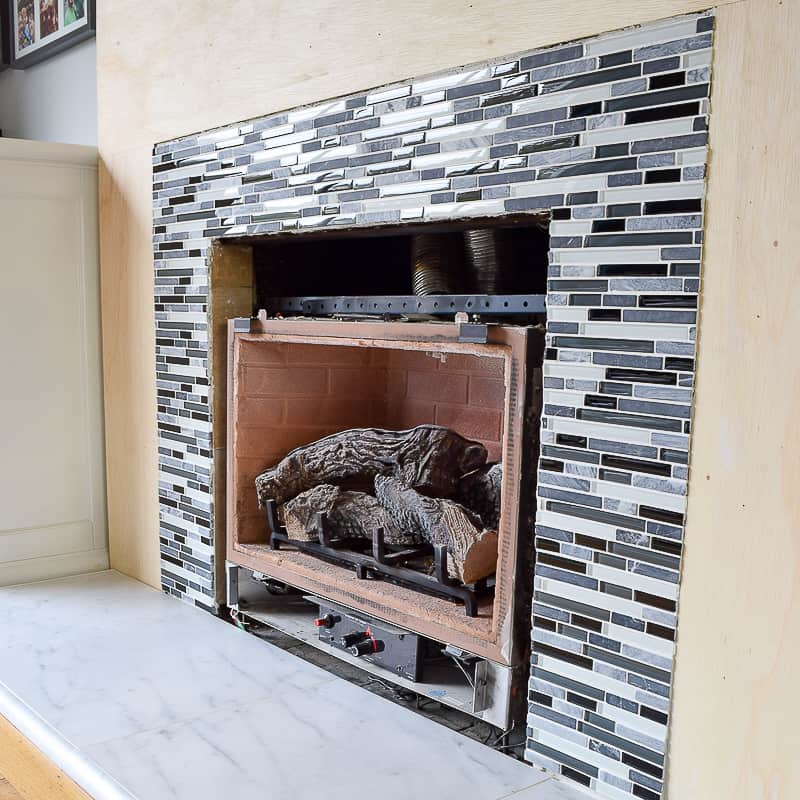
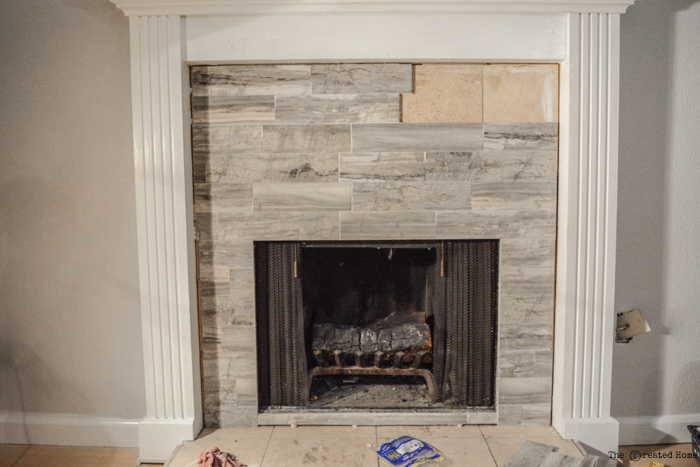
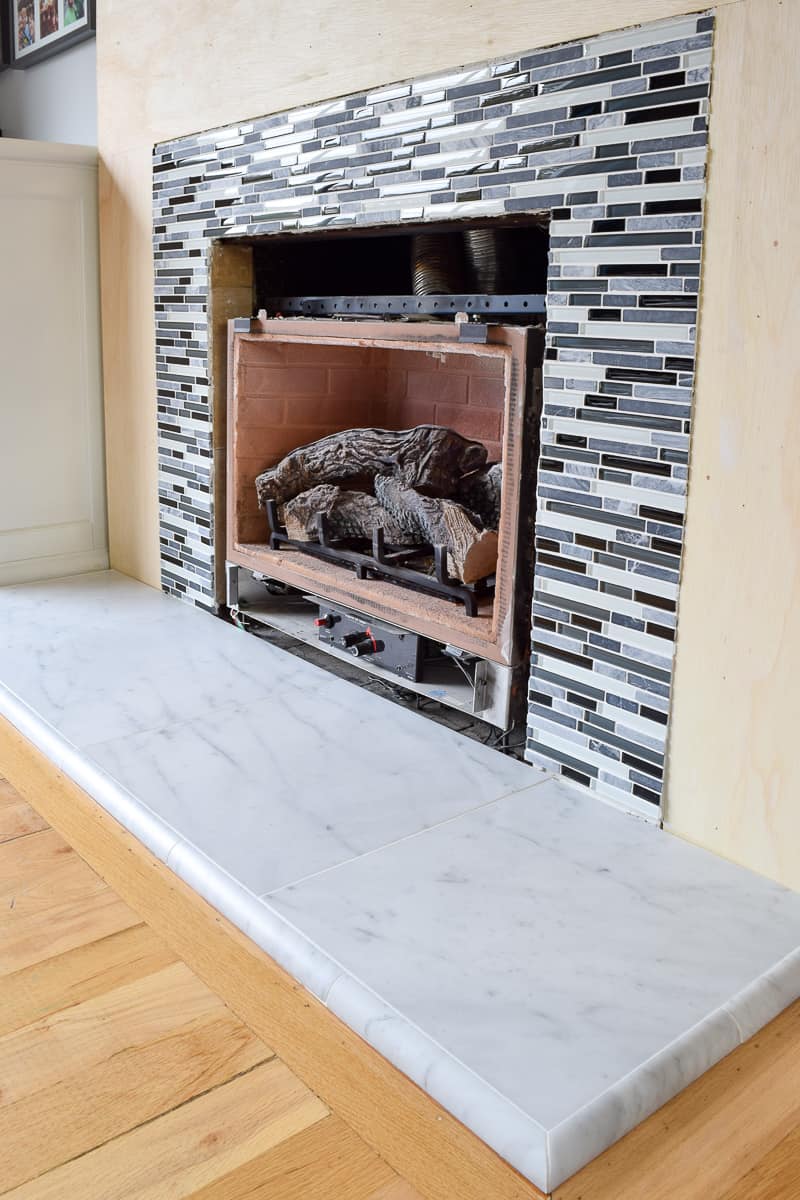
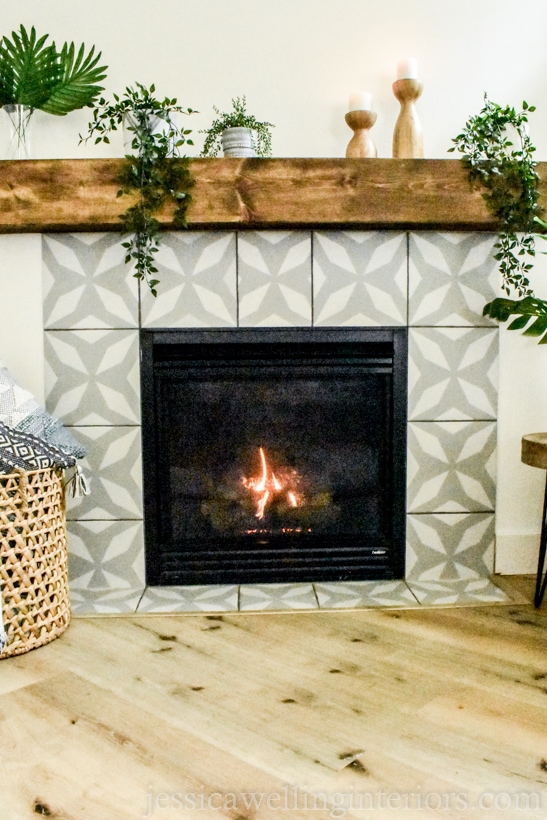
Selecting the right tile is a crucial step in achieving the desired look for your fireplace. Consider the overall style of your home and choose a tile that complements the existing decor. Options range from ceramic and porcelain tiles to natural stone or glass tiles, each offering unique characteristics and visual appeal. Decide on the size and shape of the tiles, whether you prefer large format tiles for a modern look or smaller mosaic tiles for intricate patterns and details. Experiment with different tile layouts patterns, such as herringbone, subway, or vertical stack, to add visual interest and personality to your fireplace.
When choosing the color palette, consider the mood you want to evoke. Earthy tones like warm browns and creams create a cozy and traditional atmosphere, while cool grays or vibrant colors bring a modern and energetic vibe. Consider the surrounding elements, such as the wall color, flooring, and furniture, to ensure a harmonious overall aesthetic.
Collect tile samples and compare them in different lighting conditions to better understand how they will look in your space. By carefully selecting the right tile and design, you can create a fireplace that is not only visually appealing but also reflects your style and enhances the ambiance of your home.
Preparing the Surface for Tile Installation
Before applying the tile adhesive, it is essential to prepare the fireplace’s surface for optimal adhesion. Start by thoroughly cleaning the surface to remove dust, dirt, or grease. Use a mild detergent, water solution, and scrub brush to ensure a clean and smooth surface. Rinse the area thoroughly and allow it to dry completely before moving on to the next step.
If you are working with a painted or previously tiled fireplace, it may be necessary to roughen the surface to improve the adhesion of the tile. Lightly sand the surface using medium-grit sandpaper, creating a slightly rough texture that will promote a better grip for the adhesive. Remember to wipe away any dust or debris after sanding to ensure a clean surface.
Next, apply a layer of tile primer or a thin layer of thin-set mortar to the prepared surface. This will enhance the bond between the surface and the adhesive, ensuring a strong and durable installation. Use a trowel or a paintbrush to spread the primer or thin-set mortar evenly, following the manufacturer’s instructions. Allow the primer or mortar to dry according to the recommended drying time before installing the tile.
By thoroughly preparing the surface of your fireplace, you create an ideal foundation for the tile installation, ensuring a long-lasting and visually pleasing result.
How to Tile a Fireplace – Pretty Handy Girl
How to Tile a Fireplace (even if itu0027s brick!) – The Handymanu0027s
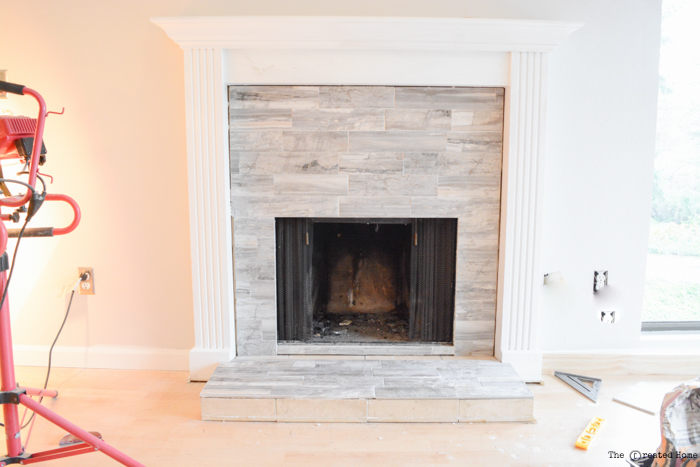
DIY Tiling a Fireplace Surround What We Learned Along the Way

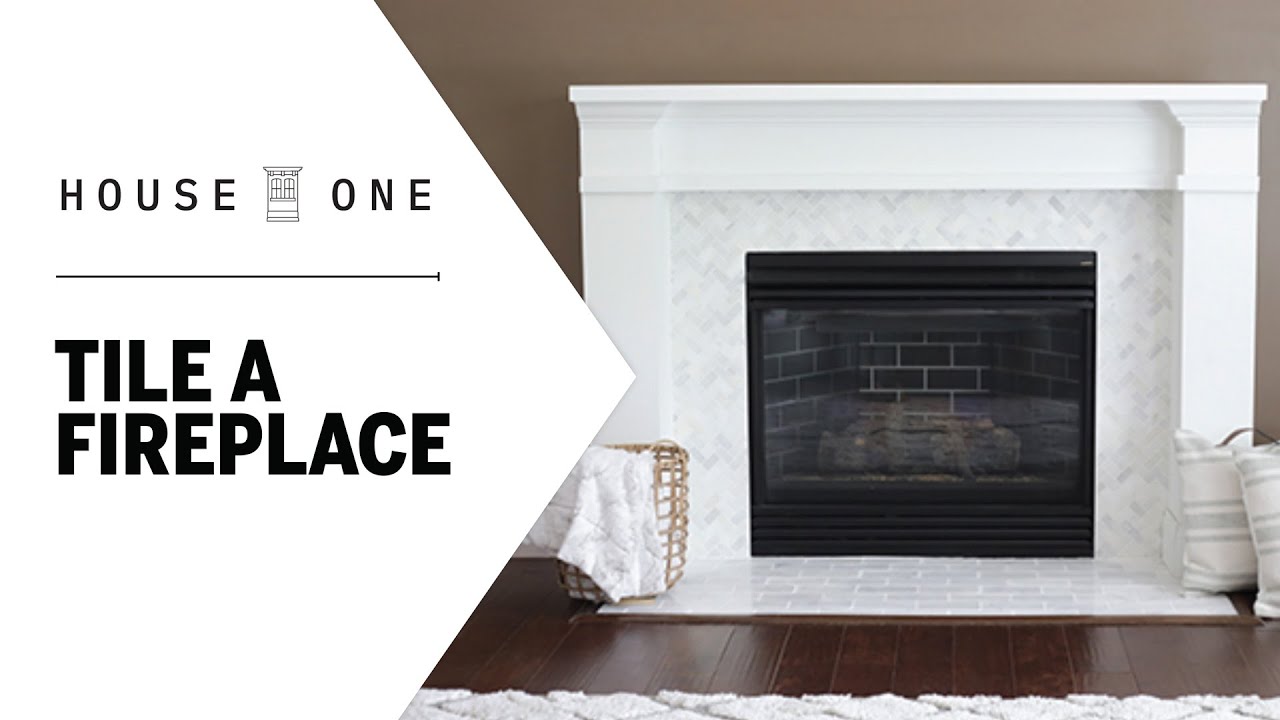
How to Tile a Fireplace House One
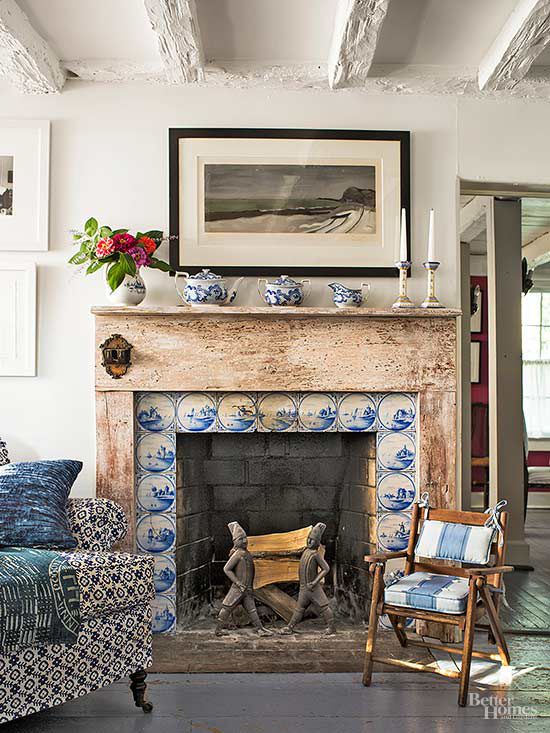
Tiling a Fireplace Better Homes u0026 Gardens
How to Tile a Fireplace – Pretty Handy Girl
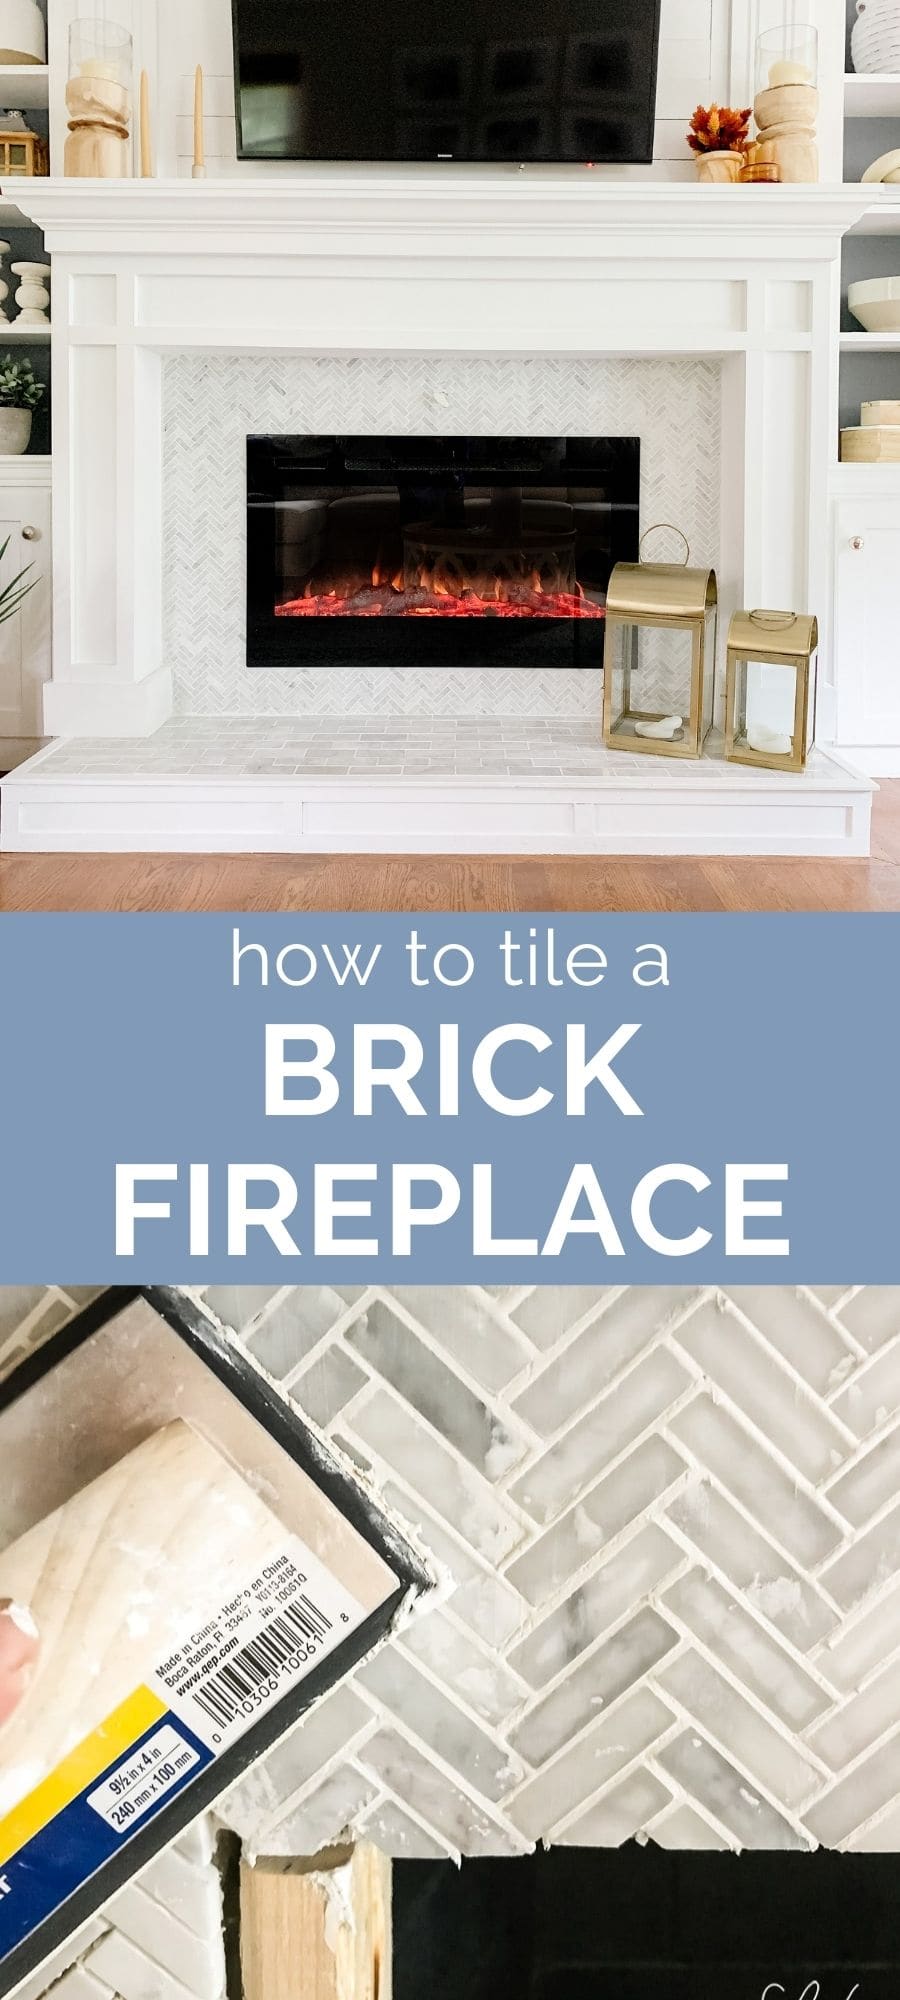
How to Tile a Brick Fireplace – Jenna Kate at Home
$110 DIY Fireplace Makeover: How to Paint Tile – Jessica Welling
DIY Fireplace Makeover Centsational Style

How to Tile a Fireplace – Pretty Handy Girl

Related Posts:
- Retro Fireplace Tiles
- Rustic Tile Fireplace
- Farmhouse Fireplace Tile
- Slate Tile Fireplace Surround
- Modern Tile Fireplace Wall
- Mosaic Tile Fireplace DIY
- Quartz Fireplace Tile
- Ceramic Tiles Fireplace Surround
- Sandstone Tile Fireplace
- Spanish Tile Fireplace