Replacing a fireplace surround offers one of the most dramatic yet manageable home upgrades, instantly refreshing a room’s focal point. Whether updating outdated materials, repairing damage, or simply pursuing a new aesthetic, surround replacement allows homeowners to redefine their living space’s character. Modern options range from classic stone and wood to sleek metal and tile designs, each bringing distinct advantages in durability, maintenance, and visual impact. Careful planning ensures the new surround complements both the fireplace’s functional requirements and the room’s overall design scheme. From material selection to installation techniques, understanding the process helps achieve professional-looking results that elevate the entire space.
Assessing Your Current Fireplace Structure
Before selecting new materials, evaluate the existing surround’s condition and mounting method. Check for heat damage, cracks, or loose components that might indicate underlying issues needing attention. Measure the firebox opening precisely, noting any irregularities in shape or size that could affect new surround dimensions. Determine whether the current surround attaches directly to masonry or uses a mounting framework—this impacts removal and installation approaches.
Consider clearance requirements for combustible materials based on your fireplace type. Wood-burning units typically need more space between the firebox and surround than gas models. Local building codes often specify minimum distances that must be maintained for safety. If unsure, consult the fireplace manufacturer’s specifications or a professional to prevent potential hazards. These measurements will guide your material choices and design parameters.
Document the existing electrical and ventilation systems around the fireplace. Some surrounds incorporate lighting or require specific venting arrangements that must be preserved or modified. Note any protruding elements like mantels or hearth extensions that will remain in place, as these influence the new surround’s proportions and installation sequence.
Choosing Replacement Materials
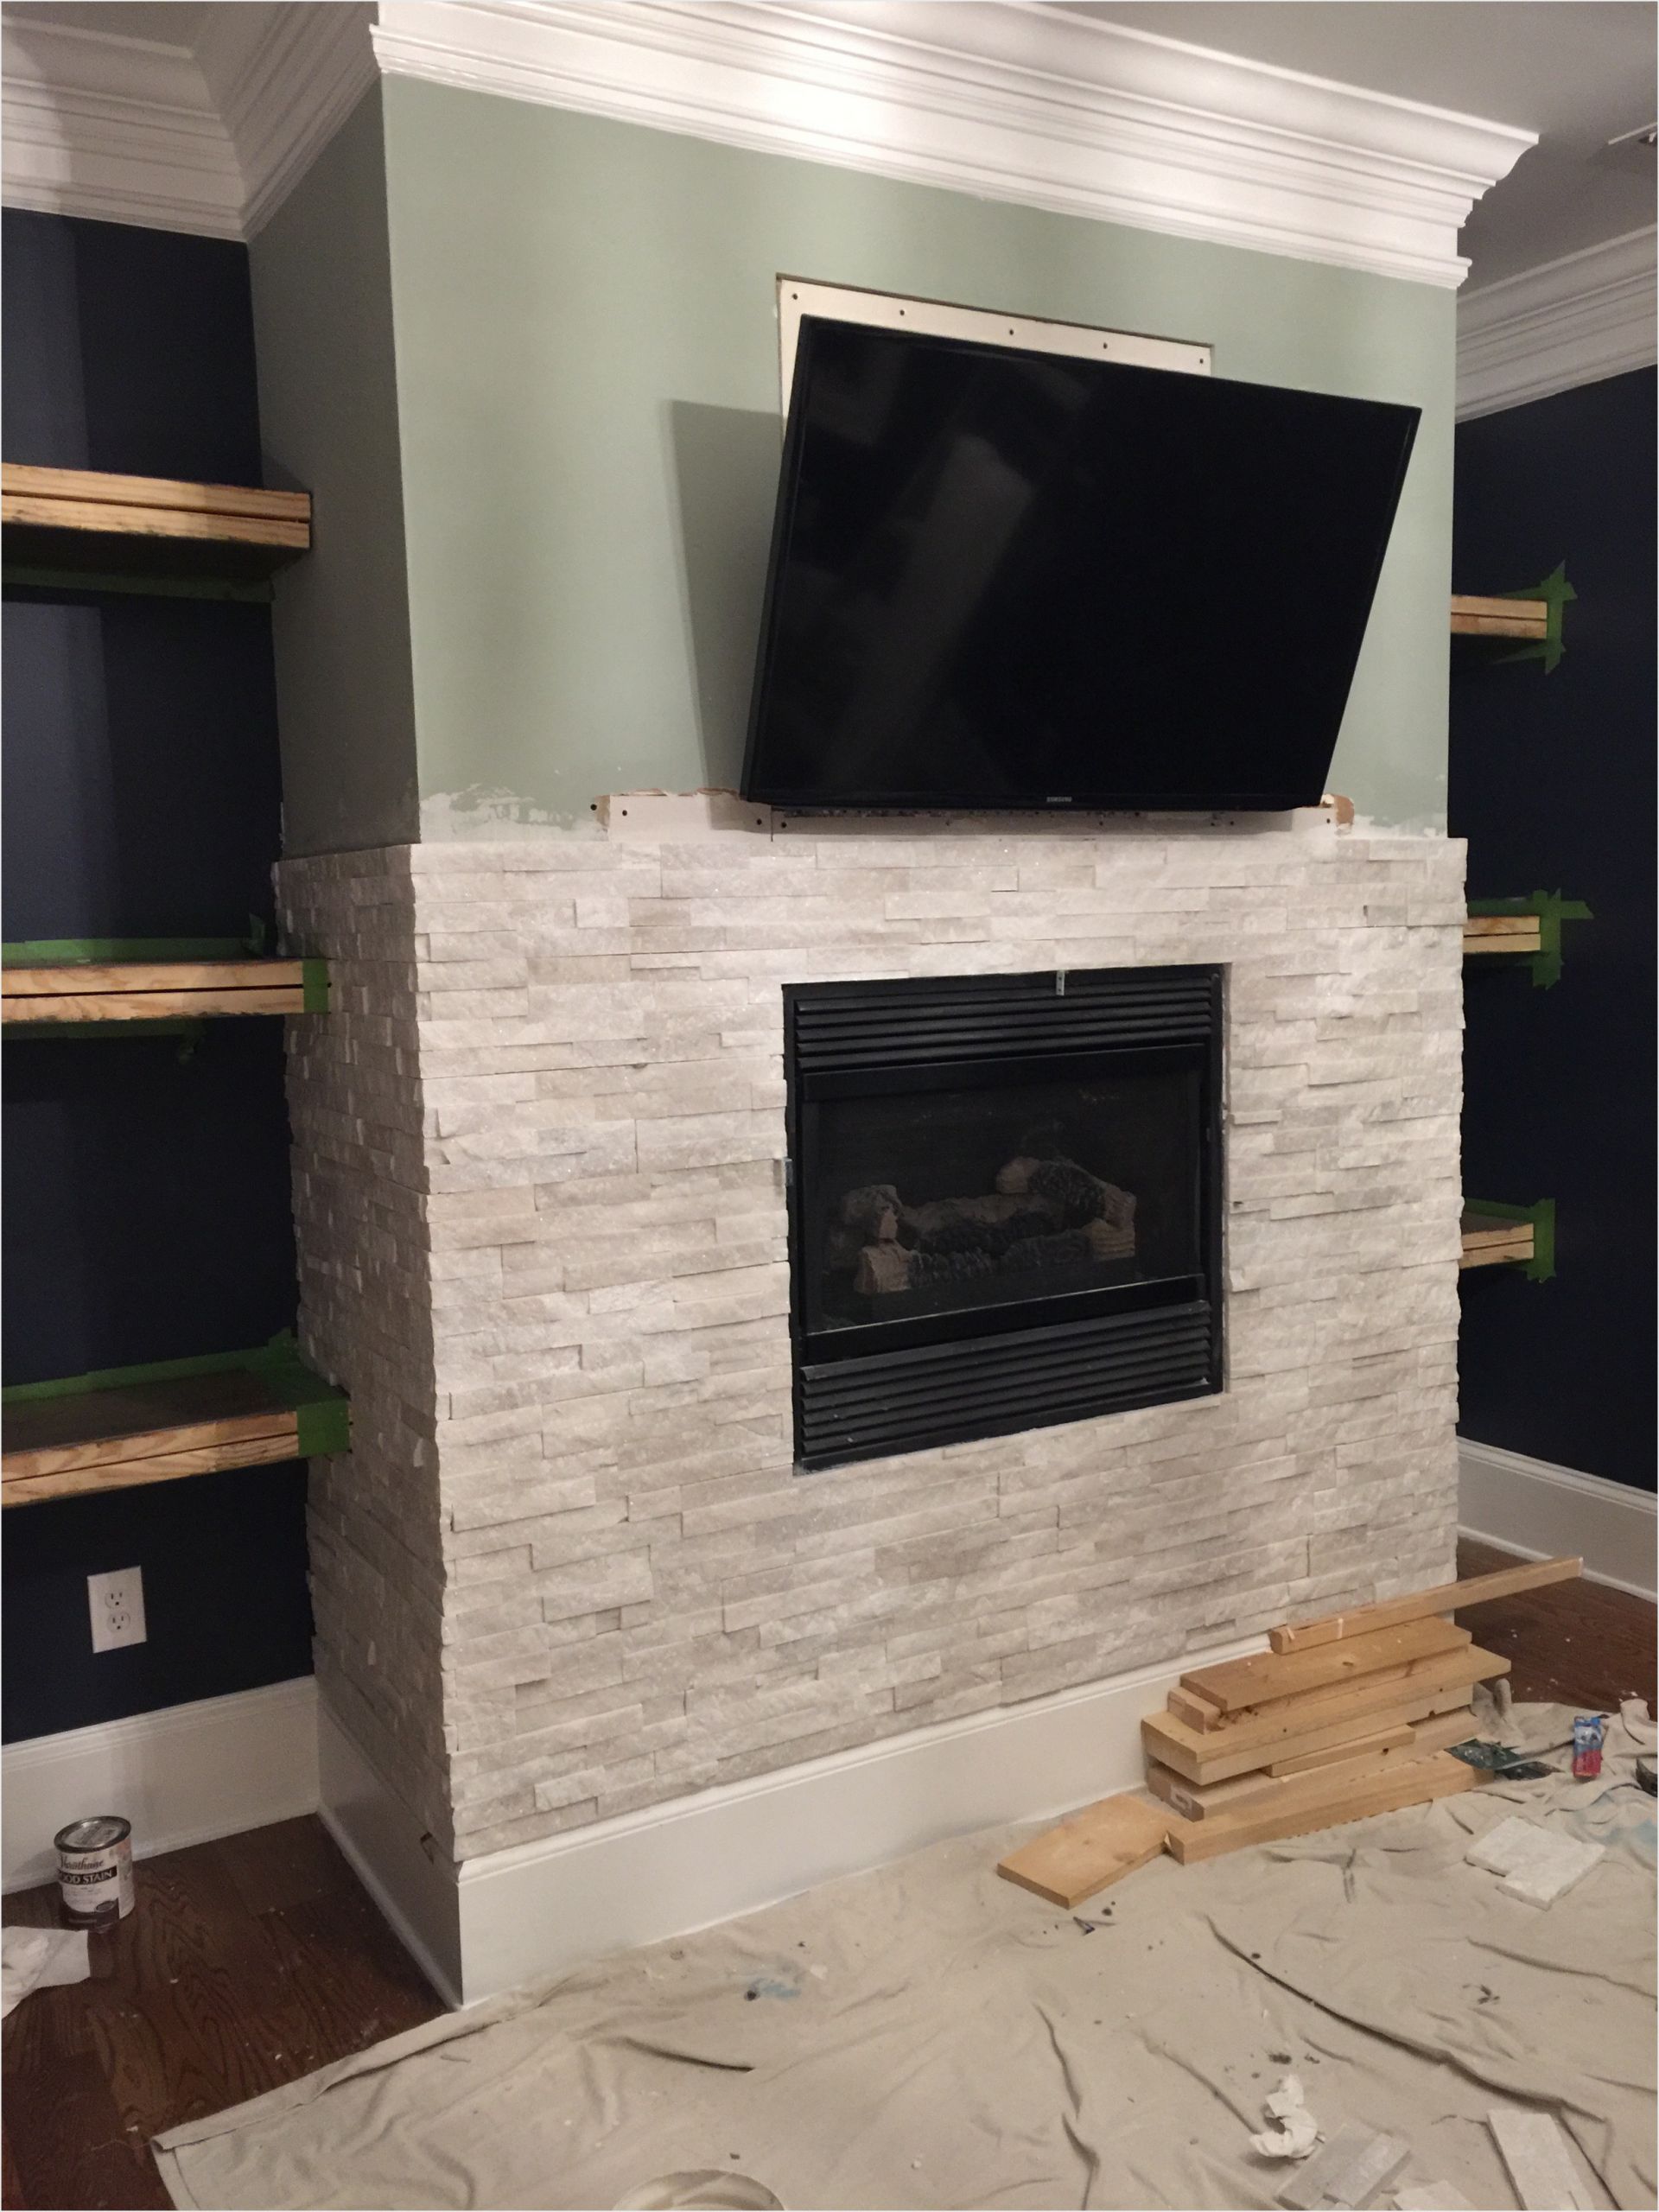
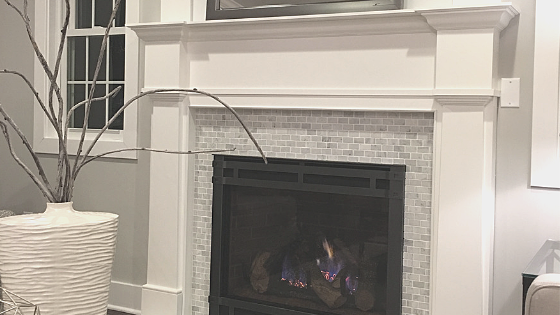
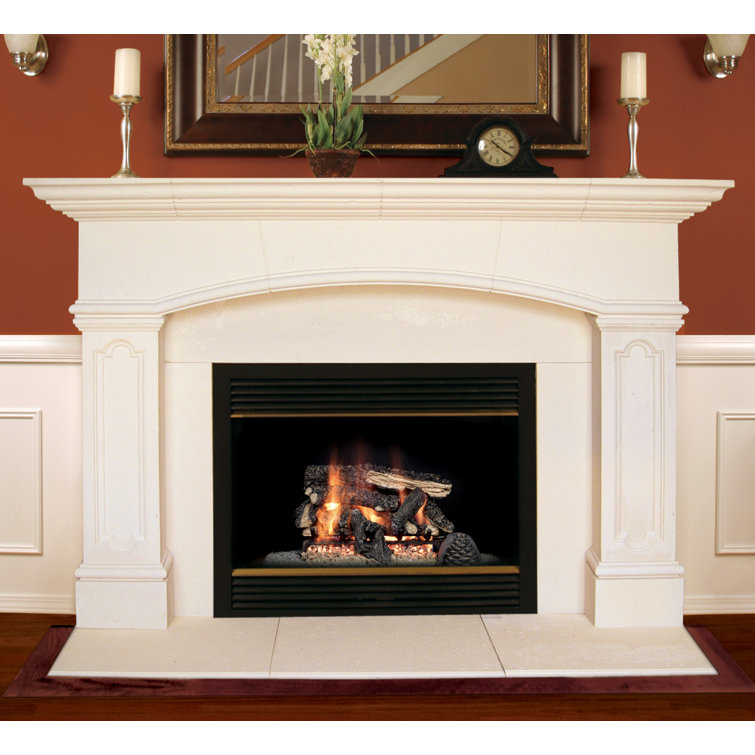
Stone surrounds offer timeless elegance with excellent heat resistance, ideal for wood-burning fireplaces. Natural options like slate, limestone, and granite provide unique veining and texture variations, while manufactured stone products deliver consistent coloring at lower cost. Stone works particularly well in traditional or rustic settings, with ledgestone patterns creating casual appeal and smooth-cut slabs achieving formal sophistication.
Wood surrounds bring warmth and versatility to both classic and contemporary spaces. Solid hardwoods like oak and walnut withstand temperature fluctuations better than softwoods when properly sealed. For modern designs, consider sleek wood panels with minimalist profiles or textured reclaimed barnwood for rustic charm. Always use heat-resistant finishes and maintain proper clearance from the firebox opening to prevent scorching or warping.
Metal surrounds suit industrial and modern aesthetics while providing exceptional durability. Powder-coated steel resists heat discoloration, while copper develops an attractive patina over time. Perforated metal designs allow interesting light patterns when backlit, and brushed finishes minimize fingerprint visibility. Metal works particularly well for electric fireplaces or as accent elements combined with other materials.

Removal of Old Surround
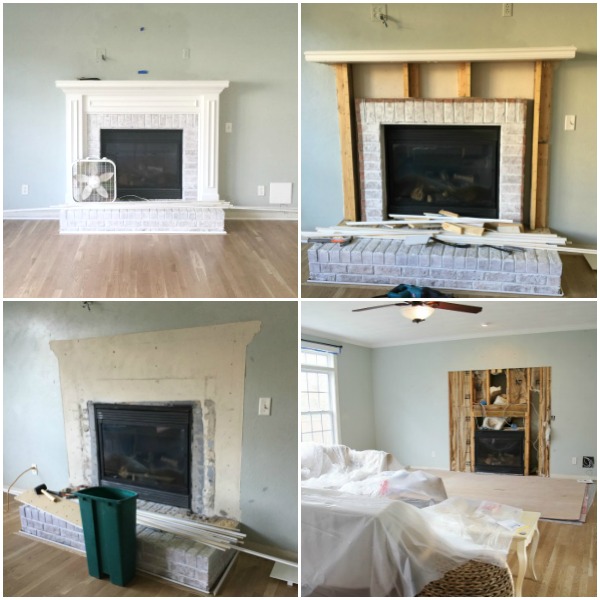
Begin by disconnecting any electrical components like surround lighting or built-in fans. Protect flooring with drop cloths and remove nearby furniture to create ample workspace. Use appropriate tools—often a pry bar, hammer, and utility knife—to carefully detach the existing surround from the wall. Work methodically to avoid damaging the underlying wall structure or firebox components that will remain.
For tile surrounds, start by removing grout lines with a grout saw before prying tiles loose. Masonry surrounds may require more forceful demolition techniques, but proceed cautiously to prevent collateral damage. Keep salvageable materials intact if planning to repurpose them elsewhere. As pieces come loose, watch for hidden fasteners or unexpected structural elements that could complicate removal.
After complete removal, inspect the exposed wall area for necessary repairs. Patch holes, smooth uneven surfaces, and address any water damage before installing the new surround. This is the ideal time to upgrade insulation or add fireproof backing materials if needed. Allow sufficient drying time for any repair compounds before proceeding with installation.
Installation Techniques
Dry-fit all new surround components before permanent installation to verify proper fit and alignment. Make any necessary adjustments to mounting surfaces or material edges at this stage. For multi-piece surrounds, number each section to ensure correct positioning during final assembly. Use spacers to maintain consistent gaps where the surround meets adjacent surfaces.
Follow manufacturer instructions for adhesive and fastener selection based on your wall type and surround material. Masonry walls typically require concrete screws and construction adhesive, while stud framing may need different anchors. Apply adhesives in recommended patterns (often zigzags or beads) to ensure proper coverage without excessive squeeze-out. Use temporary bracing to hold heavy pieces in place while adhesives cure.
Pay special attention to corner joints and seams, which often benefit from additional reinforcement. Some materials like manufactured stone may require color-matched caulk for visible joints. Install trim pieces or edge details last to conceal any imperfect edges or fasteners. Allow all adhesives and sealants to fully cure before exposing the surround to heat or cleaning agents.

Finishing and Protection
Apply appropriate sealants to protect the new surround based on material type. Natural stone typically needs penetrating sealers, while porous materials like brick may require multiple coats. Wood surrounds benefit from high-temperature rated varnishes or oils that won’t break down under heat exposure. Test sealants on scrap pieces first to confirm desired appearance and performance.
Install heat-resistant barriers where needed, especially around the firebox opening. Metal flashing or ceramic fiber boards can prevent heat transfer to combustible materials. For wood surrounds, consider adding a non-combustible trim piece along the innermost edge as extra protection against stray sparks or intense heat.
Finalize the surround’s integration with the room by addressing transition points. Use complementary caulk or trim to create clean lines where the surround meets walls or flooring. If the design includes lighting, test all fixtures and make final adjustments to beam direction or intensity. Apply final protective coatings to any metal elements to prevent tarnishing or oxidation.
Maintenance and Care
Establish a cleaning routine suited to your surround material. Stone surfaces typically need only occasional dusting and damp wiping with pH-neutral cleaners. Wood surrounds benefit from periodic polishing with products that won’t degrade the heat-resistant finish. Metal may require specialized cleaners to maintain its luster without scratching delicate surfaces.
Inspect the surround seasonally for signs of heat damage or moisture issues. Look for cracking in grout lines, discoloration of materials, or loosening of components. Address minor repairs promptly to prevent more extensive damage. Reapply protective sealants as recommended by manufacturers—usually every 1-3 years depending on usage and environmental factors.
Consider the surround’s role in overall fireplace maintenance. Keep the material several inches away from burning logs in wood-burning units, and use protective screens to prevent spark damage. For gas fireplaces, ensure the surround doesn’t obstruct ventilation ports or access panels needed for servicing. Proper care ensures your investment remains beautiful and functional for years.

Replacing a fireplace surround revitalizes a room’s centerpiece with relatively modest effort compared to full fireplace renovations. By selecting materials that harmonize with both the fireplace’s functional requirements and the room’s design language, homeowners can achieve dramatic transformations. Proper installation techniques tailored to each material type ensure safety and longevity, while thoughtful finishing touches create polished results. Whether opting for the timeless appeal of stone, the warmth of wood, or the sleek modernity of metal, the new surround becomes an integral part of the home’s character. With regular maintenance and attention to changing needs over time, a well-chosen fireplace surround will continue to enhance the space through years of enjoyment and use.
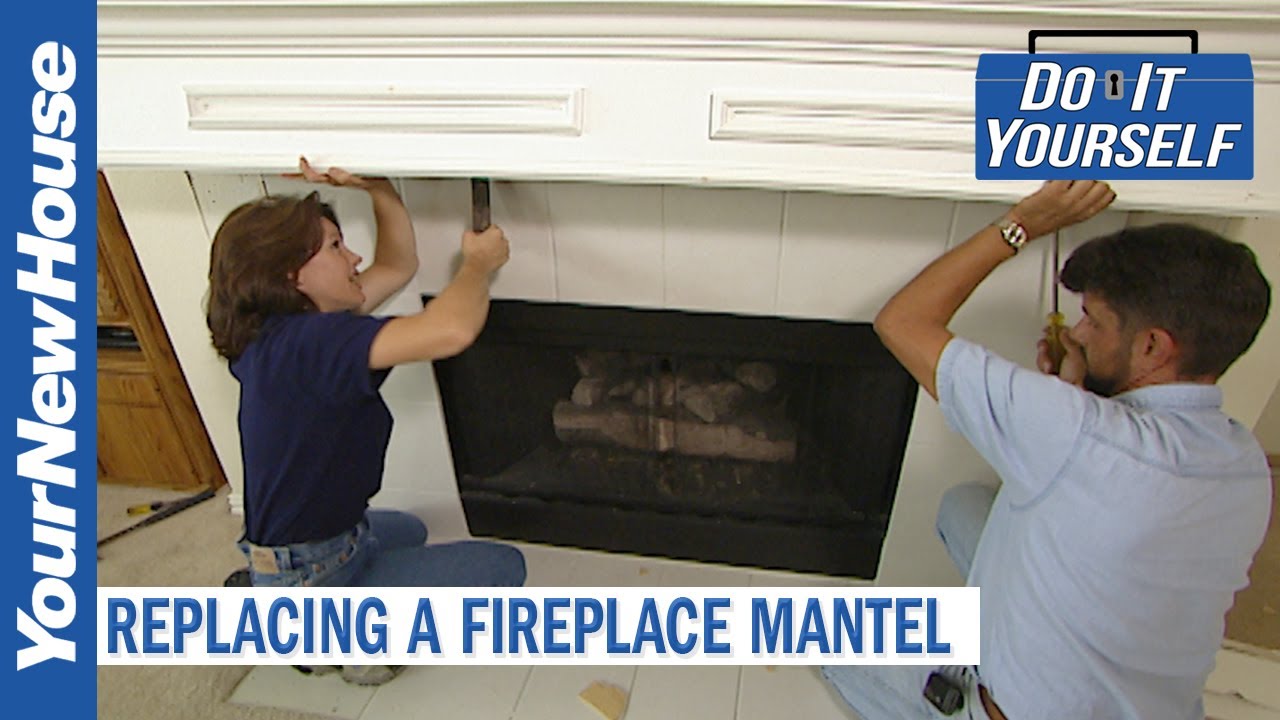
Replacing a Fireplace Mantel – Do It Yourself
The Best Easy-To-Install Fireplace Mantel Kits For Your Home
Fireplace Repair & Rebuilding Company Chimney

Abington Fireplace Mantel Surround
Fireplaces Install Gallery – Energy Resources
![]()
How to Install a Marble Herringbone Fireplace Surround and Hearth
Related Posts: