When I decided to add an electric fireplace to my living room, I quickly realized the surround would make or break the look. Prefabricated options were either too expensive or didn’t match my style, so I embarked on creating my DIY fireplace surround. Through trial and error, I discovered how to build a custom frame that perfectly complements my electric insert while staying within budget. A well-designed surround transforms a basic electric fireplace into a stunning focal point that looks built-in and high-end. Here’s everything I learned about planning, constructing, and finishing a DIY electric fireplace surround that looks professional.
Planning Your Surround Design
The first step I took was measuring my electric fireplace insert carefully, noting all clearance requirements from the manufacturer. These specifications determine how much space must remain open around the unit for proper ventilation. I sketched several design ideas, considering both the fireplace’s proportions and my room’s existing style. After living with a plain insert for weeks, I knew I wanted a traditional mantel look with clean lines that wouldn’t overwhelm my mid-sized living room.
Material choice affects both the project difficulty and final appearance. I opted for medium-density fiberboard (MDF) for the main structure because it’s affordable, stable, and easy to work with. For the mantel shelf, I chose solid pine to withstand potential bumps and provide a natural wood finish. Other options include plywood, reclaimed wood, or even brick veneer for different aesthetics. The materials should complement your room’s decor while being workable with your tools and skills.
I created detailed cut lists and diagrams before purchasing materials to minimize waste. The surround’s depth must accommodate the fireplace’s projection from the wall while leaving enough walking space in the room. Height considerations include both visual balance and practical use – I positioned my mantel at 54 inches from the floor, a comfortable height for displaying decor. Taking time with these planning steps prevented costly mistakes during construction.
Building the Basic Frame Structure
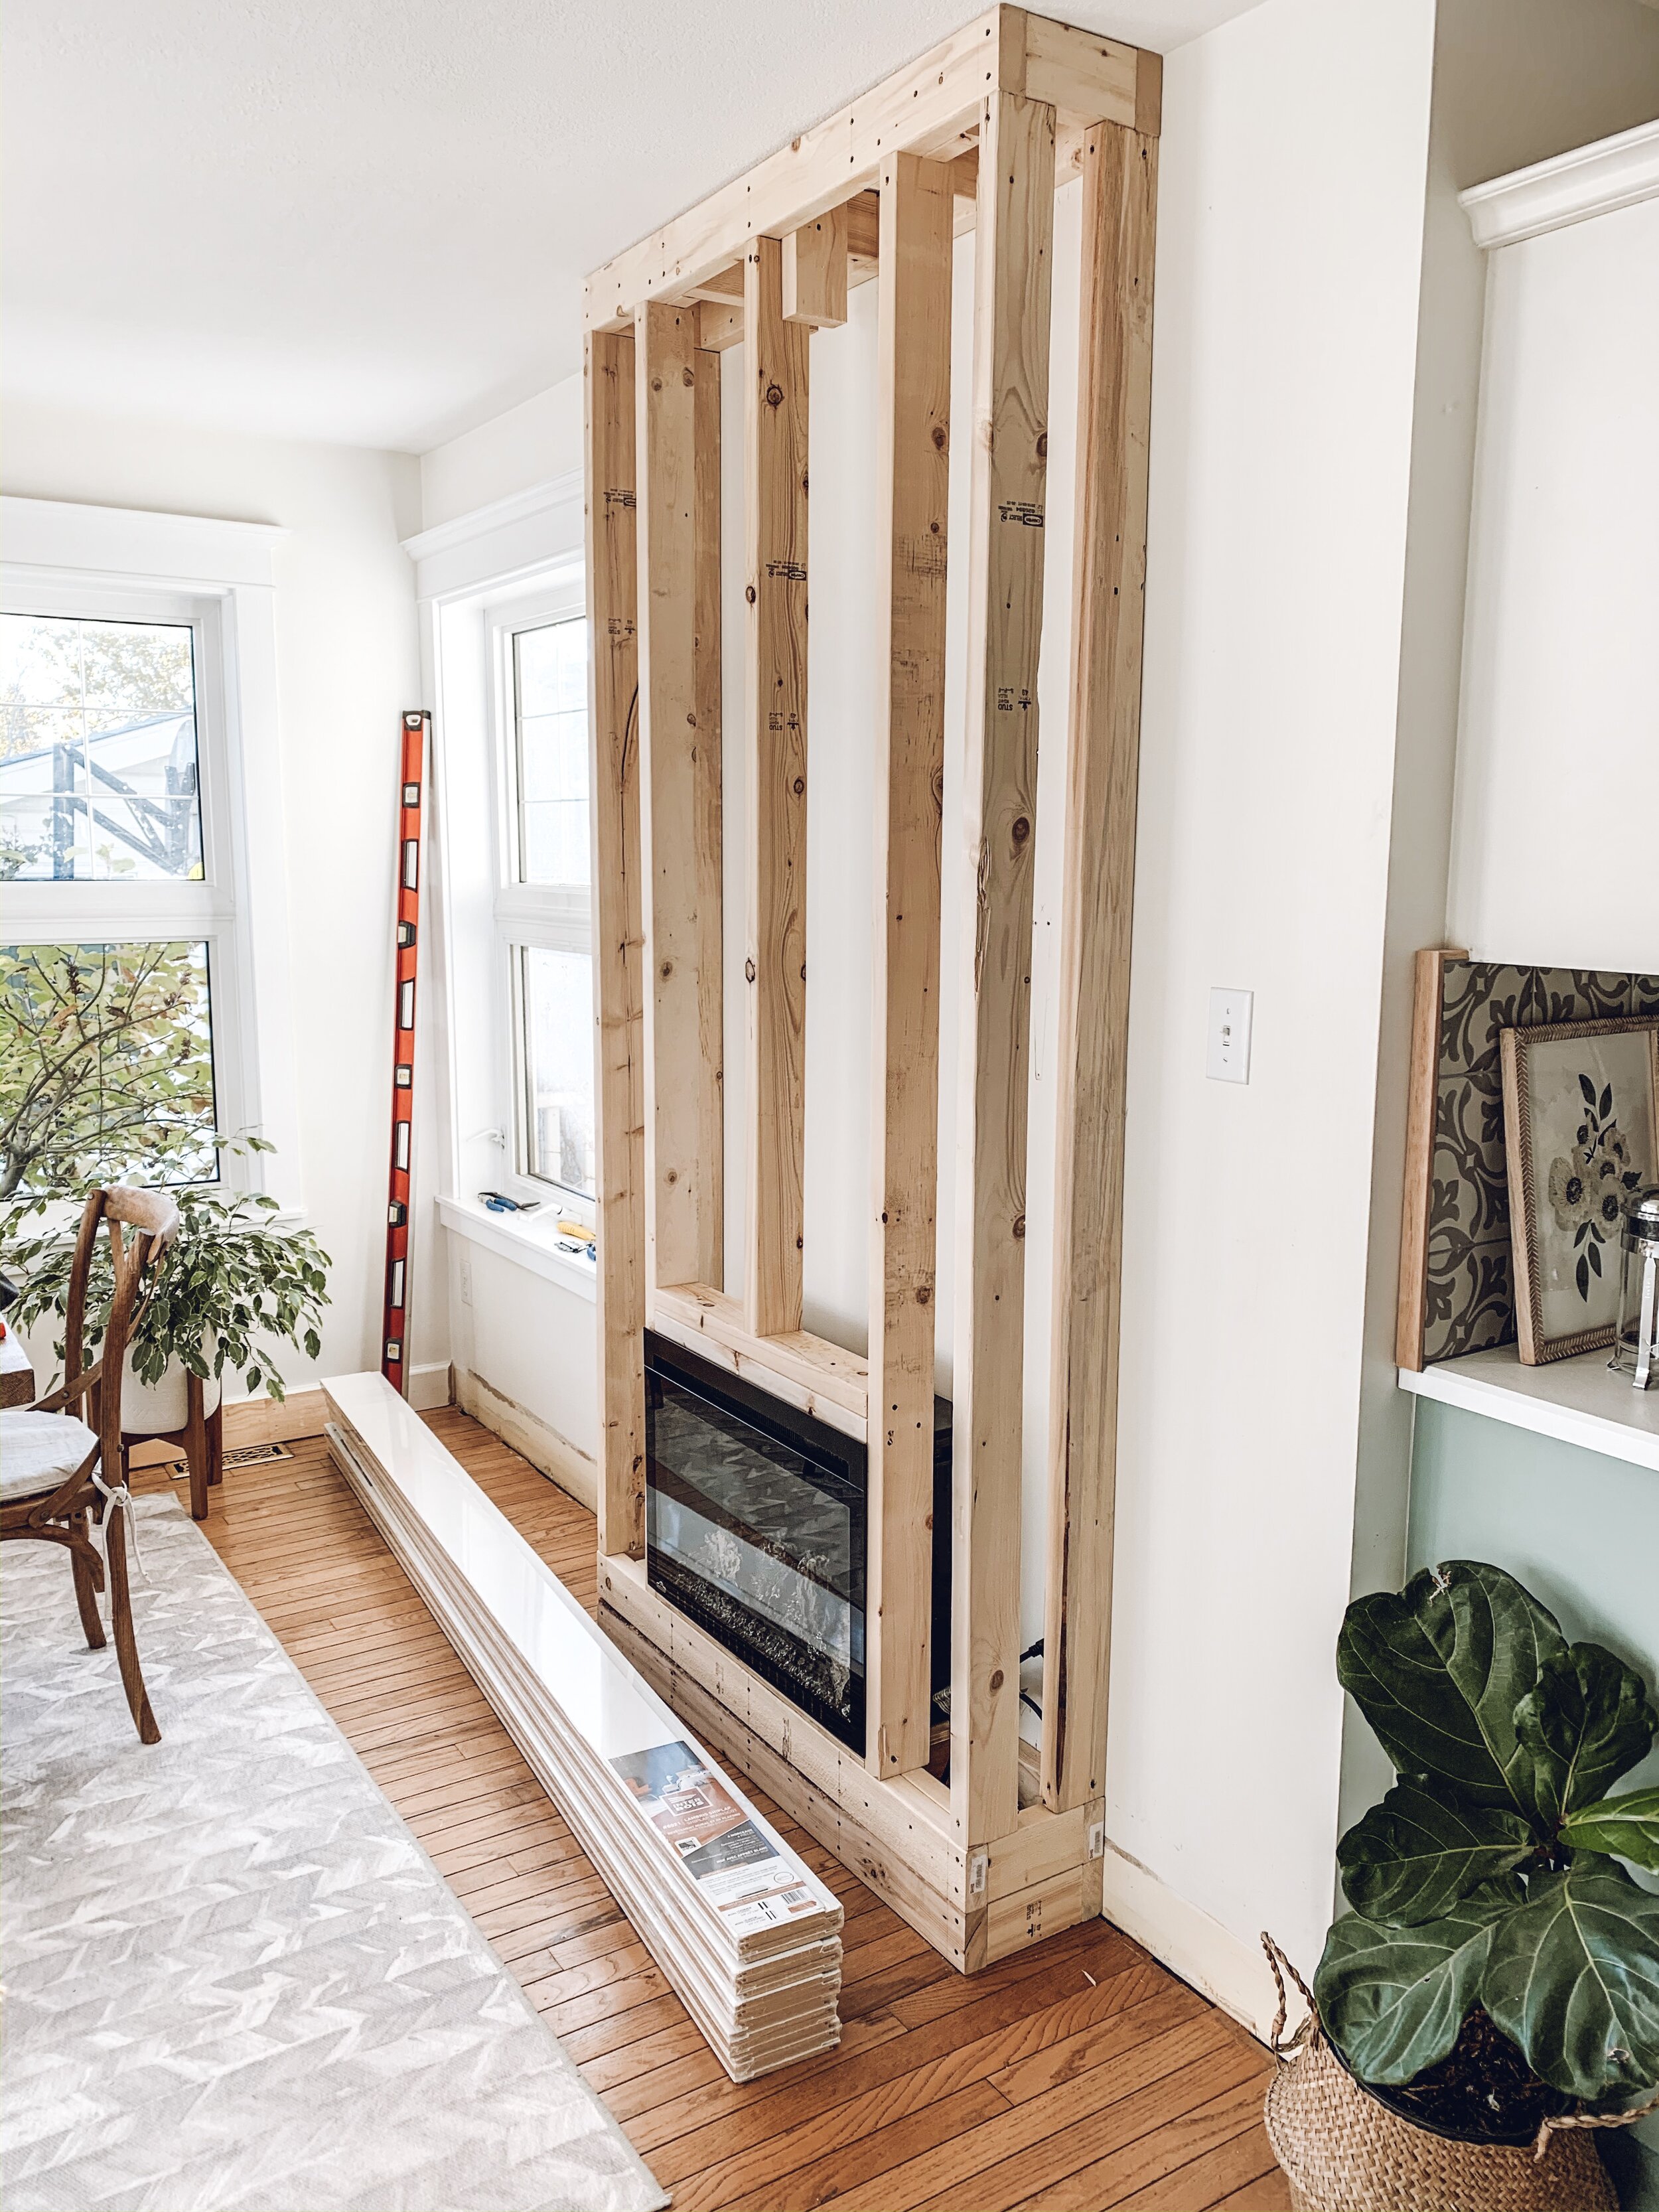
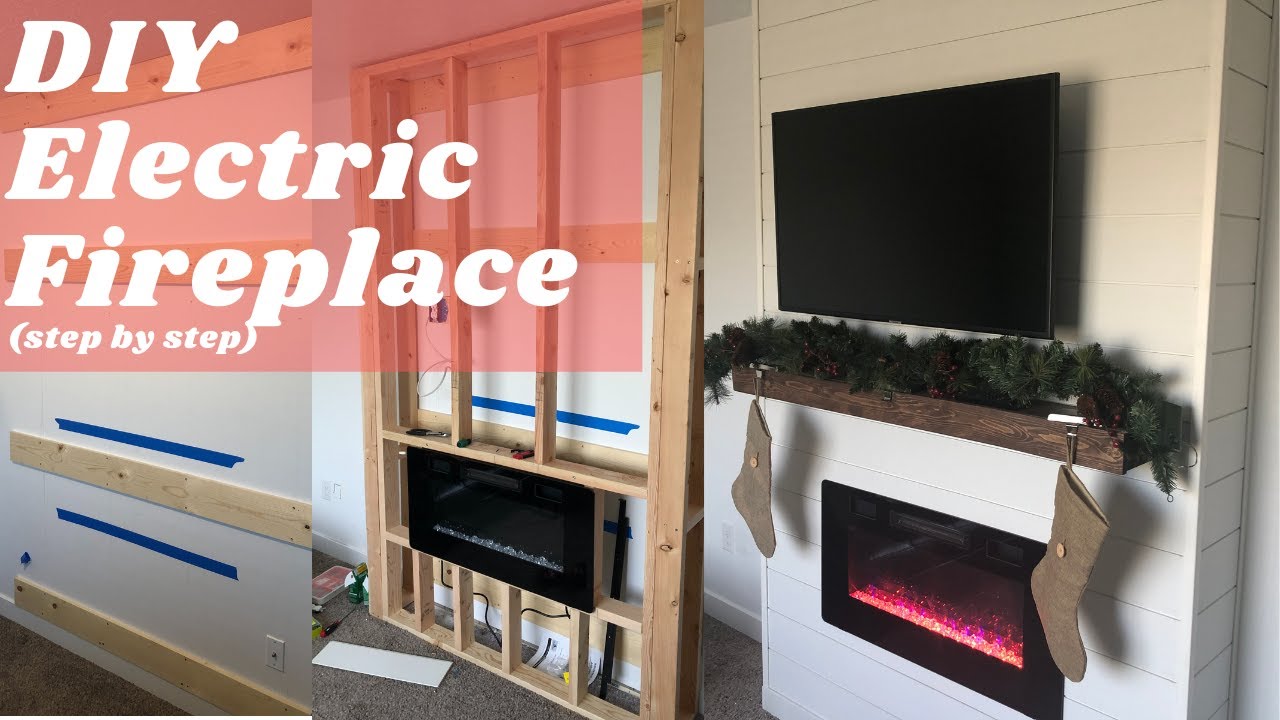
Construction began with building a sturdy base frame anchored securely to the wall studs. I used 2×4 lumber to create a three-sided box that would support the surround’s weight. Checking for level and plumb at every step ensured my finished surround wouldn’t lean or sag over time. The frame extends several inches beyond the fireplace unit on all sides to create a proper reveal and allow for finishing materials. This skeleton provides the necessary support for the decorative exterior layers.
For the face frame, I cut MDF panels to create the surround’s outer shell. The electric fireplace sits in a precisely cut opening at the center, with 1/2-inch clearance on all sides as specified. I built out the sides and top with additional MDF strips to create depth and shadow lines. Construction adhesive and finishing nails secured everything to the underlying frame. Working slowly and checking measurements frequently prevented alignment issues that would be visible in the final product.
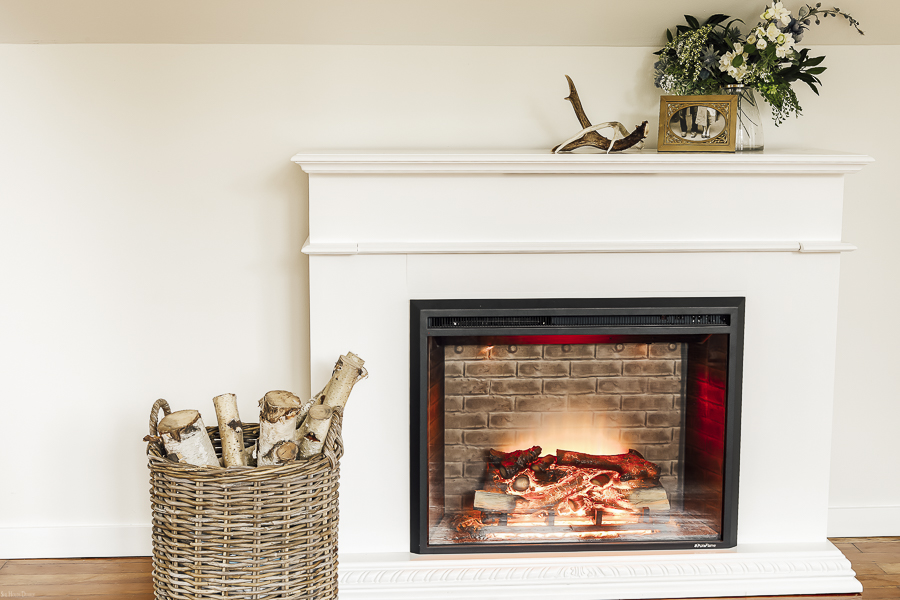
The mantel shelf required special attention since it’s both a visual focal point and a functional surface. I notched the pine board to fit snugly over the side supports, creating a seamless transition. Sanding all edges smooth ensured a professional look. Before attaching the shelf permanently, I test-fit all components to verify proportions and make any necessary adjustments. The basic structure took me a weekend to complete, leaving the more creative finishing work for the following days.
Adding Decorative Details
With the structure complete, I focused on enhancing the surround’s visual interest. For a traditional look, I added fluted trim pieces to the sides and a decorative corbel under each end of the mantel. These details transformed the basic box into an elegant architectural feature. The trim pieces were pre-made from the home center’s molding section, making this upgrade surprisingly simple. I mitered the corners carefully and used wood filler to hide any gaps for seamless joints.
The surround’s face received a raised panel effect using additional MDF strips. This created depth and shadow lines that make the surround appear more substantial. I measured and cut each piece individually, dry-fitting before final attachment. The panels frame the fireplace opening beautifully while disguising the unit’s utilitarian edges. For a more modern look, I could have kept the surfaces flat and added floating shelves instead of traditional moldings.
Painting preparation took nearly as long as the decorative work itself. I filled all nail holes and seams with paintable caulk, then sanded every surface smooth. Two coats of high-quality primer sealed the MDF and created a uniform base for painting. The final paint color matches my trim work, tying the new surround into the room’s existing architecture. Taking time with these finishing steps makes all the difference in achieving a professional result.

Installing the Electric Fireplace
With the surround complete and painted, I carefully installed the electric fireplace unit. Following the manufacturer’s instructions precisely ensures safe operation and prevents voiding the warranty. The unit slides into the prepared opening and secures with included brackets. I left the recommended clearance around all sides for proper ventilation, which is crucial for preventing overheating. Temporary removal of the glass front made this installation much easier.
Wiring required special attention for a clean finished look. My model plugs into a standard outlet, but I installed a recessed power box behind the unit to hide cords completely. For hardwired models, hiring an electrician is advisable unless you’re experienced with electrical work. I tested all functions thoroughly before proceeding with final trim pieces that would make future access difficult. The flames and heater worked perfectly on the first try, a rewarding moment after weeks of work.
Final trim pieces around the fireplace opening conceal any gaps and create a polished transition between the unit and surround. I used paintable flexible molding that accommodates the slight expansion and contraction of materials with temperature changes. These finishing touches make the fireplace look built-in rather than inserted. The careful planning and execution resulted in a seamless integration that appears original to the house.

Finishing and Styling Touches
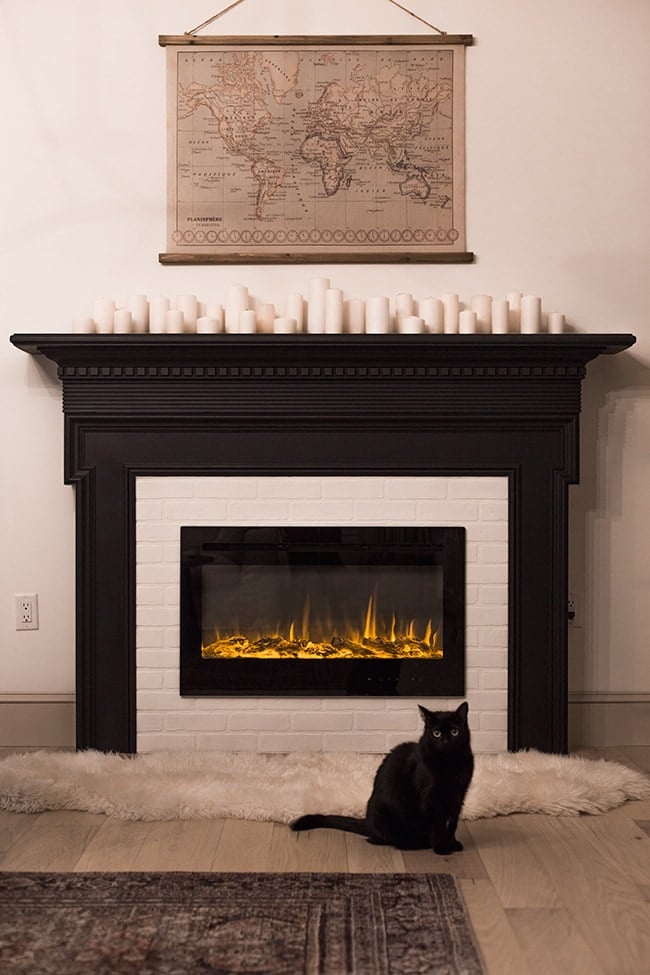
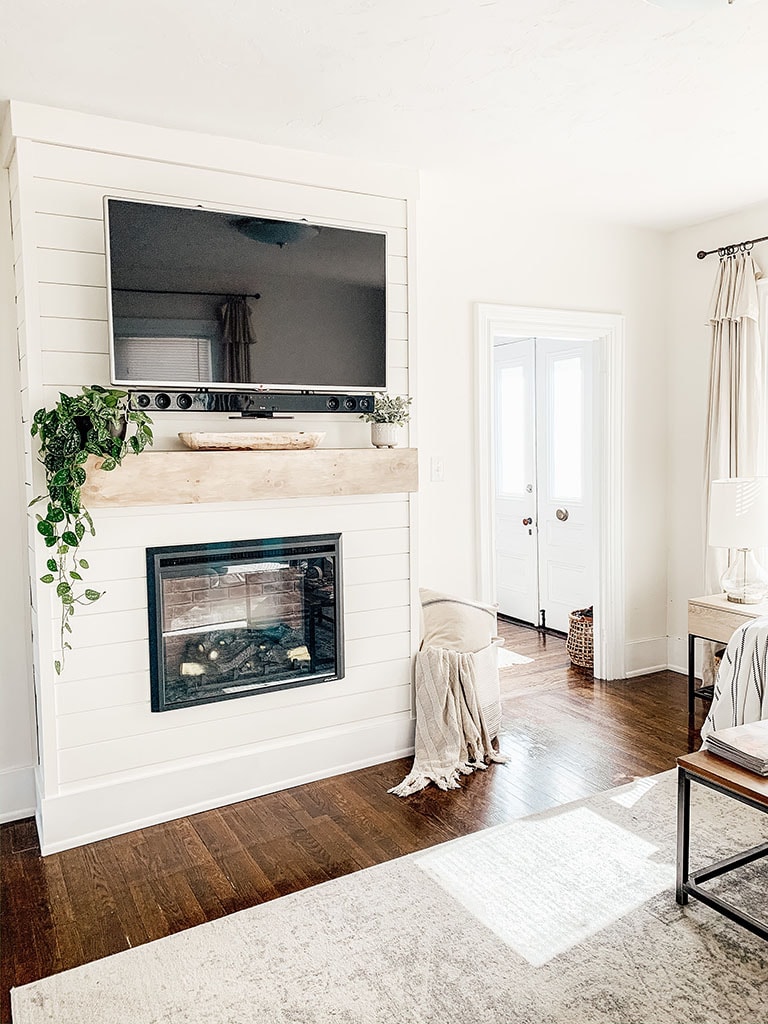
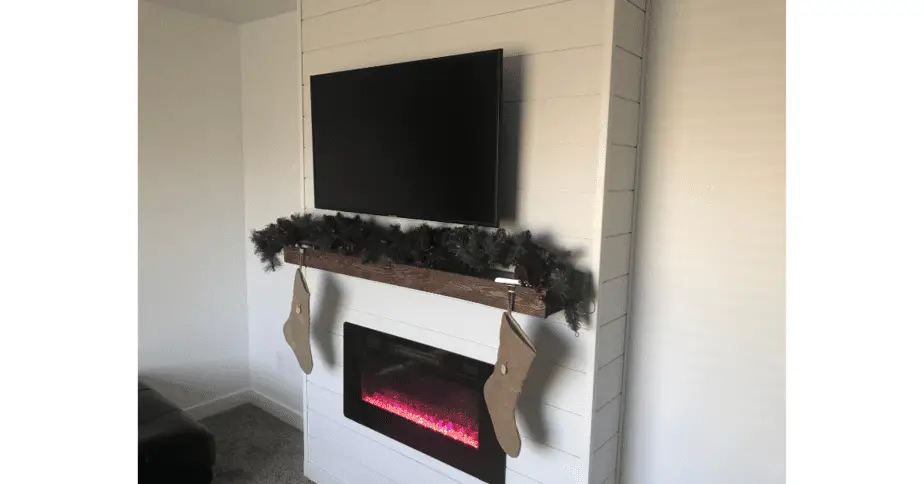
The mantel shelf offers prime decorating real estate that I styled carefully to complement the fireplace. A mix of heights and textures creates visual interest – a large mirror reflects the flames, flanked by vertical candlesticks and organic elements like wood slices. I avoided overcrowding to maintain clean lines that showcase the surround’s craftsmanship. The mantel decor changes seasonally, but always maintains balance with the fireplace as the focal point.
Lighting enhances the surround’s details and creates ambiance. I installed subtle LED strip lighting along the mantel’s underside that casts a warm glow on the surround’s textured surfaces. This indirect lighting makes the fireplace area inviting even when the flames aren’t active. For a more dramatic effect, picture lights above the mantel would highlight artwork while providing functional illumination. The lighting choices should enhance rather than compete with the fireplace’s glow.
Area rug placement and furniture arrangement complete the fireplace zone. I positioned my seating to enjoy both the flames and television above, creating a comfortable conversation area. A rug anchors the space and adds warmth underfoot, balancing the hard surfaces of the surround and flooring. These final styling decisions make the DIY surround feel like an integral part of a thoughtfully designed living space rather than an afterthought.
Maintenance and Safety Considerations
Regular dusting keeps my surround looking fresh, using a microfiber cloth to avoid scratching the painted finish. The mantel shelf requires occasional polishing with furniture wax to maintain its luster. I check all electrical connections annually and keep the fireplace vents clear of dust buildup. Following the manufacturer’s maintenance schedule ensures safe, efficient operation for years to come.
Safety precautions are especially important with DIY installations. I installed a heat-resistant barrier between the fireplace unit and wooden surround, even though electric models don’t get as hot as gas or wood-burning options. Flammable decorations are kept well away from the heating elements. The fireplace automatically shuts off if overheated, but proper clearances and ventilation prevent this safety feature from being tested.
Long-term, I expect to repaint the surround every few years to maintain its like-new appearance. The high-quality paint I used should withstand gentle cleaning without wearing through. Should I ever want to update the look, changing the paint color or replacing decorative trim pieces offers an easy refresh. The solid construction means this surround should last as long as the fireplace unit itself, with only cosmetic updates needed over time.
What’s the best material for a DIY electric fireplace surround?
MDF (medium-density fiberboard) works exceptionally well for most DIY surrounds because it’s affordable, stable, and easy to work with basic tools. I used MDF for the main structure of my surround and have been pleased with how it holds paint and resists warping. For areas that might get bumped or scratched, like the mantel shelf, I recommend solid wood – pine is cost-effective and takes stain or paint beautifully.
More advanced DIYers might use plywood for the entire structure, though it requires more finishing work to hide the edges. For specific styles, materials like brick veneer or stone tiles can create different looks but require additional skills to install properly. Whatever material you choose, ensure it’s properly sealed and finished to withstand the slight heat and normal wear a fireplace surround experiences.
How much clearance does an electric fireplace need?
Clearance requirements vary by model, so always check your specific unit’s manual first. Most electric fireplaces need at least 1/2 inch clearance on all sides for proper ventilation, with more space above if heat is emitted from the top. My unit required 6 inches of clearance from combustible materials above, which I accommodated in my surround design.
Unlike wood-burning fireplaces, electric models don’t need massive clearance, but proper airflow prevents overheating and ensures efficient operation. I left extra space around my unit beyond the minimum requirements for added safety and easier maintenance access. Never completely enclose an electric fireplace unless it’s specifically designed for built-in installation with zero clearance. When in doubt, more space is better than less.
Can you build a surround for a wall-mounted electric fireplace?
Absolutely! Wall-mounted electric fireplaces often benefit most from custom surrounds since they can look unfinished on their own. The process differs slightly because you’re building around a surface-mounted unit rather than inserting one into an opening. I helped a friend create a floating surround for their wall-mounted fireplace using sturdy French cleats for support.
The key considerations are properly supporting the surround’s weight and leaving adequate ventilation space behind the unit. We built a shallow decorative frame that extends about 6 inches from the wall, with cutouts for the fireplace’s vents. The result looks like a built-in feature rather than an afterthought. For ultra-thin wall-mounted models, you might create the illusion of depth using strategic trim work and paint colors.
How do you hide the cords on an electric fireplace?
Concealing cords creates a cleaner, more professional look. For my installation, I used a recessed power outlet installed directly behind the fireplace unit – this required cutting into the drywall, but made all cords completely invisible. Another option is running cords through the wall using a power bridge kit, which meets electrical codes without requiring new wiring.
If wall modifications aren’t possible, paintable cord covers can blend cords into the wall color. I’ve also seen clever solutions where cords run through a groove in the surround’s side trim. Whatever method you choose, ensure cords aren’t pinched or exposed to heat sources. Proper cord management not only looks better but also prevents tripping hazards and potential damage to the wiring.
What tools are needed for a DIY fireplace surround?
Basic woodworking tools will handle most surround projects. I used a circular saw for major cuts, a miter saw for precision trim work, and a brad nailer for assembly. Essential hand tools included a level, tape measure, square, and sanding blocks. A table saw helps with ripping sheets if you’re using MDF or plywood, but you can have these cut at the hardware store.
For finishing, a good paint sprayer gives professional results but rollers and brushes work fine. Don’t forget safety gear – goggles, ear protection, and a dust mask are musts when cutting MDF. If you’re adding decorative elements, a router expands your design options. Many tools can be rented if you don’t own them, making this project accessible even without a fully equipped workshop.
How much does a DIY electric fireplace surround cost?
Costs vary based on materials and size, but my 60-inch wide surround cost about $300 in materials. MDF sheets, pine boards, trim pieces, paint, and hardware made up most of the expense. Choosing premium moldings or exotic woods would increase the price significantly. Compared to prefabricated surrounds costing $1,000+, the DIY approach offers substantial savings.
The real value comes from customization – no store-bought surround would fit my space and style as perfectly as my DIY version. If you need to purchase tools, factor those costs in, though many can be used for future projects. For budget-conscious builders, using salvaged materials or simplifying the design can reduce costs further without sacrificing quality. The investment pays off in both financial savings and personal satisfaction.
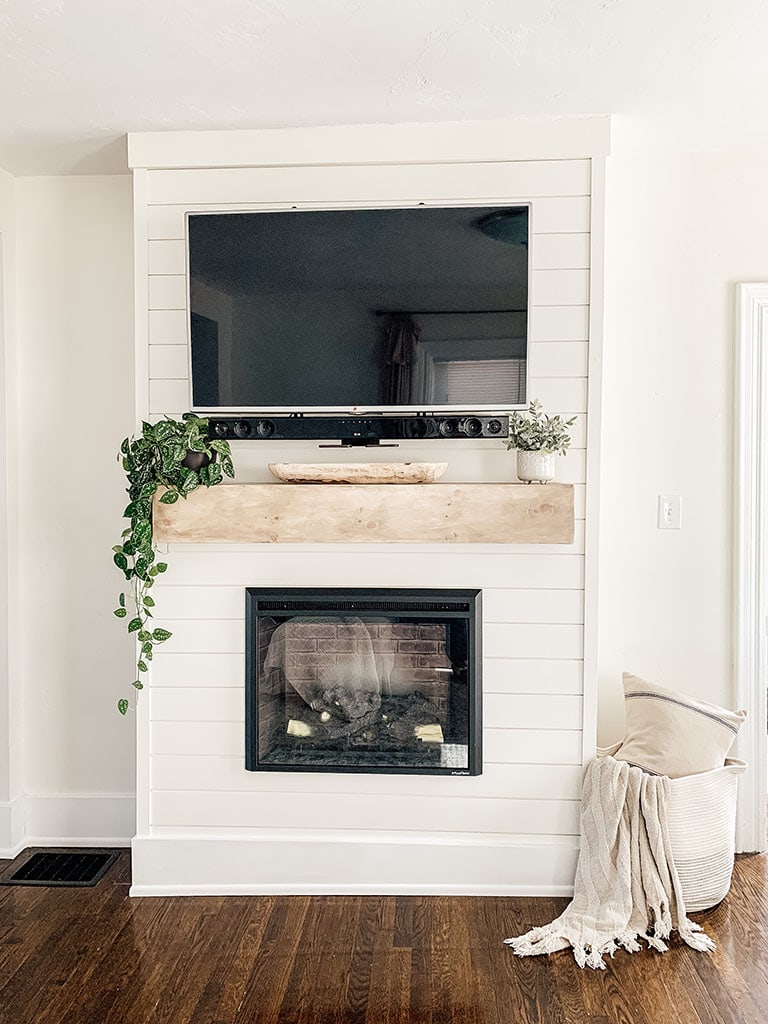
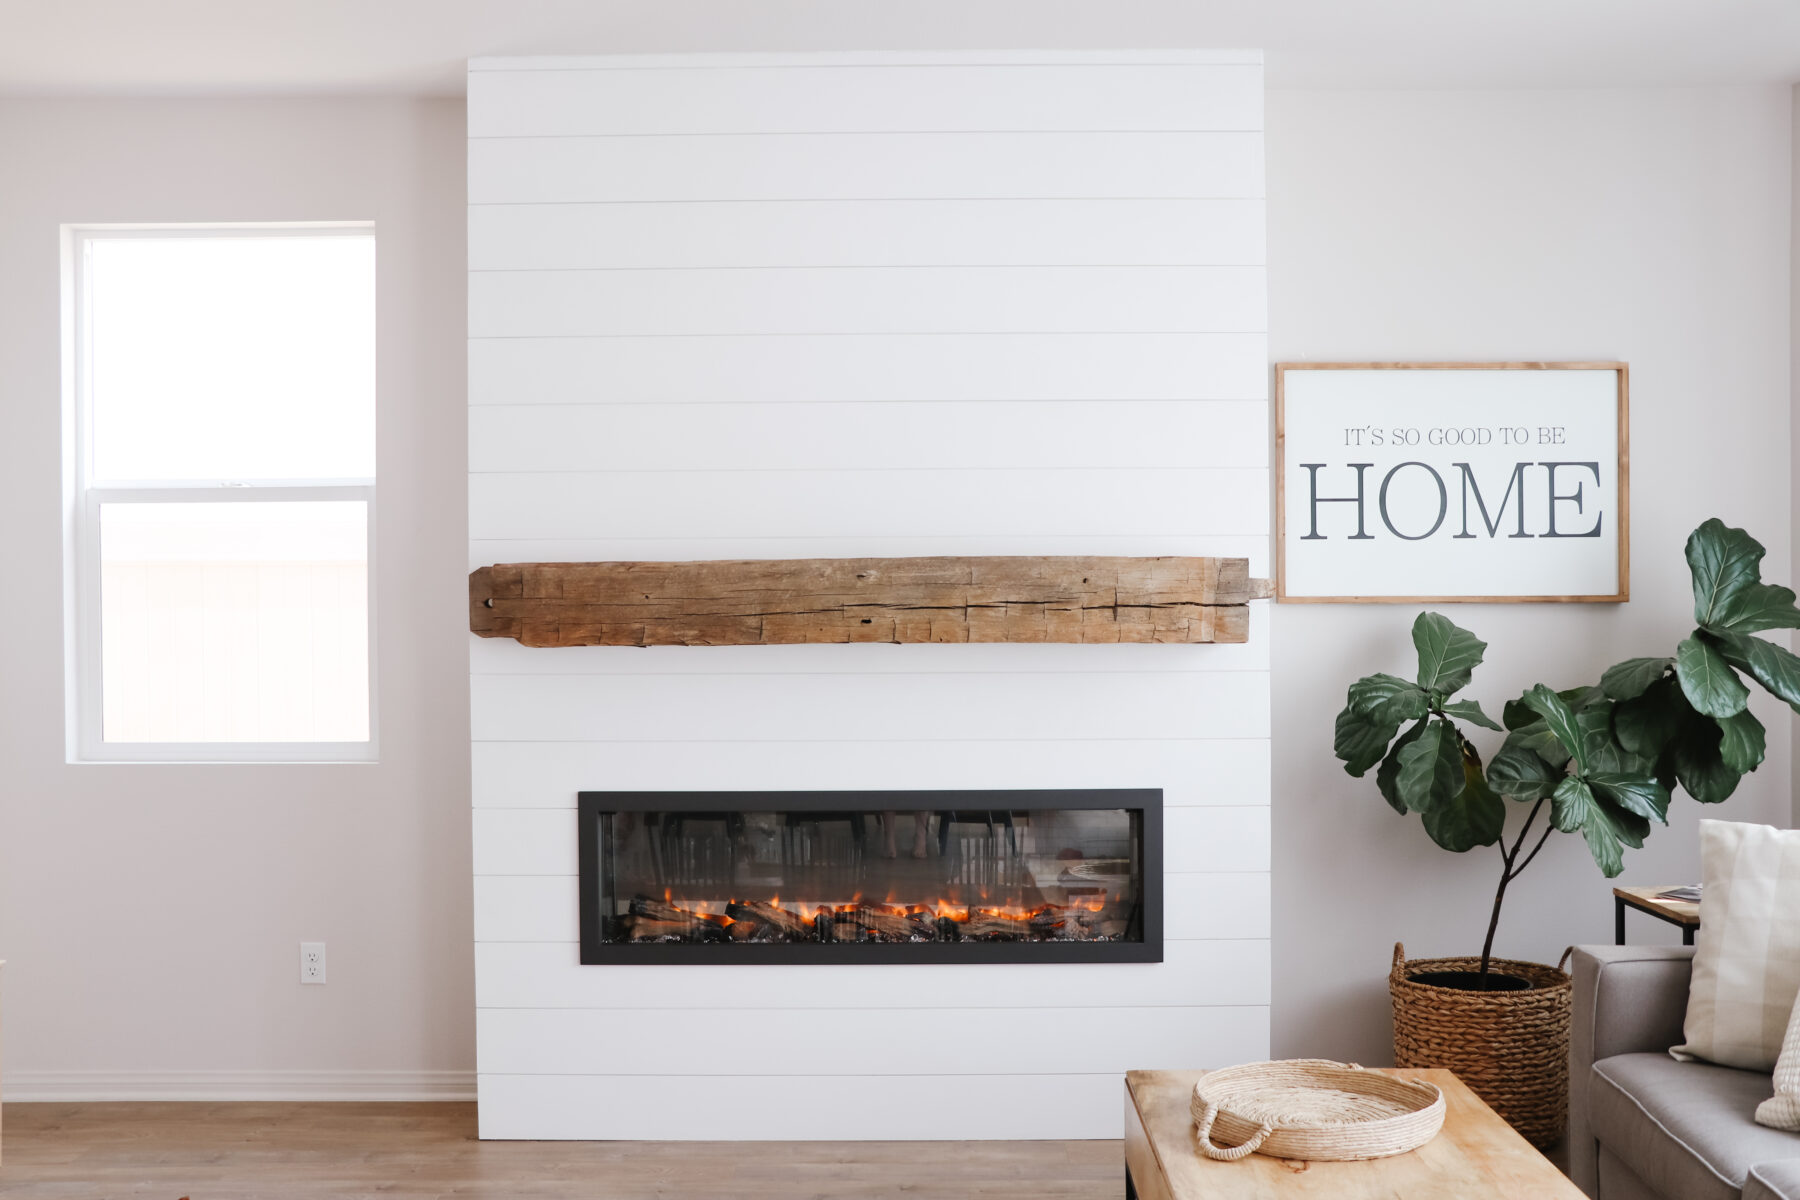
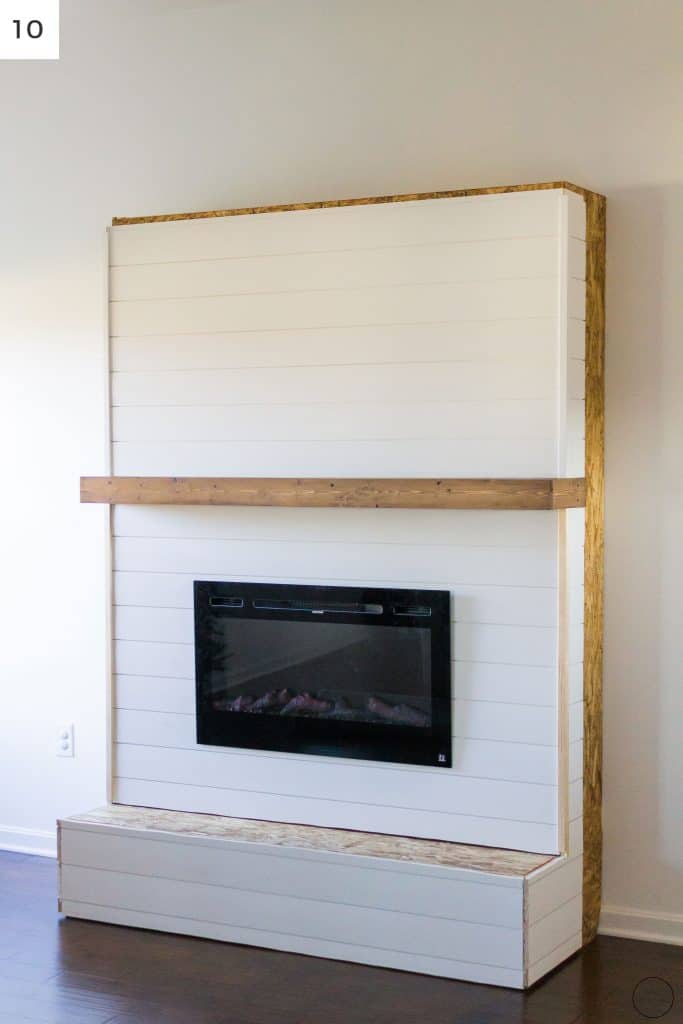
DIY Shiplap Electric Fireplace u0026 Mantel – Micheala Diane Designs
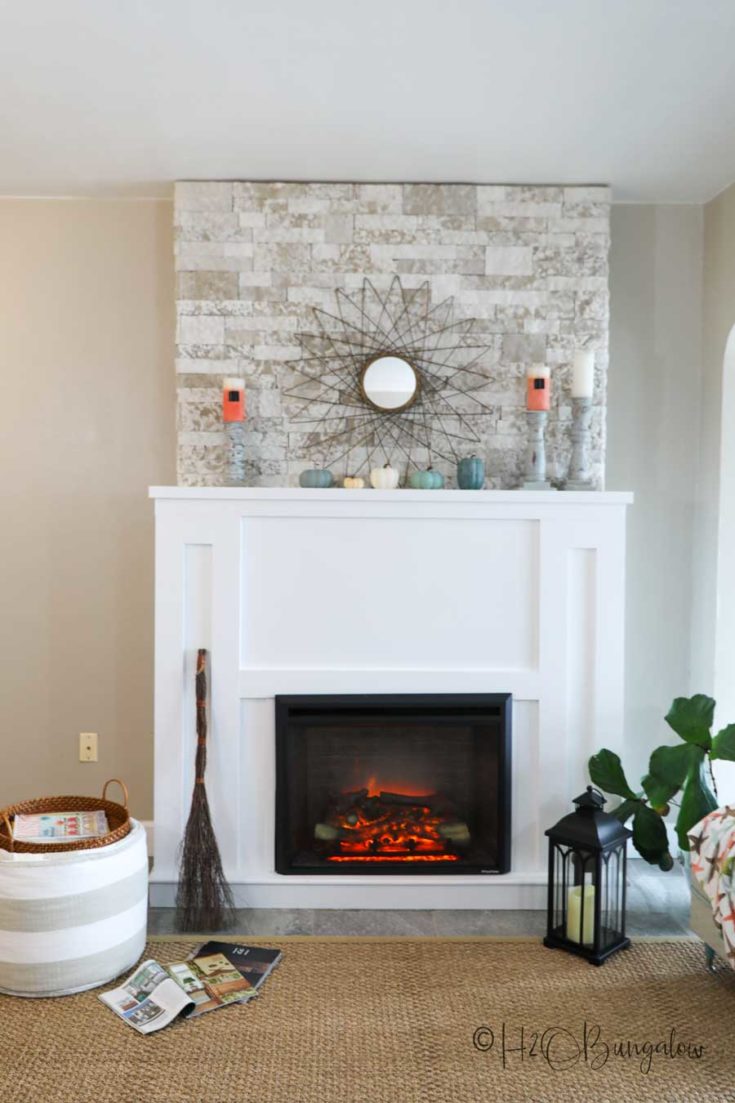
DIY Electric Fireplace For Under $500 – House To Home DIY
Electric Fireplace Mantle DIY – She Holds Dearly
DIY: Shiplap Electric Fireplace with Built-In Bookshelves – Free
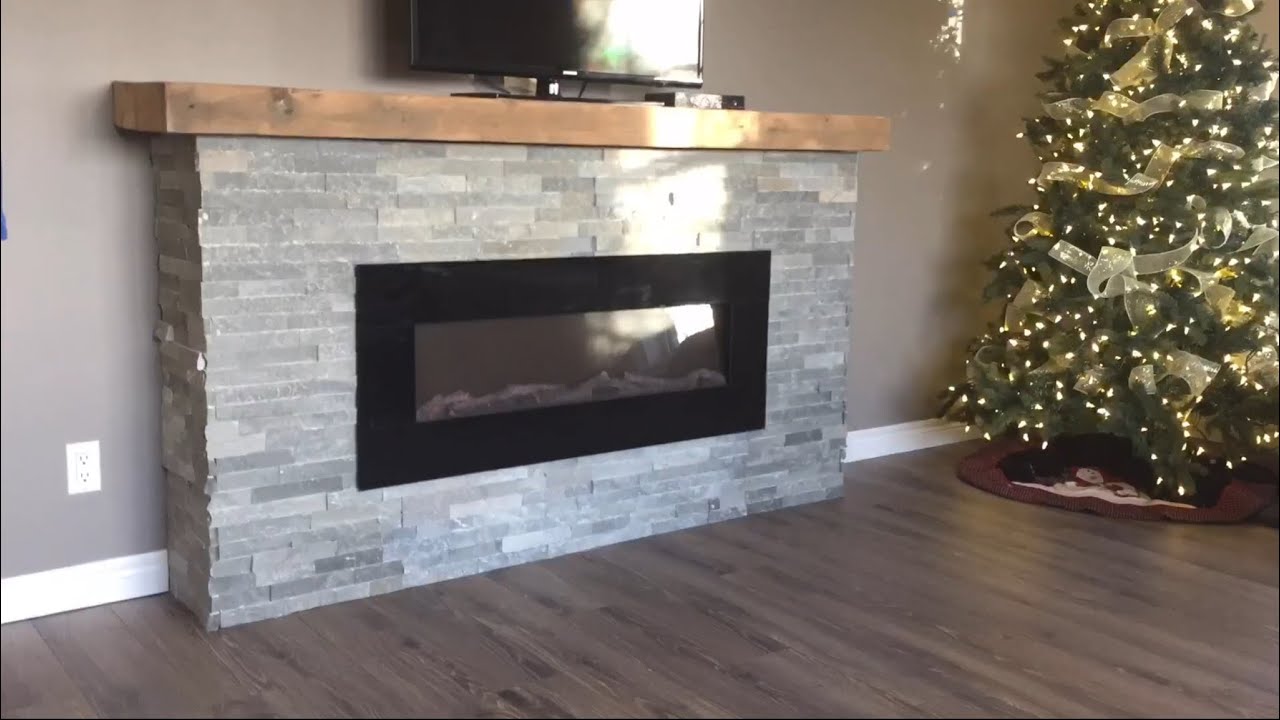
Weekend DIY fireplace build – ELECTRIC fireplace time lapse
Related Posts:
- Small Free Standing Electric Fireplace
- Electric Fireplaces White Finish
- Limestone Electric Fireplace
- Electric Fireplace Surround DIY
- Electric Fireplace With TV
- The Most Realistic Electric Fireplace
- Chalk Paint Electric Fireplace
- Victorian Style Electric Fireplace
- Electric Fireplace Real Looking Flame
- Amish Mantel Electric Fireplace