Building a wooden fireplace surround is a rewarding DIY project that can transform your living space. Begin by choosing the right type of wood, such as oak, pine, or maple, depending on your desired finish and durability. Gather essential tools like a saw, measuring tape, screws, wood glue, and a drill. Plan your design by taking precise measurements of your fireplace and sketching out a blueprint. With a clear plan and quality materials, you can achieve a professional-looking surround that enhances your fireplace’s aesthetic.
Images about DIY Wooden Fireplace Surrounds
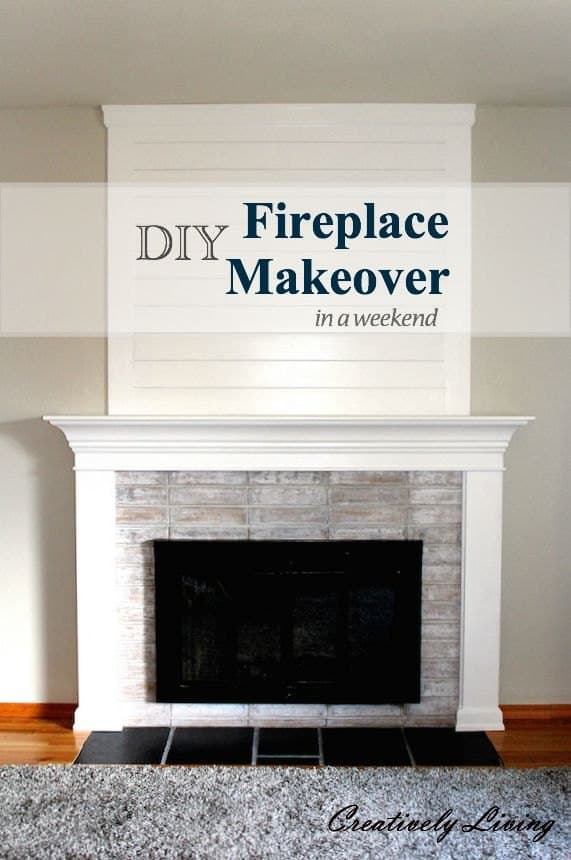
DIY Wooden Fireplace Surrounds
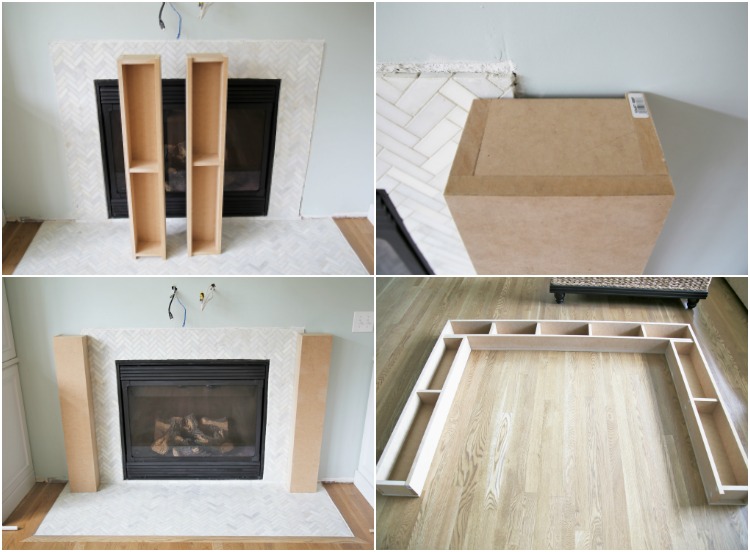
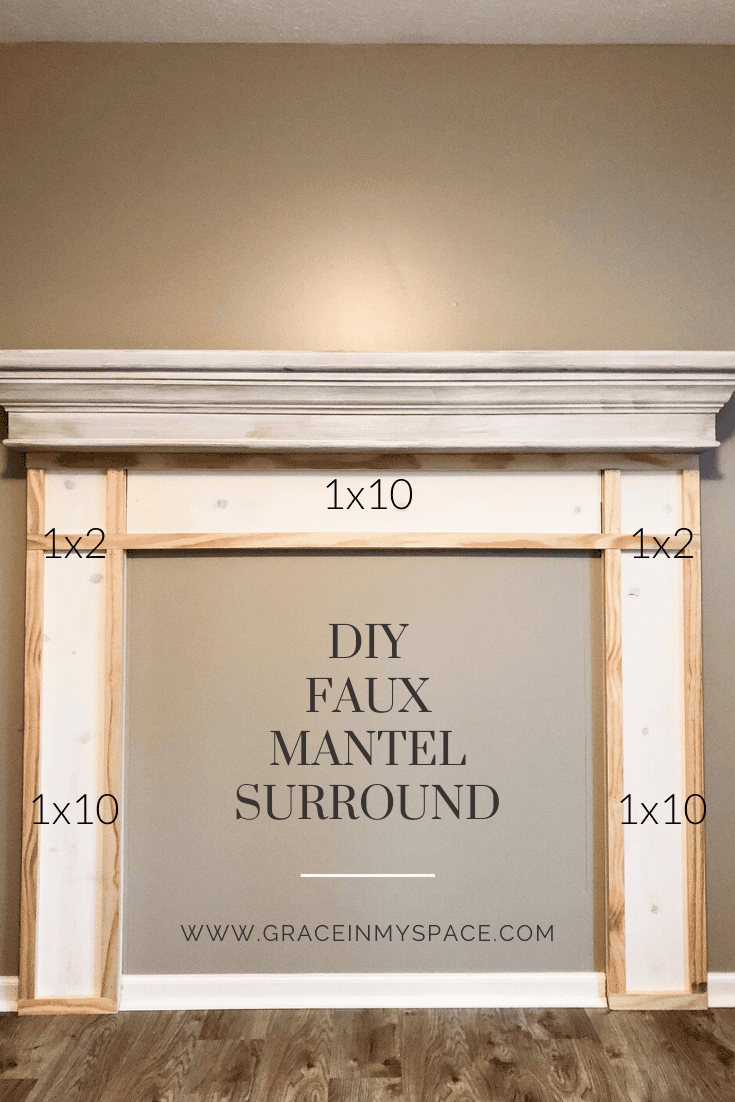
Start by constructing the main frame of the surround. Cut the wood pieces according to your measurements, ensuring they fit snugly around the fireplace. Assemble the frame using wood glue and screws, securing all joints tightly. To add stability, consider reinforcing the corners with brackets or metal angles. Once the frame is assembled, sand the wood to remove any rough edges or splinters. This step ensures a smooth surface for painting or staining, giving your surround a polished and refined look.

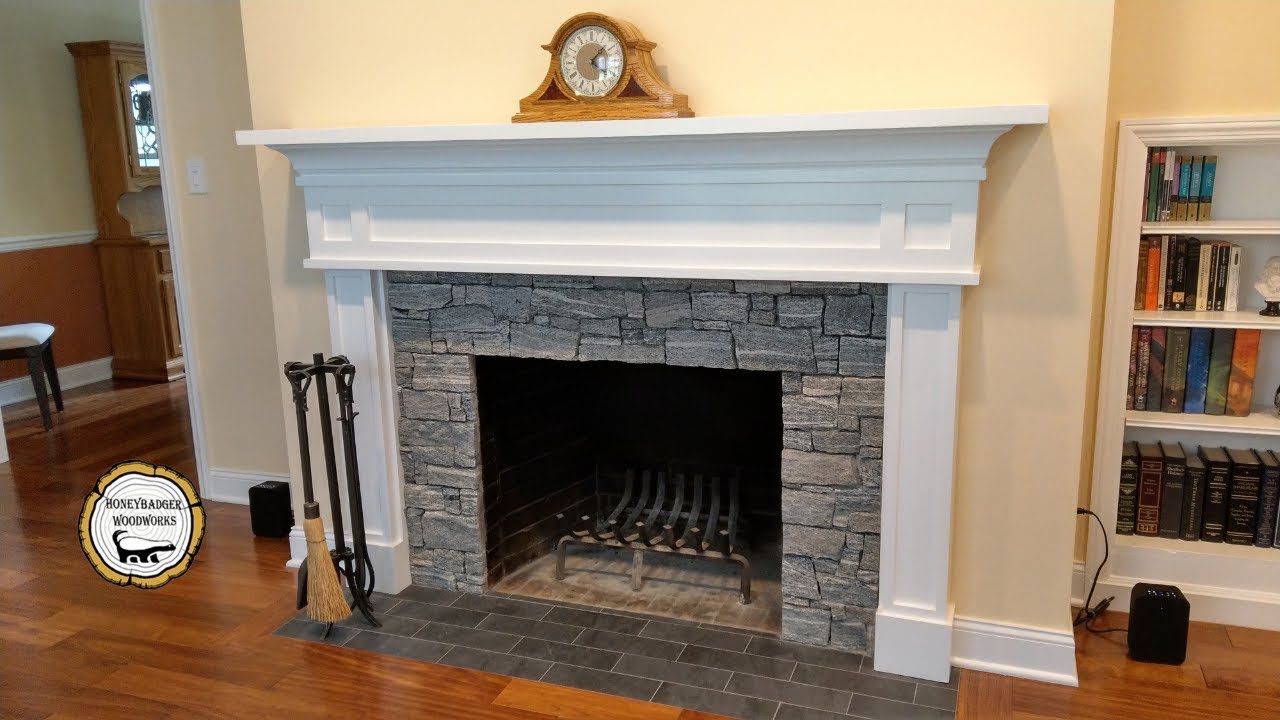
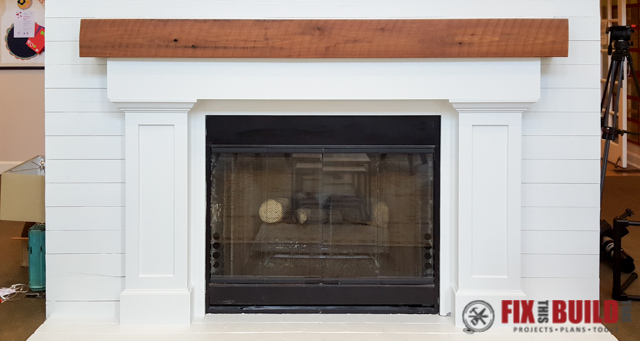
Next, add decorative elements to your fireplace surround. Moldings, trims, and corbels can enhance the design, adding character and depth. Attach these elements to the frame using wood glue and finishing nails. Consider incorporating a mantel shelf for additional functionality and visual interest. The mantel can serve as a display area for photos, candles, or seasonal decorations. Personalizing the design with these details creates a unique and charming centerpiece for your room.
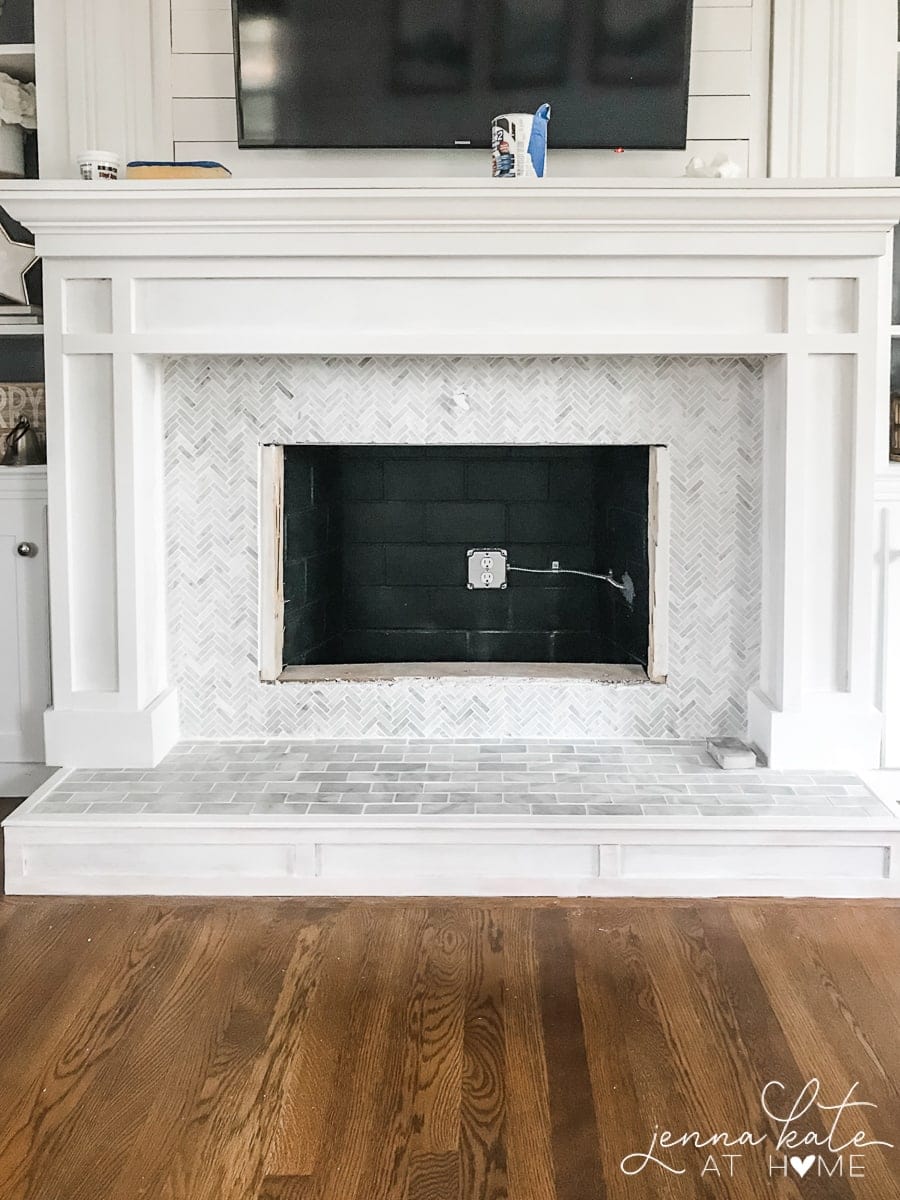
Once the construction is complete, it’s time to finish the wood. Choose a paint or stain that complements your room’s decor. Apply a primer first to ensure even coverage and adhesion. Follow with several coats of your chosen finish, allowing each coat to dry thoroughly. A clear topcoat can add extra protection and shine. This step not only enhances the beauty of the wood but also protects it from wear and tear, ensuring your surround remains a stunning feature for years to come.
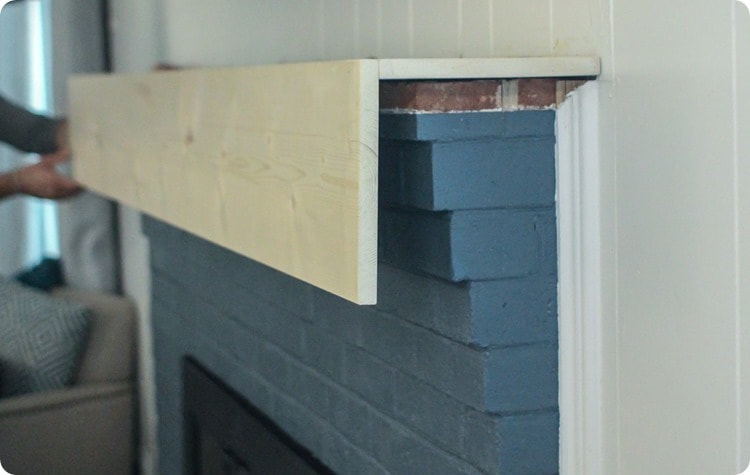
Finally, install your wooden fireplace surround. Secure it to the wall and floor using appropriate hardware, ensuring it is level and stable. Double-check all connections to guarantee a safe and secure fit. Once installed, you can decorate the mantel and surrounding area to suit your style. By following these steps, you can create a beautiful DIY wooden fireplace surround that adds warmth and elegance to your home. This project allows you to showcase your craftsmanship and create a custom look that reflects your personal taste.
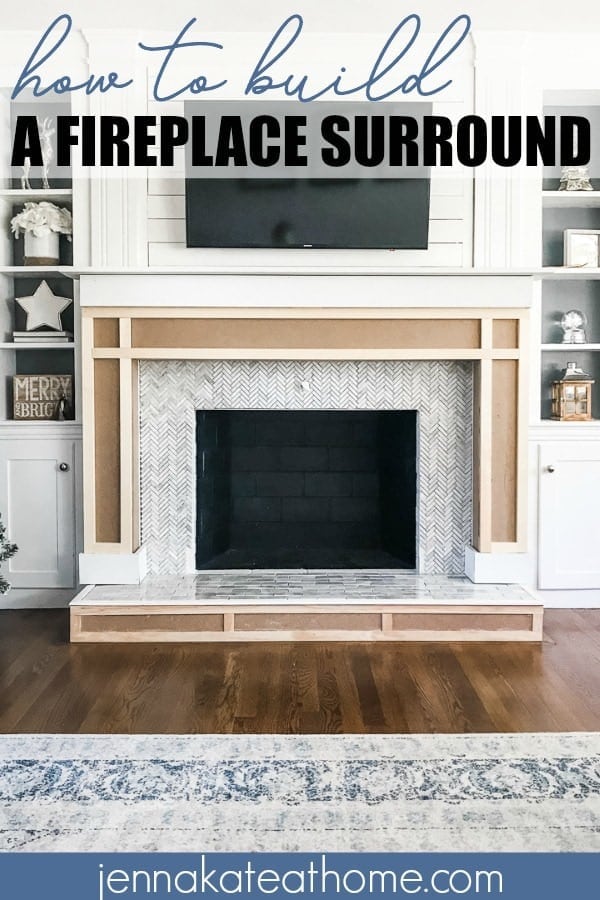
DIY Fireplace Mantel and Surround – Jenna Kate at Home
DIY rustic fireplace mantel: the cure for a boring fireplace
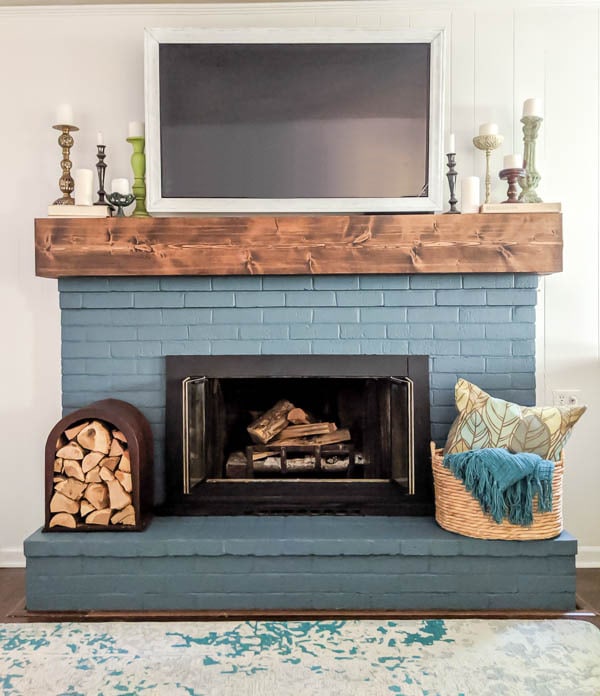
DIY Faux Fireplace Mantel Tutorial – Grace In My Space
Easy DIY wood mantel – Remington Avenue

DIY Faux Fireplace u0026 Mantel Rebecca Propes Design u0026 DIY Faux

How to Build a Fireplace Surround and Mantel FixThisBuildThat
DIY rustic fireplace mantel: the cure for a boring fireplace
Homey DIY Fireplace Mantels
Related Posts: