There’s something special about gathering around an outdoor fire, whether for warmth, cooking, or simply to watch the flames flicker. Building your tiny outdoor fireplace is a gratifying endeavor that can turn your backyard into a warm refuge. Unlike store-bought fire pits, a custom-built fireplace allows you to select the size, materials, and design that best suit your area and style. In this article, I’ll go over the benefits, materials, and step-by-step process for building your tiny outdoor fireplace.
Why Build a DIY Small Outdoor Fireplace?
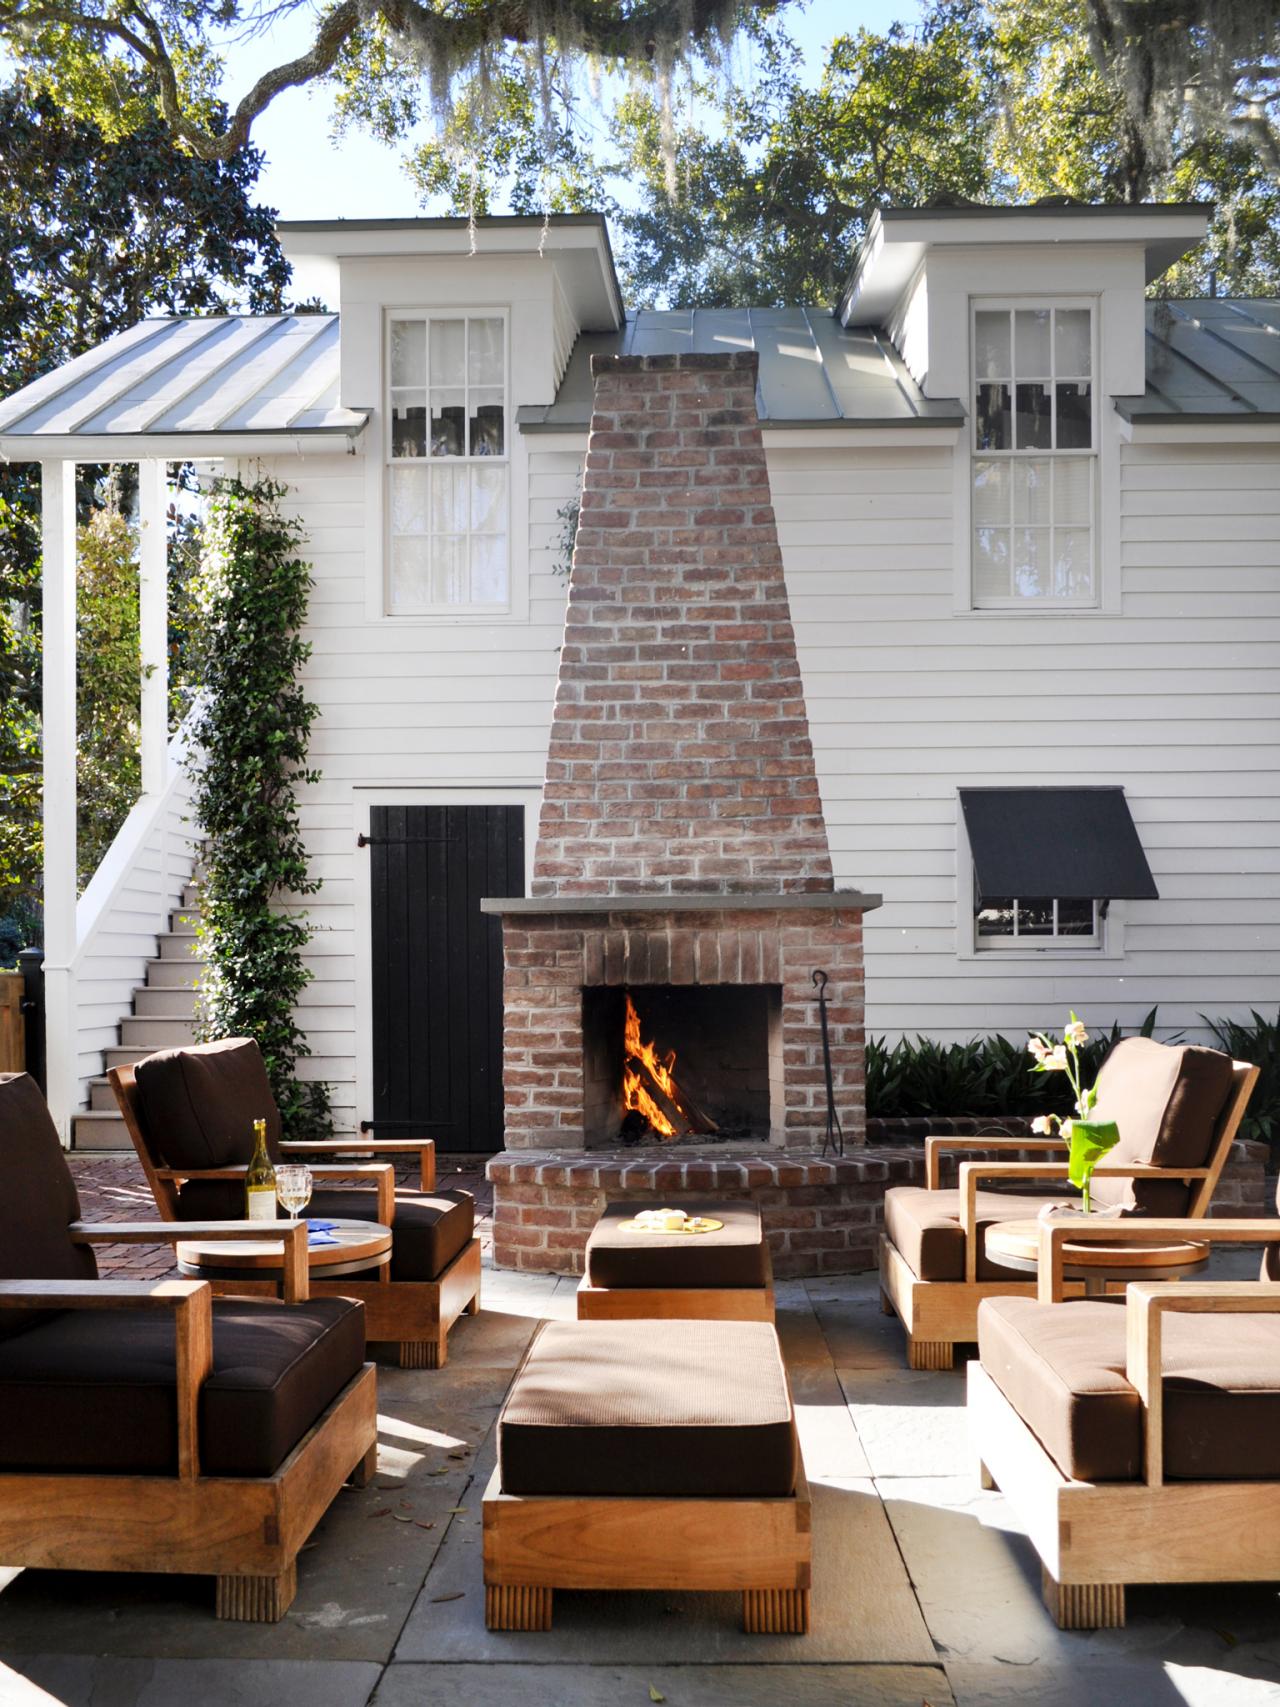
A DIY outdoor fireplace provides more than simply warmth; it also serves as a focus point for social gatherings. I built mine last summer, and it quickly became a popular gathering location for family and friends. Unlike portable fire pits, a permanent fireplace gives structure and personality to your outdoor environment. You may customize it to fit your patio or garden, making it feel like a natural extension of your house. It’s also an excellent approach to boost the value of your property without making a significant investment.
Another advantage is the option to change the size and form. If you have a small backyard, like I do, a smaller fireplace will fit well without overwhelming the room. You can also select between wood-burning and gas choices based on your preferences. I chose wood because I enjoy the crackling sound and smoky aroma, but gas is cleaner and easier to maintain. In any case, having a designated fire pit enhances outdoor entertaining.
Building it yourself also saves money over hiring an expert. With some basic tools and supplies, you can build a durable and appealing fireplace in a weekend. I was astonished at how inexpensive it was—the majority of the components came from my local hardware store—and the sense of satisfaction after completing the job was invaluable. If you prefer doing hands-on labor, this is an excellent method to improve your outdoor living space.
Selecting the Right Materials
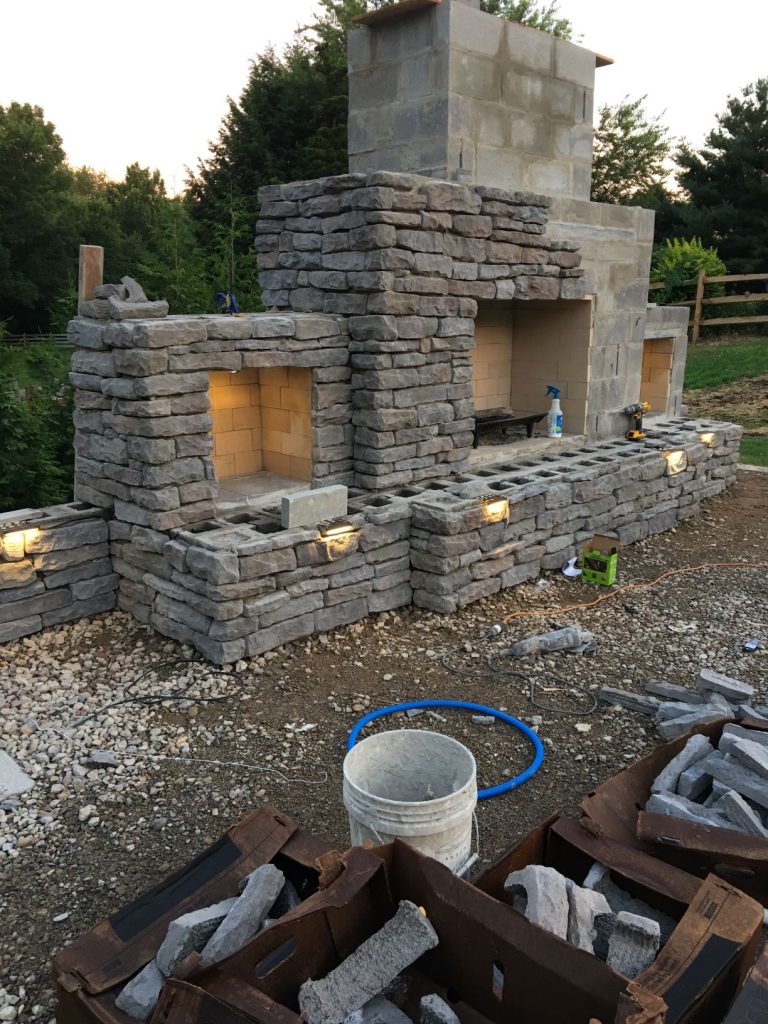
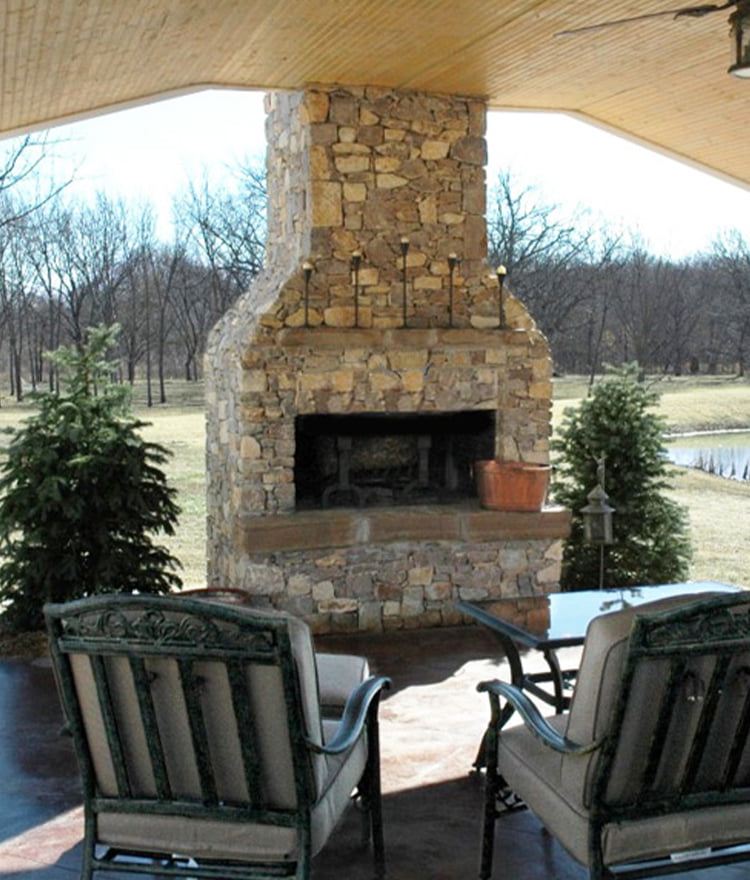
The materials you select will impact the durability and appearance of your fireplace. I utilized concrete blocks for the base and structure because they are durable, heat-resistant, and easy to work with. You can also use bricks or natural stone to create a more rustic or sophisticated look. I preferred the simplicity of concrete blocks, but if you want a more elaborate design, stone veneer is an excellent choice for covering the exterior.
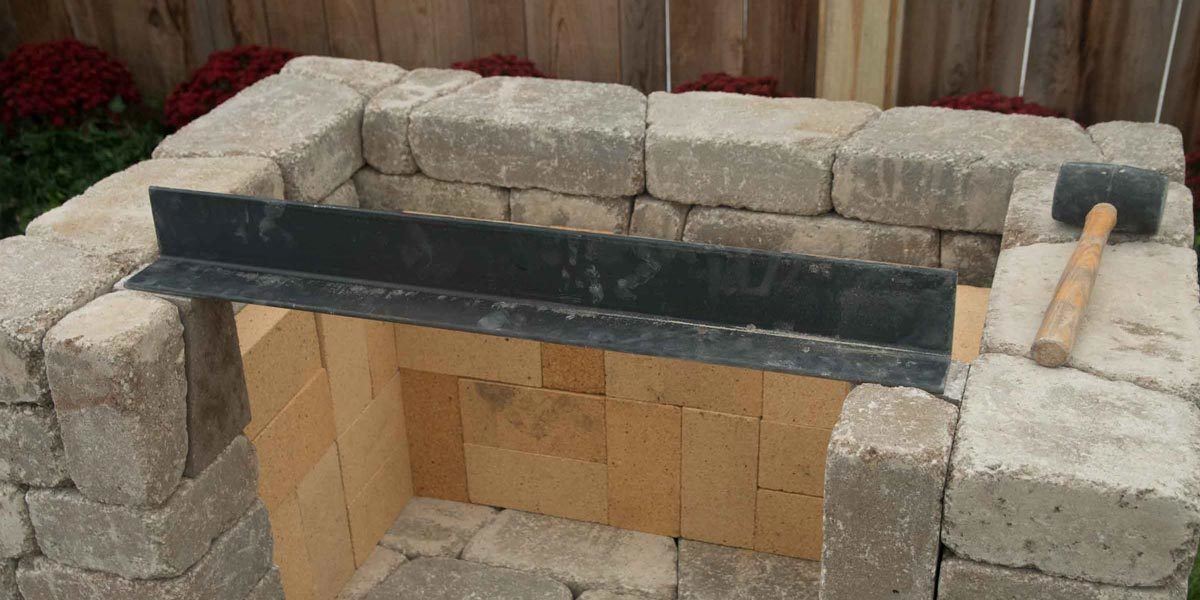
Refractory firebricks are required for the firebox, which will contain the flames. In contrast to conventional bricks, these bricks can tolerate high temperatures without cracking. I lined the inside of my fireplace with these to ensure its safety and endurance. You will also need heat-resistant cement to keep everything together. Regular mortar will not do—it can disintegrate under extreme heat, so do not omit this step.
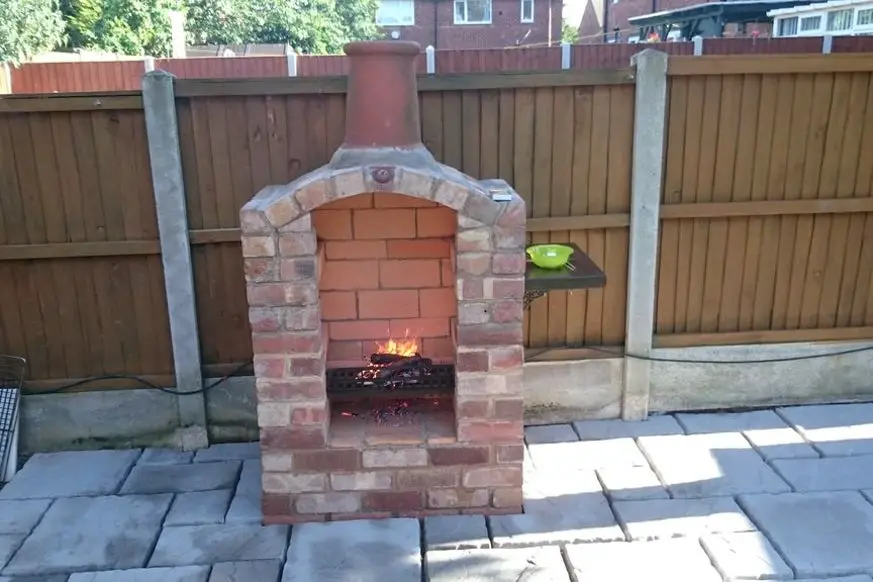
Finally, consider the final touches. A metal grate or grill can be added for cooking, and a spark screen will prevent embers from flying away. I also installed a small chimney to increase ventilation and reduce smoke. If you want to use a gas fireplace, you will need a gas line and a burner kit. Whatever materials you choose, be sure they are suitable for outdoor use and can withstand extreme temperatures.

Step-by-Step Building Process
First, choose a safe and convenient site. I selected a location at least 10 feet from my house and any overhanging trees. Check the local fire rules to guarantee compliance; some localities require permits for permanent fireplaces. After you’ve mapped out the area, dig a shallow foundation (approximately 6 inches deep) and fill it with gravel for drainage. Then, pour a concrete slab to form a strong foundation. Allow it to cure for at least 24 hours before adding on it.
Next, begin laying the blocks or bricks for the fireplace walls. I used a level to ensure that each row was straight and applied heat-resistant mortar between the layers. Leave an aperture in the front for the firebox and another at the top for the chimney, if you’re installing one. As you progress, ensure that the construction is level and plumb. It’s better to rectify mistakes now than to dismantle everything later.
Once the walls are completed, line the firebox with refractory bricks and add any other features such as a grill or spark screen. If you are using gas, connect the burner according to the manufacturer’s instructions. Finally, apply the finishing touches. I used stone veneer to cover the concrete blocks and give my fireplace a polished appearance. Allow the mortar to set completely before igniting the first fire.
Safety Tips for Your Outdoor Fireplace
When using an outdoor fireplace, safety should always come first. Keep a fire extinguisher or bucket of water nearby just in case. I also removed any dry leaves or debris from around the fireplace to avoid inadvertent fires. A non-flammable surface, such as stone or brick, should be at least 3 feet around the fireplace to establish a safe zone.
Never leave a fire unattended, especially when children or pets are present. I always supervise the fire until it is totally extinguished. If you’re using wood, avoid burning treated lumber or rubbish, which can emit hazardous vapors. For cleaner and safer flames, use dry, well-seasoned hardwood. A spark screen is essential—it keeps embers contained while enabling you to enjoy the view.
Regular maintenance will ensure that your fireplace remains in good working order. After each usage, remove the ashes and inspect for cracks or loose bricks. I inspect mine before the beginning of each season to ensure that everything is secure. If you find any damage, repair it right once to avoid more complications. A well-maintained fireplace will last for years and provide many nice evenings.

Creative Design Ideas
Your DIY fireplace does not have to be plain; there are numerous ways to personalize it. For a more coherent design, I built-in seating around mine using the same materials. You might also include a pizza oven or grill for outside cooking. A buddy of mine created a curving fireplace with a mosaic tile façade that looks wonderful at night when the flames reflect off the tiles.
Lighting may improve the ambiance. I added solar-powered LED lights around the base of my fireplace to create a lovely glow. String lights or lanterns placed close can also help to create a beautiful environment. For a modern touch, try a sleek, angular design with a metal fire bowl inlay. The goal is to coordinate the style with your outdoor décor while keeping functionality in mind.
A corner fireplace is an excellent space-saving solution for smaller rooms. I’ve even seen folks use old metal drums or washing machine containers to create a rustic, industrial effect. If you’re not sure about your construction talents, pre-made fireplace kits are available, albeit they may limit modification. Make your design unique; after all, half the pleasure is in the creative process.
Costs and Time Investment
Building a modest outdoor fireplace is surprisingly inexpensive if you are willing to do the work yourself. My project cost approximately $300, which included concrete blocks, refractory bricks, and mortar. If you choose natural stone or a gas line, the cost will rise, but it will still be less expensive than hiring a contractor. Shopping for supplies during bargains or using reused bricks can also save money.
It took me two weekends to finish my fireplace. The first was for the foundation and base, and the second for the walls and final touches. If you’re new to DIY projects, take your time—rushing can result in mistakes. Enlist a companion to assist with heavy lifting or difficult steps. When you sit by your own homemade fire, the work is worthwhile.
When compared to purchasing a prefabricated fireplace, DIY allows you greater control over the finished product. Store-bought solutions can cost more than $1,000 and often lack charm. Building it yourself not only saves money but also provides a sense of accomplishment every time you use it. Furthermore, you can customize the design as you go to meet your exact requirements.

What is the ideal site for a small outdoor fireplace?
Choose a flat area distant from structures and free of overhanging branches. I set mine up on a patio with a non-flammable foundation at least 10 feet from the house. Check the local fire laws; some places demand particular distances from property borders. Avoid windy regions where sparks could fly, and ensure that the location is suitable for gatherings.
Can I construct an outdoor fireplace without concrete?
Yes, but concrete gives the most sturdy foundation. If you like, you can use pavers or a pre-made fire pit insert, although they may not last as long. A metal fire bowl on a gravel bed is a viable interim option, but it lacks the permanency and heat retention of a brick fireplace.

How can I prevent smoke from flying into seating areas?
A chimney or smoke shelf directs smoke upward. I tilted my chimney slightly to catch the prevailing winds. Positioning the fireplace such that the opening faces away from the seating area also helps. If smoke is still an issue, consider burning well-seasoned wood, as green wood emits more smoke.
Which is better: a gas or a wood-burning fireplace?
Wood-burning creates a traditional campfire atmosphere but requires additional upkeep. Gas is cleaner and quicker to start, but it loses the crackling effect. I prefer wood for a real experience, although gas works well for quick, hassle-free fires. Consider your priorities: convenience or atmosphere.

Do I need a permission to construct an outdoor fireplace?
It is dependent on local rules. Some locations require licenses for permanent structures, particularly those that exceed a certain height or consume gas. I consulted with my city’s construction department before beginning. Always check the rules to avoid fines or having to dismantle your fireplace later.
How can I clean and maintain my outdoor fireplace?
Remove the ashes after each usage to avoid accumulation. Every year, inspect the bricks and mortar for cracks and repair them with heat-resistant mortar. If you live in a rainy or snowy climate, cover your fireplace during the winter to prevent water damage. A little maintenance goes a long way towards preserving your fireplace.
DIY Outdoor Fireplace, Fire Pit, and Tabletop Fire Ideas
Fireplaces Warm Up Patios, Outdoor Rooms

Outdoor Fireplace Kits Straight Front
How to Build an Outdoor Fireplace on a Budget

Related Posts:
- Stacked Stone Outdoor Fireplace
- DIY Small Outdoor Fireplace
- Outdoor Fireplaces Firepits
- Simple Brick Outdoor Fireplace
- Ideas For Outdoor Fireplaces On Patios
- Outdoor Fireplace Ideas Stone
- Outdoor Rock Fireplace Designs
- DIY Outdoor Fireplace Designs
- Outdoor Fireplace Ideas Deck
- Outdoor Cooking Fireplace Designs