DIY Glass Fireplace Screen
A fireplace adds charm, comfort, and ambiance to any living space—but it can also pose safety risks if not properly enclosed. That’s where a fireplace screen comes in. While metal mesh and ornate wrought-iron screens are common, a DIY glass fireplace screen offers a sleek, modern look that blends seamlessly with various interior styles. Best of all, it’s a manageable project for any motivated homeowner or weekend DIYer. Let’s break the process down into five easy-to-follow steps, each with comprehensive details to help you build a stylish, functional glass screen from scratch.
Plan Your Screen and Gather Materials
- Define Your Design: First things first—decide what kind of fireplace screen you want. Do you prefer a frameless look for a minimalist aesthetic, or are you going for something with a metal frame for added durability? Choose between a single flat pane or a tri-fold design that can stand independently. Take accurate measurements of your fireplace opening and consider how much coverage you’ll want on each side and above the opening.
- Choose Your Glass: The most important element of your screen is, of course, the glass. Opt for tempered glass, which is heat-resistant and much safer than standard glass. Thickness should range from 1/4″ to 3/8″ depending on the size of the screen and whether or not it will have a frame. Frameless designs should use thicker glass for stability.
- Gather Tools and Hardware: Here’s what you’ll need: glass panels (pre-cut or custom-cut), silicone adhesive or caulk, rubber bumpers or feet, L-brackets or hinges (for folding panels), and optional frame materials like aluminum or wood. You’ll also need tools like a caulk gun, clamps, a measuring tape, a level, and safety gear like gloves and goggles.
- Safety First: When working with glass, safety is paramount. Always wear heavy-duty gloves, protective eyewear, and long sleeves to protect from sharp edges or accidental breakage. Clear your workspace and place a thick blanket or foam mat underneath the glass during handling.
- Budgeting and Sourcing: A DIY glass fireplace screen is often cheaper than store-bought options, but costs can vary based on the glass size and materials. Pre-cut tempered glass can be found at most home improvement stores, or you can have custom panels cut at a glass shop. Expect to spend between $50 and $200 depending on the complexity and finish.
Cut and Prepare the Glass Panels
Consider Pre-Cut Glass:
Unless you have prior experience with glass cutting, it’s best to purchase pre-cut tempered glass. Tempered glass cannot be cut once it’s been treated, so make sure your measurements are accurate if you’re ordering custom sizes. Pre-cut panels come in various dimensions, and most glass suppliers will finish the edges to prevent injury.
Optional: DIY Glass Cutting (for Non-Tempered Panels):
If you’re using standard glass for a purely decorative fireplace (i.e., non-functional), you can cut it yourself using a glass cutter and a straight edge. Mark your measurements, score the glass in one continuous motion, then snap it cleanly over a firm edge. Sand the edges smooth with a diamond file or fine-grit sandpaper.
Drill Mounting Holes (If Needed):
If your design includes hinges or standoff brackets, you’ll need to drill holes in the glass. This requires a glass drill bit and a steady hand. Always drill slowly and keep the area cool using water. Again, only attempt this with standard glass, as tempered glass will shatter if drilled.
Clean and Inspect the Glass:
Once cut, clean each panel thoroughly using a glass cleaner and microfiber cloth. Inspect the edges for chips or cracks, which can compromise the structural integrity of the piece. If you’re working with frameless panels, consider applying a rubber edge guard or decorative trim for a polished look.
Prepare for Assembly:
Lay your glass panels on a padded surface and double-check the dimensions against your fireplace. Mark alignment points for hardware using a non-permanent marker. If using a frame, assemble the frame parts and make sure the glass fits snugly within.
Build the Frame or Supports
Go Frameless or Framed:
There are two primary approaches here—frameless or framed. Frameless glass screens look ultra-modern but require careful mounting. Framed designs are easier to handle and provide extra durability. Metal frames like aluminum or stainless steel are heat-resistant and sleek; wooden frames add a cozy, rustic charm but must be fire-safe.
Construct a Base or Feet:
If you’re going frameless, the glass will need support feet or brackets to stand upright. These can be metal L-brackets mounted to a stone hearth, or rubber feet secured with adhesive. Some DIYers even use acrylic bookends or adjustable glass clamps for a minimalist base.
Assemble the Frame:
If your design includes a frame, assemble it using screws or corner brackets. Apply silicone sealant along the edges where the glass meets the frame for a snug fit and to prevent rattling. Clamp everything in place until the adhesive dries completely (usually 12–24 hours).
Add Hinges for Folding Panels:
For tri-fold or folding screens, attach hinges to the sides of the panels. Use small standoff hinges designed for glass or light-duty piano hinges mounted to an exterior frame. Make sure the panels fold easily and that the screen can stand on its own when arranged in a slight curve or zigzag.
Test Stability and Adjust:
Once assembled, test your screen’s balance. Adjust foot placement or frame angles as needed to ensure it doesn’t wobble. If it’s too top-heavy, consider adding a weighted base or wide feet. For extra security, you can install wall-mounted brackets or floor guides.
Secure and Finish the Assembly
Apply Silicone or Adhesive:
Use a clear, high-heat silicone adhesive to secure glass panels to brackets, feet, or the inside of a frame. Apply a thin, even bead and press the components together. Wipe away any excess before it dries, as it can be difficult to remove later.
Install Rubber Bumpers:
Rubber bumpers serve two purposes—they prevent the glass from scratching surfaces and absorb shock. Stick them to the bottom and sides of the screen or frame. This is especially important if your screen rests directly on tile or wood flooring.
Polish the Glass:
Once everything is set and dry, clean the glass thoroughly. Use a streak-free cleaner and a microfiber cloth to bring out the shine. Avoid ammonia-based products if you’ve used silicone, as it can weaken the bond. A final polish will help the screen look crisp and professional.
Add Optional Decorative Touches:
Consider adding frosted film designs, metal corner caps, or minimalist handles. These small details can elevate the design while staying functional. Stick-on decals or etched designs also offer a chance to personalize your screen without compromising safety.
Double-Check Functionality:
Before using the fireplace, test the screen in place. Make sure it doesn’t wobble, tip, or slide easily. If using near an active fire, confirm all adhesives and materials are rated for high heat. Only use your screen after all components are fully cured and secured.

Install and Maintain Your Fireplace Screen
Position the Screen Properly:
Place the screen a few inches in front of the fireplace opening. For tri-fold designs, gently angle the side panels for stability. Flat screens can be leaned against the hearth or placed within guides. Ensure there’s enough space for air to circulate if your fireplace relies on airflow.
Secure the Base (If Necessary):
In high-traffic homes or if you have pets and children, consider semi-permanent fixtures. Use brackets or adhesive pads to anchor the screen to your hearth or floor. These supports can prevent accidental tipping while still allowing you to move the screen when needed.
Regular Cleaning Tips:
Clean your glass screen at least once a week during fireplace season. Ash, soot, and smoke can leave residue that’s hard to remove if left too long. Use a glass-safe degreaser or vinegar solution for heavy buildup, and avoid abrasive scrubbers that may scratch the surface.
Inspect for Damage:
Over time, glass screens can develop chips or cracks from heat and handling. Check your screen regularly for any signs of wear. If you notice stress fractures or weakened silicone joints, it’s best to replace the panel or reapply adhesive to prevent accidents.
Off-Season Storage:
If you don’t use your fireplace year-round, consider storing the screen during warmer months. Wrap it in soft cloth and store it upright in a dry place to avoid moisture buildup or cracking. Seasonal storage also helps preserve the glass’s clarity and condition.
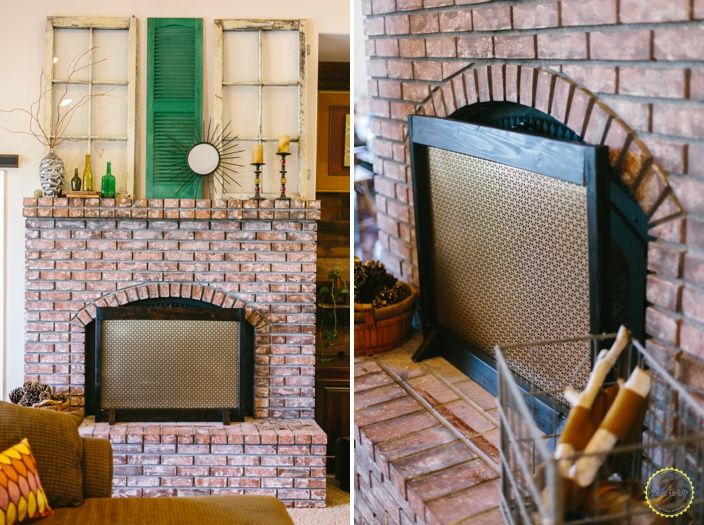
How To Make a Fireplace Screen Using a Window Sash Fireplace

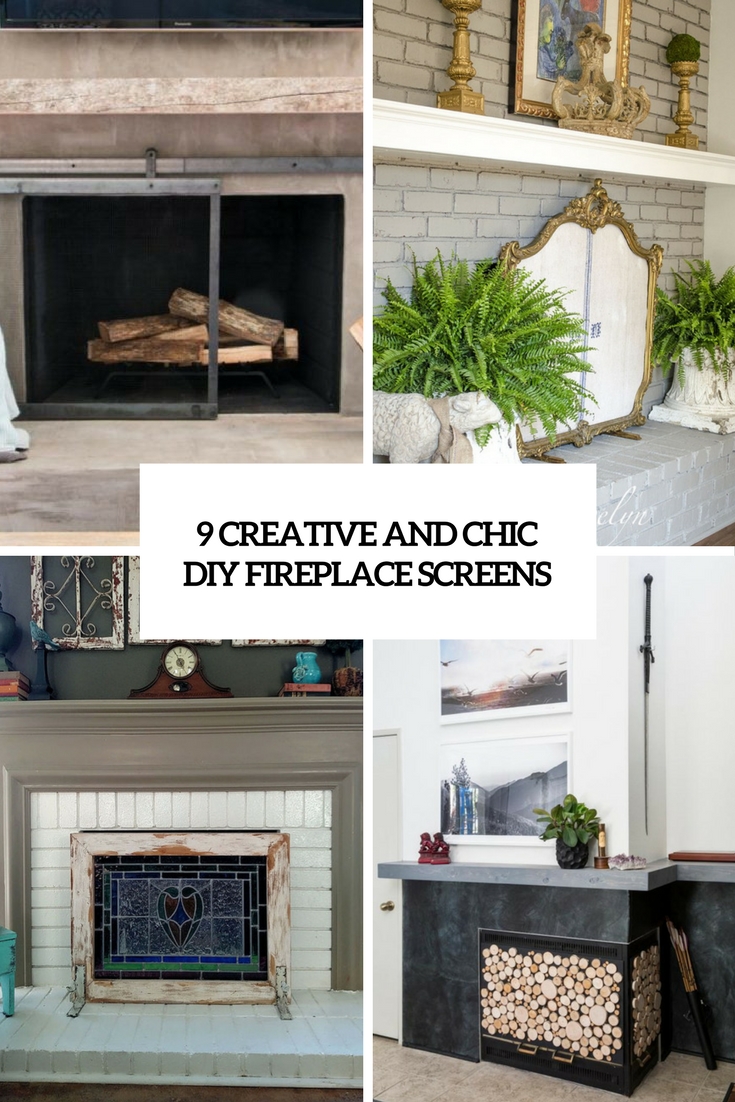
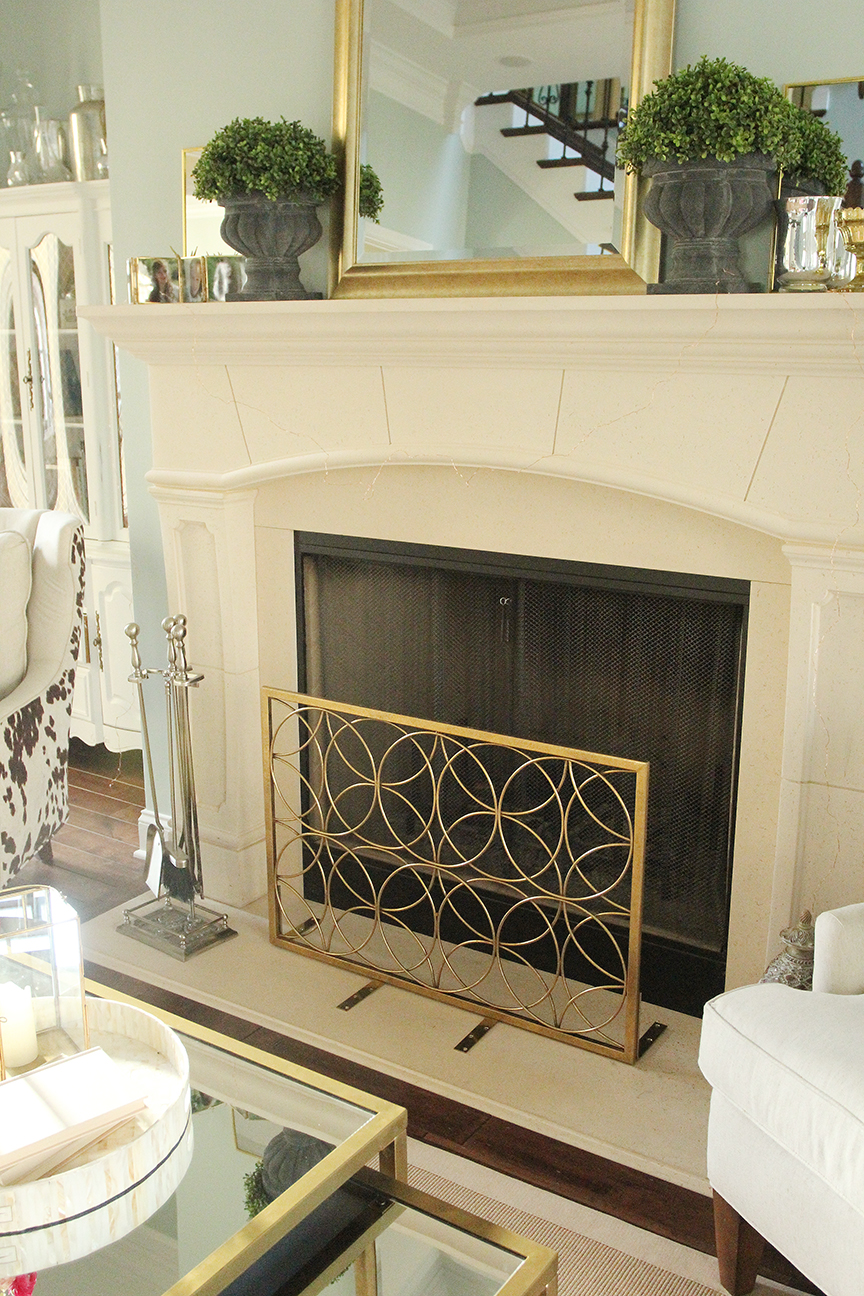
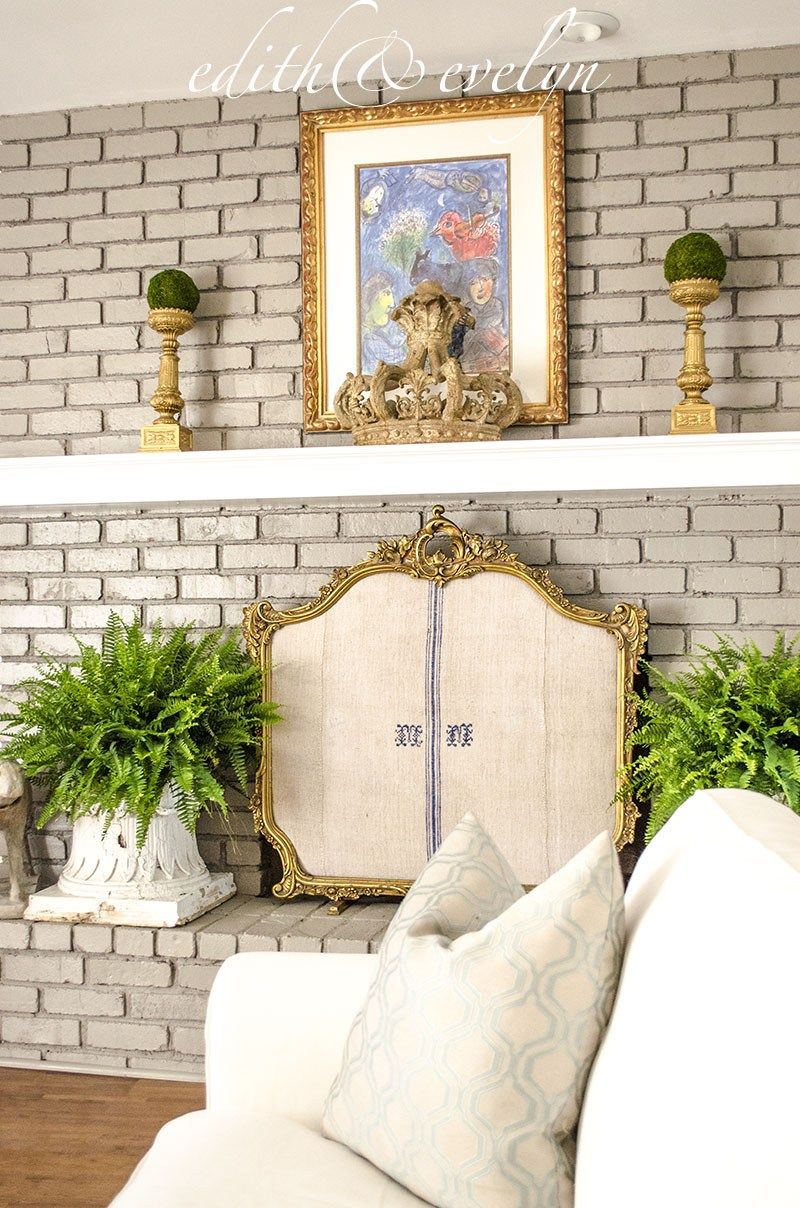
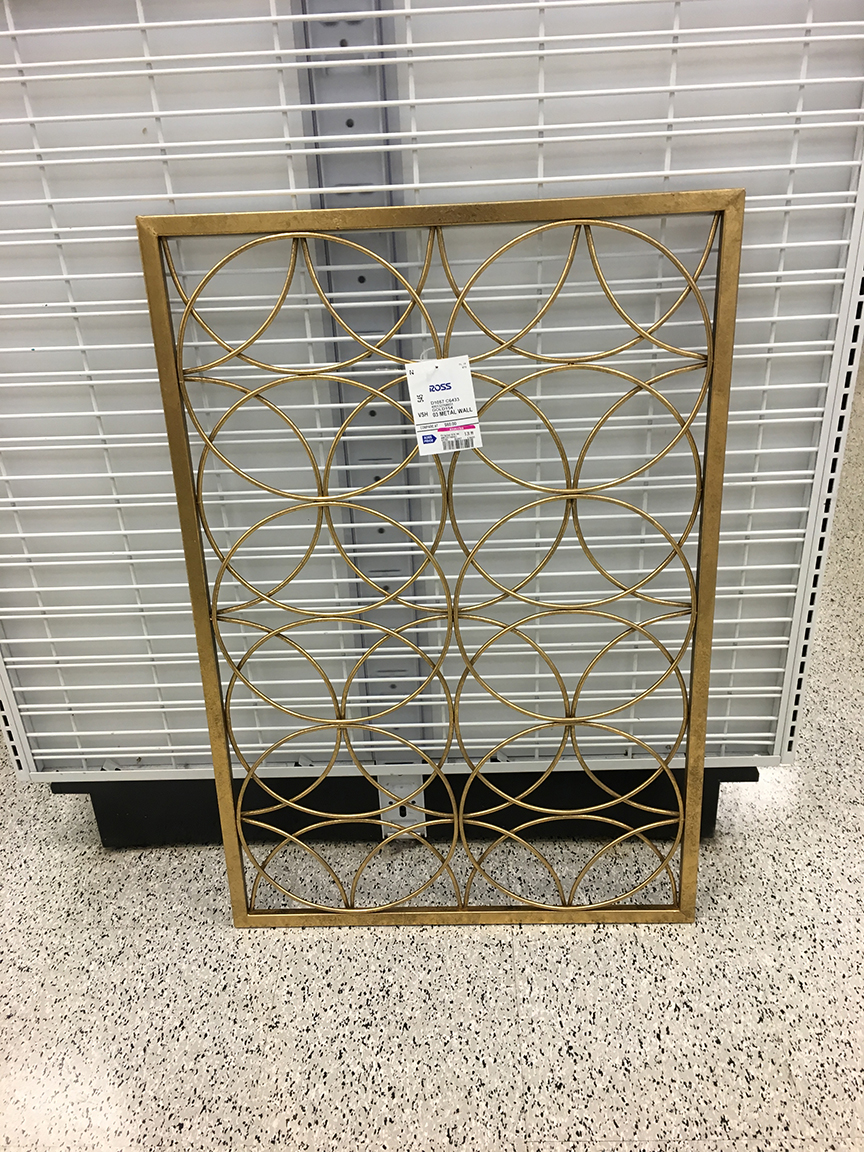
Ideas to DIY Your Own Fireplace Screen
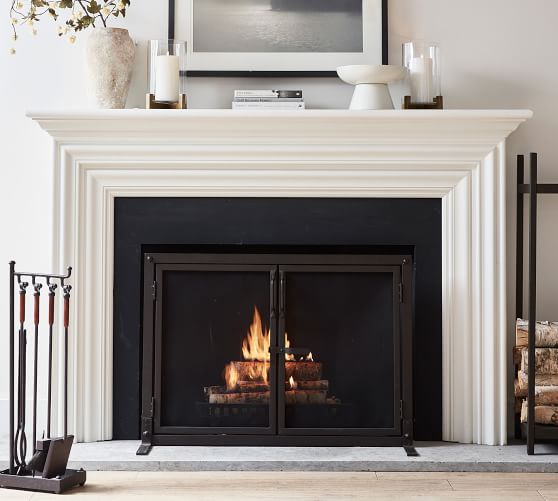
Industrial 44″ Fireplace Screen with Doors Pottery Barn
Fireplace Screen (for Under $30!)
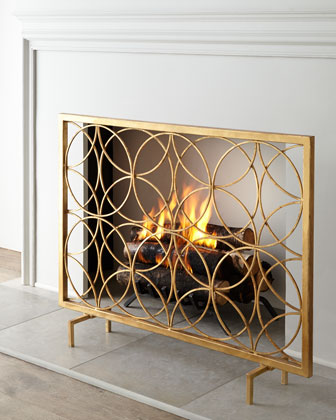
Fireplace Screen
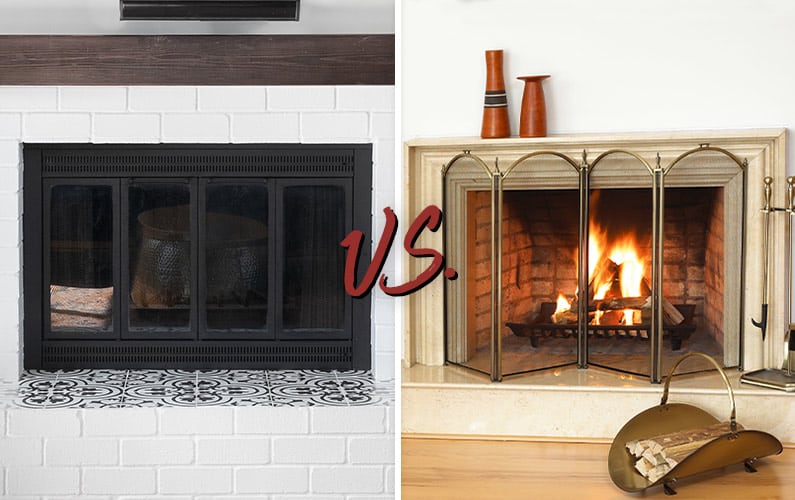
Fireplace Glass Doors vs. Screens » Full Service Chimney™
 Related Posts: