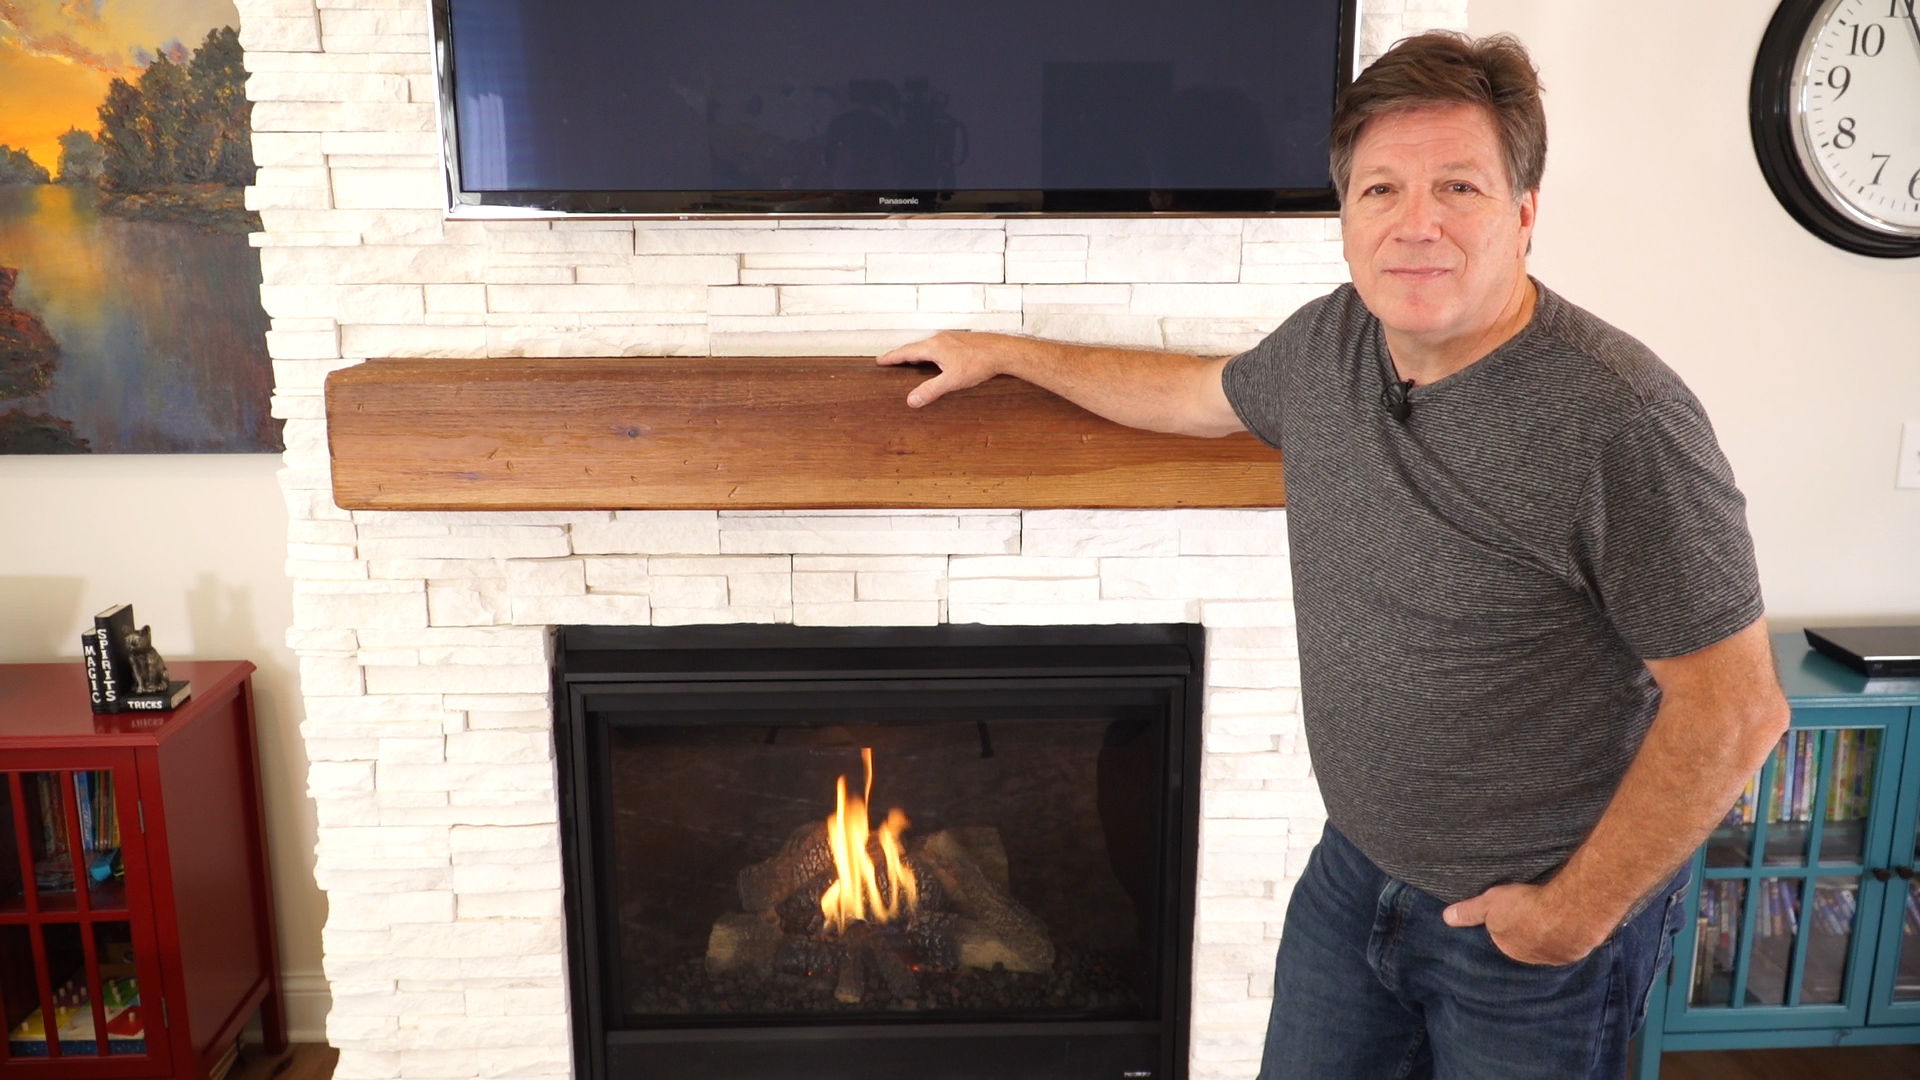
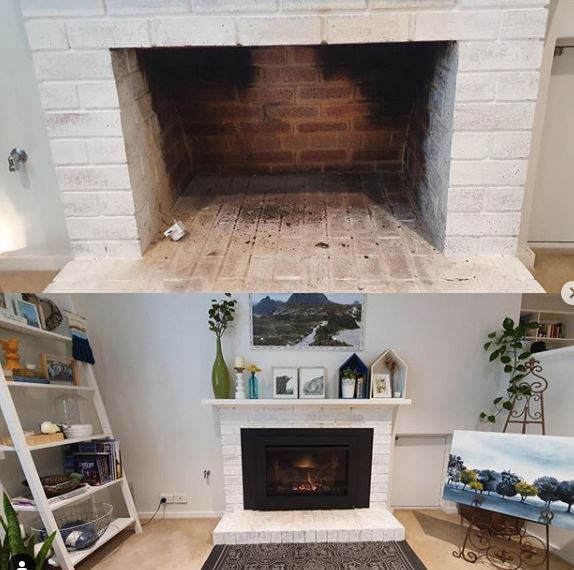
Installing a gas fireplace insert is a rewarding project that can transform your living space into a cozy and inviting haven. By opting for a DIY installation, you save on labor costs and gain a sense of accomplishment and the freedom to customize your fireplace to suit your preferences. In this comprehensive guide, I will walk you through installing a gas fireplace insert, ensuring a safe and successful project.
Planning and Preparation
Before embarking on the installation process, thorough planning and preparation are essential. Begin by selecting a suitable location for your gas fireplace insert, ensuring it meets the necessary clearance requirements from combustible materials, such as walls and furniture. Carefully measure the dimensions of the fireplace opening to ensure a proper fit for the insert.
Next, gather all the necessary tools and materials for the installation, including a drill, screws, a level, a pipe wrench, and a gas line. Consult the manufacturer’s instructions for specific requirements and guidelines, ensuring you have the appropriate gas line connection for your insert. Obtaining any necessary permits or approvals from local authorities before commencing the installation is crucial.
Safety Precautions and Gas Line Connection
Safety should be a top priority when working with gas appliances. Before starting the installation, turn off the main gas supply to your home. Additionally, ensure that the area is well-ventilated by opening windows or using fans to dissipate gas fumes. Use a gas detector to check for gas leaks before proceeding.
Carefully connect the gas line to the fireplace insert, following the manufacturer’s instructions. It is advisable to use a pipe wrench to tighten the connection securely. Apply a gas-approved sealant or Teflon tape to the threaded connections to prevent gas leaks. Once the gas line is connected, perform a leak test by spraying a soapy water solution on the connections. If any bubbles form, there is a gas leak, and you should immediately shut off the gas supply and address the issue before proceeding.

Insert Installation and Venting
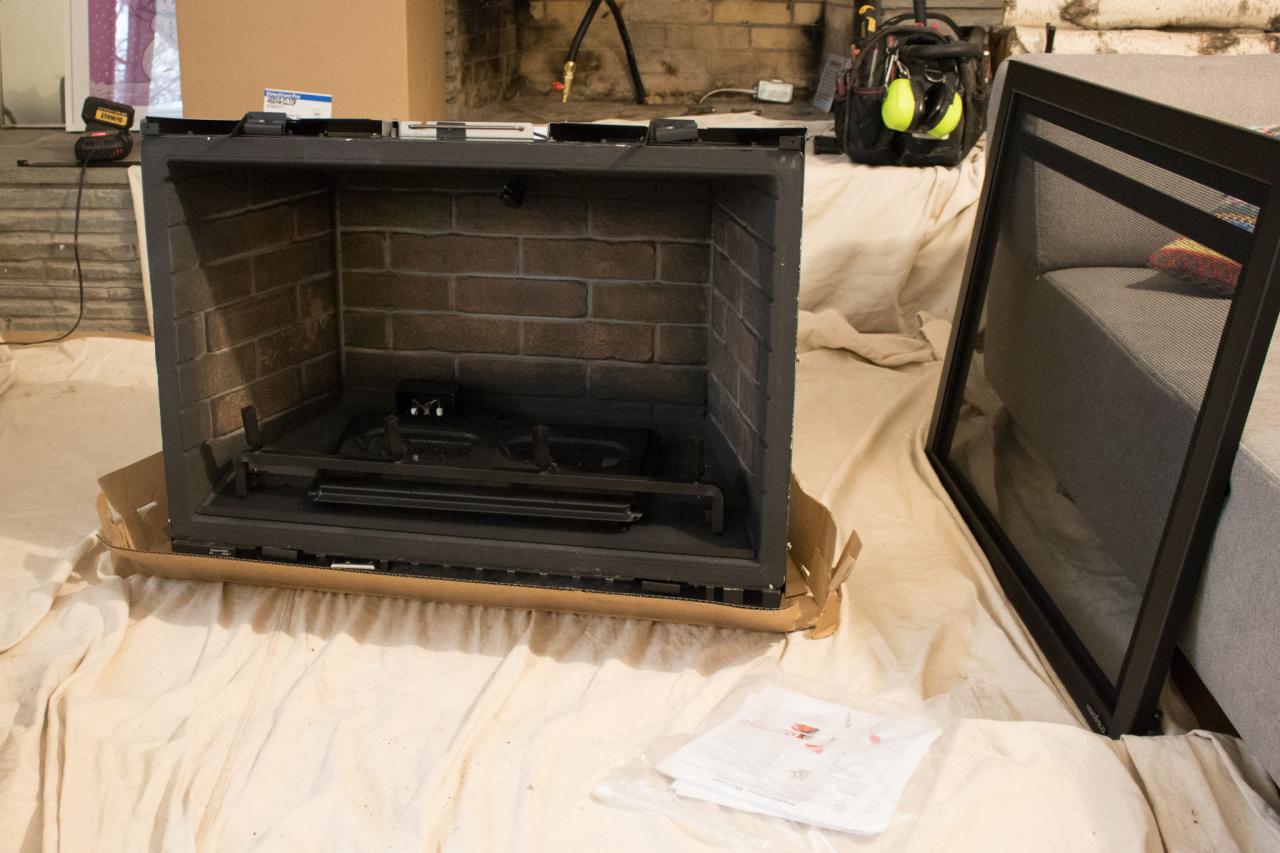
With the gas line connected and secured, it is time to install the gas fireplace insert. Begin by positioning the insert into the fireplace opening, ensuring it is level and centered. Use a level to ensure proper alignment before securing the insert with screws or brackets as specified by the manufacturer. Double-check the instructions to determine if additional ventilation or chimney lining is required for your insert model.
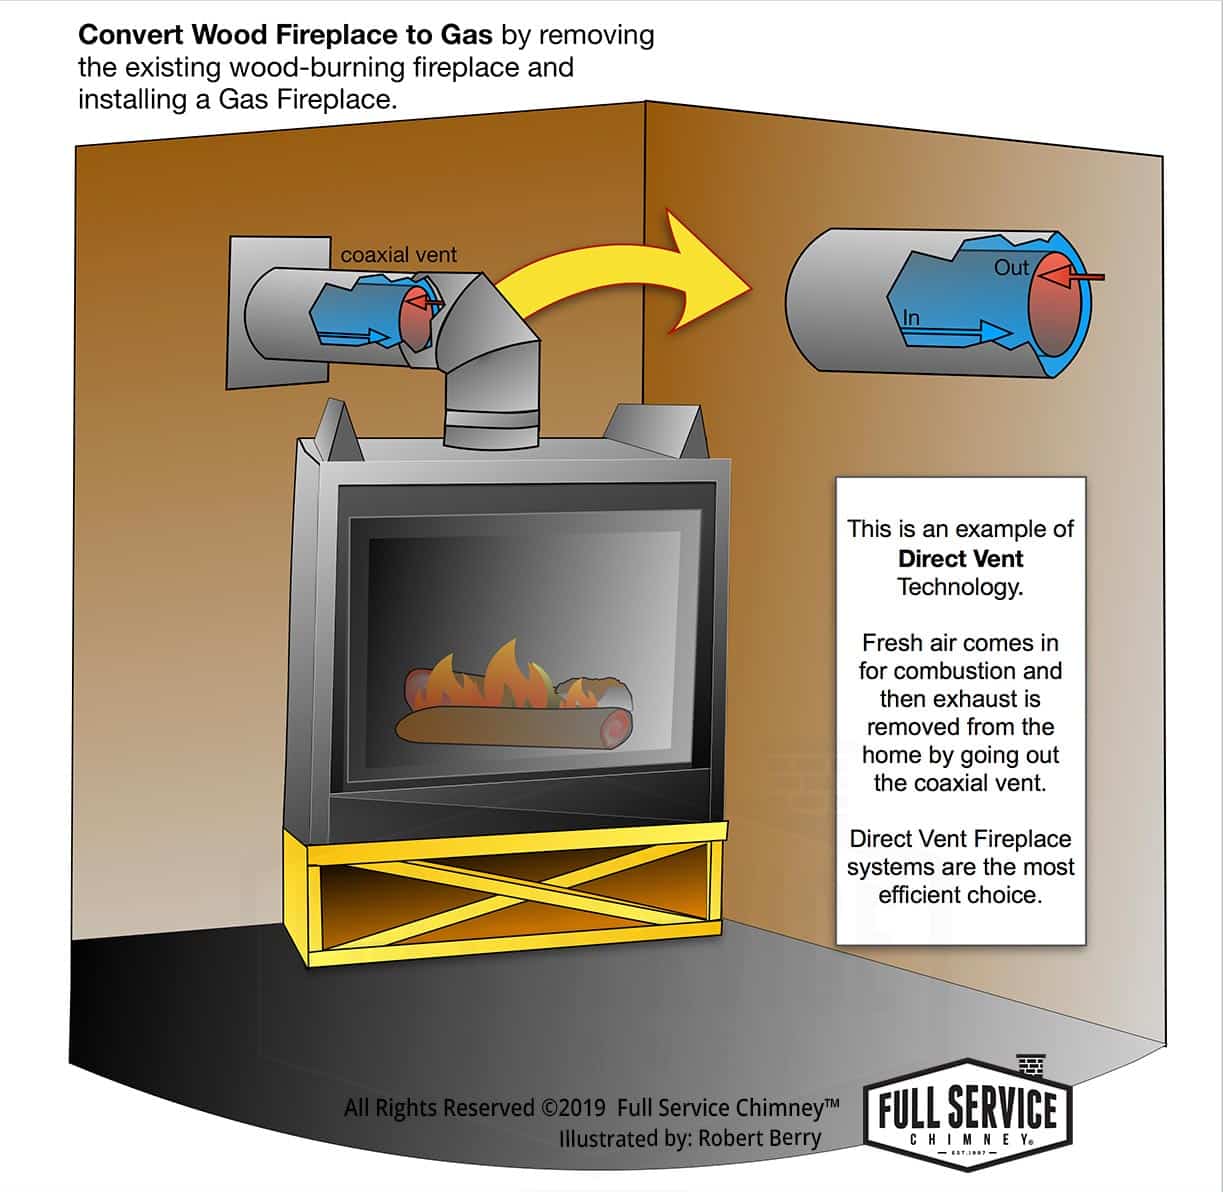
If venting is necessary, carefully install the vent pipes according to the manufacturer’s guidelines. Ensure the vent pipes are properly connected and sealed to prevent any carbon monoxide or gas leakage. Following the specific venting requirements for your gas fireplace insert is crucial to ensure safe operation and compliance with local building codes.
Finishing Touches and Safety Measures
Once the insert is securely installed, it’s time to add the finishing touches. Trim and seal any gaps between the insert and the fireplace opening using appropriate materials as the manufacturer recommends. Apply heat-resistant sealant or caulking to ensure a clean and secure fit.
Finally, before operating the gas fireplace insert, carefully read and follow the manufacturer’s instructions for safety and maintenance. Test the functionality of the insert, including ignition, flame control, and any additional features, such as remote operation. Install carbon monoxide detectors and smoke alarms near the fireplace to provide an added layer of safety.
Installing a gas fireplace insert as a DIY project can be a fulfilling and cost-effective way to enhance your home’s comfort and ambiance. Following the step-by-step guide outlined above, you can successfully install a gas fireplace insert while prioritizing safety and adhering to manufacturer guidelines. Remember to consult local regulations, obtain necessary permits, and, if in doubt, seek professional assistance. With your newly installed gas fireplace insert, you can enjoy cozy evenings and create lasting memories in the warmth and comfort of your home.
Install a Gas Fireplace – Framing u0026 Finishing PT. 2: DIY Living Room Remodel
How to Install a Fireplace Insert DIY u0026 Save Money
How to Install a Gas Fireplace: DIY Built In Gas Fireplace
DIY Fireplace Installation – Framing and Final Connections
Installing A Gas Fireplace
Convert a Wood Fireplace to Gas » Full Service Chimney™
How to Select and Install a Gas Fireplace Log Set Fireplaces
Building Process 29: Fireplace Installation
DIY Gas Fireplace Insert with Chimney Liner How To Install
Choosing a Gas Fireplace for your Home DIY Network Blog: Made +
Gas Inserts – For An Existing Fireplace Or A Brand-New Build
How to Install a Gas Fireplace: DIY Built In Gas Fireplace
Related Posts:
- Wall Mount Gas Fireplace Inserts
- Upgrade Fireplace Insert
- Cast Iron Fireplace Insert
- Propane Heater Insert For Fireplace
- How To Change A Fireplace Insert
- Ethanol Gel Fireplace Insert
- Craftsman Fireplace Insert
- Round Gas Fireplace Inserts
- Smokeless Fireplace Insert
- Cast Iron Stove Insert Fireplace
