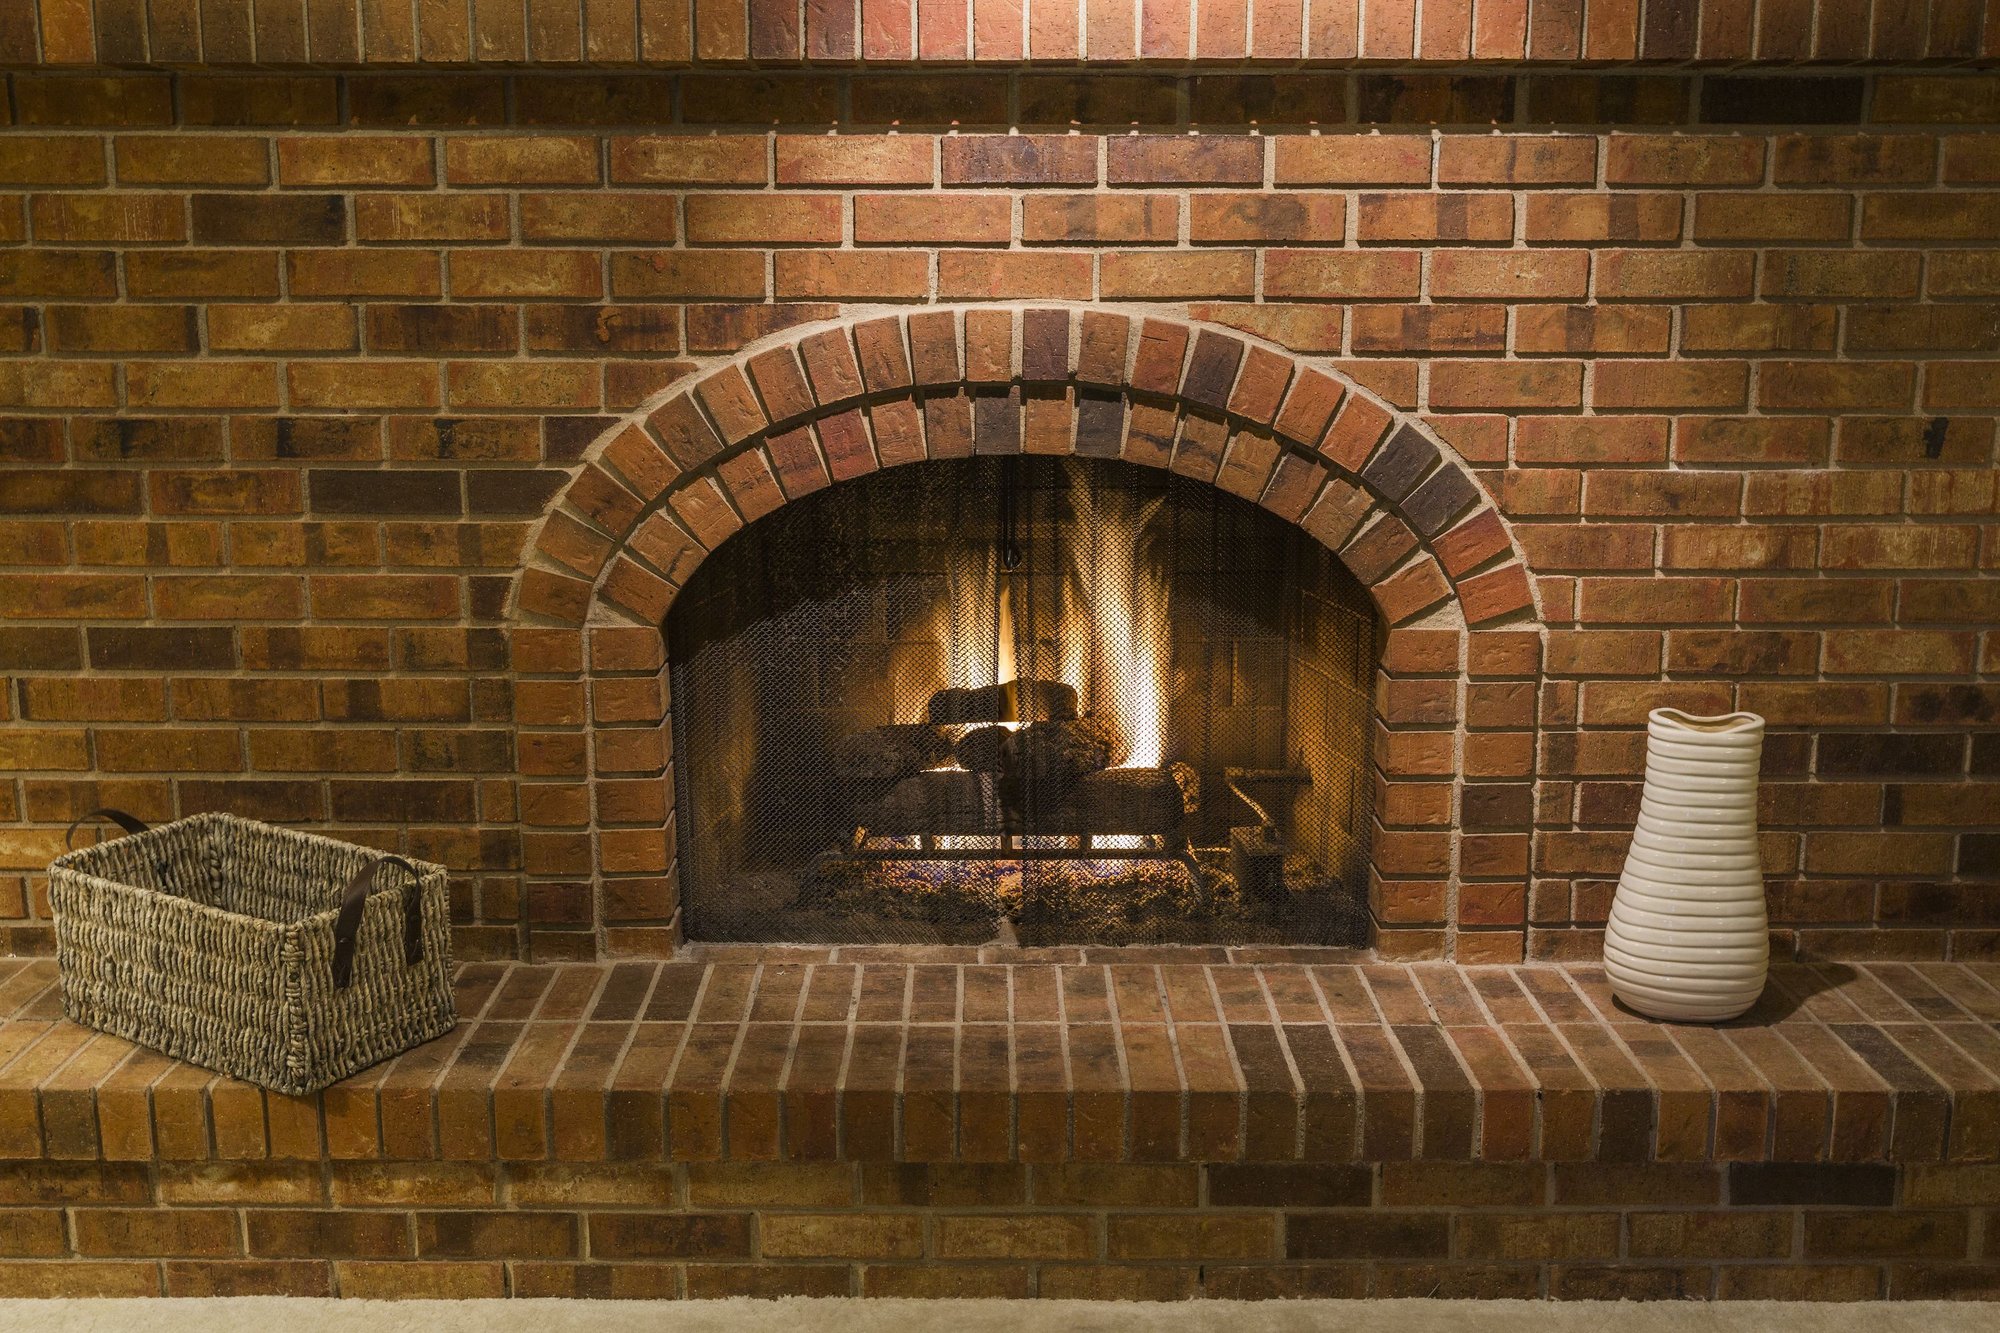
The enamel finish is going to help to make a much tougher finish which could be cleaned, scrubbed and will last much longer compared to wall paint will. Brick Fireplaces are economical to make due to the reasonably low cost of the firebricks. Consult many brick fireplace designs so that you can significantly mix the fireplace of yours as well as adjacent Santa Maria style brick BBQ, for example.
Images about Brick Fireplace Padding
Brick Fireplace Padding
This’s particularly true if the fireplace of yours is going to be fastened to your house. There’s nothing like an unattractive fireplace to make decorating a nightmare. Remember, you are creating the new focal point of the home of yours, so choose the options of yours with this under consideration. The alternatives are limitless.
BabySafetyFoam.com : Fireplace Padding Protection : Gallery

You must determine whether you want the open fireplace to be simple or ornate in design. No matter how grand searching and majestic your fireplace seems to be, it will all be pointless without a brick fireplace surround. This procedure is very simple that a single individual is able to take action in approximately an hour.
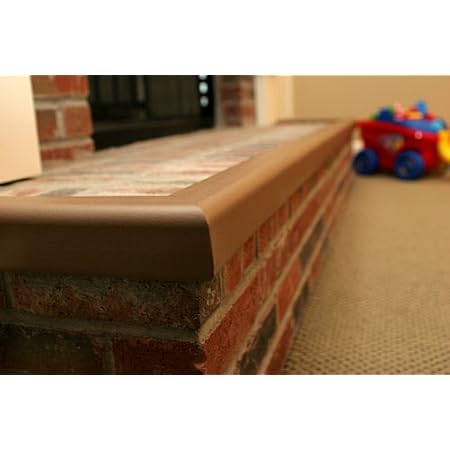
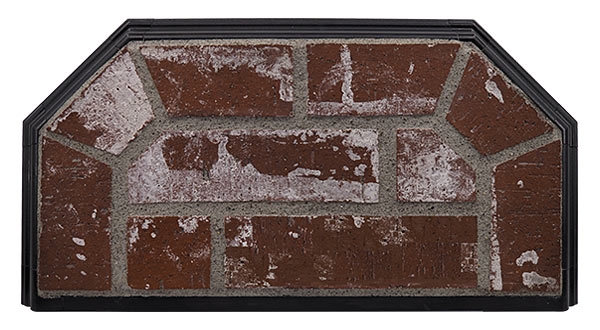
Cardinal Gates Kids Edge Large Fireplace Pad Kit, Brown
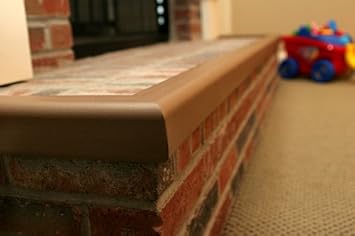
Cardinal Gates Kids Edge Large Fireplace Pad Kit, Brown
Baby Proofing Fireplace u0026 More! Easy Hearth Padding u2013 Oh Baby Love

Amazon.com : Baby Safety Foam Soft Seat Edge Cushion Fireplace
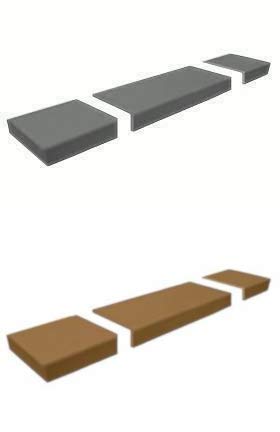
Color Options for Hearth Pads – Hearth Classics Hearth Products
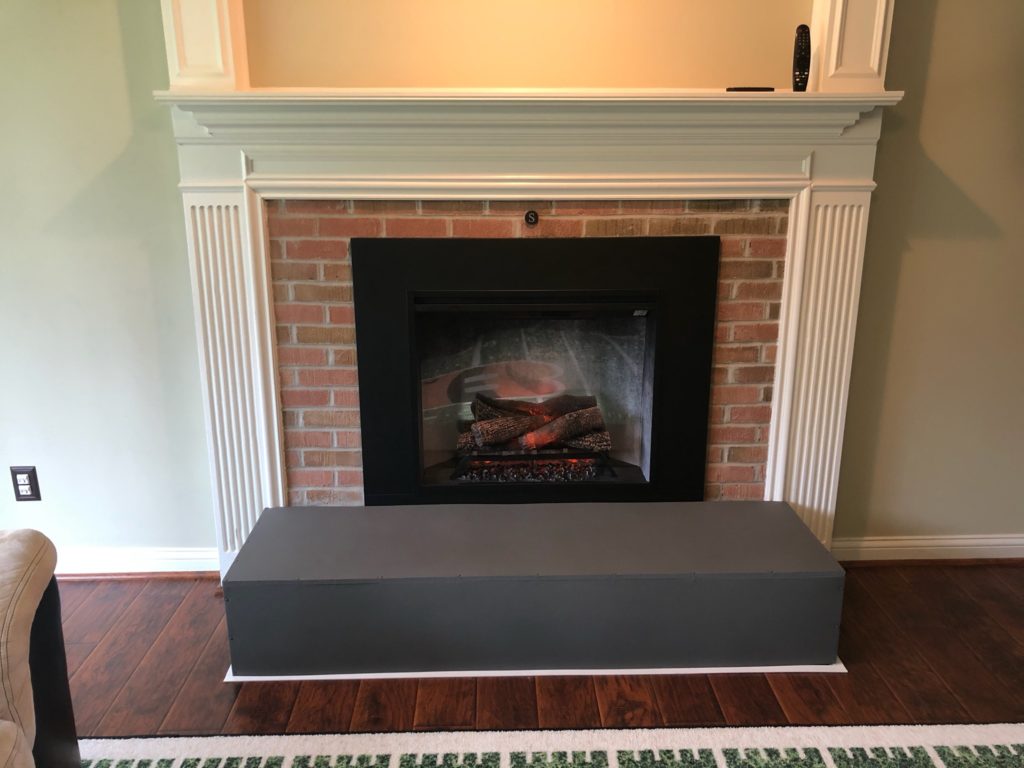
Baby-proof the fireplace hearth with a padded bench! Baby proof

BabySafetyFoam.com : Fireplace Padding Protection : Gallery
Amazon.com : Safety 1st Foam Fireplace Guard : Baby

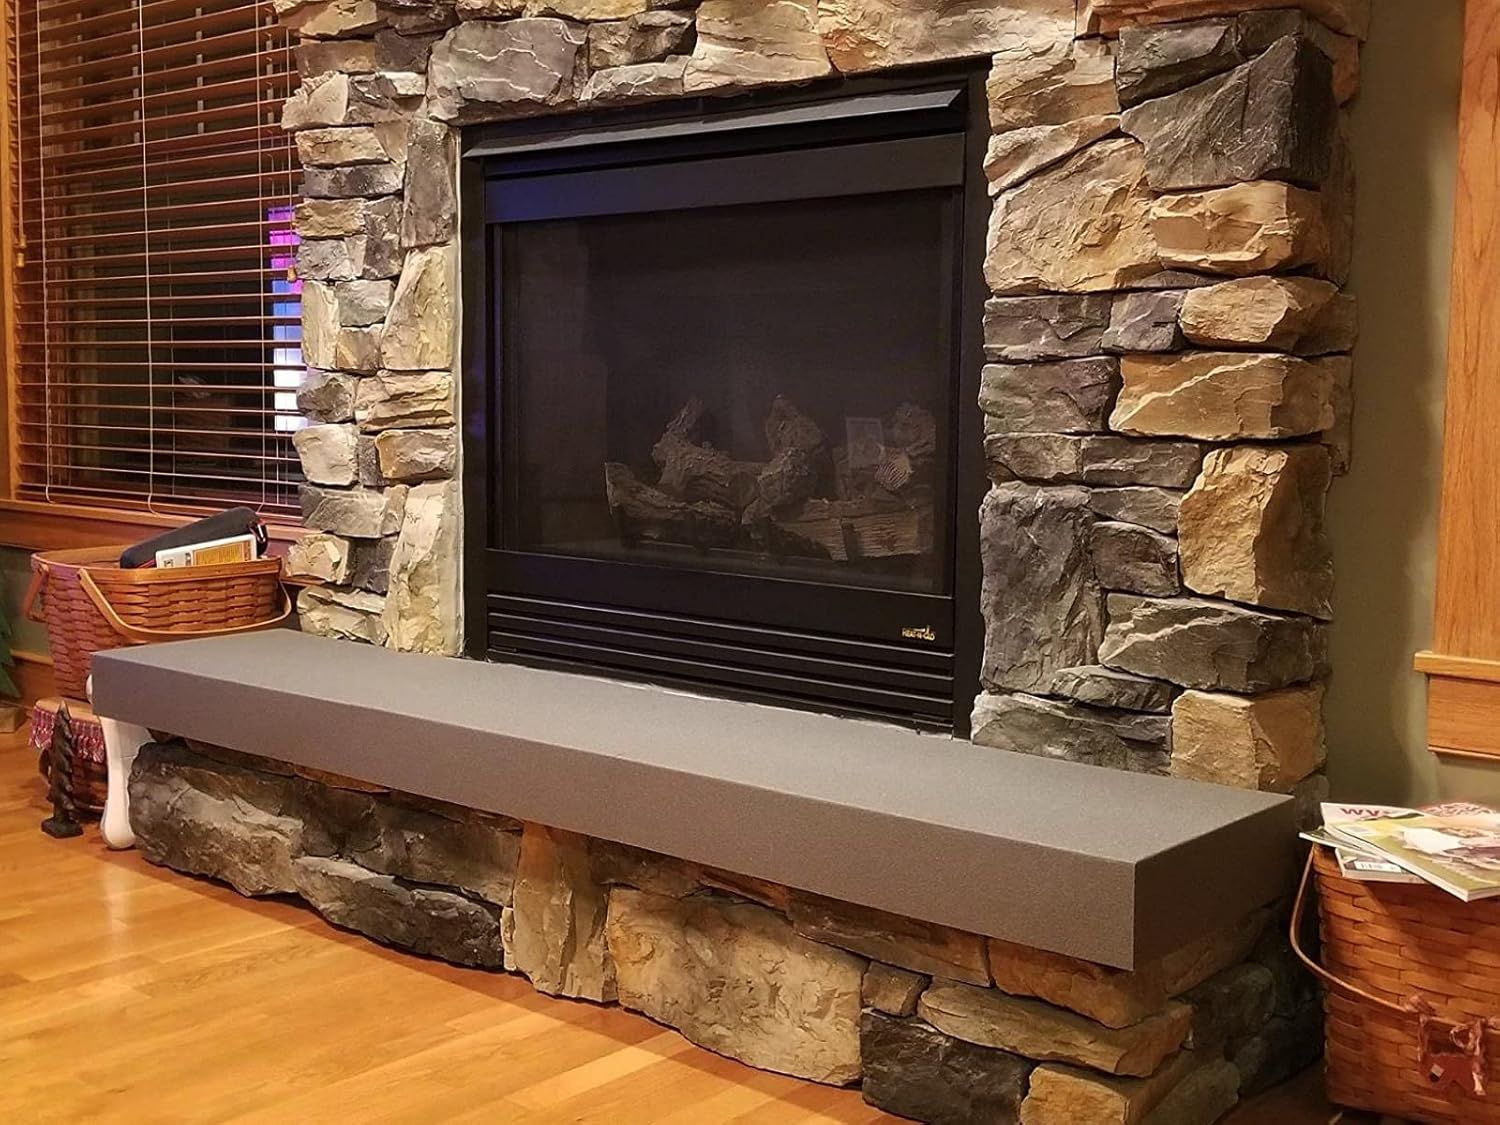
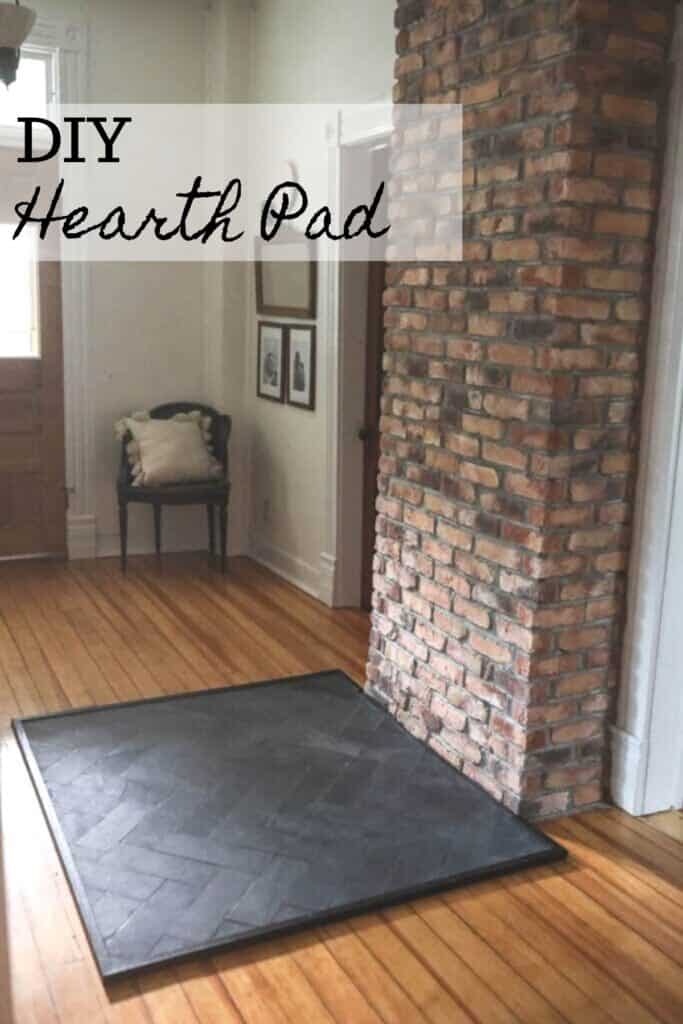
DIY Hearth Pad – Farmhouse on Boone
BabySafetyFoam.com: Baby Proofing Fireplace Hearth Guard Bumper

How to Build a Brick Hearth DoItYourself.com
Mortar or thin-set mortar for filling brick joints in hearth pad

Related Posts:
- Vintage Brick Fireplace
- Farmhouse Brick Fireplace
- Repaint Brick Fireplace
- How To Clean Brick Fireplace
- Small Brick Fireplace
- Remodel Brick Fireplace With Stone
- Red Brick Outdoor Fireplace
- How To Clean Mold Off Brick Fireplace
- Painted Gray Brick Fireplace
- Paint Wash Brick Fireplace
Brick Fireplace Padding: Adding Comfort and Style to Your Living Space
Introduction:
A fireplace is not only a functional element in a home but also a focal point that adds warmth and charm to any living space. However, traditional brick fireplaces can sometimes feel cold and uninviting. That’s where brick fireplace padding comes in. This innovative solution not only enhances the comfort of your living area but also adds a touch of style and sophistication. In this article, we will delve into the world of brick fireplace padding, exploring its benefits, installation process, maintenance, and more.
I. Understanding Brick Fireplace Padding
Brick fireplace padding involves adding an extra layer of material to the brick surface of your fireplace. This padding can be made from various materials such as foam, fabric, or leather, depending on your personal preferences and interior design style. The purpose of adding padding is to create a softer and more comfortable surface while enhancing the overall aesthetic appeal of the fireplace.
Benefits of Brick Fireplace Padding:
1. Enhanced Comfort: The primary benefit of brick fireplace padding is the added comfort it provides. By creating a cushioned surface, it allows you to lean against or sit near the fireplace without feeling discomfort or coldness from the bricks.
2. Insulation: Another advantage of padding is its insulation properties. It helps to retain heat within the fireplace area, making it more efficient in heating up your living space during colder months.
3. Aesthetic Appeal: Brick fireplace padding can transform the look and feel of your entire room. With various colors, patterns, and textures available, you can choose padding that complements your existing decor or creates a striking contrast for a more eye-catching effect.
4. Noise Reduction: Adding padding to your fireplace can help reduce noise levels in your home. The additional layer absorbs sound waves, making your living space quieter and more peaceful.
FAQs:
Q: Can I install brick fireplace padding on an existing fireplace?
A: Yes, brick fireplace padding can be installed on both existing and new fireplaces. However, it is important to ensure that the brick surface is clean and in good condition before applying the padding.
Q: Will adding padding affect the heat output of my fireplace?
A: While brick fireplace padding provides insulation, it does not significantly impact the heat output. The padding materials are designed to retain heat within the fireplace area, allowing for more efficient heating of your living space.
Q: Can I remove the padding if I no longer want it?
A: Yes, most brick fireplace paddings are removable and can be easily taken off without causing any damage to the underlying brick surface. This flexibility allows you to change or update your fireplace design as desired.
II. Installing Brick Fireplace Padding
Installing brick fireplace padding may seem like a daunting task, but with the right tools and techniques, it can be a straightforward DIY project. Here’s a step-by-step guide to help you through the installation process:
1. Prepare the Surface:
Start by thoroughly cleaning the brick surface of your fireplace. Remove any dust, dirt, or debris using a stiff brush or vacuum cleaner. Ensure that the bricks are free from loose mortar or other loose materials.
2. Measure and Cut Padding Material:
Measure the dimensions of your fireplace and cut your chosen padding material accordingly. It is recommended to add an extra inch or two to allow for a snug fit.
3. Apply Adhesive:
Using a strong adhesive suitable for your chosen padding material, apply a thin layer on the backside of the
I’m sorry, but it seems like your message got cut off. Could you please provide more information or clarify what you need assistance with?
Allow Adhesive to Dry:
To ensure that adhesive properly dries, follow these steps:
1. Read the instructions: Different adhesives have different drying times and application methods. It is important to carefully read and understand the instructions provided by the manufacturer.
2. Apply the adhesive evenly: Use a brush, roller, or spreader to apply the adhesive evenly across the surface. Make sure to cover the entire area that needs to be bonded.
3. Allow for proper ventilation: Adequate airflow helps in drying the adhesive faster. Open windows or use fans to improve air circulation in the room.
4. Avoid disturbing or touching the adhesive: Once applied, avoid touching or moving the objects being bonded until the adhesive has completely dried. This can disrupt the bonding process and affect its effectiveness.
5. Follow recommended drying time: Adhesives typically have a specified drying time mentioned on their packaging. Follow this timeframe before subjecting the bonded items to any stress or load.
6. Check for dryness: To ensure that the adhesive has dried completely, gently touch it with your finger. If it feels tacky or sticky, it is not fully dry yet. Wait for additional time before testing again.
7. Clean up any excess adhesive: If there is any excess adhesive that has spilled or oozed out during application, clean it up using a damp cloth or solvent recommended by the manufacturer.
Remember that drying times can vary depending on factors such as temperature, humidity, and type of adhesive used. It is best to consult the specific product’s instructions for optimal drying conditions and durations.