Building a wood fireplace surround is a rewarding DIY project that can dramatically enhance the aesthetic appeal and functionality of any fireplace. The surround serves as a decorative frame around the fireplace opening, providing a focal point for the room and complementing its overall design scheme. When embarking on this project, careful planning and consideration of materials, dimensions, and design elements are essential to ensure a successful outcome. One of the primary decisions to make is selecting the type of wood for the surround. Popular options include hardwoods like oak, maple, or cherry for their durability and natural beauty, as well as softer woods like pine or cedar for a more rustic or budget-friendly option.
Images about Building A Wood Fireplace Surround
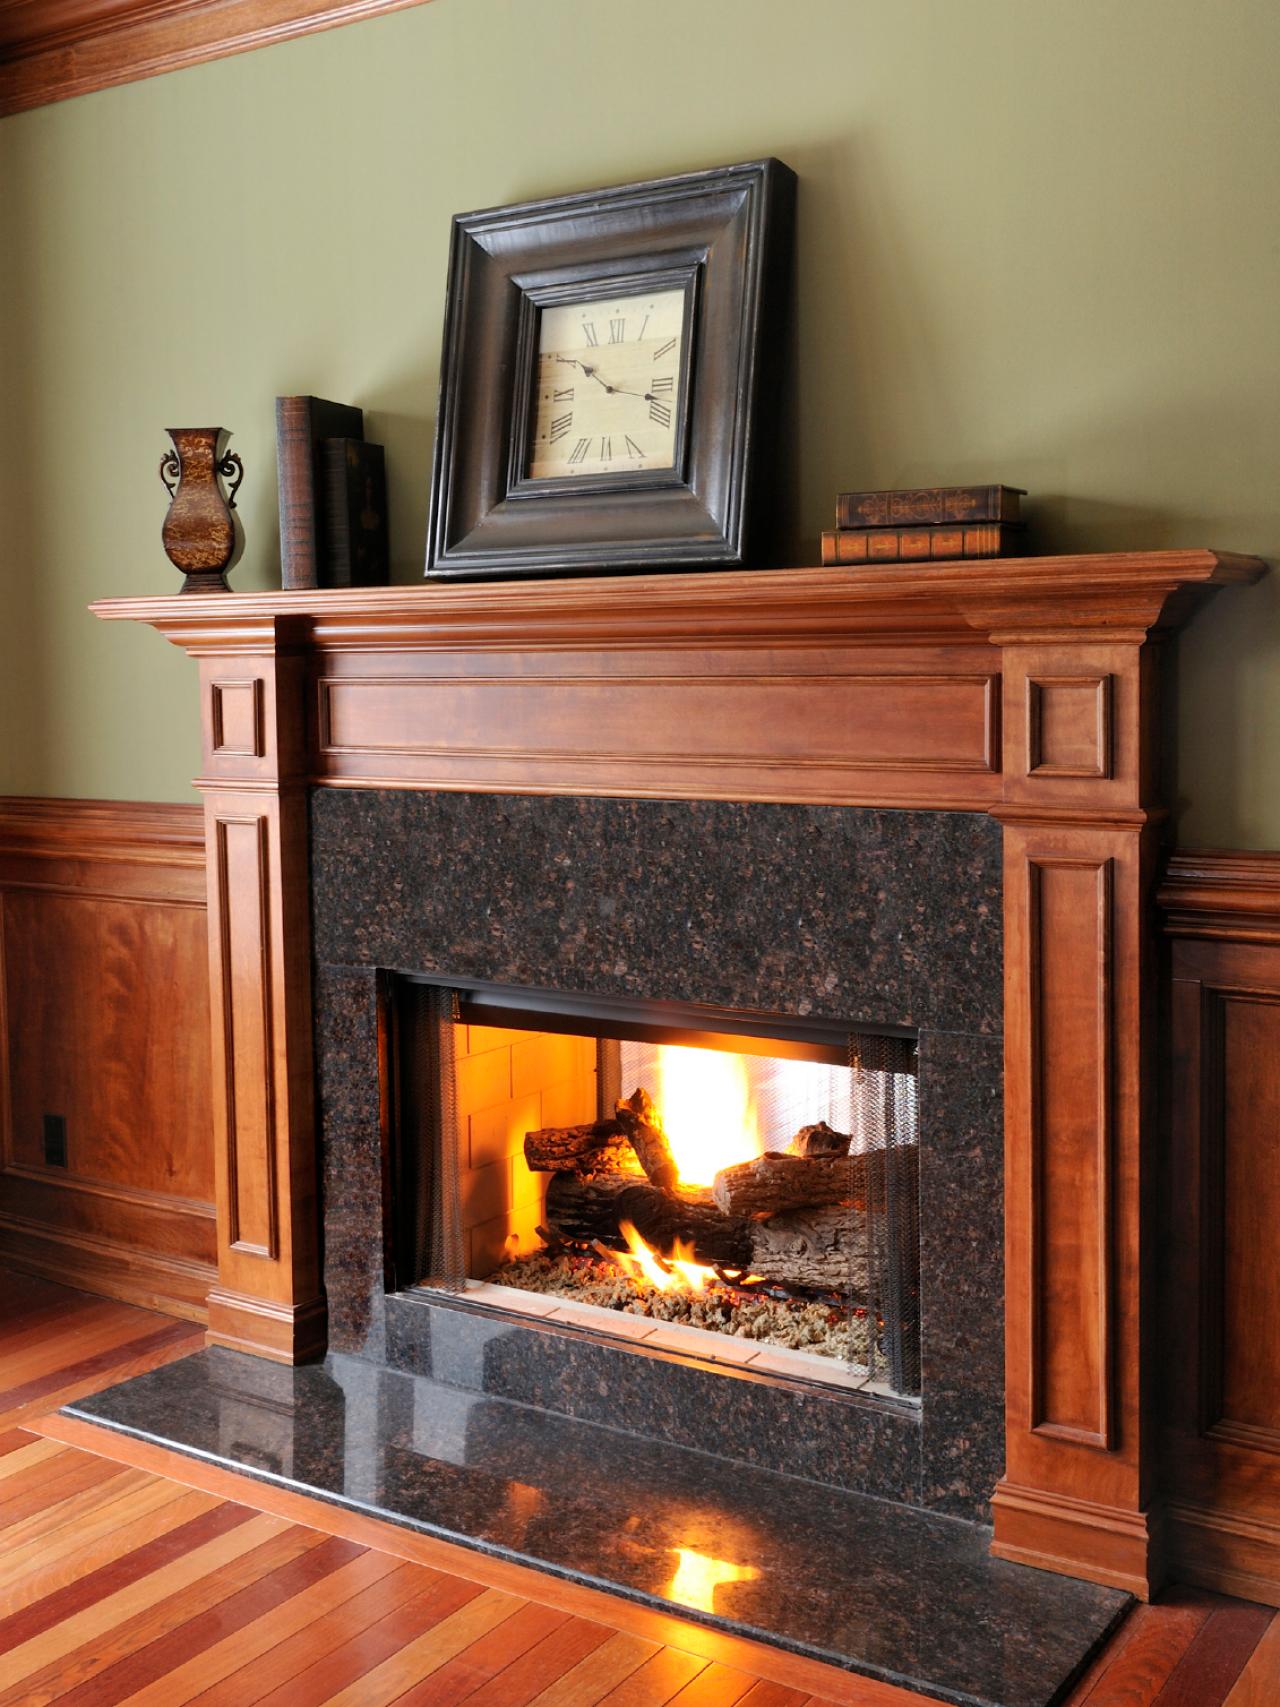
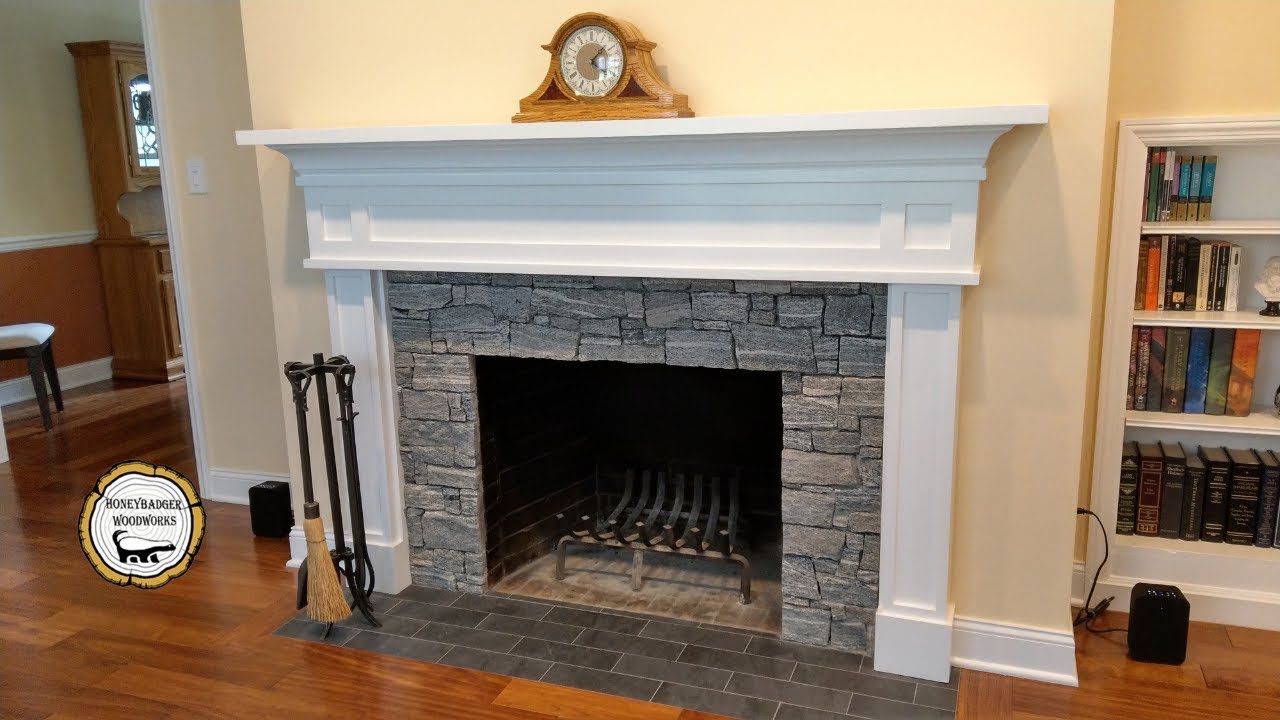
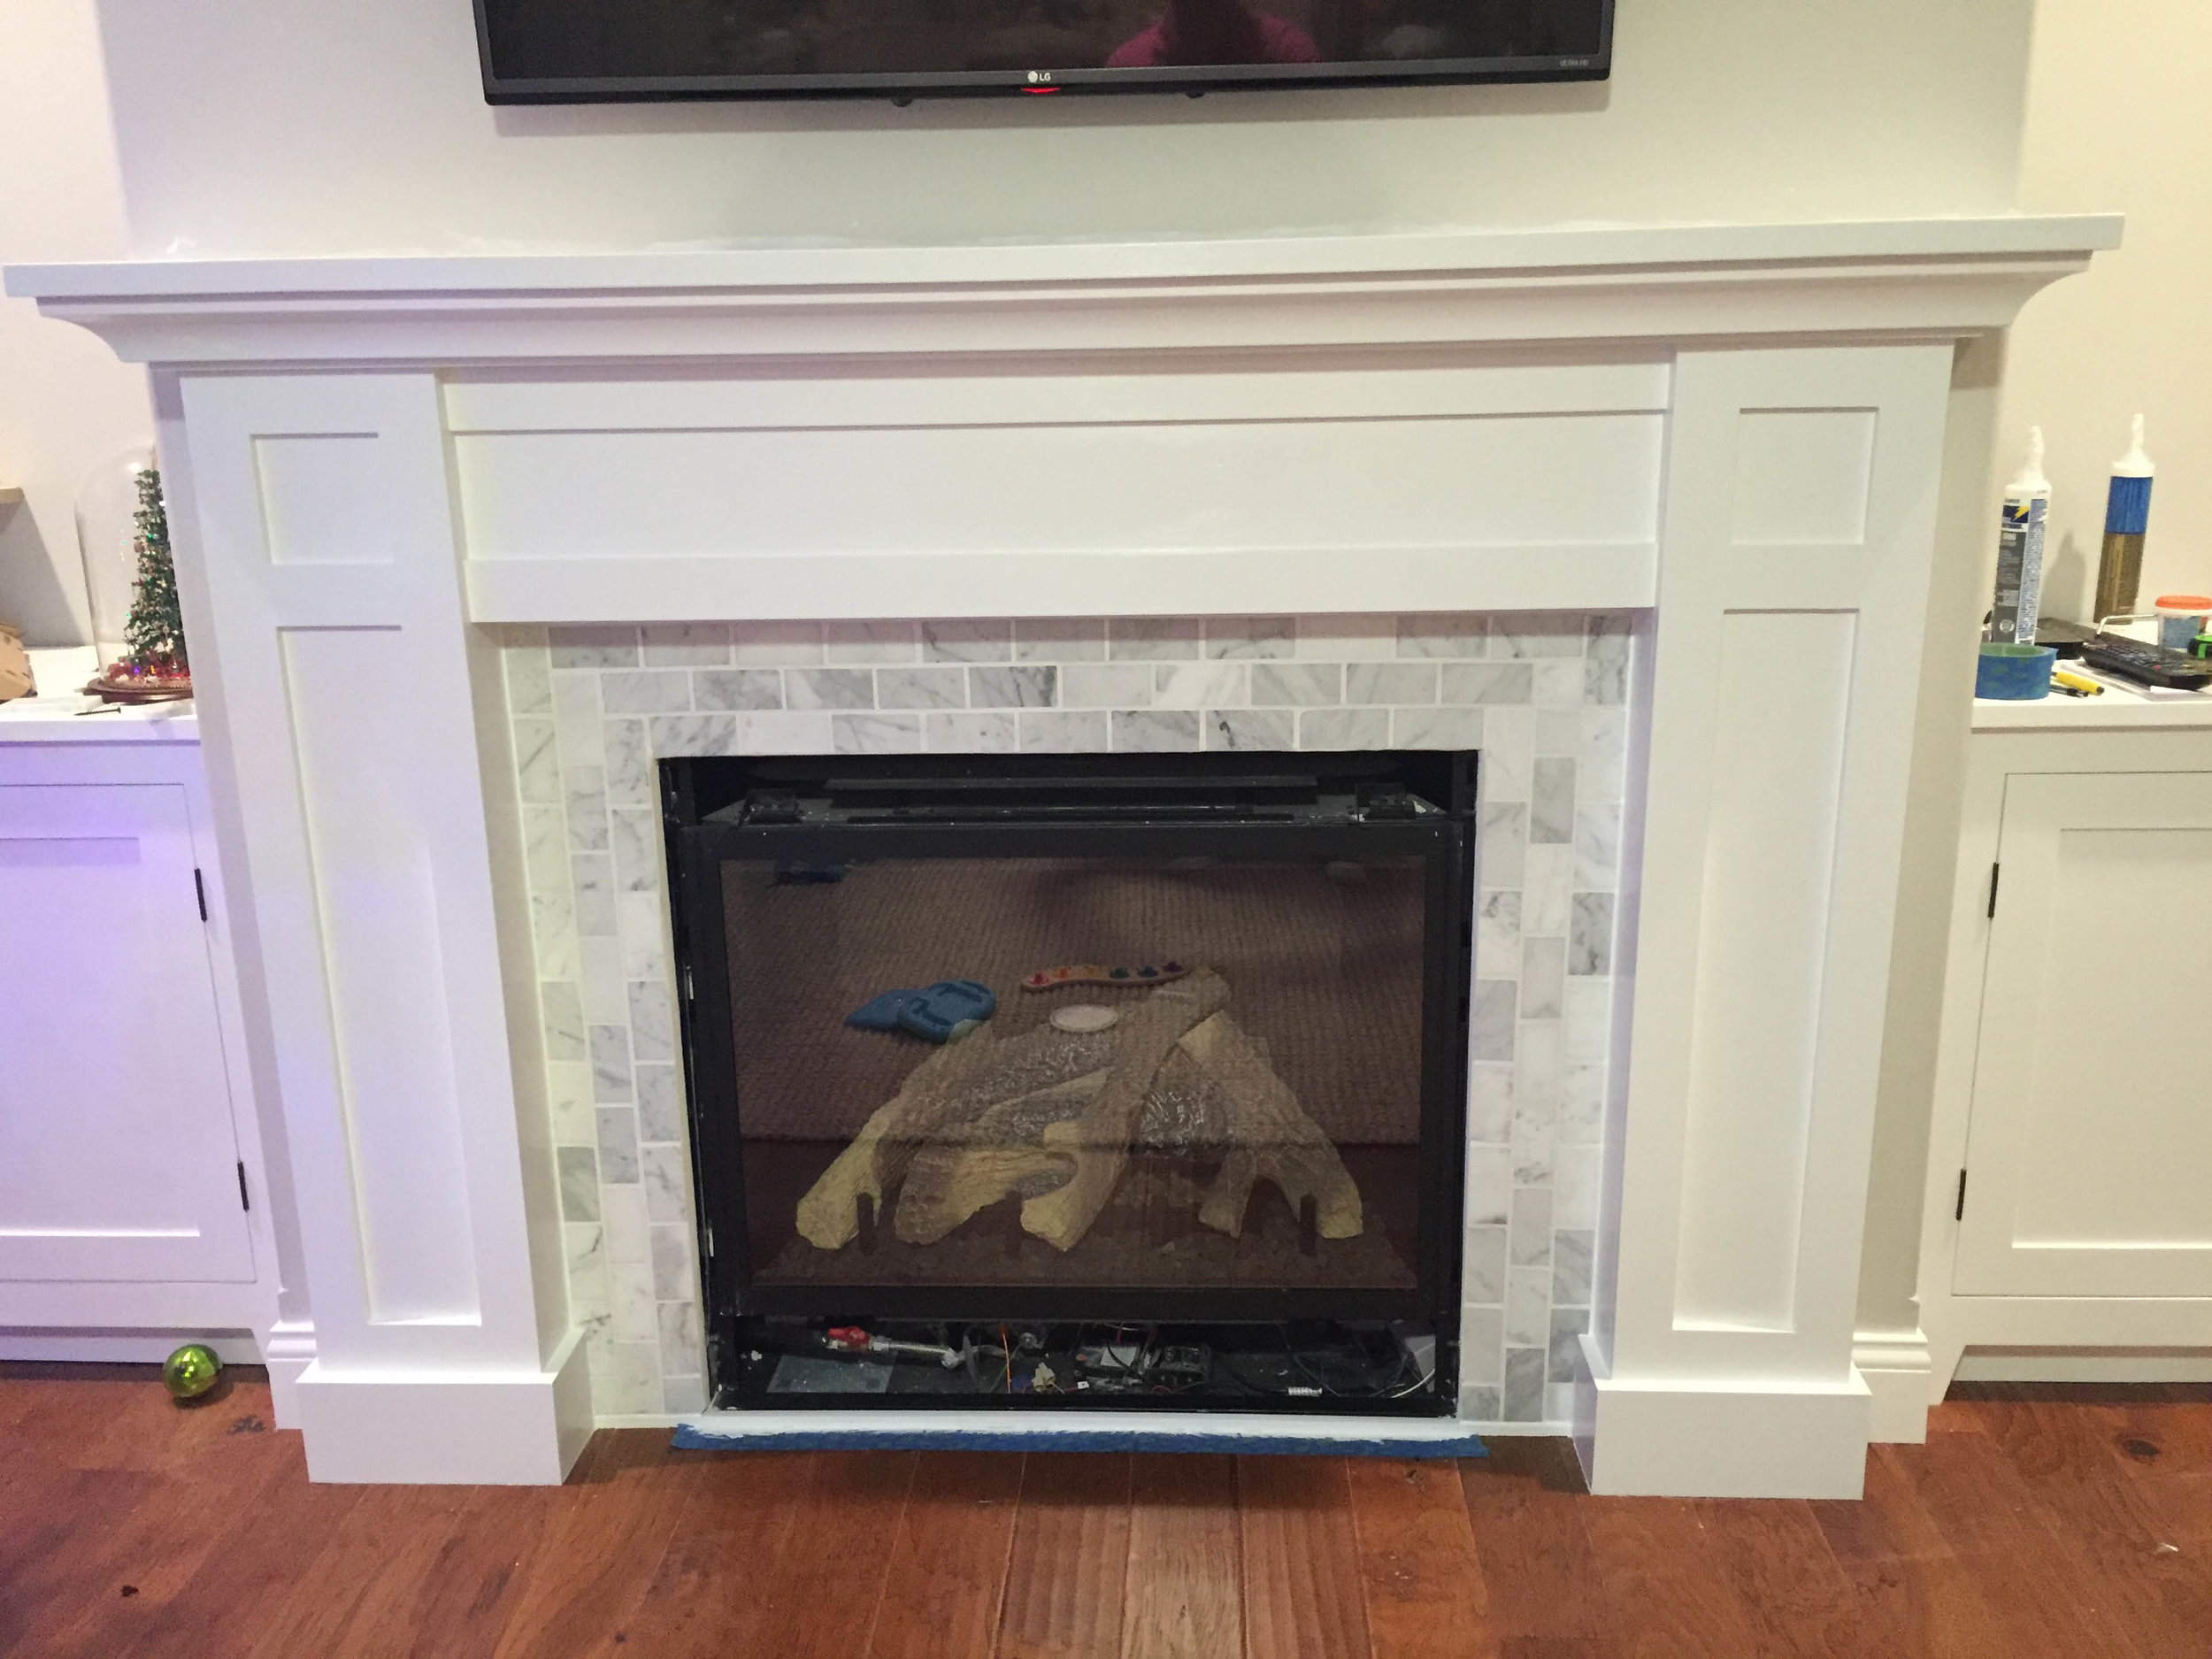
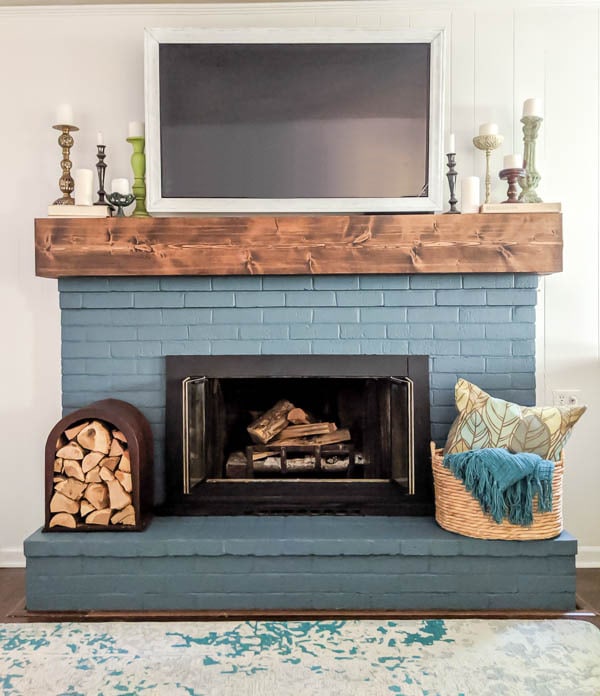
Building A Wood Fireplace Surround
The design of the wood fireplace surround can vary widely depending on personal style preferences and the architectural characteristics of the room. Traditional surrounds often feature intricate molding, carved details, and symmetrical proportions, evoking a sense of elegance and sophistication. In contrast, modern or contemporary surrounds may favor clean lines, minimal ornamentation, and innovative materials like reclaimed wood or metal accents for a sleek and minimalist look. Regardless of the chosen style, attention to detail in the design process is crucial to ensure that the surround harmonizes with the fireplace and the surrounding decor seamlessly.
In addition to aesthetics, functionality should also be considered when building a wood fireplace surround. The surround not only frames the fireplace but also serves as a practical surface for displaying decorative objects, artwork, or personal mementos. Incorporating shelves, niches, or mantels into the design can add functionality and visual interest to the surround, providing opportunities for customization and personalization. Furthermore, proper installation is paramount to ensure the structural integrity and safety of the surround. Depending on the complexity of the design and the condition of the existing fireplace, professional assistance may be required to ensure a secure and code-compliant installation.
Beyond its decorative and functional aspects, building a wood fireplace surround offers homeowners the opportunity to add value to their home and create a warm and inviting gathering space. Whether undertaking the project as a standalone upgrade or as part of a larger renovation, the wood fireplace surround can significantly impact the overall ambiance and character of the room. With careful planning, craftsmanship, and attention to detail, a well-executed wood fireplace surround can become a timeless focal point that enhances the beauty and enjoyment of the home for years to come.
Easy DIY wood mantel – Remington Avenue

How to Build a Fireplace Mantel
DIY rustic fireplace mantel: the cure for a boring fireplace
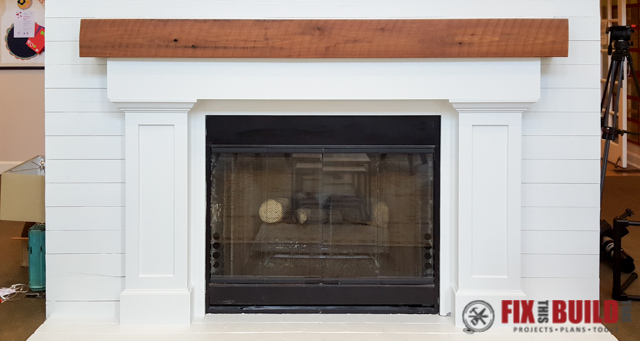
How to Build a Fireplace Surround and Mantel FixThisBuildThat
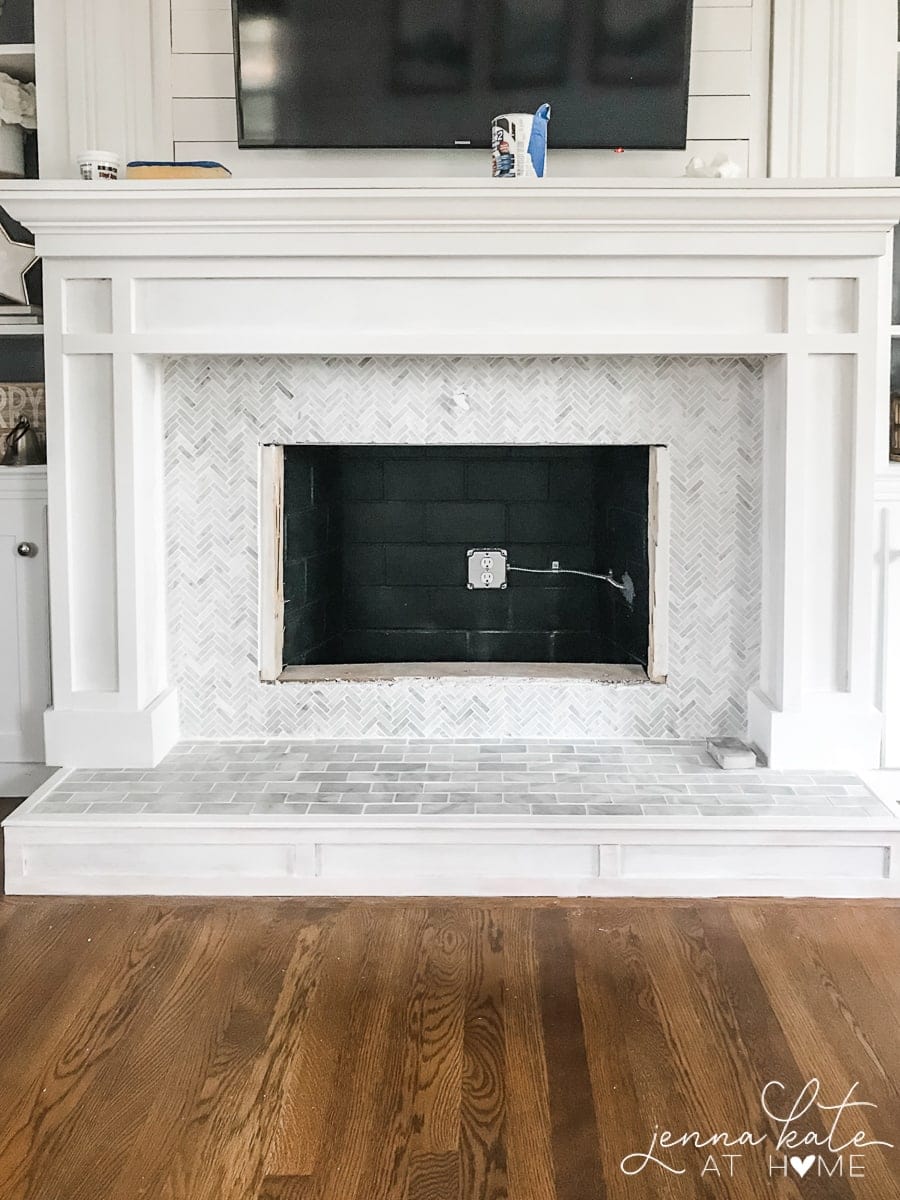
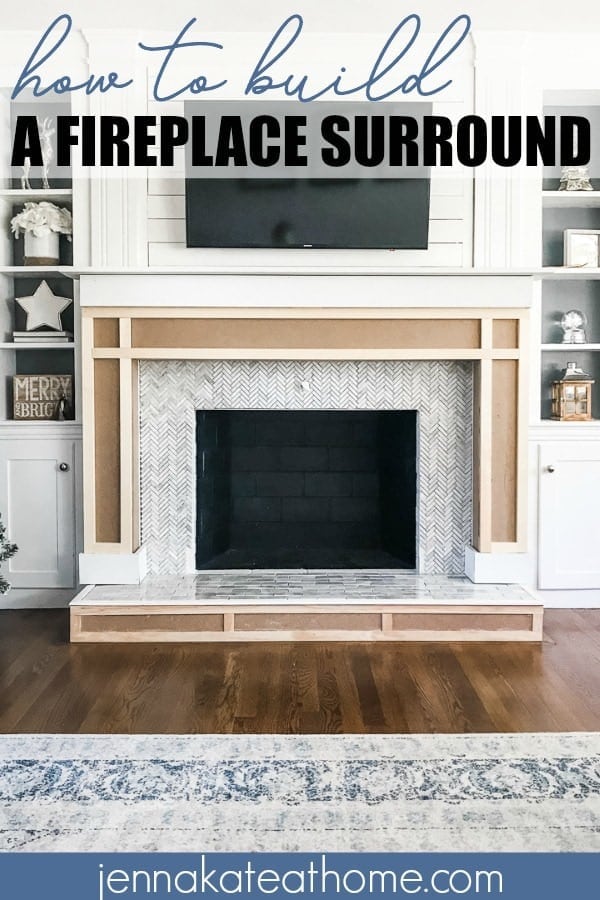
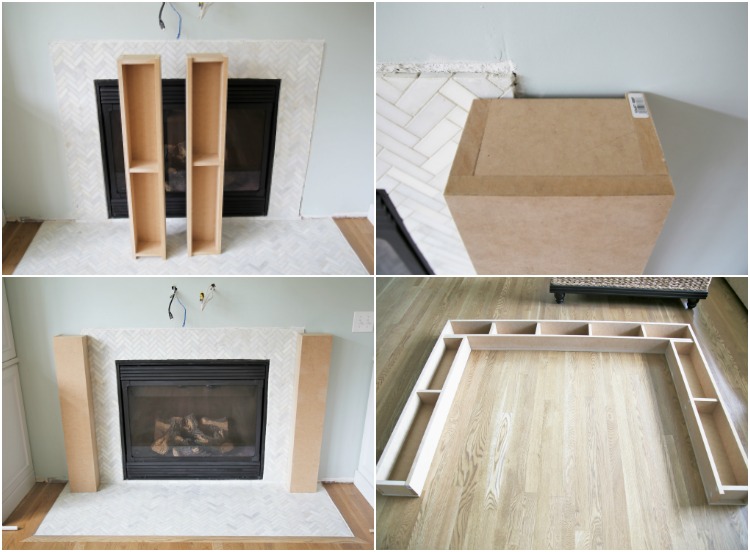
DIY Fireplace Mantel and Surround – Jenna Kate at Home
DIY Wood Beam Mantel
How to create a DIY reclaimed wood fireplace surround for less

DIY Fireplace Mantel and Surround

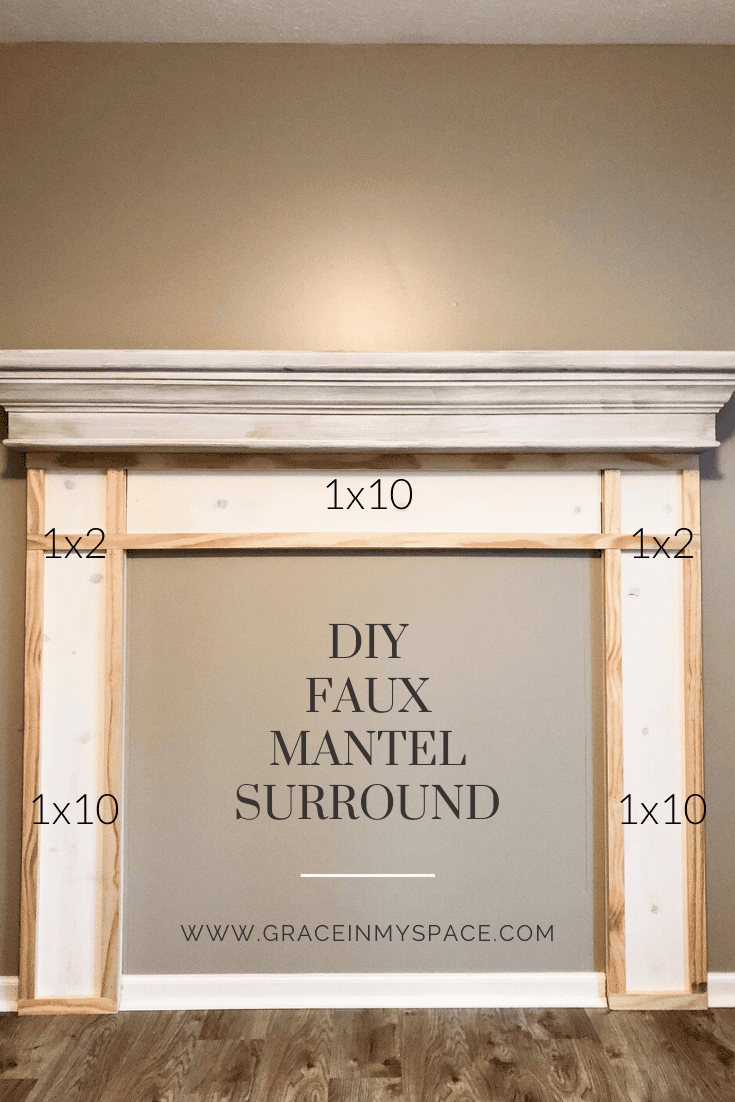
DIY Faux Fireplace Mantel Tutorial – Grace In My Space
Related Posts:
- Gas Fireplace Surround Ideas
- Fireplace Surrounds Design Ideas
- Fireplace Surround Ideas
- DIY Stainless Steel Fireplace Surround
- Modern Concrete Fireplace Surrounds
- Fibreglass Fireplace Surround
- Walnut Fireplace Surround
- Fireplace Surround Replacement
- Thin Brick Fireplace Surrounds
- Cherry Fireplace Surround
Building A Wood Fireplace Surround
A wood fireplace surround can be an excellent addition to any home, bringing warmth and beauty to your living space. Not only does it create a focal point in the room, but it also adds a touch of elegance and sophistication. Building a wood fireplace surround is a DIY project that can be accomplished with some basic carpentry skills and the right tools. In this article, we will guide you through the step-by-step process of building a wood fireplace surround, from choosing the materials to finishing touches.
Choosing the Materials
The first step in building a wood fireplace surround is selecting the right materials. Wood is a popular choice for fireplace surrounds due to its natural beauty and versatility. There are various types of wood to choose from, such as oak, pine, cherry, mahogany, and maple. Each type of wood has its unique characteristics in terms of grain pattern, color, and hardness, so it’s important to consider your preferences and the overall style of your home.
What type of wood is best for a fireplace surround?
The best type of wood for a fireplace surround depends on your personal preference and the overall aesthetic you want to achieve. Hardwoods like oak and cherry are popular choices due to their durability and rich color. Softwoods like pine can be more affordable but may require more maintenance.
Measuring and Planning
Before starting any construction project, accurate measurements and careful planning are essential. Begin by measuring the dimensions of your existing fireplace opening. This includes the height, width, and depth of the space where the surround will be installed. Additionally, consider how much space you want your wood fireplace surround to occupy on the wall. Take into account any mantels or shelves you may want to include.
Once you have all the measurements, draw a detailed plan on paper or using computer software. This plan should include precise measurements and sketches of each component of the surround, such as the legs, header, and mantel. Double-check your measurements to ensure accuracy before moving on to the next step.
How much space should I leave between the fireplace opening and the wood surround?
It is recommended to leave at least 6 inches of clearance between the fireplace opening and the wood surround. This allows for proper ventilation and avoids any risk of fire hazards. However, check local building codes to ensure compliance with safety regulations in your area.
Preparing the Wood
After selecting the materials and finalizing your design, it’s time to prepare the wood for construction. Start by purchasing high-quality lumber from a reputable supplier. The wood should be properly dried and free from any defects or warping.
Cutting and shaping the wood components of the surround will require various tools such as a miter saw, table saw, jigsaw, and router. Follow your plan’s measurements precisely and take care when handling power tools. Smooth out any rough edges or surfaces using sandpaper or a handheld sander.
Can I use reclaimed wood for my fireplace surround?
Yes, reclaimed wood can add a unique character to your fireplace surround. However, be sure to inspect the wood for signs of damage or insect infestation before using it. Additionally, ensure that the reclaimed wood is properly prepared and treated to prevent any potential issues in the future.
Assembling the Surround
Once all the wood components are prepared, it’s time to assemble the surround. Start by attaching the legs to the sides of the fireplace opening using screws or nails. Make sure they are Securely fastened and level.
Next, attach the header to the top of the legs using the same method. Double-check for levelness and adjust as needed.
If you plan to include a mantel or shelf, attach it to the top of the header using appropriate brackets or supports. Ensure that it is level and securely attached to the surround.
Make any necessary adjustments or modifications before permanently attaching the components together. This includes trimming any excess wood, adjusting for uneven walls, or adding additional supports if needed.
Use wood glue or construction adhesive in addition to screws or nails for added strength and stability.
Should I paint or stain my wood fireplace surround?
The decision to paint or stain your wood fireplace surround depends on your personal preference and the overall aesthetic you want to achieve. Painting allows for a wider range of color options and can give a more modern or contemporary look. Staining enhances the natural beauty of the wood grain and can give a more rustic or traditional appearance. Consider factors such as the existing decor, maintenance requirements, and desired durability when choosing between paint or stain.
Finishing Touches
After assembling the surround, fill any visible nail holes or gaps with wood putty. Sand down the entire surface, including all edges and corners, to ensure a smooth finish.
Apply your chosen finish (paint or stain) according to manufacturer instructions. Apply multiple coats as needed, allowing sufficient drying time between each coat.
Once dried, inspect the surround for any imperfections or areas that may need touch-ups. Make any necessary repairs before installing your completed fireplace surround in its designated space.
Remember to follow all safety precautions when working with power tools and always consult local building codes and regulations before starting any construction project. It may be beneficial to consult with a professional carpenter or contractor for guidance and assistance throughout the process.