Whitewash Brown Brick Fireplace
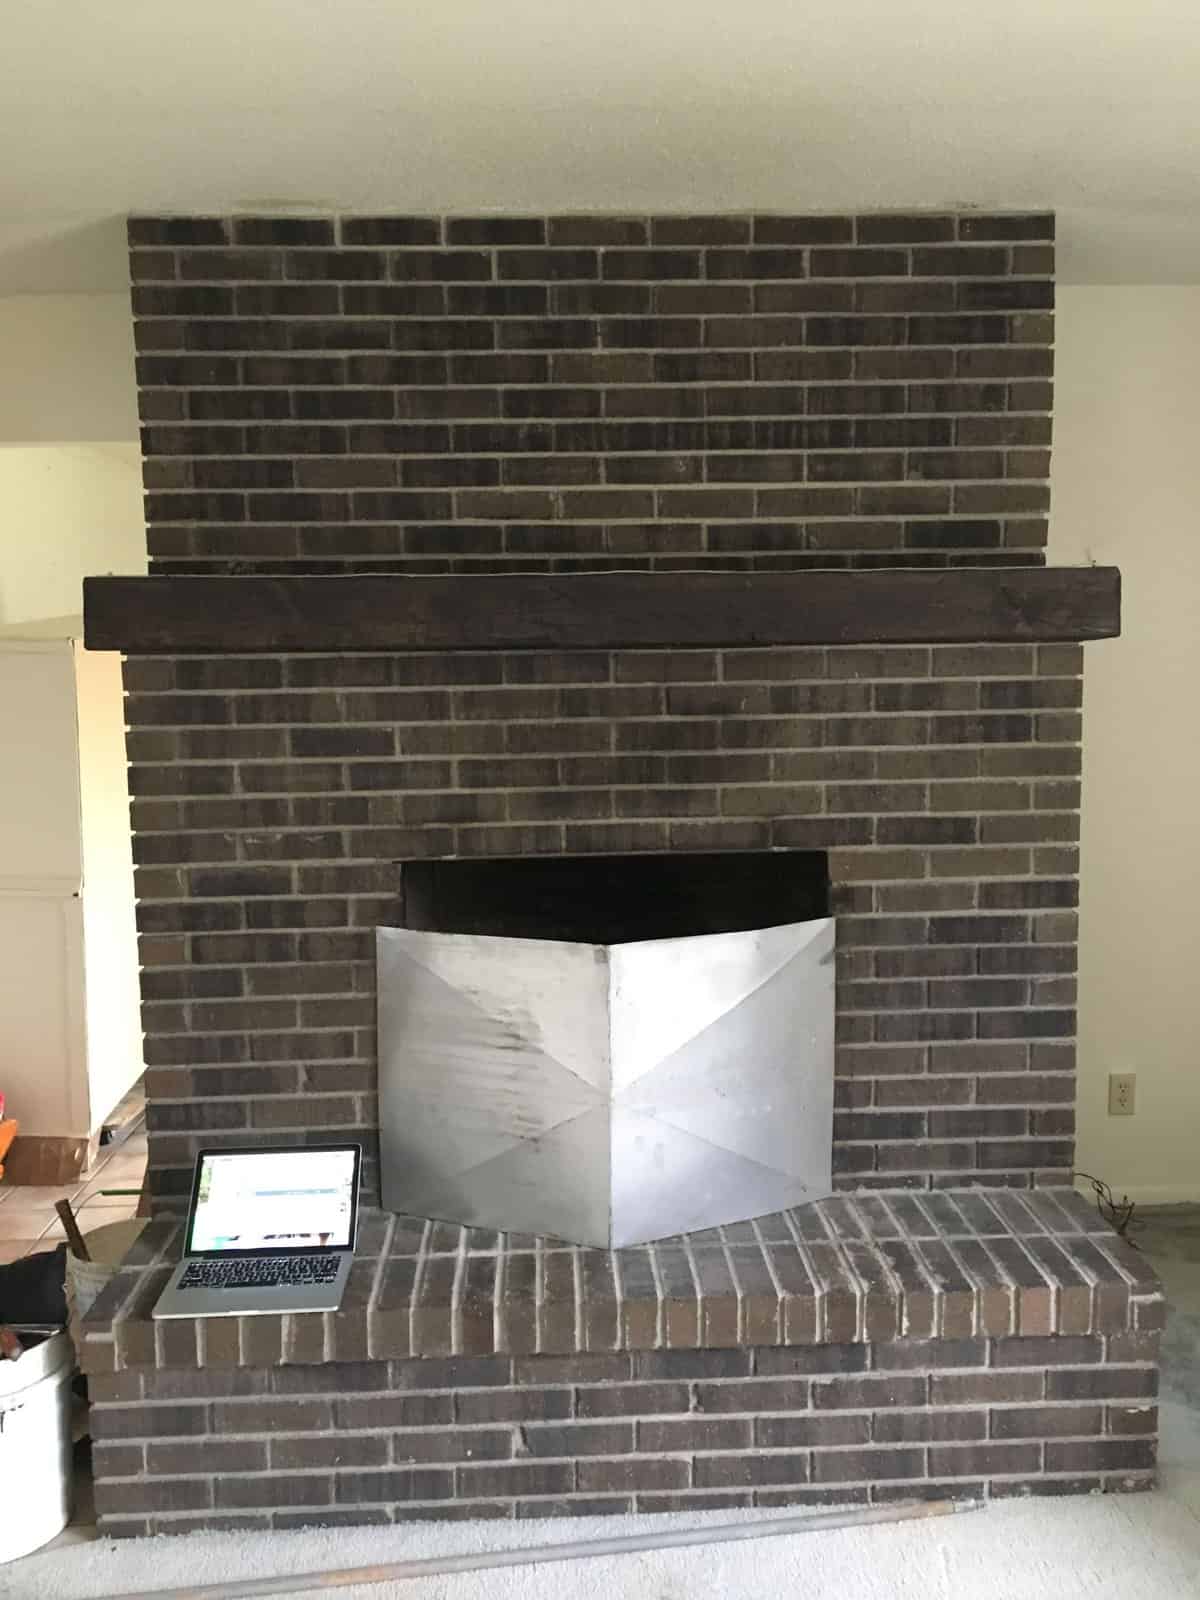
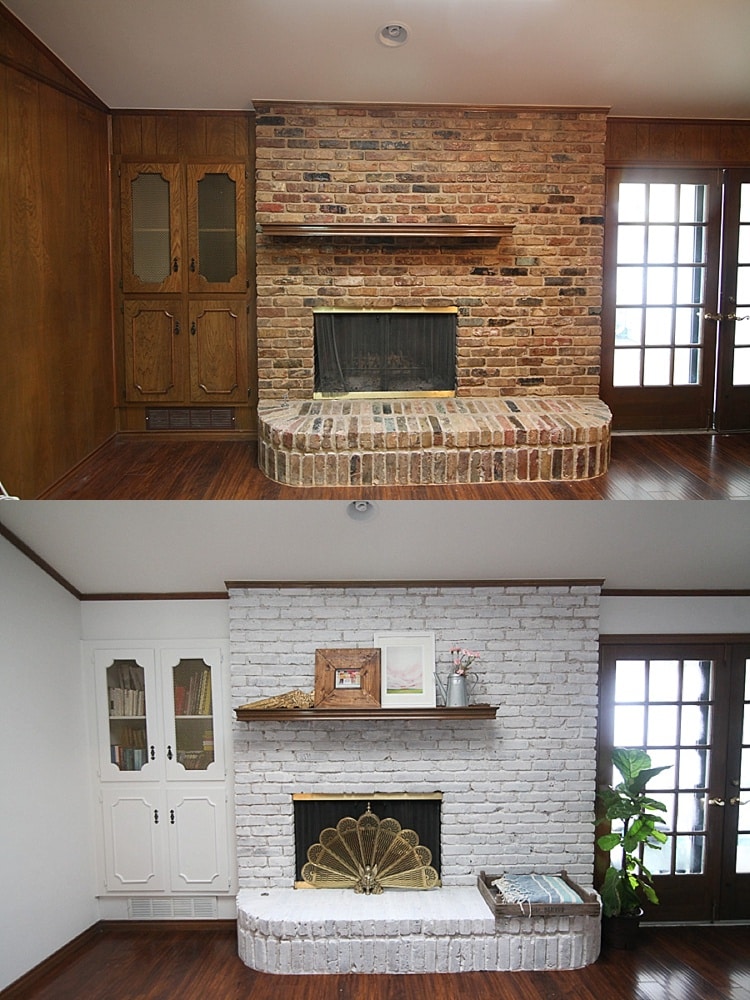
If your living room has a brown brick fireplace that feels too dark or outdated, whitewashing might be the perfect weekend project. It’s an easy, budget-friendly way to soften the look of the brick without completely covering up its texture and natural charm. I’ve seen people transform their entire space just by changing the color of their fireplace, and honestly, it can make a huge difference in how the room feels—especially in homes with limited natural light or darker wall colors.
Why People Choose to Whitewash a Brown Brick Fireplace
- It Lightens the Look Without Hiding the Brick
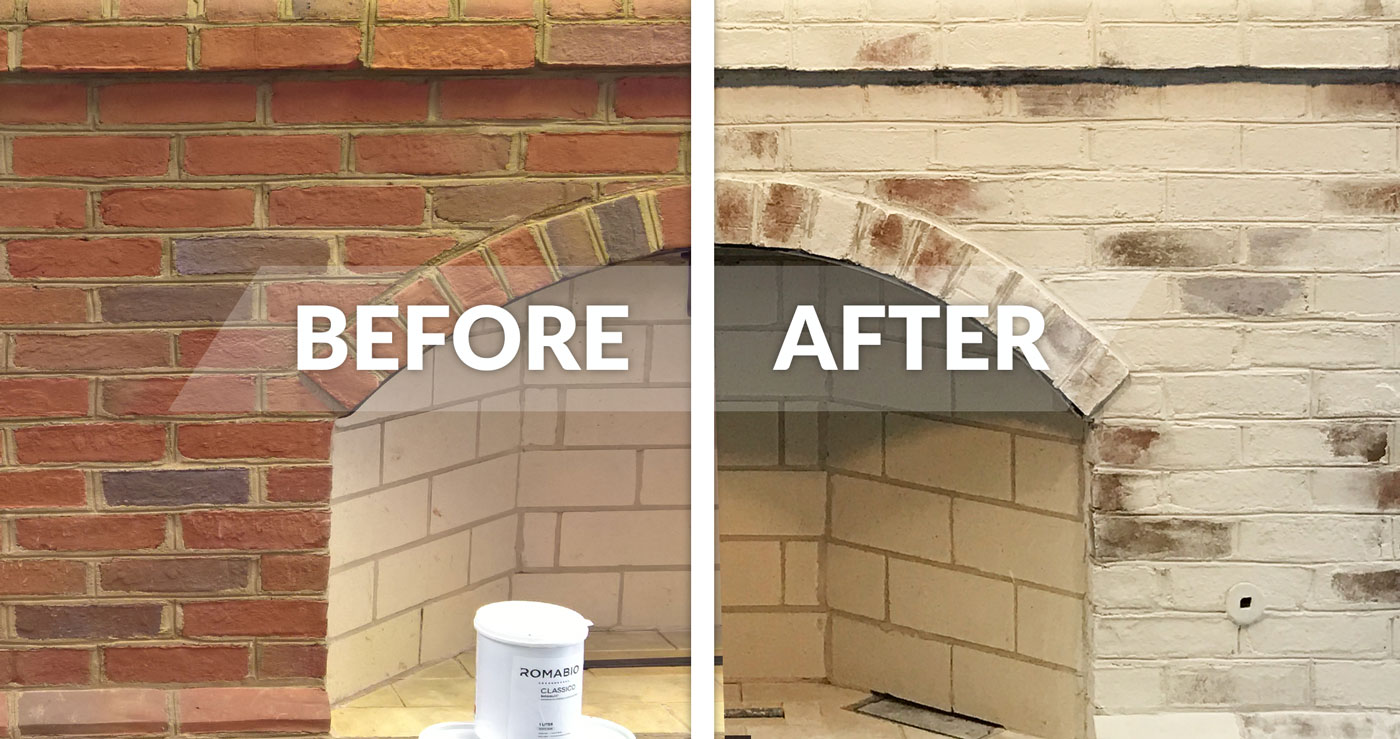
A lot of homeowners like the texture of brick but don’t love the dark, heavy look of brown or red tones. Whitewashing lets you keep the character of the brick while brightening up the space. The paint thins out just enough to let the natural surface peek through. So instead of covering it up entirely, you’re just giving it a freshened-up version of itself. - It Feels More Timeless Than Painting
Unlike fully painted brick, whitewashing has a soft, chalky look that doesn’t feel trendy or harsh. Painted brick can sometimes look too uniform or flat, depending on the color and finish. Whitewashing gives off a lived-in, slightly rustic vibe that works with a lot of different styles—modern farmhouse, coastal, even minimal spaces. - It Works Well With Neutral Decor
Brown brick has a lot of orange or red tones that can clash with cooler neutrals like gray, beige, or greige. Whitewashing cools down the color palette, which helps everything else in the room feel more connected. I’ve seen it really open up design options when you want to change your furniture or wall color later on. - It’s Inexpensive and DIY-Friendly
You don’t need to be a professional painter to get this job done. With just a few basic supplies—white paint, water, a brush or rag, and a drop cloth—you can handle it yourself over a weekend. The process doesn’t require exact perfection either, which takes off a lot of pressure. - It Adds a Layer of Personality
Every whitewashed fireplace looks a little different. The way the paint soaks into the brick, how thick you apply it, and how much of the original color you let show—all of that plays into the final look. It becomes a customized feature that feels more “you” than something mass-produced or pre-fab.
What You’ll Need to Get Started
Choose the Right Type of Paint
You’ll want a water-based latex paint in a flat or matte finish. Glossy paints don’t soak into the brick well and can look too shiny. A flat white gives a more natural, aged look. Some people use chalk paint for a softer effect, but regular latex works just fine when mixed with water.
Prep the Area Thoroughly
This part is easy to skip, but trust me—it’s important. Clean the brick thoroughly with a stiff brush to remove dust, soot, and any greasy buildup. Use a vacuum or shop vac to clean out the mortar lines. Lay down a drop cloth and tape off any edges to protect your floors and walls from splatter.
Mix Your Whitewash Solution
The typical mix is one part water to one part paint, but you can adjust depending on how much coverage you want. Thinner mixtures allow more of the brick to show through, while thicker ones give a whiter, more opaque look. Start light—you can always go back and add more layers.
Decide on Application Tools
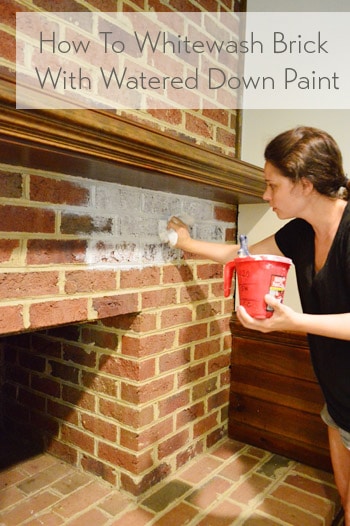
You can use a brush, sponge, or rag to apply the mixture. A brush gives you more control in the mortar lines, while a rag helps spread and soften the look. Some people use a spray bottle for really light washes, but that can get messy fast. I’ve found that a combination of a paintbrush and an old towel works best.
Keep a Clean Cloth Handy
This is for wiping away excess paint before it dries. If you apply too much in one spot, just blot it with a clean cloth to let more of the brick show through. This technique adds variation and texture, which helps it look more natural and less like a solid paint job.

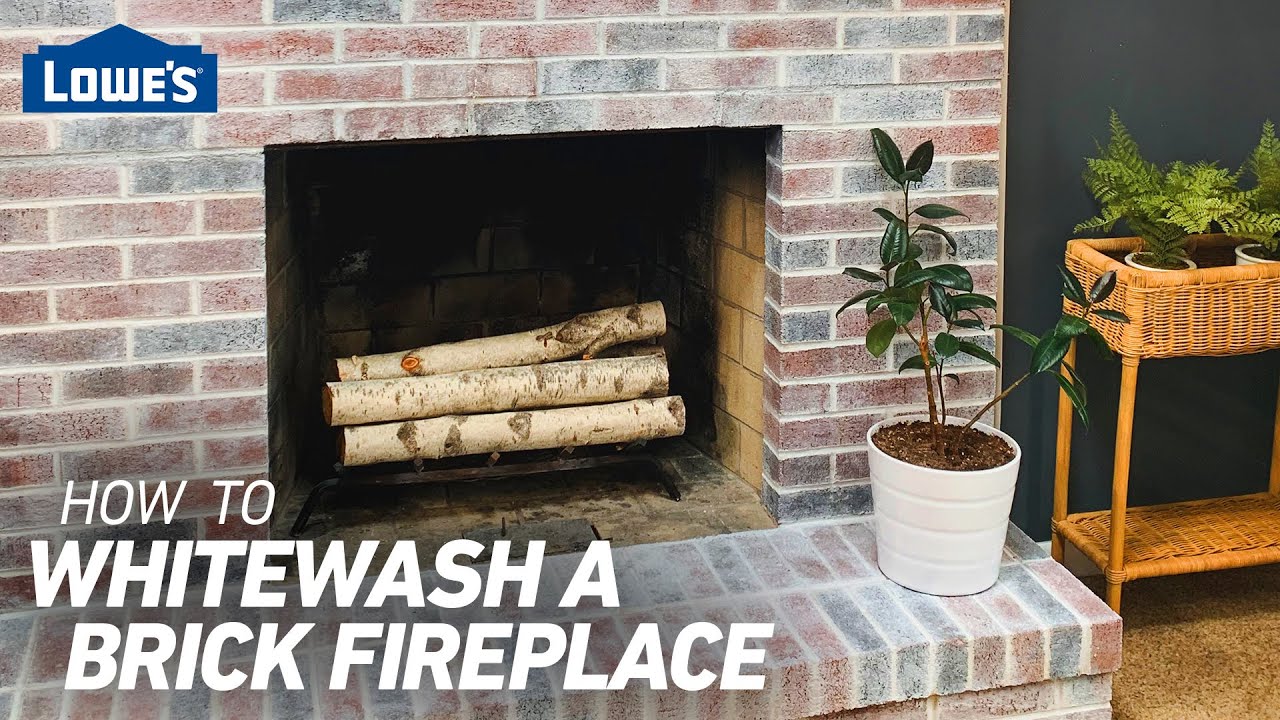
Applying the Whitewash: Step-by-Step
Test a Small Area First
Always start in a low-visibility spot, like the bottom corner or the side of the fireplace. Brush on a bit of your mixture and see how it dries. That’s the best way to gauge how much coverage you’ll get and whether you like the finish. You might decide to adjust your paint-to-water ratio based on that first patch.
Work in Small Sections
Brick dries quickly, especially when the paint is watered down. It’s best to work in small sections so you have time to wipe or blot as needed. I usually tackle one row of bricks at a time, letting each section dry a bit before moving on to the next. This keeps the overall look more consistent.
Use a Dabbing Motion Instead of Brushing Hard
Light pressure is key here. You’re not painting a wall—you’re washing a surface. A dabbing or stippling motion helps spread the paint without completely coating the brick. You want some of the original color and texture to peek through.
Keep Stepping Back to Check Your Work
It’s easy to get caught up in the details, but make sure you take a step back now and then. That way, you’ll notice if one side is too light or too heavy. The beauty of whitewashing is its randomness, so don’t stress about making it perfect—just make sure the overall feel is even.
Let It Dry, Then Adjust as Needed
Once the entire fireplace is dry, you might decide to add a second layer in certain spots or wash down areas that look too white. The best part about this technique is that you can build it up gradually. Just remember that once the paint dries, it’s harder to remove—so always start subtle.
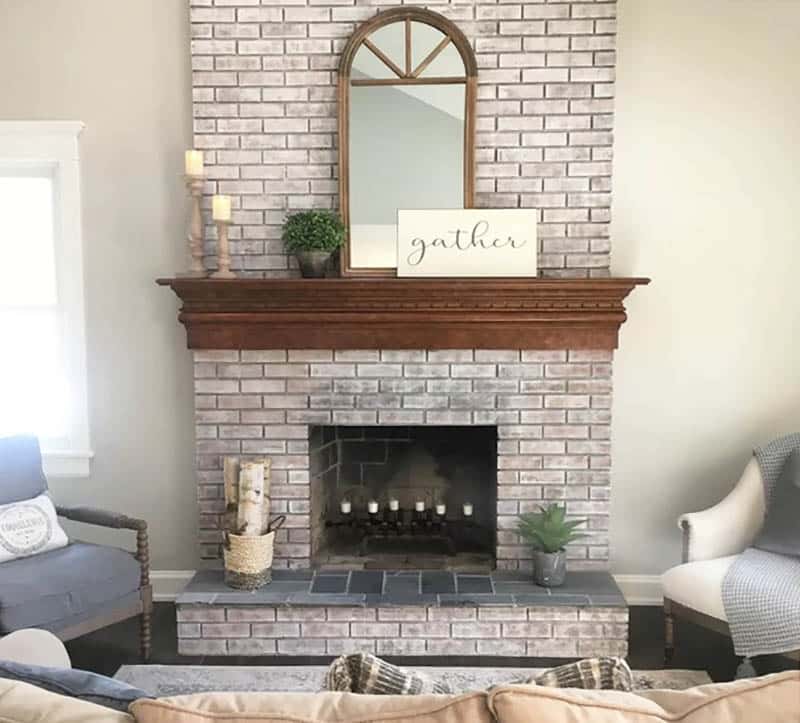
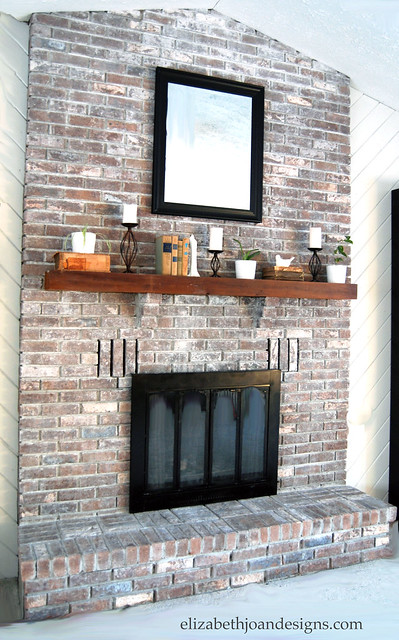
Styling a Whitewashed Brick Fireplace
Pick Softer, Earthy Accessories
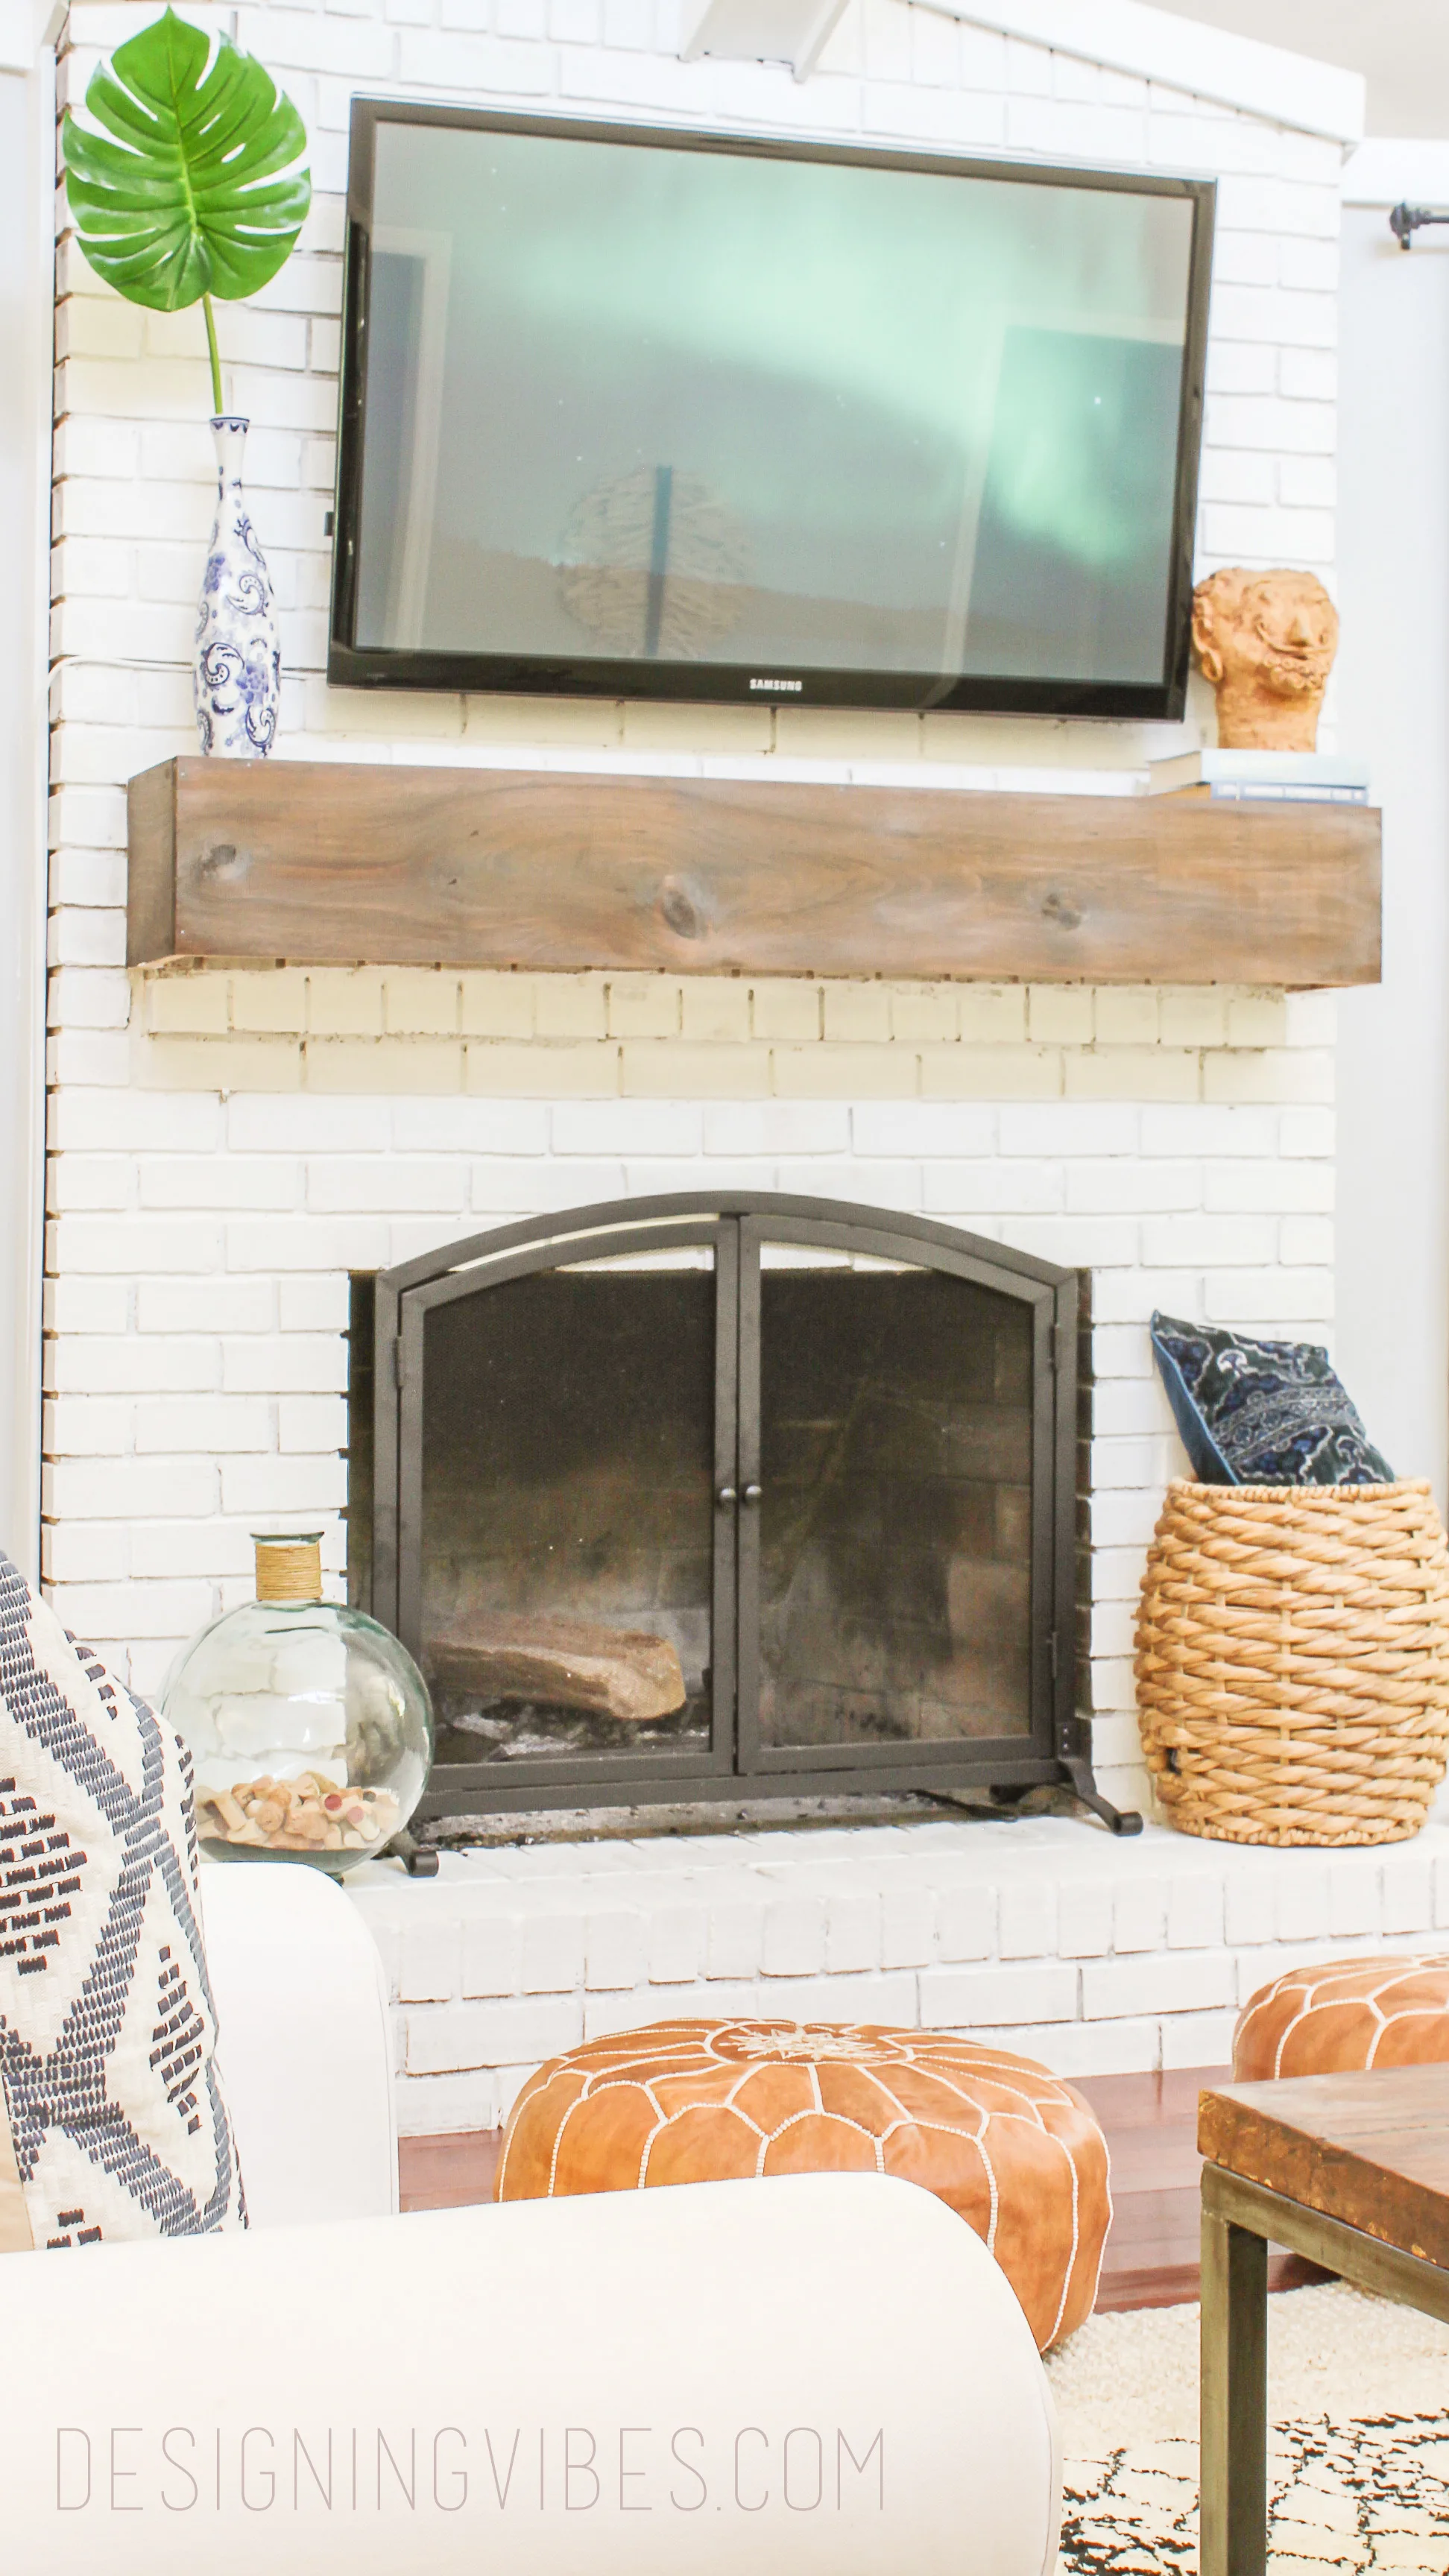
Now that your brick has a lighter base, your accessories can either contrast or blend in. I usually like sticking to soft, earthy textures like wicker baskets, linen throws, or wooden picture frames. It keeps things cozy without looking too formal.
Add a Mantel That Matches the Vibe
If you’ve got a wood mantel, you might want to consider sanding or staining it to match the new whitewashed tones. A dark or reddish wood might clash a bit. Lighter stains, raw wood, or even painted mantels help pull the whole look together.
Choose Art and Mirrors Wisely
A whitewashed fireplace becomes a subtle backdrop, so you can play up contrast or keep it neutral. A dark-framed mirror or black-and-white photo collection looks great above a light brick surround. Or go for abstract art in soft colors if you want to keep the whole room feeling airy.
Consider Adding Plants
Greenery looks amazing against a whitewashed backdrop. A few trailing vines or a tall potted plant nearby adds life and color without overwhelming the space. I’ve even seen people mount small planters on the brick itself for a fresh, organic feel.
Swap Seasonal Decor Easily
Because the brick is now neutral, your seasonal decorating becomes so much easier. Add pine garland in winter, bright florals in spring, or rustic pumpkins in fall—it all works. You don’t have to worry about color matching like you would with red or brown brick.

Long-Term Maintenance and Considerations
Touch-Ups May Be Needed Over Time
Whitewashing is long-lasting, but brick is a porous material, so the paint can wear down a bit—especially around the firebox. You might need to touch up areas after a few years. Keep your original paint mix on hand if possible or jot down the ratio you used.
Clean with Gentle Tools
Stick to soft brushes or cloths when cleaning. Avoid scrubbing too hard or using abrasive cleaners that might chip or fade the paint. A little warm water and dish soap should be enough to keep the surface clean.
Be Careful Around Open Flames
If your fireplace is wood-burning, the area closest to the fire may darken or discolor. Consider using a heat-resistant clear coat over that part or just expect a little patina over time. If it’s a gas insert, you’ll probably have less trouble with soot and staining.
Don’t Be Afraid to Revisit the Look
The nice thing about a whitewashed fireplace is that it’s reversible—to some extent. If you decide down the line that you want a darker look again, you can paint over it with a new shade or even strip it back if the paint layer is thin enough. It’s not a forever decision.
Make It Part of a Bigger Update
If you’re whitewashing the fireplace, consider updating the surrounding area too. New baseboards, fresh paint on the walls, or updated light fixtures can make the whole room feel renewed. It’s amazing how one small project can inspire a bunch of other good changes.
Whitewashed Brick Fireplace – ELIZABETH JOAN DESIGNS
How to Whitewash a Brick Fireplace Fireplace remodel, Diy

How to Whitewash a Brick Fireplace
Whitewash Your Brick Fireplace with Limewash Paint Romabio
Update a Brick Fireplace: How to Whitewash Brick the Easy Way
Whitewash Brick: The Pros and Cons painted brick plus the easiest

How To Whitewash A Brick Wall Or Fireplace Young House Love
How to Whitewash Your Brick Fireplace – Marly Dice

White wash fireplace, White

My Painted Brick Fireplace 3 Years Later – A Cautionary Tale
Related Posts: