DIY Fireplace Insert Installation
A fireplace insert can turn an inefficient wood-burning fireplace into a reliable source of heat while improving appearance and reducing energy waste. Many homeowners assume this upgrade requires professional help, but with careful planning and the right tools, it can be a manageable DIY project. I’ll walk you through the key steps to help you safely and successfully install a fireplace insert on your own.
Planning and Measuring for the Right Fit
- Start by measuring the firebox accurately.
Before anything else, I measure the firebox opening—width, height, and depth. These dimensions guide my choice of insert. If I skip this step or make a mistake, the unit may not fit, which can lead to frustration and added costs. I use a metal measuring tape and double-check each number to make sure it’s precise. - Determine your preferred fuel type.
Fireplace inserts come in gas, wood, and electric options. I choose based on my home’s setup and how much maintenance I want. Wood inserts need a chimney, gas inserts require a gas line, and electric ones just need an outlet. Each type affects installation complexity, so knowing what I want upfront helps me plan better. - Check the chimney or venting system.
If I’m installing a wood or gas insert, I make sure the chimney is in good shape. A dirty or cracked chimney can be dangerous. I inspect for obstructions, creosote buildup, or damaged flue liners. If necessary, I call in a chimney sweep before continuing the project. - Understand local building codes and permits.
Some areas require permits for installing certain fireplace inserts. I check with my local building authority to see if any codes apply. Failing to do this could result in fines or having to undo the work later. I always want the peace of mind that comes from doing things by the book. - Match the insert size with the fireplace opening.
Even if the insert fits within the fireplace, it should also sit flush and be centered correctly. I compare the manufacturer’s dimensions, including venting and trim requirements, against my fireplace’s inner and outer measurements. A well-fitting insert both looks good and operates more efficiently. - Make sure your hearth is compatible.
The hearth—the base in front of the fireplace—needs to support the insert’s weight and meet fire safety regulations. I check that it’s level, solid, and made of non-combustible material. If it’s not wide or deep enough, I plan to extend it using tile, stone, or another fireproof material.
Gathering Tools and Safety Equipment
Have the right hand tools ready.
This job requires a basic set of tools. I always prepare screwdrivers, a wrench set, a utility knife, a drill, and a level. Depending on the insert type, I may also need metal snips, caulk, or masonry anchors. Having everything on hand before starting saves me time and stress mid-project.
Get proper protective gear.
When working with heavy equipment and power tools, safety is critical. I wear thick work gloves, eye protection, and a dust mask if I’m drilling or cleaning soot. If I’m installing a gas insert, I also use a leak detection solution to check for gas leaks during and after setup.
Use moving equipment if the insert is heavy.
Fireplace inserts can weigh over 200 pounds. I use a hand truck, moving straps, or get a second person to help move it safely. Trying to lift it alone could lead to injury or cause me to damage the unit or my hearth. It’s not worth rushing this part—safety always comes first.
Prepare fire-resistant materials.
Depending on the insert, I may need to use fire-rated insulation, metal flashing, or a hearth extension. These materials ensure safe operation and help contain heat. I source them in advance based on the manufacturer’s instructions for the specific model I’m installing.
Set up an accessible work area.
To make things easier, I clear the area around the fireplace and set up a work surface nearby for tools and materials. A well-organized space helps me stay focused and avoid mistakes. I lay down a tarp or old blanket to protect flooring from soot or debris during the process.
Review the installation manual thoroughly.
Even if I’ve done similar projects before, every model is different. I read the manufacturer’s manual completely, especially the safety warnings, clearance requirements, and step-by-step guide. It’s the best way to avoid problems down the line and ensures I follow all proper procedures.

Preparing the Fireplace and Chimney
Clean out the existing firebox.
Before starting the installation, I remove all ashes, soot, and debris from the old firebox. I use a shop vacuum and wire brush to make sure it’s clean. A dirty surface can interfere with fitting the insert properly and can also pose a fire hazard if not cleared away completely.
Remove any old accessories or hardware.
I take out grates, screens, and old gas log setups if they’re in the way. These pieces can block the insert or make installation more difficult. I store them aside in case they’re needed later, but I don’t try to install over or around anything that wasn’t made for the insert.
Inspect and repair the chimney liner.
For wood and gas inserts, the chimney liner plays a crucial role. If it’s damaged or the wrong size, I install a new stainless steel liner that matches the insert’s venting requirements. This helps reduce heat loss and prevents dangerous gases from leaking into the house.
Test or install electrical connections.
If I’m installing an electric insert or one with a fan blower, I make sure there’s a nearby outlet. In some cases, I install a new one or use an extension cord temporarily. For safety and code compliance, any permanent wiring should be done correctly, even if it means calling an electrician.
Test the gas line if using a gas insert.
For gas inserts, I check the gas supply line. I shut off the gas, then use a pressure gauge or soap solution to test for leaks. If anything seems off, I don’t proceed until the issue is fixed. If the line doesn’t exist yet, this step requires a licensed plumber or gas fitter.
Prep the hearth and level the surface.
A level base ensures the insert will operate correctly. I use a level to check the hearth. If it’s uneven, I shim the insert as recommended. Some inserts require a heat shield underneath, so I check the specs. Making this adjustment now avoids potential performance issues later.

Installing the Fireplace Insert
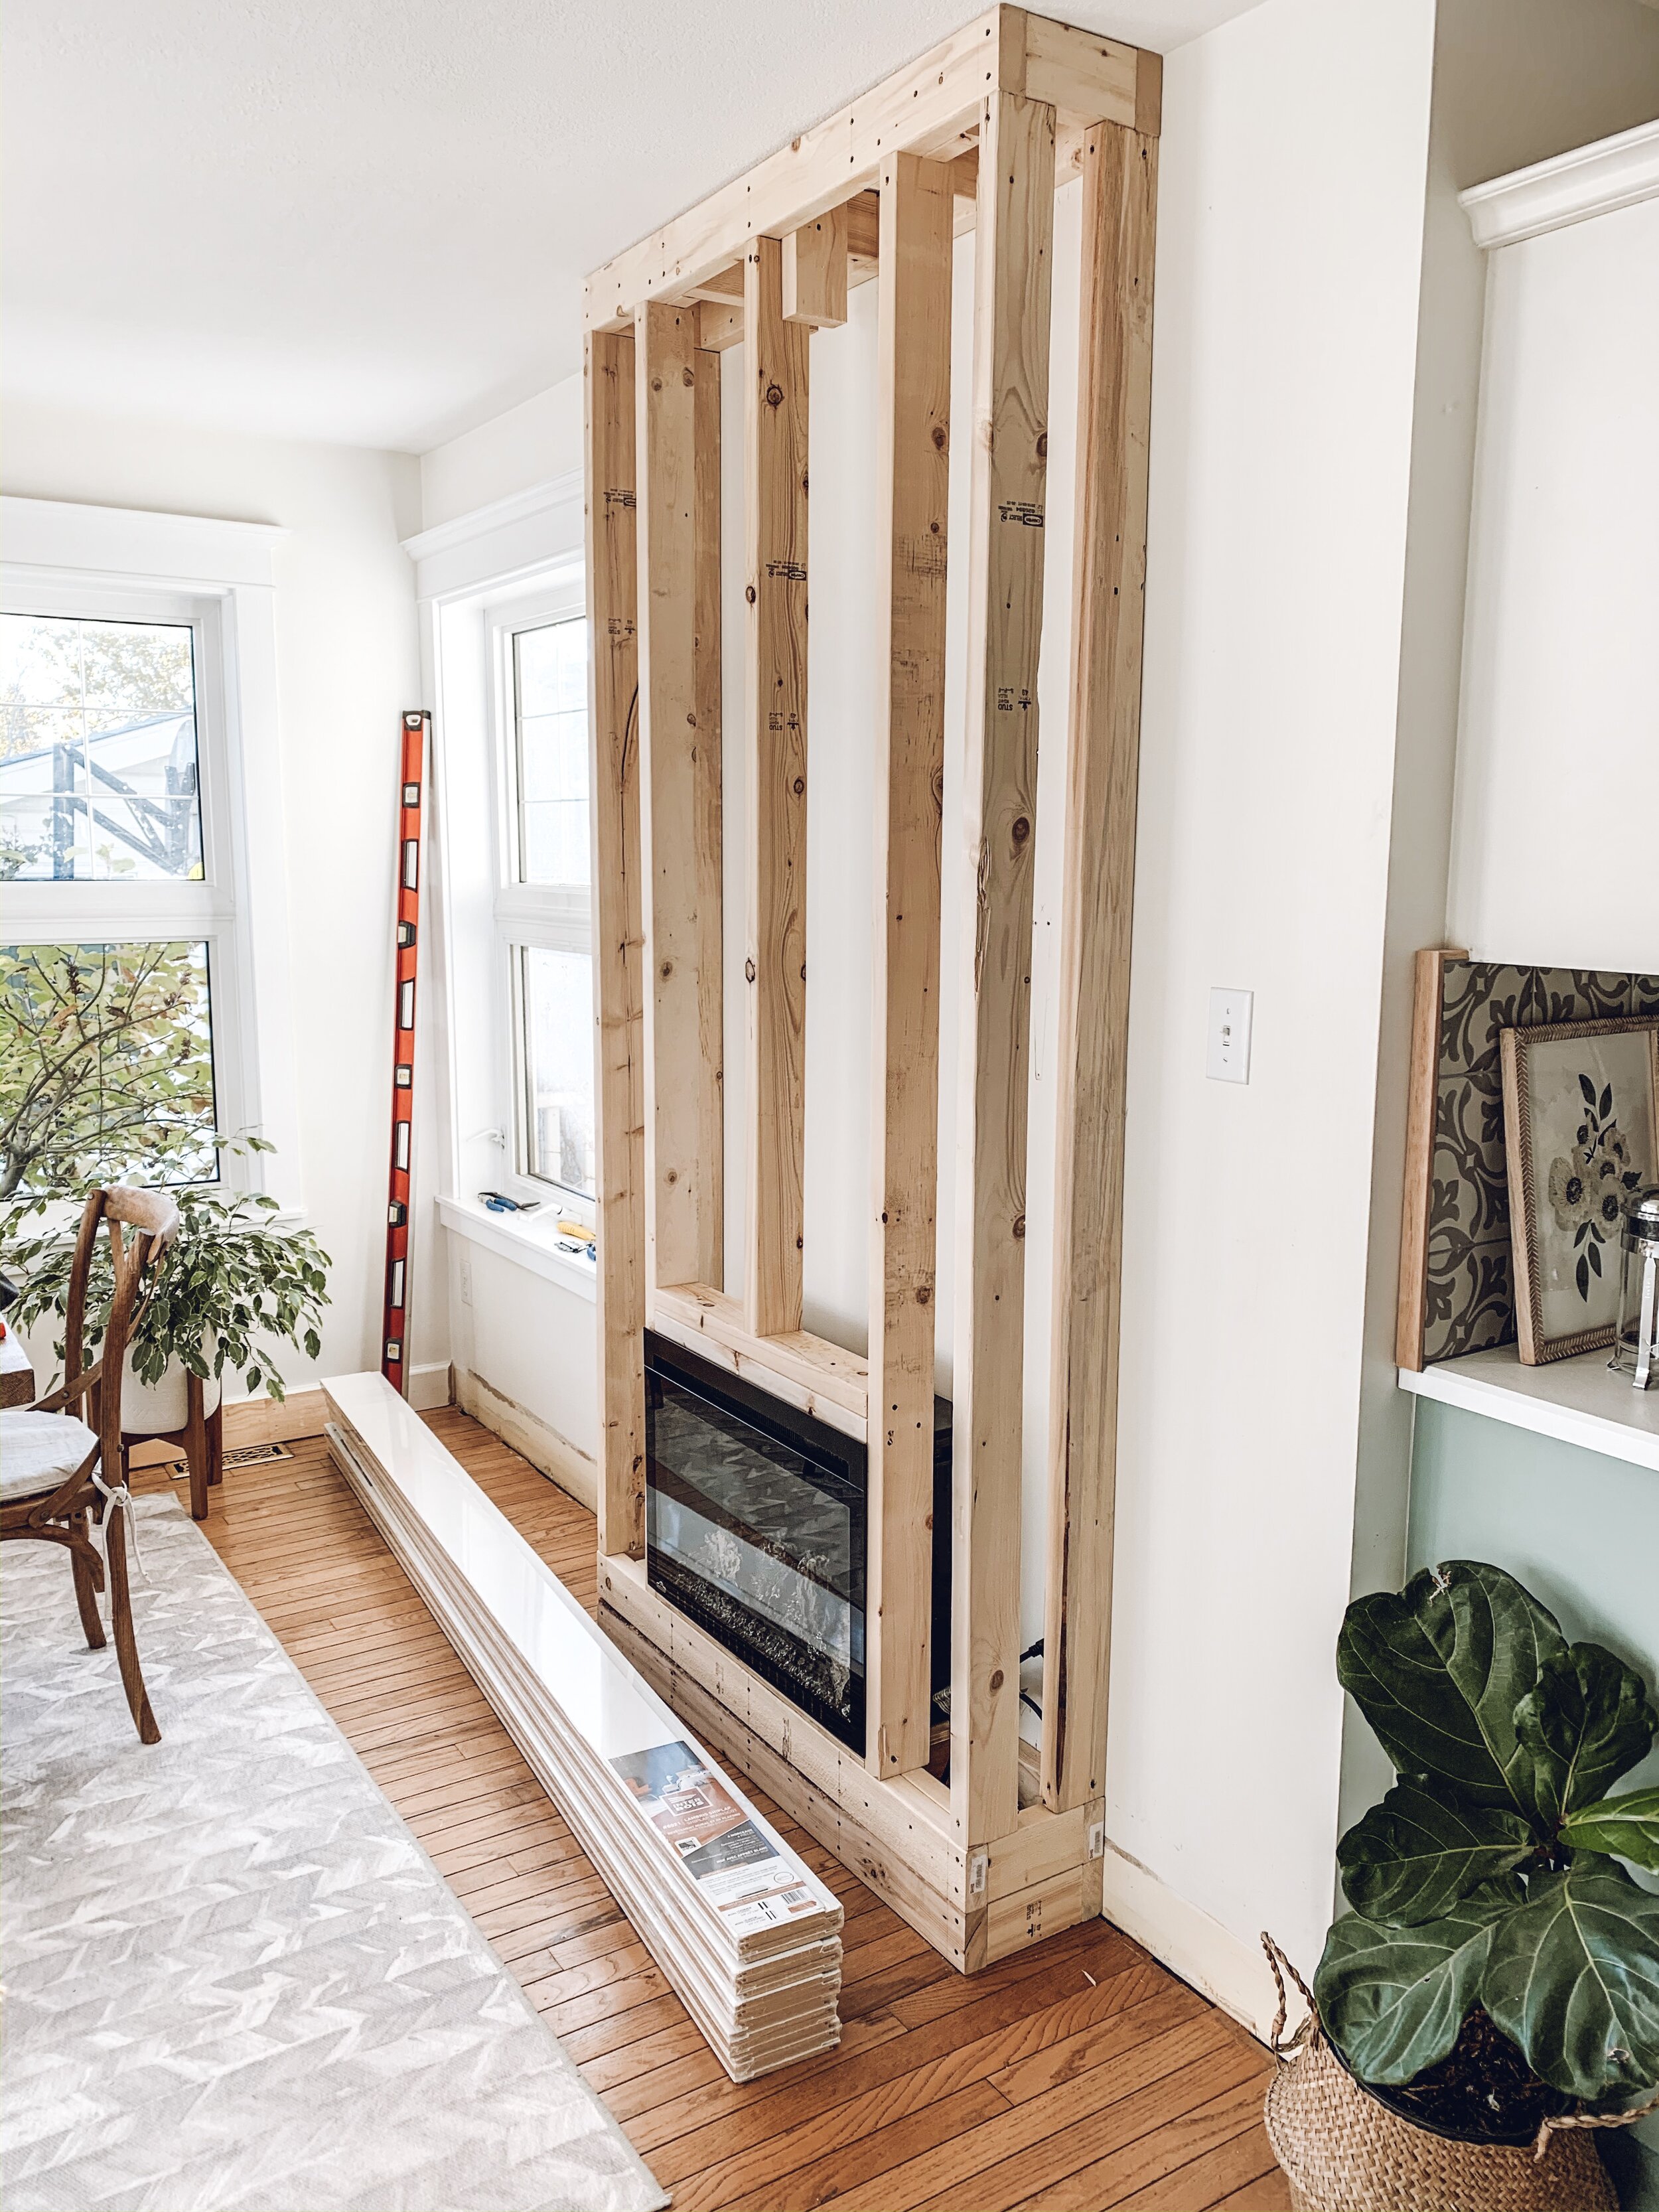
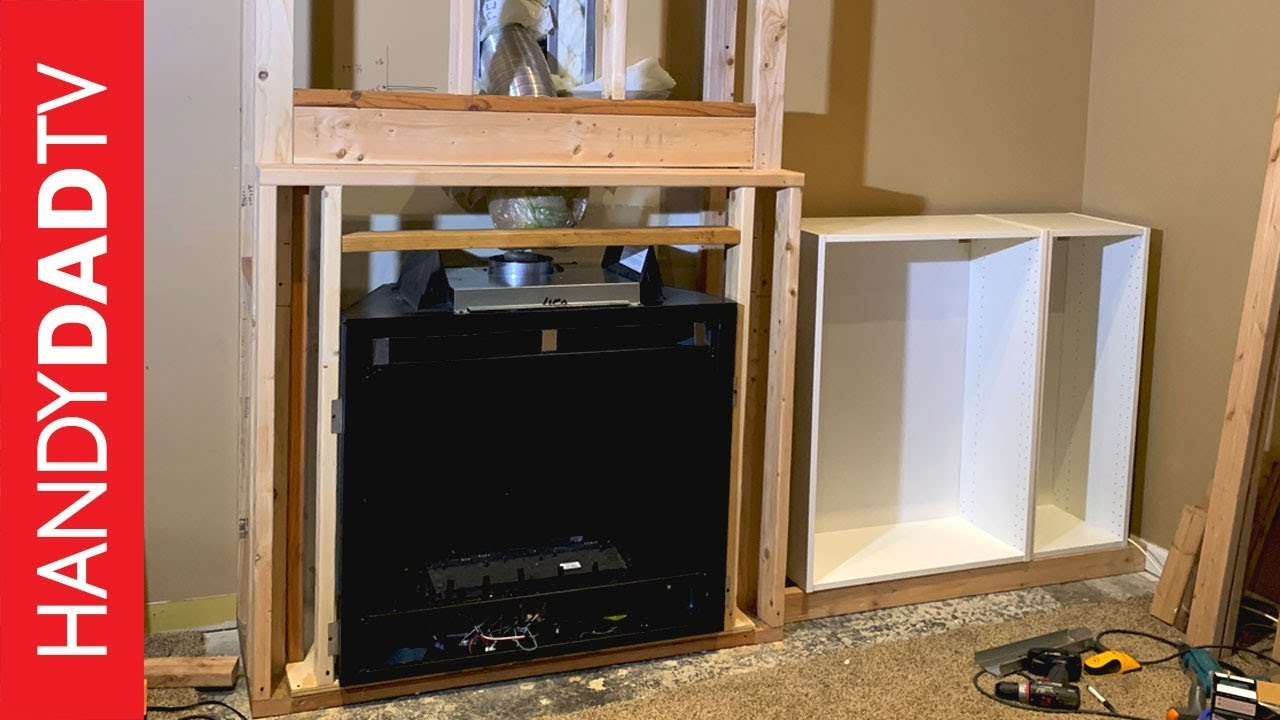
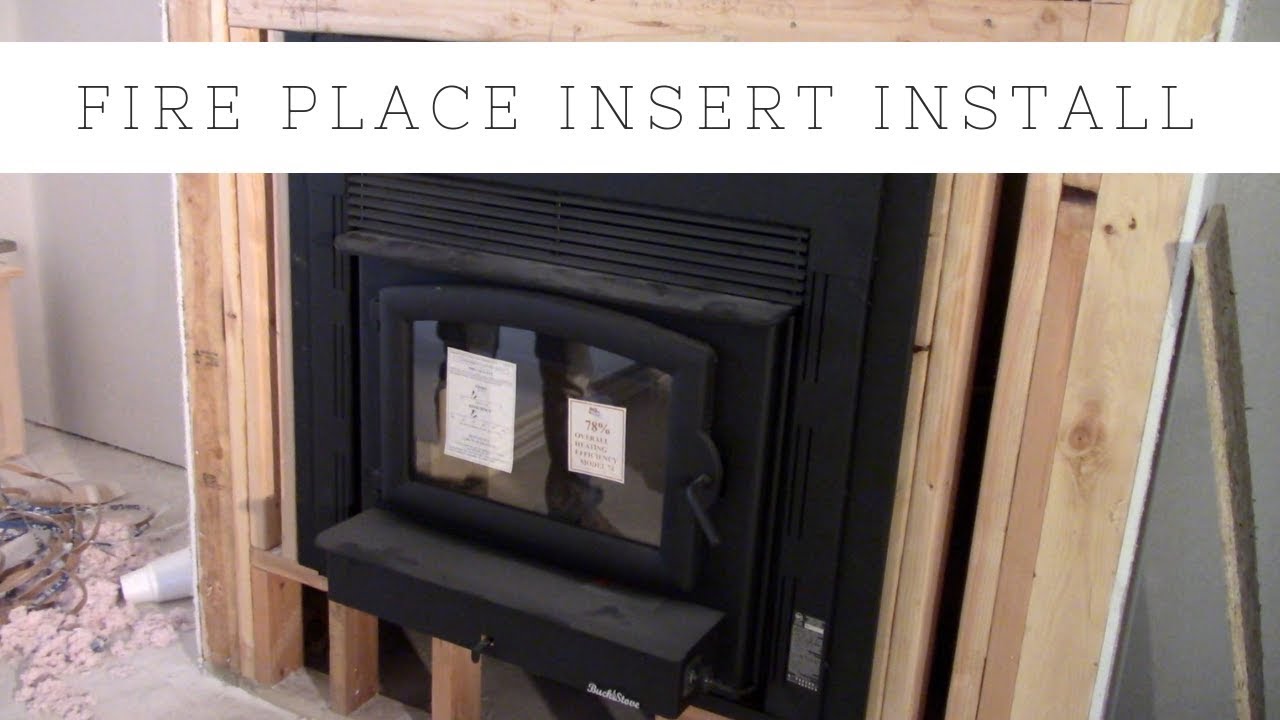
Position the insert inside the firebox.
I carefully lift or roll the insert into position inside the firebox. Once centered, I check that it sits flush against the hearth. Most inserts have adjustable legs or brackets to help with alignment. I ensure there’s proper clearance on all sides, just like the manual recommends.
Connect the venting components.
Venting is critical for gas and wood inserts. I attach the flue liner or direct vent pipe to the insert’s outlet collar. I often need to go up on the roof to secure the liner or cap. It’s essential to make all seals airtight and secure to prevent backdraft or smoke leaks.
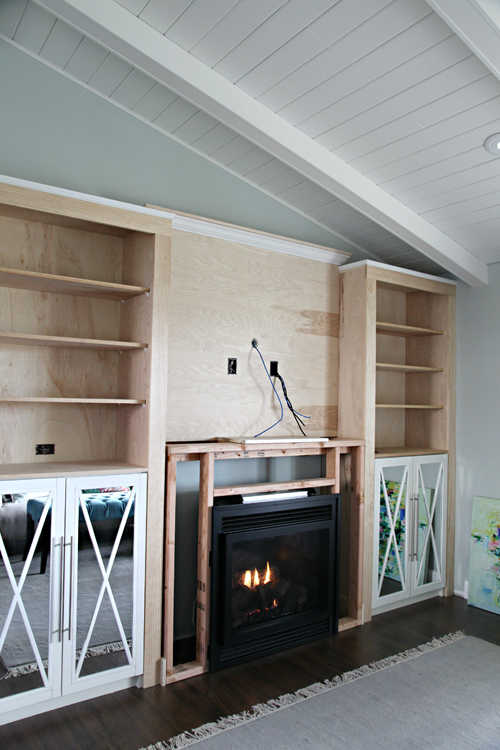
Attach trim or surround panels.
Most inserts come with trim kits that frame the opening for a polished look. I screw or clip the panels into place, making sure everything lines up. These pieces also help prevent heat from escaping around the insert and hide any gaps between the insert and the fireplace surround.
Make all electrical or gas connections.
If the unit has a blower fan, thermostat, or remote control, I plug in or connect those now. For gas inserts, I hook up the gas line securely and test again for leaks. If I’m unsure about this part, I bring in a licensed technician for peace of mind.
Test the unit for proper operation.
Before finalizing, I turn on the insert and run it for at least 20–30 minutes. I listen for strange sounds, check for airflow (if it has a fan), and confirm that all controls work. This test run ensures the installation was done correctly and gives me time to make adjustments if needed.
Secure everything and clean up.
Once I’m confident everything is working, I tighten all fasteners, remove any painter’s tape, and clean the area. I store the manual, warranty, and any extra parts in a safe place. With the insert now installed, my fireplace is ready for use, and I enjoy both the improved warmth and updated style.
Common Mistakes to Avoid
Skipping proper chimney inspection.
I never assume the chimney is fine. Skipping this check could lead to poor airflow, fire hazards, or toxic gas leaks. A quick visual check isn’t enough—it’s worth having it inspected or cleaned first.
Choosing the wrong insert size.
I double-check all dimensions before ordering. A unit that’s too big or too small won’t install properly and could create gaps, instability, or poor performance. Proper fit is key to both safety and appearance.
Not sealing the flue liner correctly.
Improper seals around the flue liner or vent can cause smoke to escape indoors. I make sure to follow the insert’s venting diagram and use approved materials to make airtight connections.
Forgetting to level the insert.
An unlevel insert can affect airflow and cause uneven heating. I always check the hearth and insert base with a level before securing anything permanently.
Using household caulk instead of high-heat sealant.
Standard caulks or adhesives can melt or catch fire. I use only high-temperature sealants or products specified in the manufacturer’s guide to avoid serious safety risks.
Overlooking local building codes.
Installing without checking code requirements can get me into trouble. Some places require a permit, inspection, or even a licensed installer for certain fuel types. I always do my homework first.
Can I install a fireplace insert by myself?
Yes, but it depends on the type. Electric inserts are easiest. Wood and gas inserts require more steps, especially venting. I recommend researching thoroughly and asking for help with heavy lifting or gas work.
What tools will I need?
Basic tools like a drill, level, screwdrivers, and safety gear are must-haves. Depending on your setup, you might also need vent pipe components, a hand truck, and caulk for sealing.
Is a permit required to install a fireplace insert?
In many cases, yes—especially for gas or wood-burning inserts. I check with my local building department to find out what codes apply before I start.
How do I know if my chimney needs a new liner?
If your insert requires one or your chimney is old, a new liner is often needed. I checked the installation manual and had the chimney inspected to be sure it meets modern safety standards.
What type of insert is easiest for DIY?
Electric inserts are the easiest, since they don’t require venting or fuel lines. They just slide into place and plug into an outlet. I find them ideal for quick makeovers without major construction.
Can I use the fireplace right after installation?
After testing and ensuring everything works, yes. But I always let any sealants or adhesives cure as instructed. For gas or wood inserts, I follow a gradual break-in process during the first few fires.
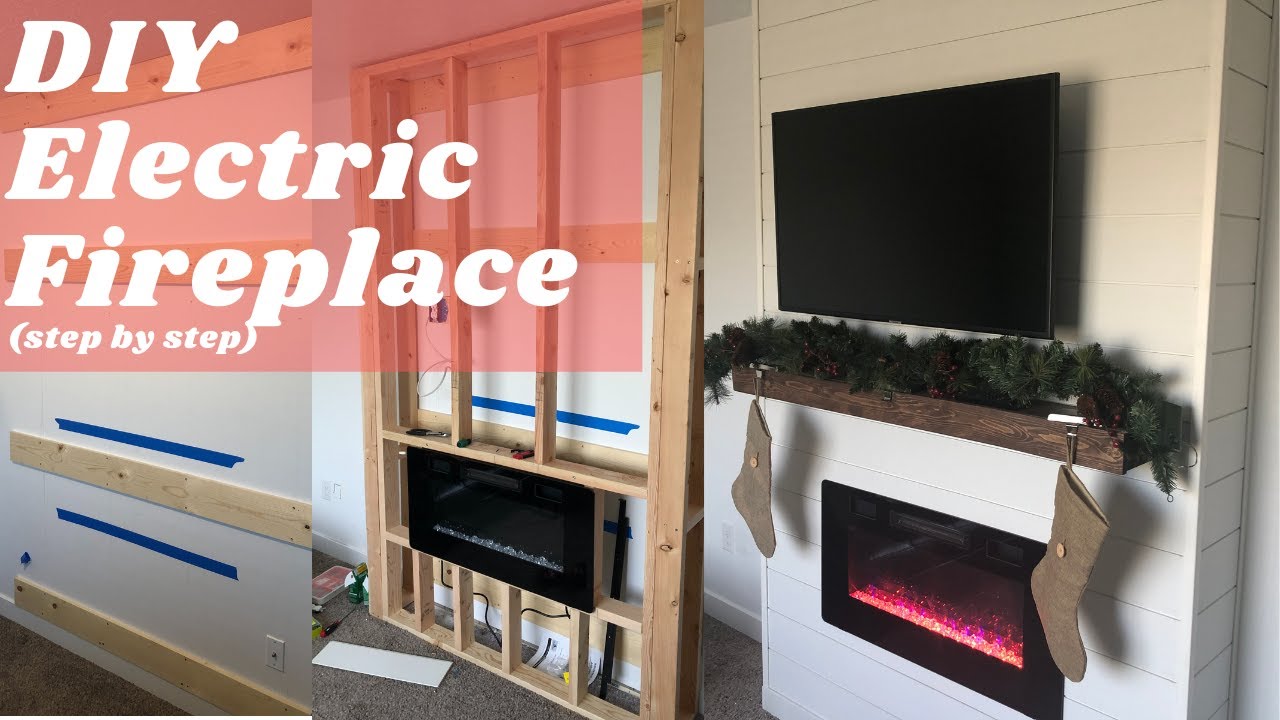
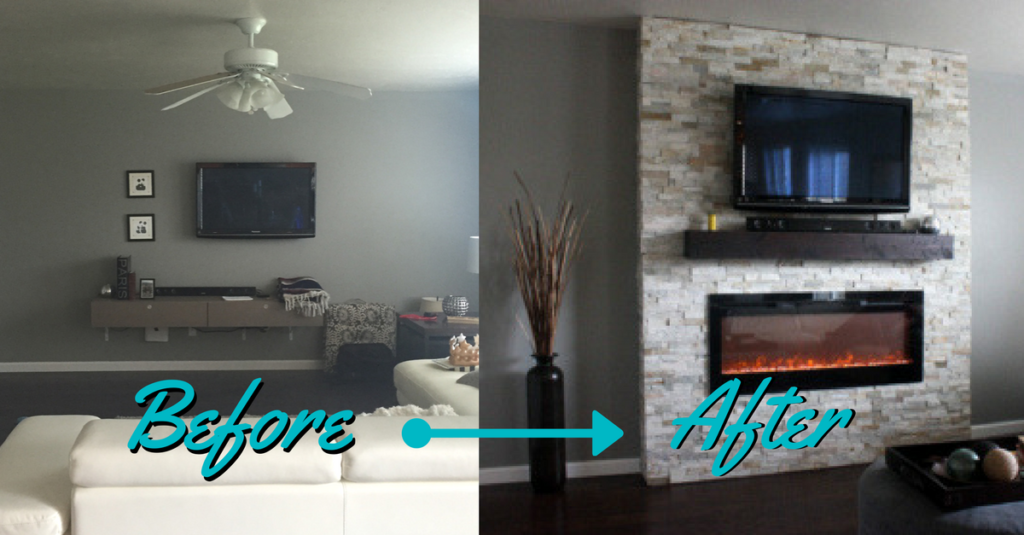
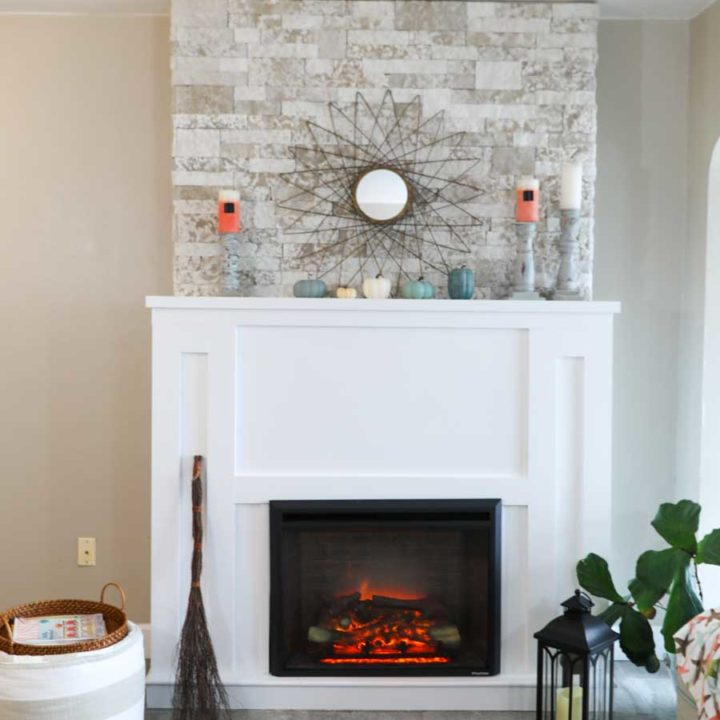
DIY Fireplace using an Electric Insert Tutorial – The Beauty Revival

IHeart Organizing: DIY Fireplace Built-In Tutorial
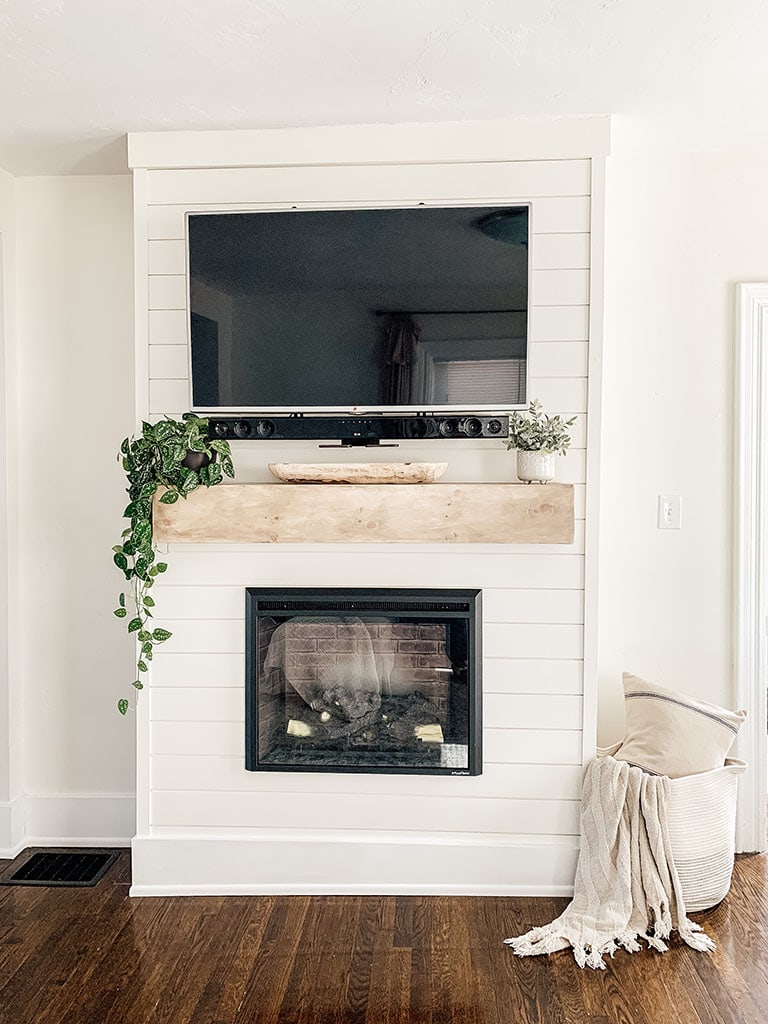
DIY Shiplap Electric Fireplace u0026 Mantel – Micheala Diane Designs
DIY: How-to Build A Fireplace (in one weekend) – Whitney Hansen
DIY Modern Fireplace – Designed Simple

MONEY SAVER! How To Install A Fire Place Insert For Burning Wood
DIY Shiplap Electric Fireplace Build with Mantel Healthy Grocery
How To Build a DIY Fireplace With Electric Insert – H2OBungalow
Related Posts: