Removing tile from a fireplace is a project that requires careful preparation and the right tools to ensure a successful and safe outcome. Before beginning the tile removal process, it’s essential to gather all necessary equipment, which typically includes a hammer, chisel, pry bar, safety goggles, dust mask, gloves, and a drop cloth to protect the surrounding area. Assessing the type of tile and its adhesion method can also help determine the best removal approach. For instance, ceramic and porcelain tiles are often adhered to with strong mortar, which can make the removal process more challenging. Additionally, preparing the workspace by clearing the area around the fireplace, covering furniture, and laying down drop cloths will help contain dust and debris. Disconnecting any gas or electrical connections to the fireplace ensures safety during the demolition process. By thoroughly preparing and understanding the specific challenges of the project, homeowners can approach tile removal with confidence and efficiency.
Images about Taking Tile Off A Fireplace
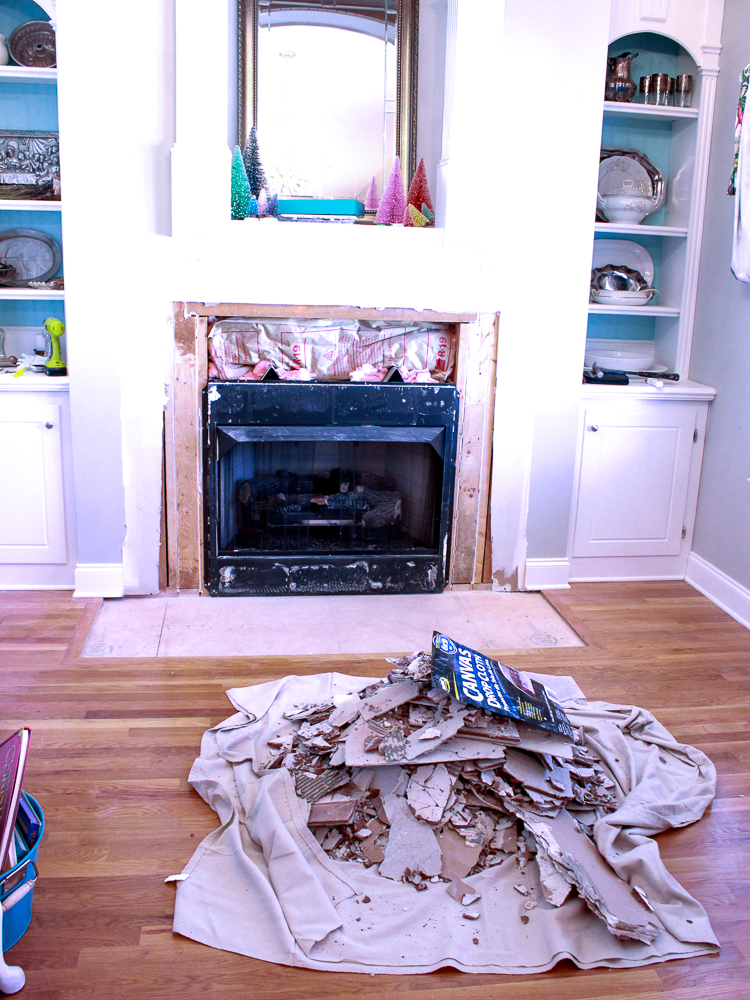
Taking Tile Off A Fireplace
Techniques for Effective Tile Removal
Effective tile removal involves a combination of manual labor and strategic techniques to minimize damage to the underlying structure. Start by using a hammer and chisel to carefully chip away at the grout lines surrounding the tiles. This step helps loosen the tiles and makes it easier to pry them off. Working from the edges inward can prevent excessive damage to the underlying wall or fireplace structure. For stubborn tiles that are firmly adhered, a pry bar can be inserted beneath the tile to gently lift and remove it. It’s important to apply consistent pressure and work slowly to avoid cracking or damaging the surrounding tiles or substrate. In some cases, using an oscillating tool with a grout removal blade can speed up the process and provide more precision. By employing these techniques, homeowners can efficiently remove tiles while preserving the integrity of the fireplace and preparing it for a new finish.
Dealing with Adhesive Residue and Repairing the Surface
Once the tiles are removed, the next challenge is dealing with the adhesive residue left behind. Mortar and adhesive can be stubborn and require significant effort to remove completely. Using a scraper or putty knife can help chip away larger chunks of adhesive, while a grinder with a masonry wheel can smooth out the remaining residue. It’s essential to wear appropriate safety gear, including goggles and a dust mask, to protect against dust and debris. After removing the adhesive, the underlying surface may need repairs, especially if the tile removal process caused any damage. Patching up any holes, cracks, or uneven areas with a suitable filler or mortar mix ensures a smooth and stable surface for the new tile installation or other finishes. Ensuring a clean and even surface is crucial for achieving a professional-looking result in the subsequent stages of the fireplace renovation.

Preparing for the New Finish
With the old tiles removed and the surface repaired, the final step is preparing the fireplace for its new finish. This stage involves thorough cleaning to remove any remaining dust and debris, ensuring the surface is ready for priming or direct application of the new finish. Depending on the desired outcome, this could involve re-tiling, applying a new stone veneer, or painting. For re-tiling, it’s important to use high-quality adhesive and grout designed to withstand the heat and conditions specific to fireplaces. Proper planning and layout are essential to achieve a visually appealing and durable finish. For those opting for a stone veneer or paint, ensuring the surface is properly primed will help the new material adhere better and last longer. By taking the time to prepare correctly, homeowners can ensure that their new fireplace finish not only looks fantastic but also stands the test of time, providing warmth and beauty to their living space.
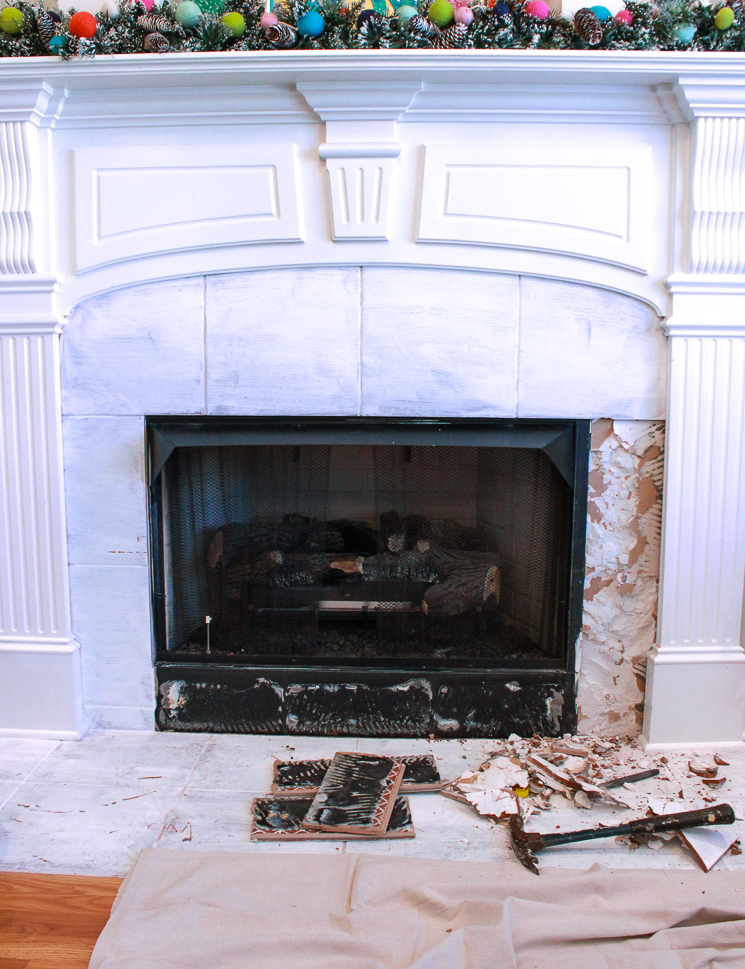
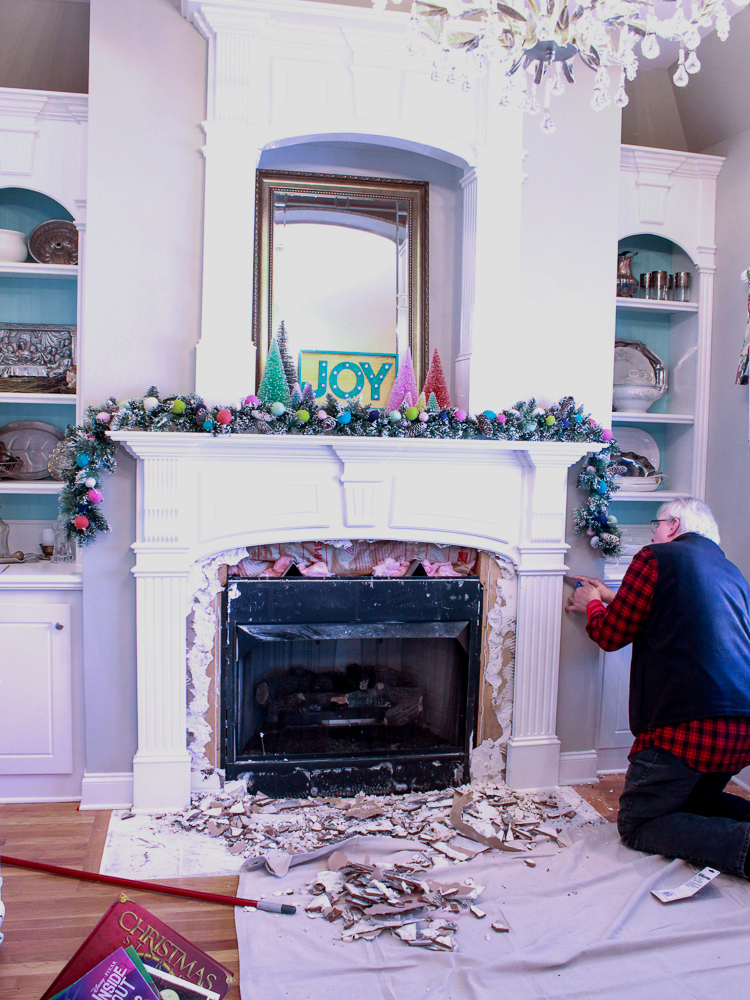
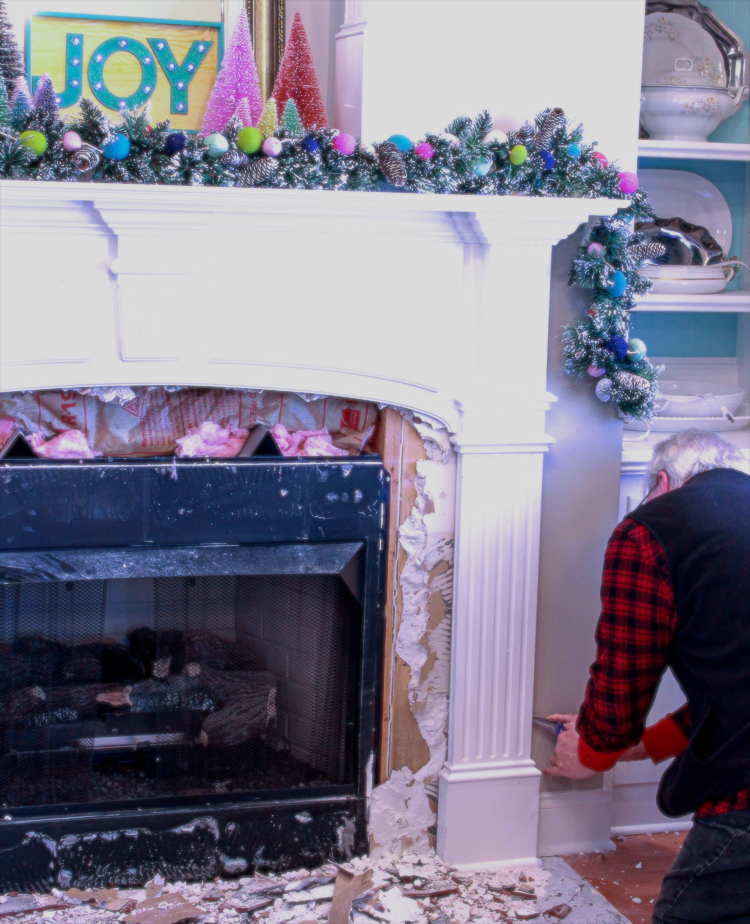
How to Remove Fireplace Tiles – Chaotically Creative
How to Remove Fireplace Tiles – Chaotically Creative
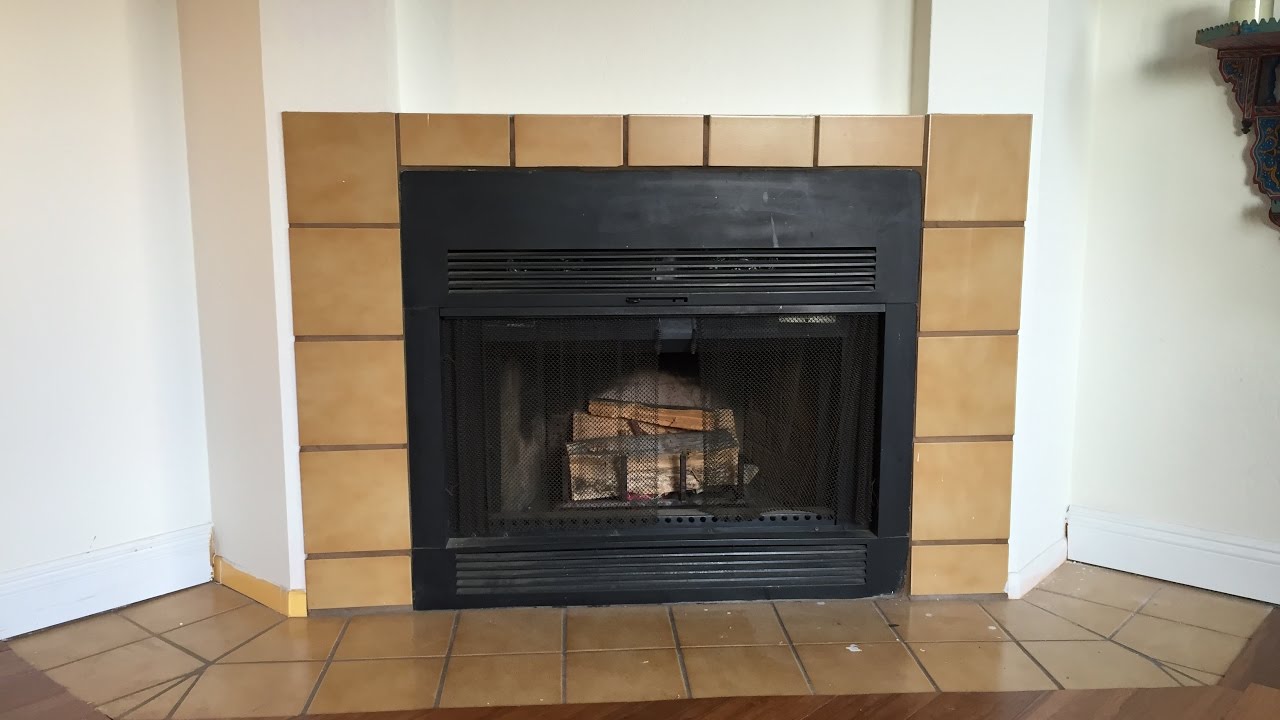
Stunning Remodel! How to Tile a Fireplace Remodel Your Fireplace Easy Tiling Tutorial
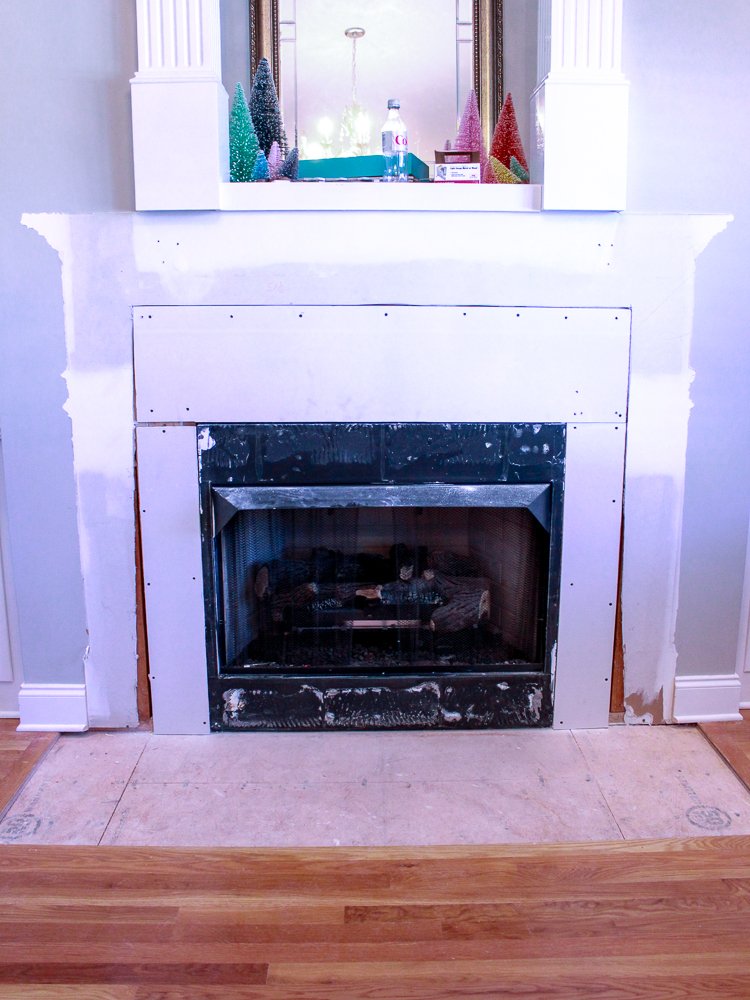
How to Prep a Fireplace for New Tile House One
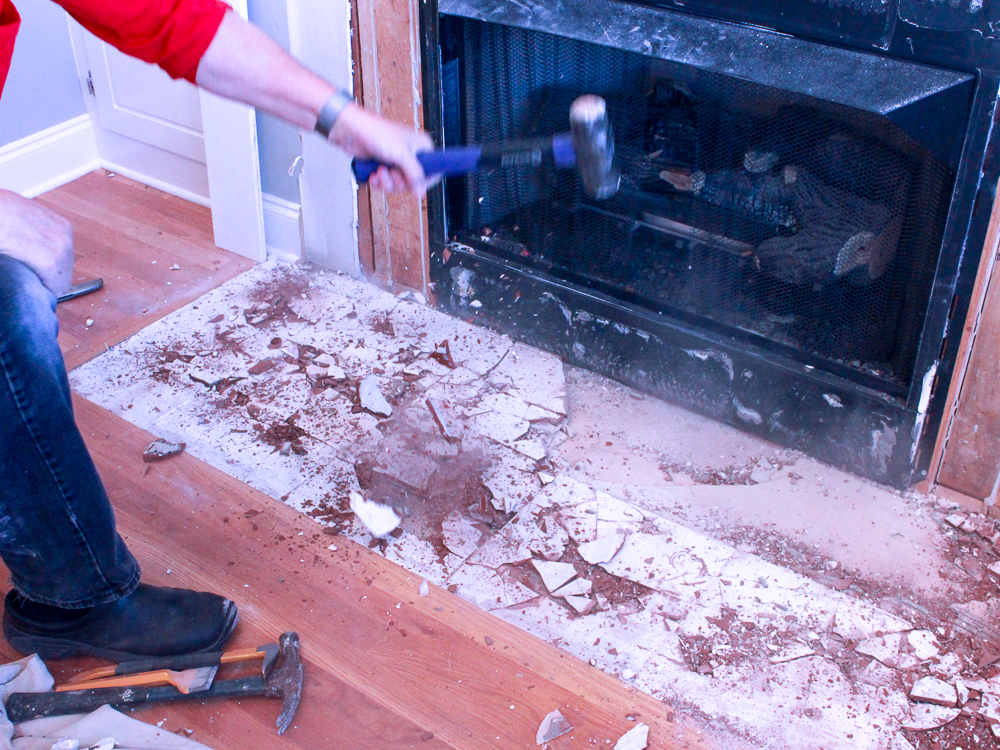
DIY Tiling a Fireplace Surround What We Learned Along the Way
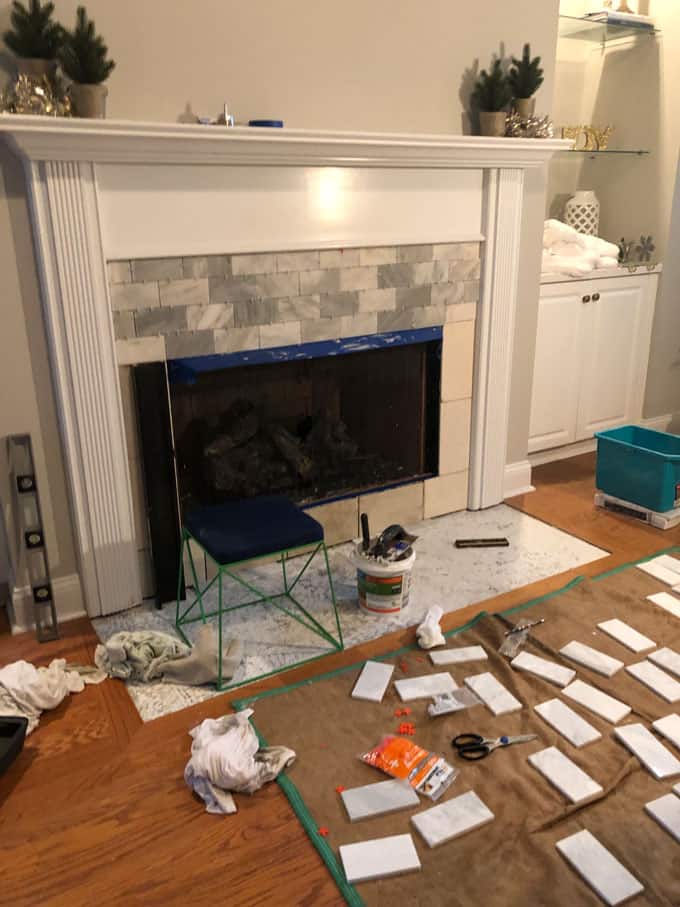
DIY Tiling a Fireplace Surround What We Learned Along the Way

How to Prep a Fireplace for New Tile House One

How to Remove Fireplace Tiles – Chaotically Creative
Related Posts:
- Modern Tile Fireplace Wall
- Mosaic Tile Fireplace DIY
- Quartz Fireplace Tile
- Ceramic Tiles Fireplace Surround
- Sandstone Tile Fireplace
- Spanish Tile Fireplace
- Porcelain Tile Fireplace Ideas
- Travertine Tile Fireplace Surround
- Tile Fireplace Surround Ideas
- White Stone Tile Fireplace
Removing tile from a fireplace can be a daunting task, but with the right tools and techniques, it can be done effectively and efficiently. Whether you are looking to update your fireplace’s look or need to repair damaged tiles, taking the tile off is the first step in the process. In this article, we will discuss the steps involved in removing tile from a fireplace, including preparation, tools needed, techniques for removal, and clean-up.
Preparation is key before starting any project involving tile removal. First, make sure to protect the surrounding area by covering nearby furniture and floors with drop cloths or plastic sheeting. Next, gather all the necessary tools for the job, including a hammer, chisel, pry bar, safety goggles, gloves, and a dust mask. It is important to wear protective gear to avoid injuries and exposure to dust or debris during the removal process.
To begin removing the tile from the fireplace, start by using a hammer and chisel to loosen one corner of a tile. Once the corner is loosened, use a pry bar to carefully lift and remove the tile from the surface. Work your way around the fireplace, repeating this process for each tile until all tiles have been removed. Be sure to work slowly and carefully to avoid damaging the underlying surface or surrounding tiles.
After all the tiles have been removed, use a scraper or wire brush to remove any remaining adhesive or grout from the fireplace surface. This step may require some elbow grease, but it is necessary to ensure a clean surface for new tiles or other finishes. Once the surface is clean and smooth, you can proceed with installing new tiles or finishing the fireplace as desired.
Clean-up is an important final step after removing tile from a fireplace. Use a vacuum cleaner with a brush attachment to clean up any dust or debris left behind from the removal process. Wipe down the surrounding area with a damp cloth to remove any remaining residue. Dispose of old tiles and debris properly according to local regulations.
Common Mistakes to Avoid:
1. Not wearing protective gear when removing tiles can lead to injuries from flying debris or exposure to dust.
2. Using excessive force when removing tiles can damage the underlying surface or surrounding tiles.
3. Neglecting proper clean-up after tile removal can result in leftover debris and dust buildup.
4. Failing to properly dispose of old tiles and debris can lead to environmental hazards.
1. Can I reuse old tiles after removing them from my fireplace?
Yes, you can reuse old tiles if they are still in good condition after removal. Make sure to clean them thoroughly before reinstalling.
2. Do I need special tools for removing tile from a fireplace?
While specific tools like a hammer, chisel, and pry bar are recommended for tile removal, you may also be able to use tools you already have on hand.
3. How long does it take to remove tile from a fireplace?
The time it takes to remove tile from a fireplace depends on factors such as the size of the fireplace and the number of tiles being removed. It can range from a few hours to a full day.
4. Can I hire professionals to remove tile from my fireplace?
Yes, if you are not comfortable performing tile removal yourself or if you have a complex fireplace design, it may be best to hire professionals who specialize in this type of work.
5. What should I do if I encounter stubborn adhesive during tile removal?
If adhesive is difficult to remove during tile removal, try using a heat gun or adhesive remover product specifically designed for this purpose. Be cautious when using these products and follow manufacturer instructions carefully.
What tools are necessary for effectively removing tile from a fireplace?
– Hammer
– Chisel
– Pry bar
– Gloves
– Goggles
– Dust mask
– Bucket
– Putty knife
– Vacuum cleaner or shop vac.
How can stubborn adhesive be effectively removed during the tile removal process?
To effectively remove stubborn adhesive during the tile removal process, here are a few tips to consider:
1. Use a heat gun or hairdryer to soften the adhesive before scraping it off with a putty knife or scraper. The heat helps break down the adhesive and makes it easier to remove.
2. Apply a commercial adhesive remover or solvent to the stubborn areas and let it sit for some time before scraping it off. Be sure to follow the manufacturer’s instructions and use proper ventilation when using these products.
3. Try using a floor buffer with a sanding attachment to grind away the stubborn adhesive. This method may be more labor-intensive but can be effective for particularly tough adhesives.
4. Consider renting a floor grinder or scarifier to quickly and efficiently remove stubborn adhesive from large areas.
5. If all else fails, you may need to resort to using a chisel or hammer to break up and remove the stubborn adhesive. Be cautious when using these tools to avoid damaging the subfloor.
Overall, patience and persistence are key when dealing with stubborn adhesive during the tile removal process. It may take some trial and error to find the method that works best for your specific situation, but with the right tools and techniques, you can successfully remove even the most stubborn adhesives.