Replace Tile Around Your Fireplace
A fireplace is often the centerpiece of a room, and the tile surrounding it can greatly enhance its appearance. However, over time, tiles can become damaged or outdated and may need to be replaced. In this article, we will provide a step-by-step guide on replacing tile around your fireplace, giving it a fresh, new look.
Assessing the Damage
The first step is to assess the damage to the existing tile. If the tile is outdated but still in good condition, you can paint or resurface it instead of replacing it. However, if the tile is cracked, chipped, or broken, it must be replaced.
Removing the Old Tile
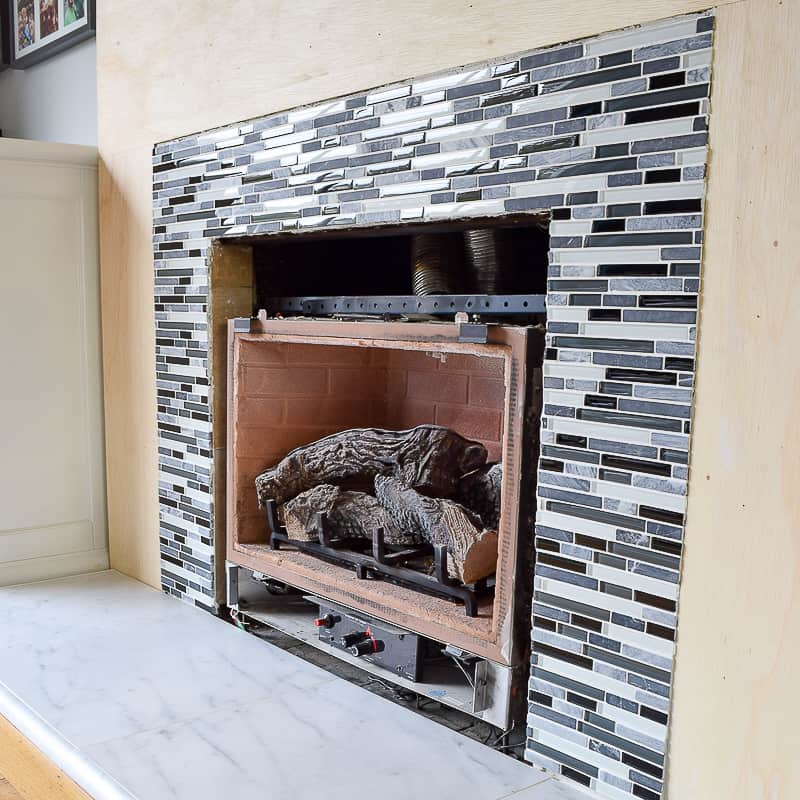
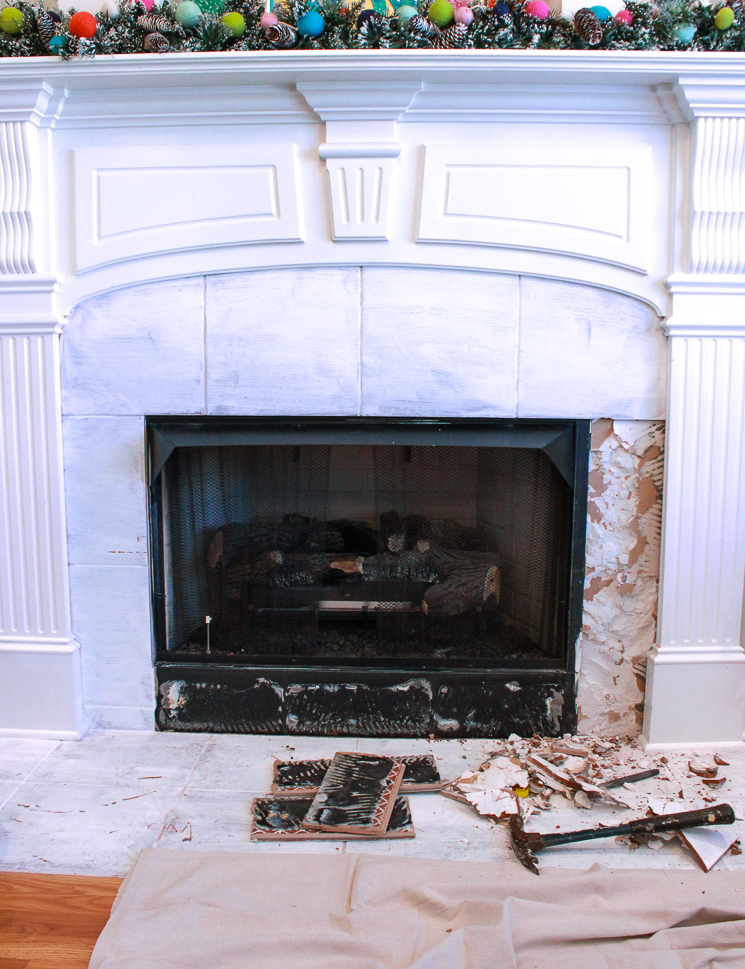
Before you can install a new tile, the old tile must be removed. To do this, use a chisel and hammer to chip away at the grout surrounding the tiles carefully. Once the grout is removed, you can gently use a pry bar to remove the tiles.
Prepping the Surface
With the old tile removed, it’s time to prepare the surface for the new tile. Start by cleaning the area thoroughly, removing any remaining grout or debris. Next, fill any holes or gaps with spackle or joint compound, and allow it to dry completely.
Choosing the New Tile
When selecting your new tile, consider the style and design of your room, as well as the durability and maintenance requirements of the tile. Natural stone tiles, for example, are popular for fireplaces but require regular sealing and maintenance to keep them looking their best.
Installing the New Tile
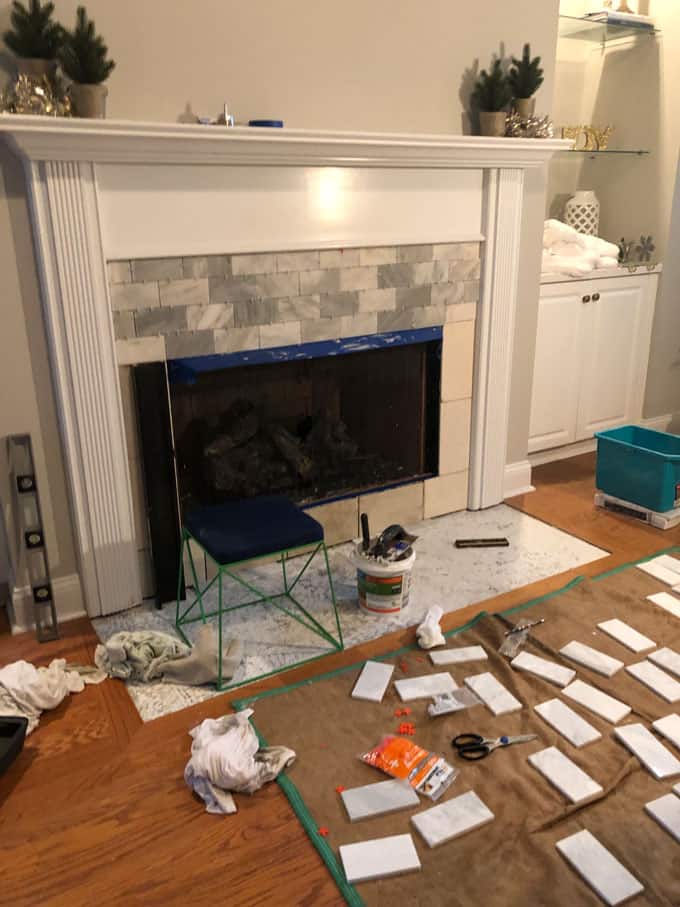
Once you have chosen your new tile, it’s time to install it. Start by applying a layer of tile adhesive to the surface, using a notched trowel to create a consistent layer. Then, carefully place the new tiles onto the adhesive, using tile spacers to maintain a consistent gap between the tiles.
Grouting and Sealing
After the adhesive has set, it’s time to grout the tiles. Mix the grout according to the manufacturer’s instructions, and apply it to the gaps between the tiles using a grout float. Once the grout has set, wipe away any excess with a damp sponge, and allow it to dry completely. Finally, seal the grout to protect it from moisture and stains.
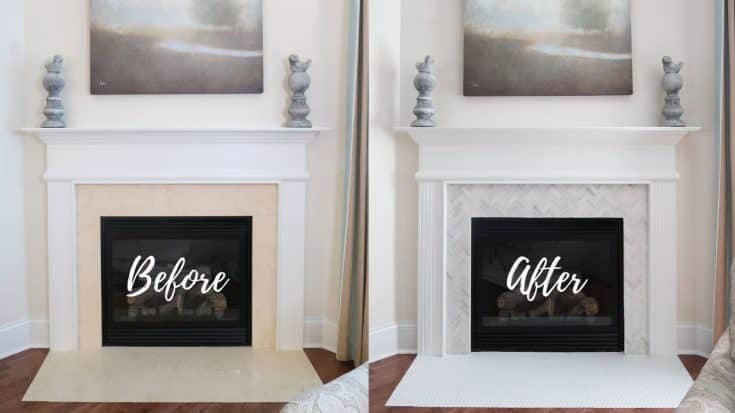
Replacing tile around your fireplace can be a great way to update the look of your room and increase the value of your home. Following these simple steps, you can replace old, damaged tile with a new, stylish design that complements your decor. Whether you choose natural stone tiles or a more affordable ceramic option, your fireplace will look beautiful for years.
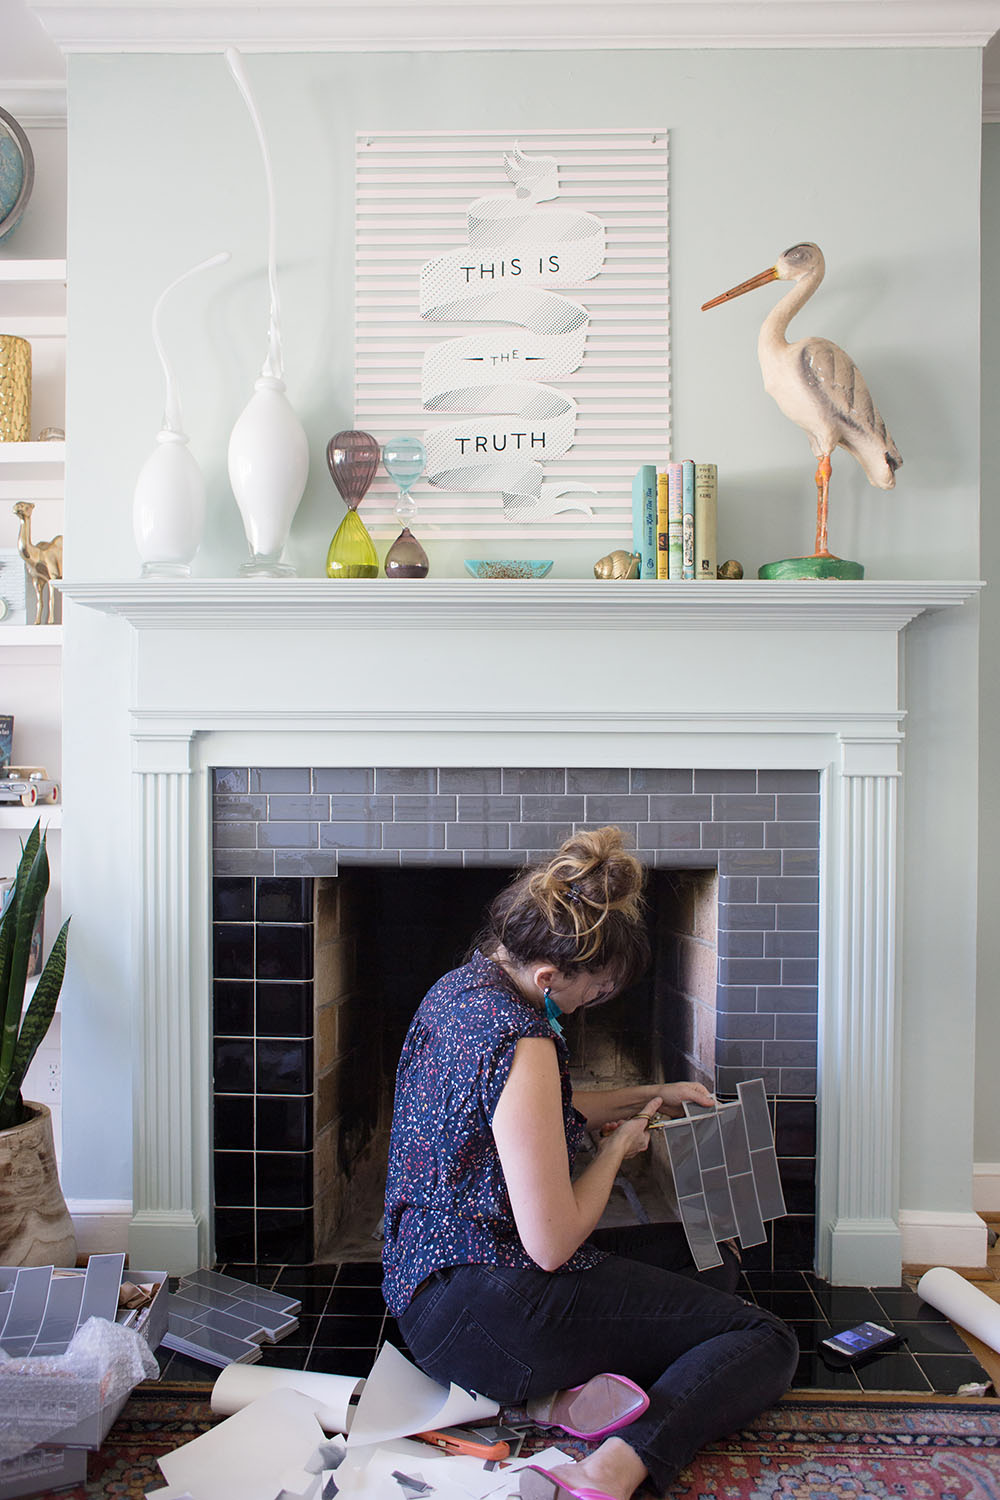
DIY Tile Fireplace Makeover
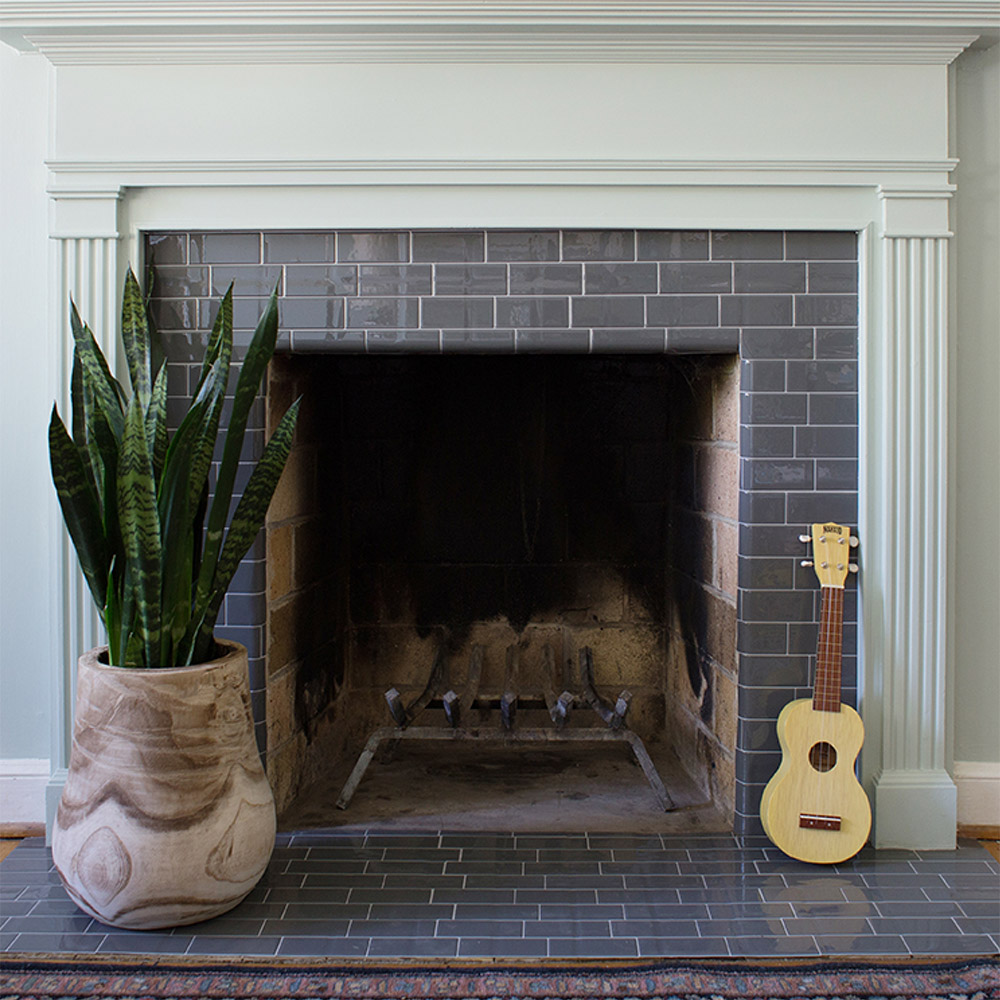
DIY Tiling a Fireplace Surround What We Learned Along the Way
How to Remove Fireplace Tiles – Chaotically Creative
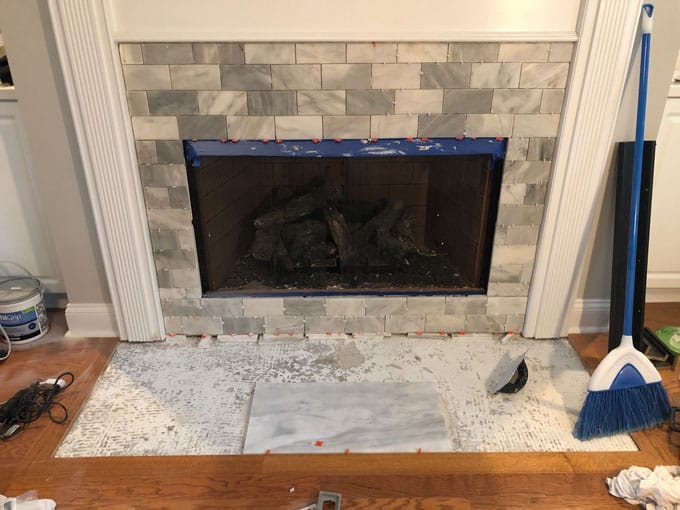
How-To Tile Over a Marble Fireplace Surround – Porch Daydreamer
How to Tile a Fireplace – This Old House
DIY Tile Fireplace Makeover
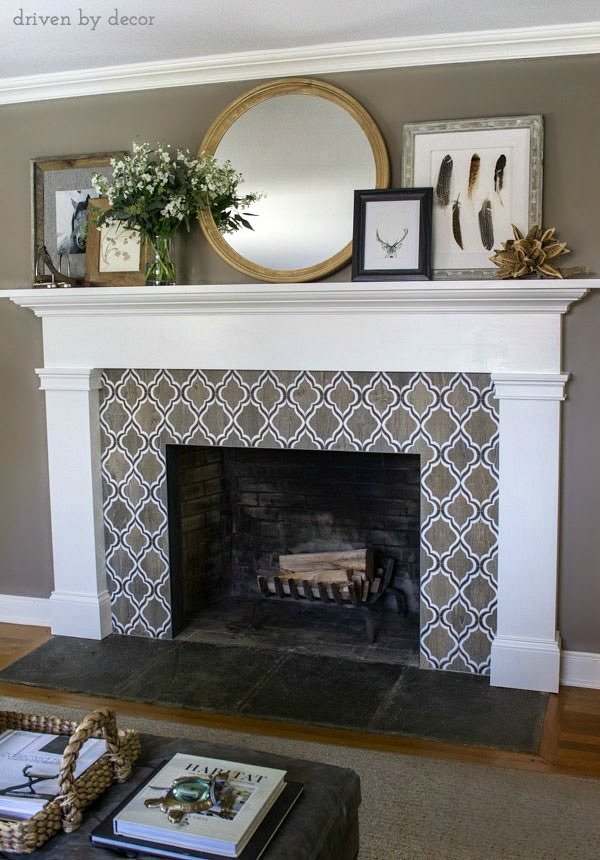
Our New Fireplace Tile Surround! – Driven by Decor
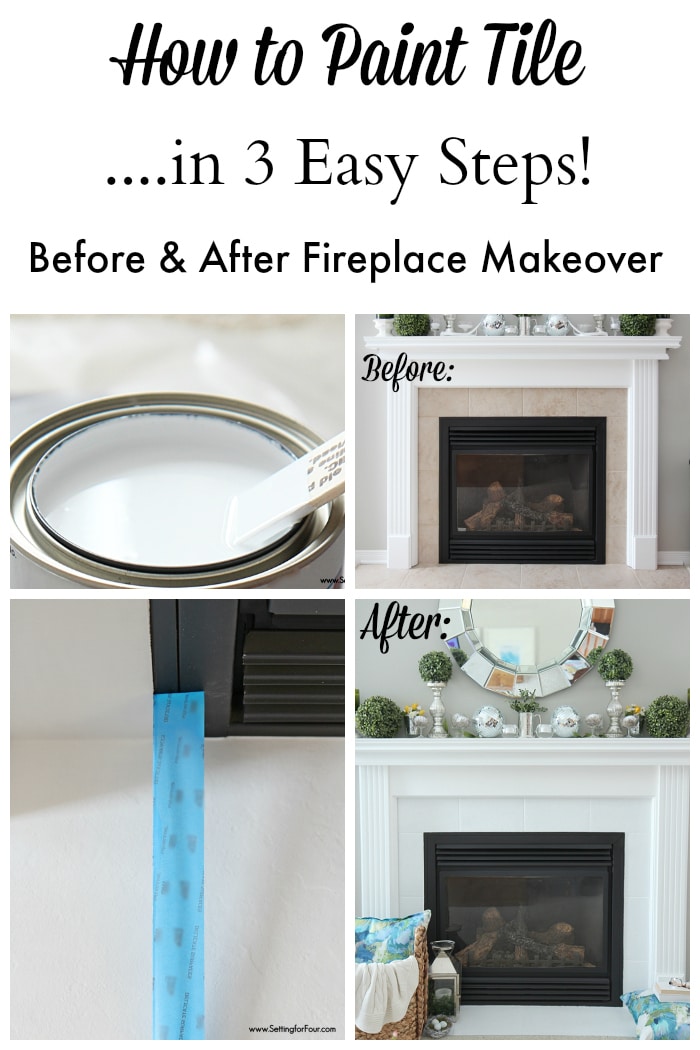
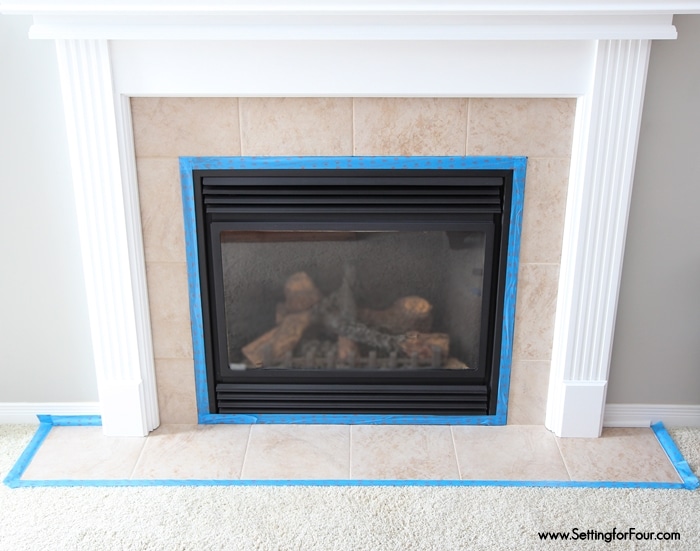
How to Paint Tile – Easy Fireplace Paint Makeover – Setting for Four
DIY Tiling a Fireplace Surround What We Learned Along the Way
Tiling a Fireplace: DIY Project The Home Depot
How to Tile a Fireplace (even if itu0027s brick!) – The Handymanu0027s
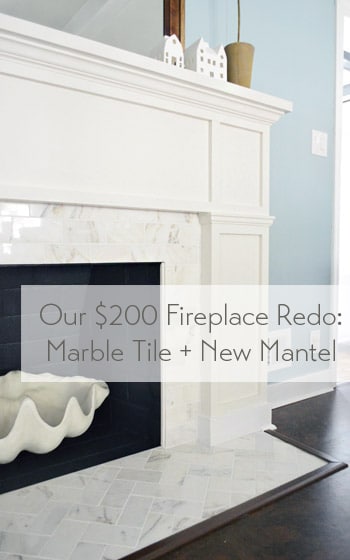
Our $200 Fireplace Makeover (Marble Tile u0026 A New Mantel) Young
How to Paint Tile – Easy Fireplace Paint Makeover – Setting for Four
Related Posts:
- Modern Tile Fireplace Wall
- Mosaic Tile Fireplace DIY
- Quartz Fireplace Tile
- Ceramic Tiles Fireplace Surround
- Sandstone Tile Fireplace
- Spanish Tile Fireplace
- Porcelain Tile Fireplace Ideas
- Travertine Tile Fireplace Surround
- Tile Fireplace Surround Ideas
- White Stone Tile Fireplace
/cdn.vox-cdn.com/uploads/chorus_asset/file/19938376/How_to_Tile_a_Firepalce_by_House_One_TOUT_560x359.png)
